Trying to figure out how you can generate some extra income by doing things you love? How about making some inexpensive DIYs you can craft at home to make and sell for extra cash? You don’t have to be an artist, seamstress or expert crafter to make some awesome DIY projects to sell to make money. People just love handmade things, and you will not have to be or pro or spend a lot on supplies to make these awesome craft projects. We pulled together some of our favorite creative ideas that fit just about any budget, all complete with step by step tutorials that show you exactly how to make them. You can find a market for your creations by creating a Facebook page and using their Marketplace feature, or check out your local craft fairs and reserve a spot. Good luck with your endeavor, we’ve got the ideas following here at DIYJoy.com!
Table of Contents
- Cheap Crafts to Make and Sell
- 1. Adventure Notebook
- 2. Succulent Clay Vase
- 3. Bird House Key Hooks
- 4. Easy Gold Foiled Pencil Cup
- 5. Monogrammed Clay Key Chains
- 6. Stamped Tribal Clutch
- 7. Cactus Pin Cushion
- 8. Star Garland Gift Wrap
- 9. Concrete Ring Cones
- 10. Steampunk Mosaic Coasters
- 11. Song Lyric Porcelain Plate
- 12. Gold Dipped Pencils
- 13. Gold Dot Champagne Flutes
- 14. Floral Spoons
- 15. Colorful Chalkboard Calendar
- 16. Toilet Paper Roll Phone Stand
- 17. PVC Pipe Picture Vase
- 18. 5 Minute Reed Diffuser
- 19. Stylish Retro Apron
- 20. Paper Plate Clock
- 21. Jeans Pocket Placemats
- 22. Fabric Scrap Key Chains
- 23. Beaded Leather Bracelet
- 24. Element Jar Necklace
- 25. DIY Paper Flowers
- 26. Chic Turban Headband
- 27. Dashes And Dots Floral Mugs
- 28. Personalized Enamel Mugs
- 29. Mason Jar Salt And Pepper Shakers
- 30. DIY Jewelry Tray
- 31. Felt Ball Necklace
- 32. Potted Mason Jar Key Holder
- 33. Painted And Frosted Glass Jars
- 34. Fabric Koozies
- 35. Glitter Wine Stoppers
- 36. No Sew Felt Flowers With Twigs
- 37. Crochet Face Scrubbies
- 38. Cherry Blossom Art From Recycled Soda Bottle
- 39. Heating Pad Infused With Essential Oils
- 40. Decoupaged Candles
- 41. Washable And Reusable Bowl Covers
- 42. Clothespin Flower Pots
- 43. Painted Terracotta Pot
- 44. Simple Erasable Boards
- 45. Simple And Cute Button Bookmarks
- 46. Crochet Succulents
- 47. Monogrammed Burlap Runner
- 48. Scalloped Sunglasses Case
- 49. Thumbprint Salt Dough Magnets
- 50. Jar Candles
- 52. Polka Dot Ring Dishes
- 53. Pop Up Photo Box
- 54. Bottle Cap Flower Magnets
- 55. Vinyl Bowls
Cheap Crafts to Make and Sell
1. Adventure Notebook
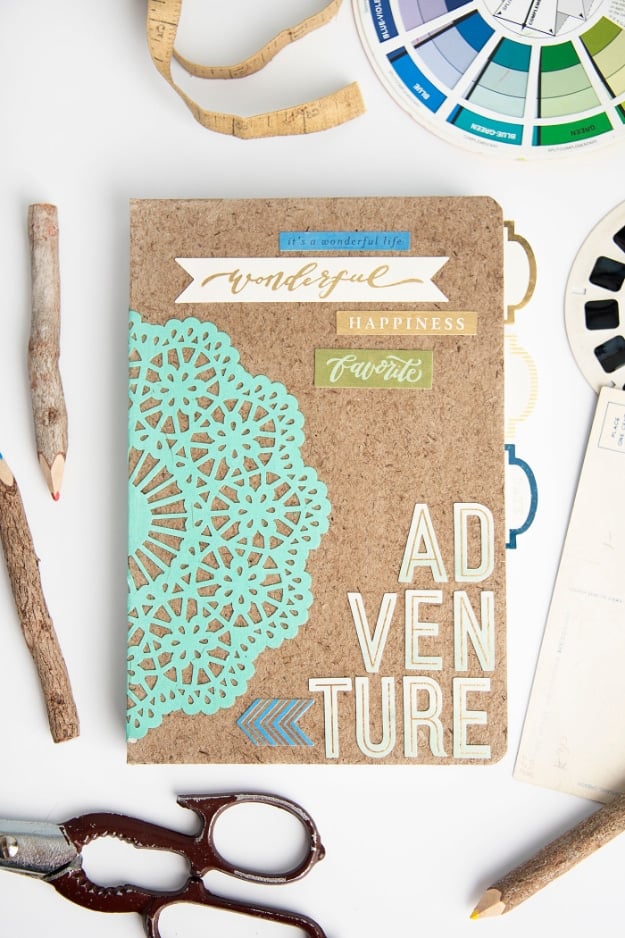
This adventure-themed DIY notebook is the perfect gift idea for everyone from hostesses to teachers to kids! So simple to personalize. I love the idea of each of my kids having their own personalized DIY notebook for the year. They can use it to draw, write down ideas and thoughts, or just color when they need something to do. My kids have such different personalities, I love the idea of creating something unique just for them. And encouraging them to write and draw is just another added bonus!
2. Succulent Clay Vase
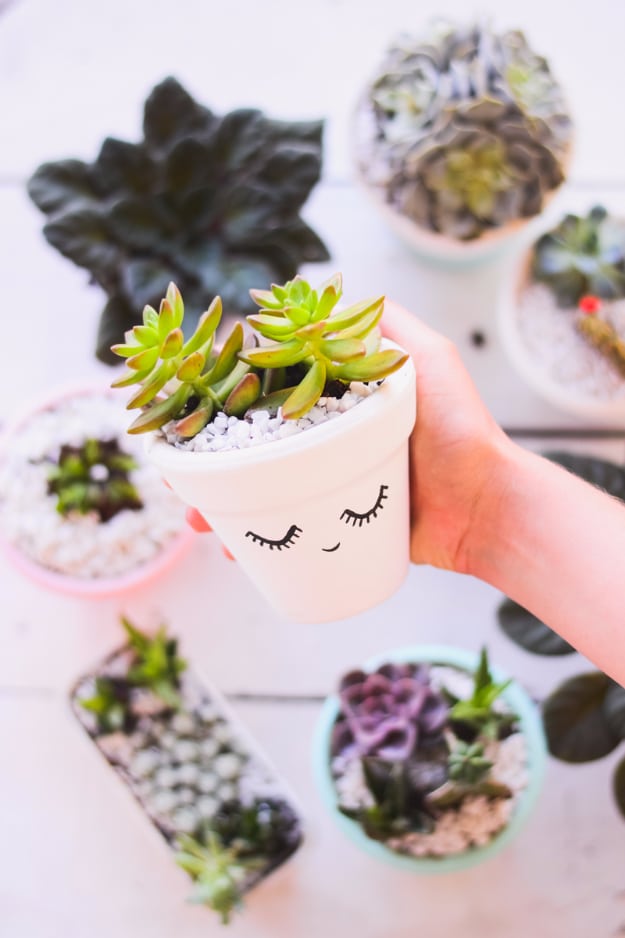
These DIY clay pots are a fantastic way to generate some extra income. As you know that I love customizing, I ended up choosing clay pots because they are inexpensive, easy to find and work. I used the matte paint for crafts that I already had at home and that I use for almost everything in life! To paint I used a brush that is my companion of madness and to make the details, I used a fine brush for nail art, but it is worth remembering that in those hours what counts is creativity! The other vases I have painted using a candle and even my fingers.
Check out all of these inexpensive DIYS to sell in one place on YouTube, then come back and hit the links to our favorite DIY blogs for the step-by-step tutorials.

3. Bird House Key Hooks
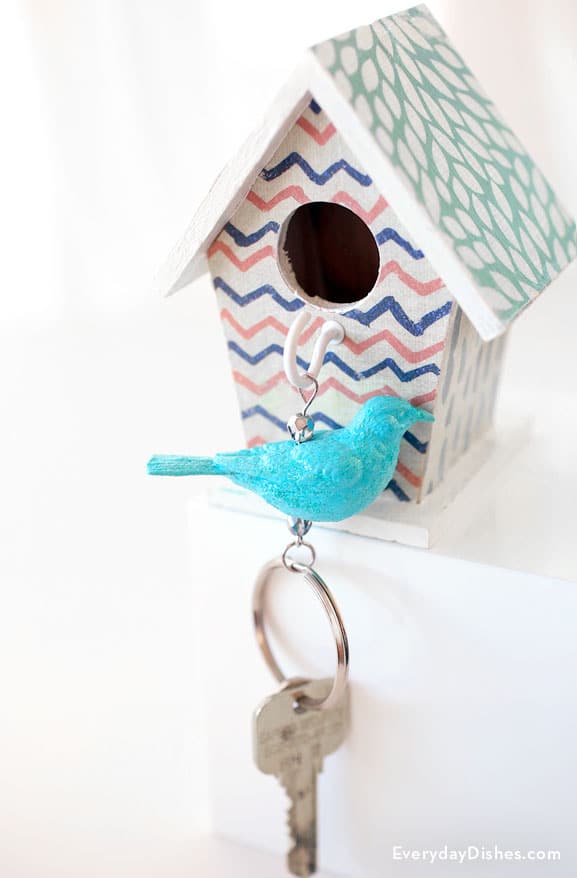
I found these little birdhouses at Michael’s and I knew they would be perfect for this DIY key hook project. Getting organized can create positive changes in your life. A brand new key rack is the way to go so you never waste time looking for your car, home, or office keys again. Being organized doesn’t have to be boring and these adorable little birdhouse key hooks covered in an array of pretty patterned and colored washi tape are anything but, making a quirky interior display for my cloakroom. Why not tailor these pretty little birdhouses to your particular taste and style to create a special little place for your keys that is both unique and practical.
4. Easy Gold Foiled Pencil Cup
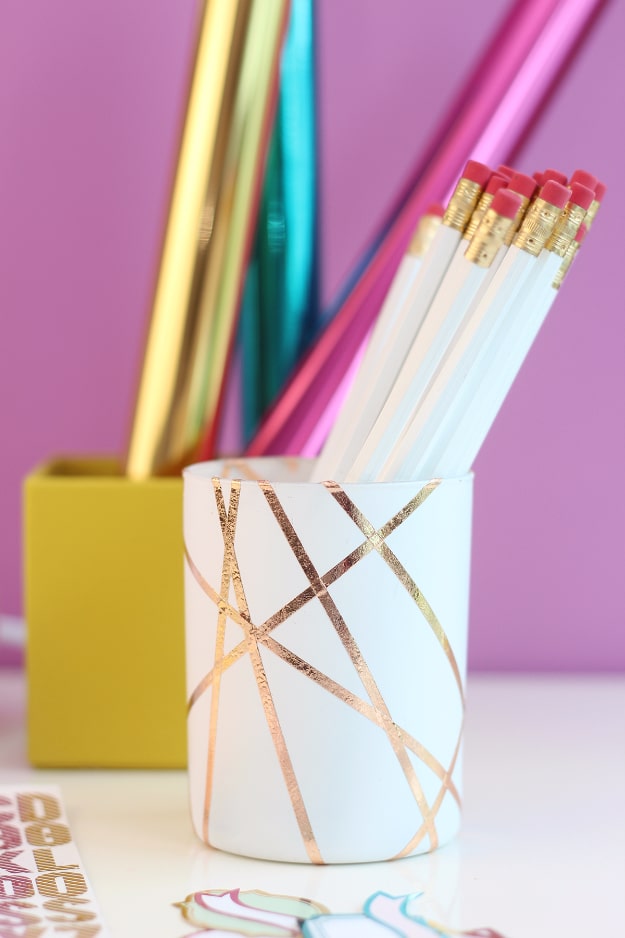
This DIY pencil cup is the easiest, cheapest project I’ve ever made and it uses one of my favorite DIY craft essentials of all time, lovely gold foil! You can apply the foil uring double-sided tape, then wrap the foul around pressing into it and you have an instant masterpiece.
5. Monogrammed Clay Key Chains
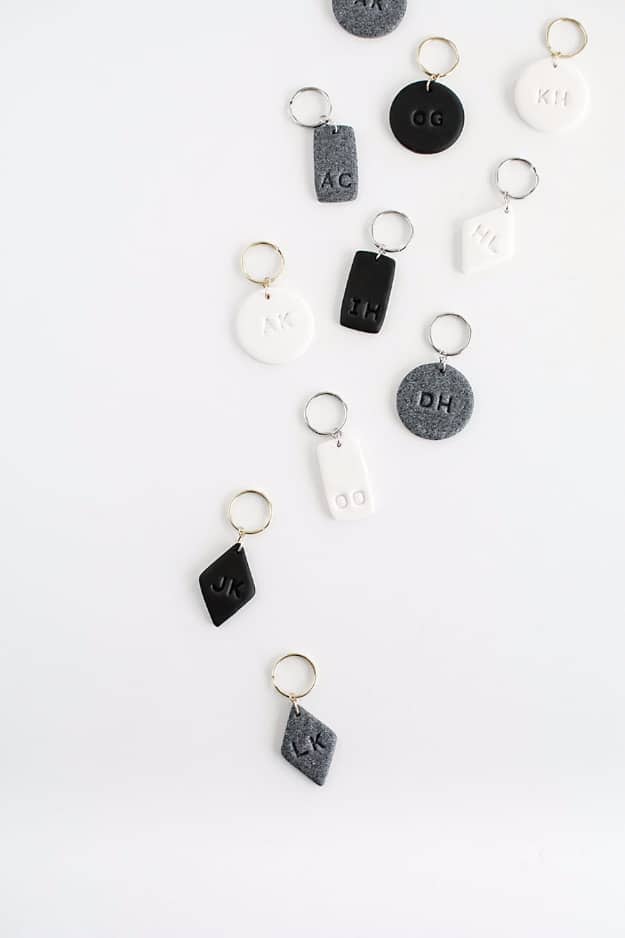
How about these DIY keychains? Have I told you before that I collected keychains as a child? Only the cool kids did it, and I know this because I was the only person I knew who was doing it. Oh does that mean it’s not a popular thing? That’s not what my mom told me… So yea, I have a soft spot for keychains, and a good thing about this DIY is that you can pump out a million in 5 minutes (rough estimate) and hand them out as little gifts for everyone you know (Christmas is tomorrow). Or, just make one or two for yourself because it’s cute.
6. Stamped Tribal Clutch
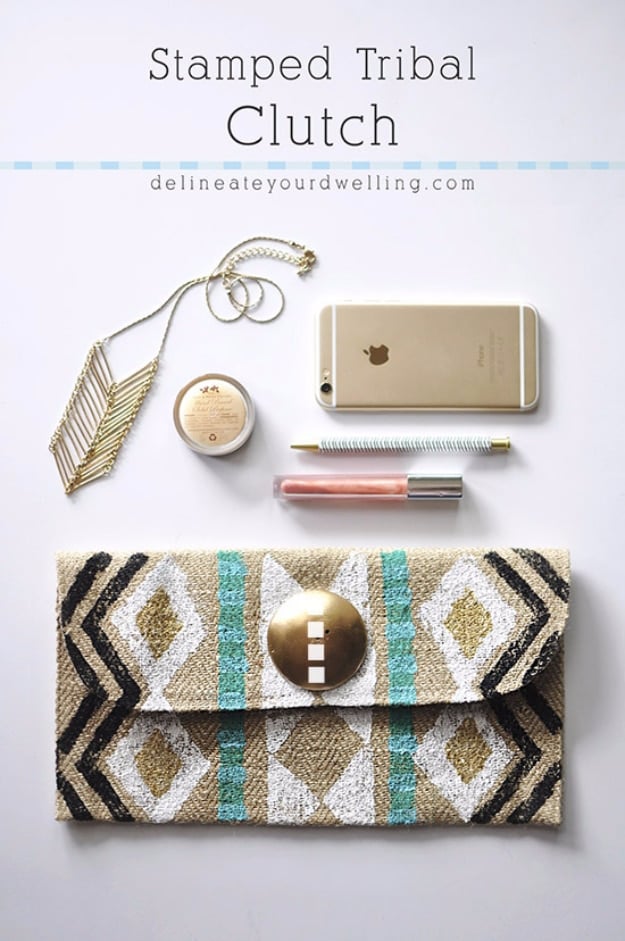
When I saw this DIY tribal clutch on Pinterest I fell in love! The best part of this is that you can use whatever type of clutch you already have or buy some in bulk to customize and resell. This is how we created this masterpiece. Using a regular sponge, I cut it into various shapes (triangles, diamonds, and narrow lines) to stamp my patterns onto the clutch. Using a small dollop of Martha Stewart paints, I dipped my sponge into the paint and applied to the burlap. I really loved how smooth and rich the paint came out.
7. Cactus Pin Cushion
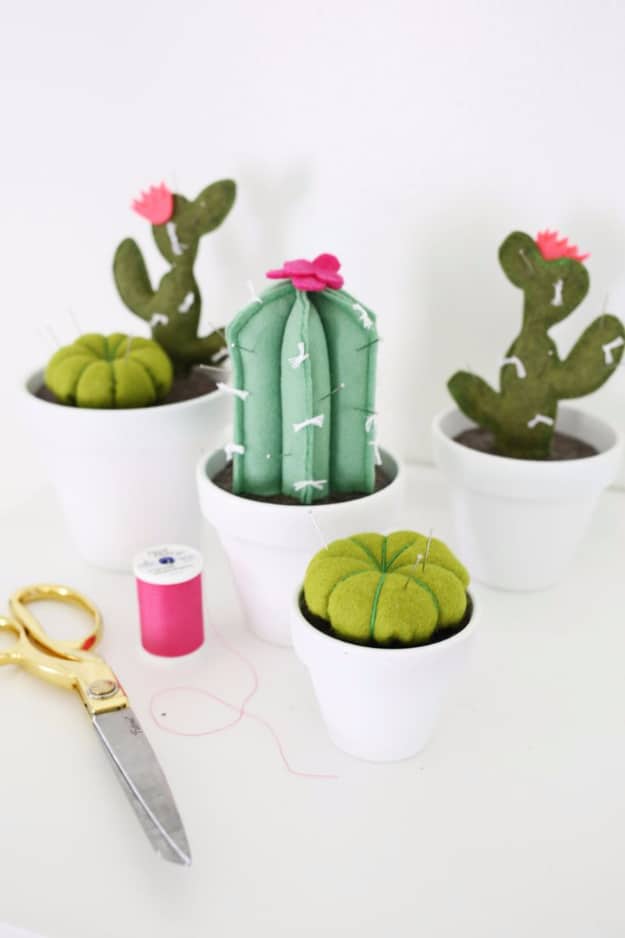
I’ve been in love with a few DIY cactus pincushions I’ve seen online, and while I wanted to make one for myself, I couldn’t just choose one type to make! Solution? Make them all! This way you can pick your favorite and make just one, or make a few different types and have your own cactus garden for all your pincushion needs. Thankfully they are so easy to make, you really don’t have to choose just one!
8. Star Garland Gift Wrap
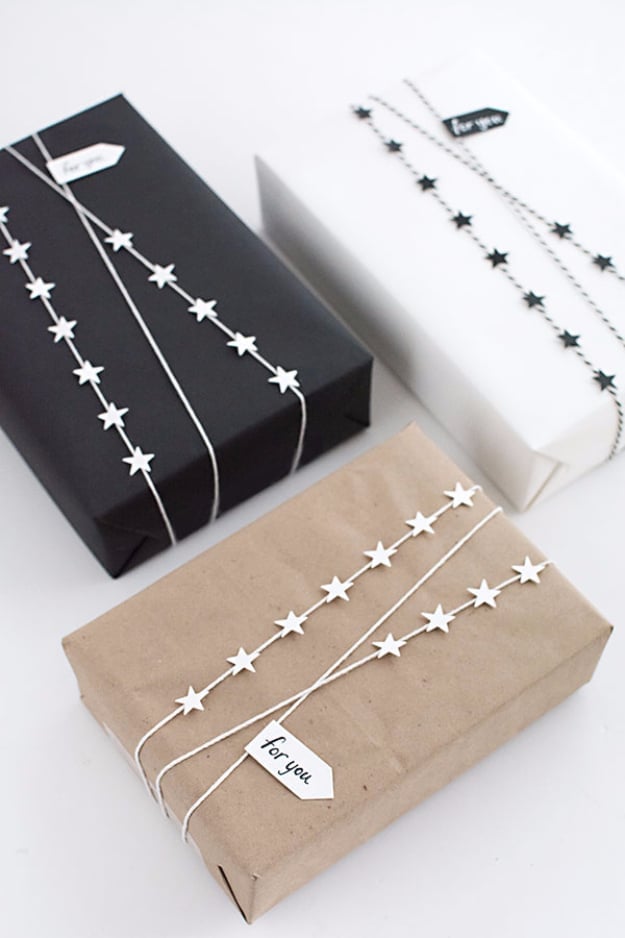
This is the most simple DIY gift wrapping ideas I have ever come across and it looks so impressive. You just wrap a string around a few times and cut some stars, (I used a stamp cutter from Michael’s), then glue them on. Instant success!
9. Concrete Ring Cones
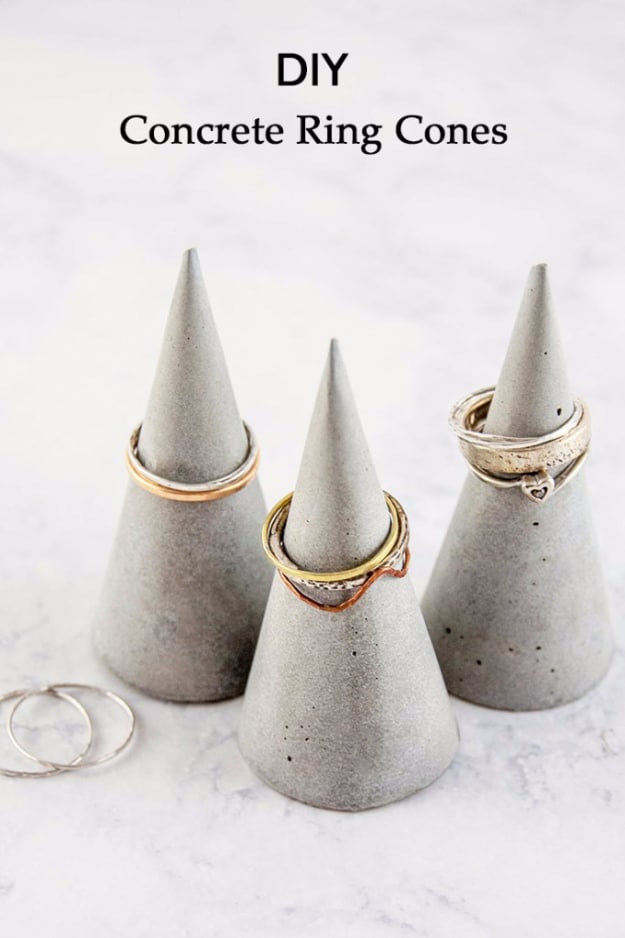
I needed a way to display all the rings I made for my craft party so I had the idea to make DIY concrete ring cones, this project took a lot of experimenting to get right. I wanted the finished cones to have as smooth of a surface as possible, with materials that are easy to get. So while you could do this by making a clay mold with a casting kit, that seemed like it would be way too involved for most people.
I tried several different materials for the ring mold: craft foam sheets, a plastic cup, a paper cup, plastic shelf liner, a plastic folder, and maybe a few more I’m forgetting. Some were too stiff and didn’t form a proper cone shape, while others left too big of a seam, or didn’t result in a smooth enough surface on the cone. But I finally realized that the answer was literally right in front of me: contact paper.
10. Steampunk Mosaic Coasters
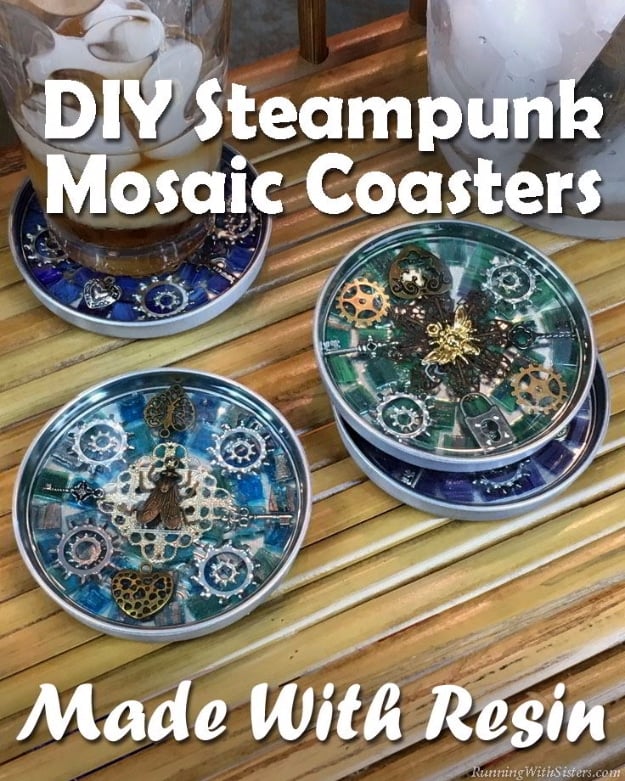
I love to mosaic with resin because it’s crystal clear, letting the beauty of the tiles and goodies shine through. If you’ve never used resin before, don’t worry––the trick is in the mixing. And we’re going to show you how to get a proper mix every time! We’re even including a video so you can see how to mix the resin step by step. It’s easier than you think! And when you serve your guests on these amazing DIY coasters, you’ll be the toast of the holiday party! If you want to make your own DIY Steampunk Mosaic Coasters, just follow the steps below. You’ll be amazed at the results!
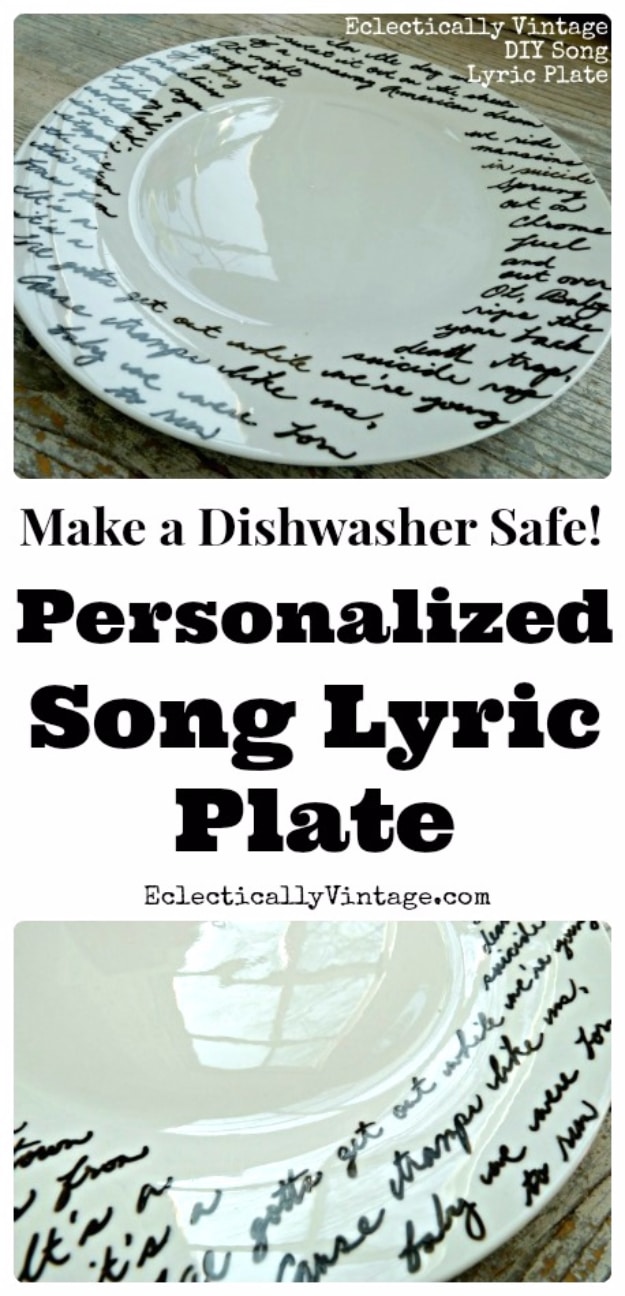
11. Song Lyric Porcelain Plate
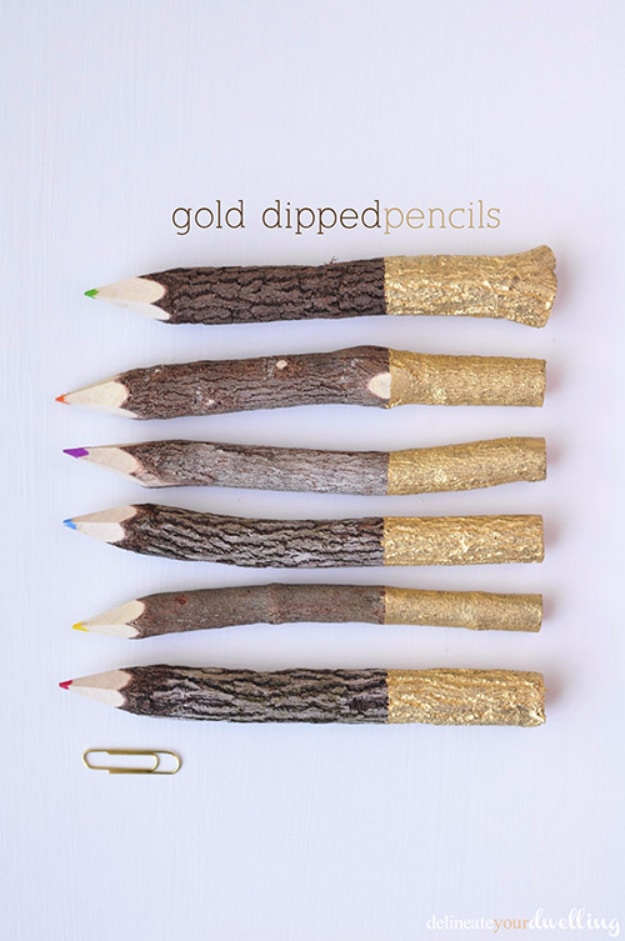
12. Gold Dipped Pencils
13. Gold Dot Champagne Flutes

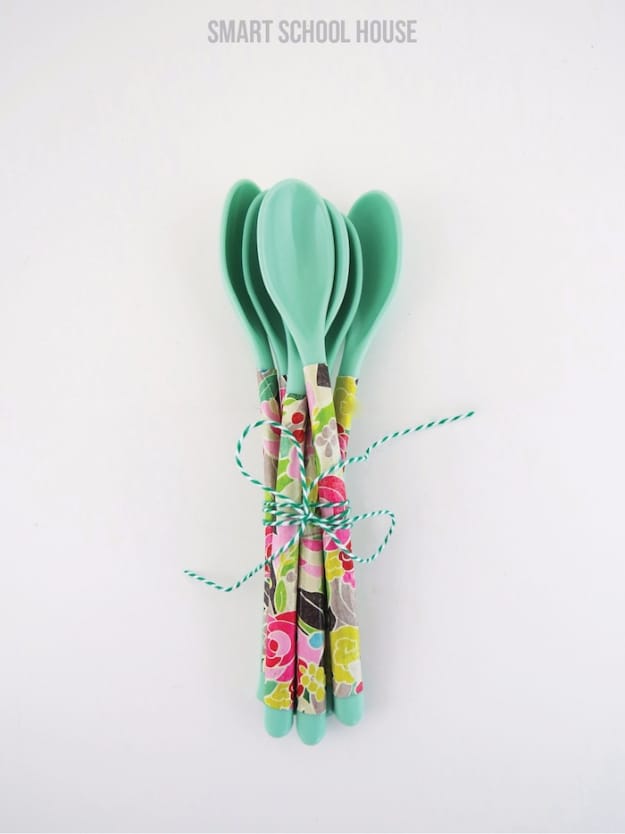
14. Floral Spoons
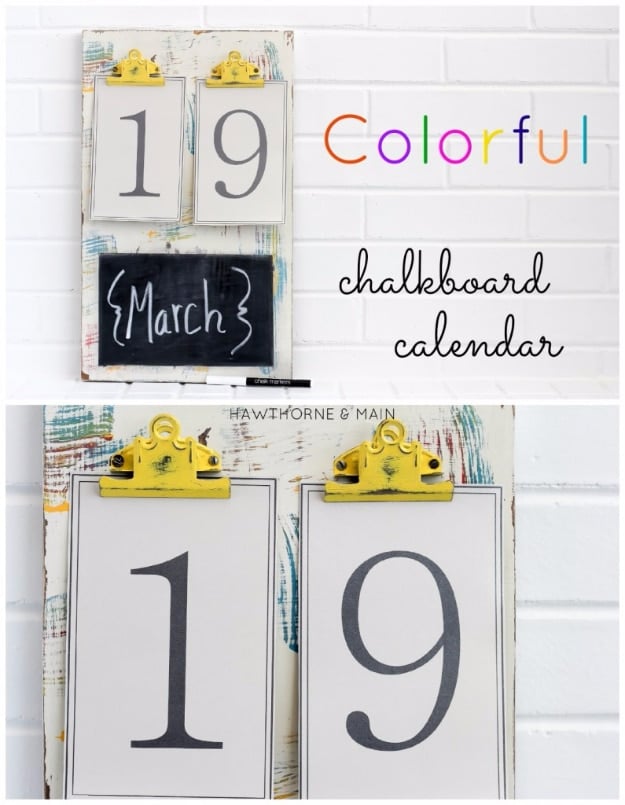
15. Colorful Chalkboard Calendar
hawthorneandmain
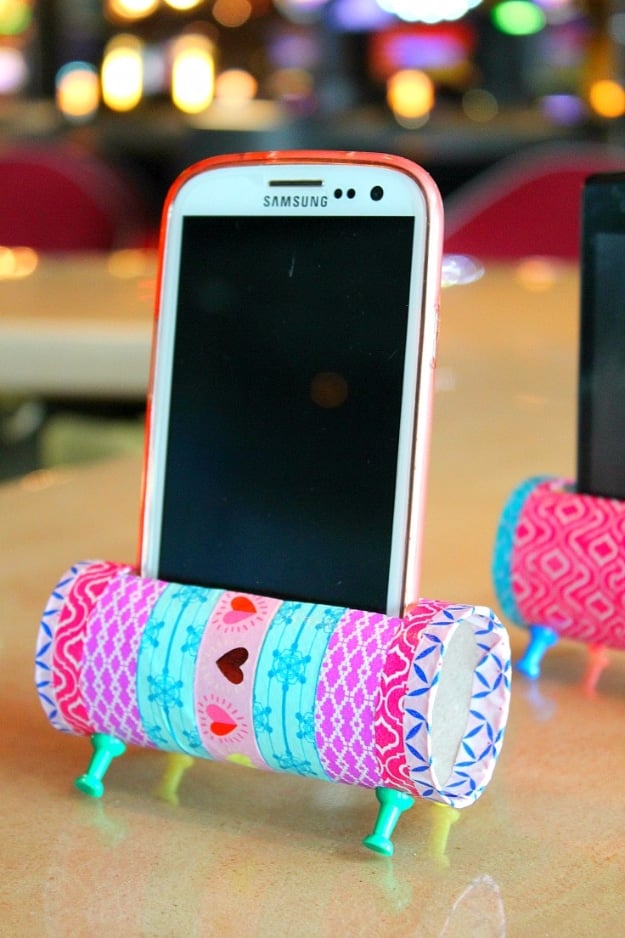
16. Toilet Paper Roll Phone Stand
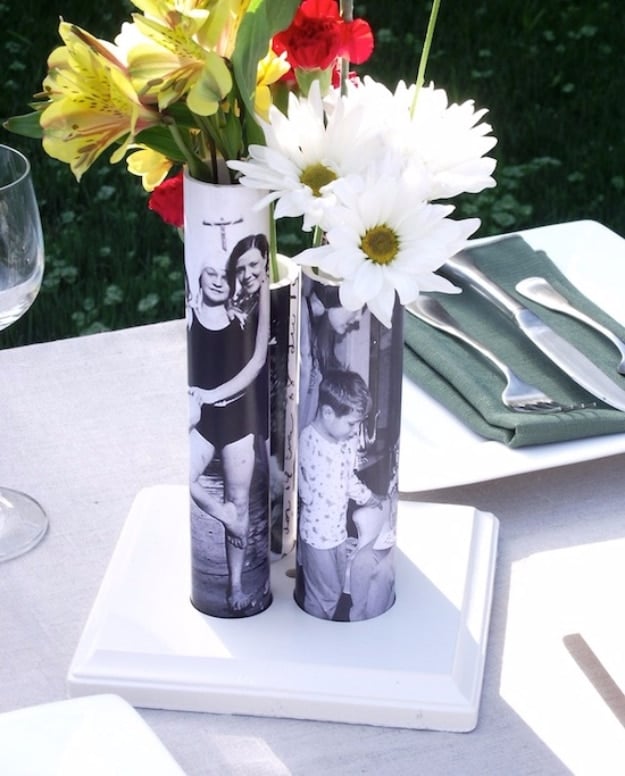
17. PVC Pipe Picture Vase
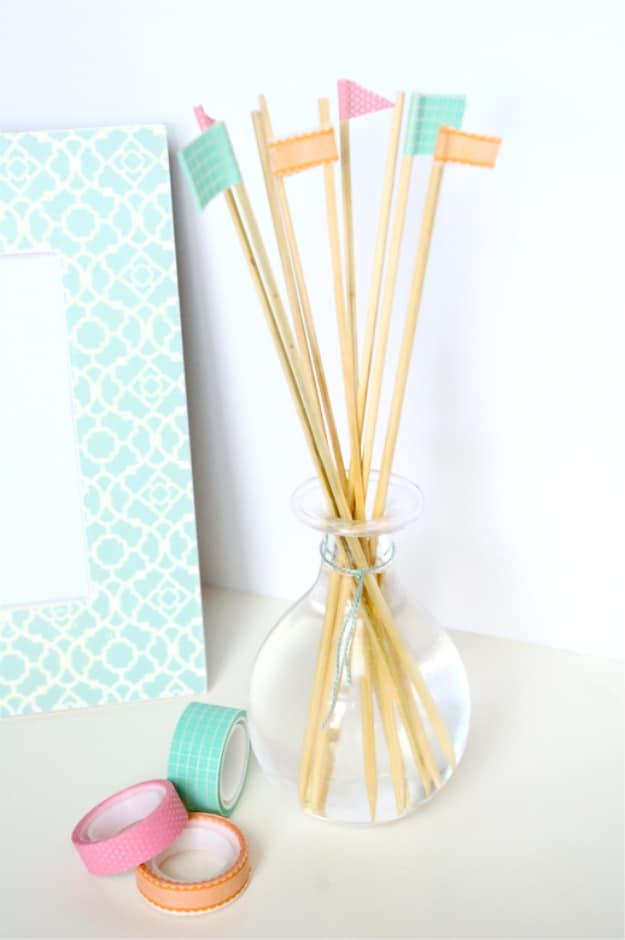
18. 5 Minute Reed Diffuser
19. Stylish Retro Apron
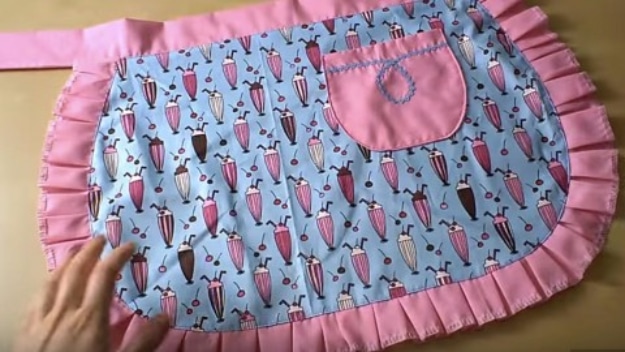
20. Paper Plate Clock
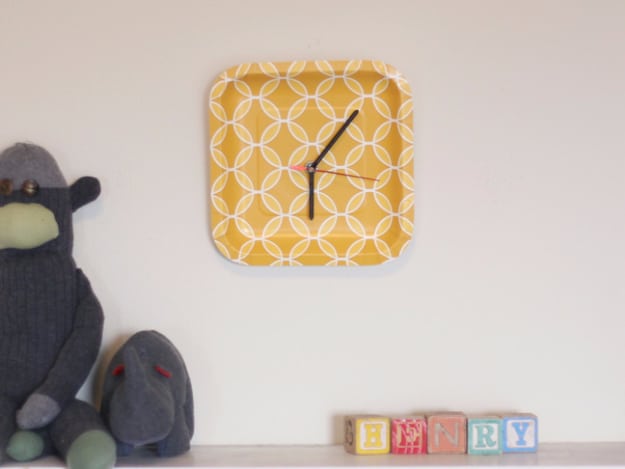
21. Jeans Pocket Placemats
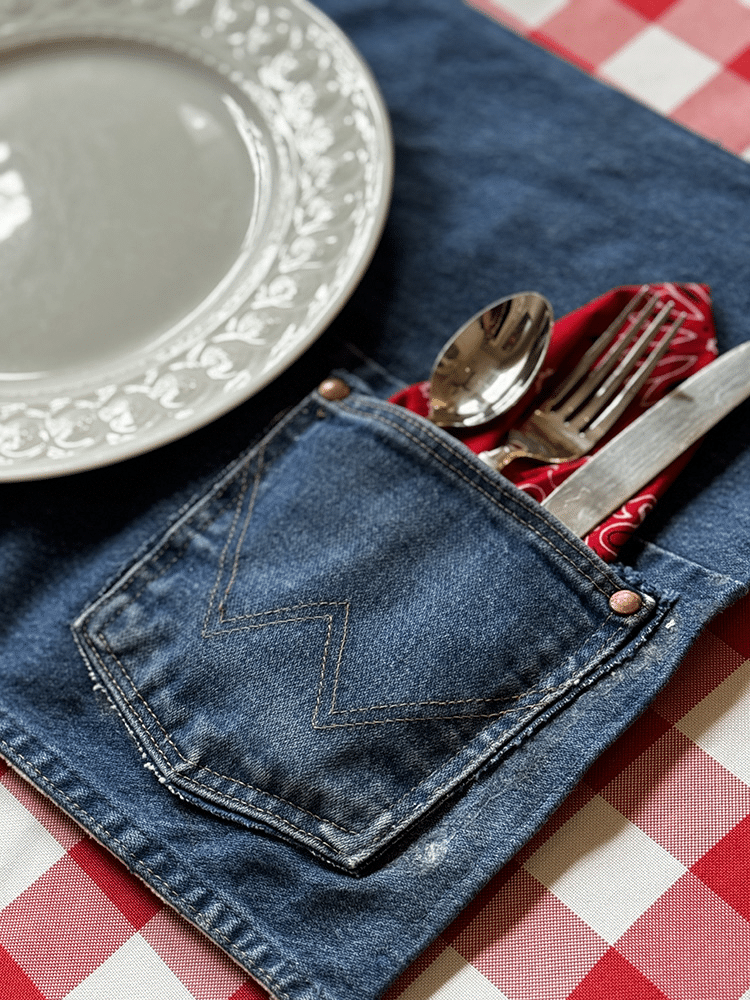
22. Fabric Scrap Key Chains
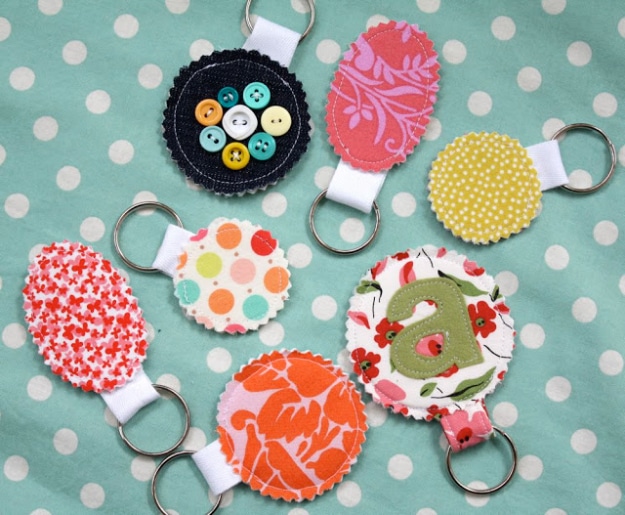
23. Beaded Leather Bracelet
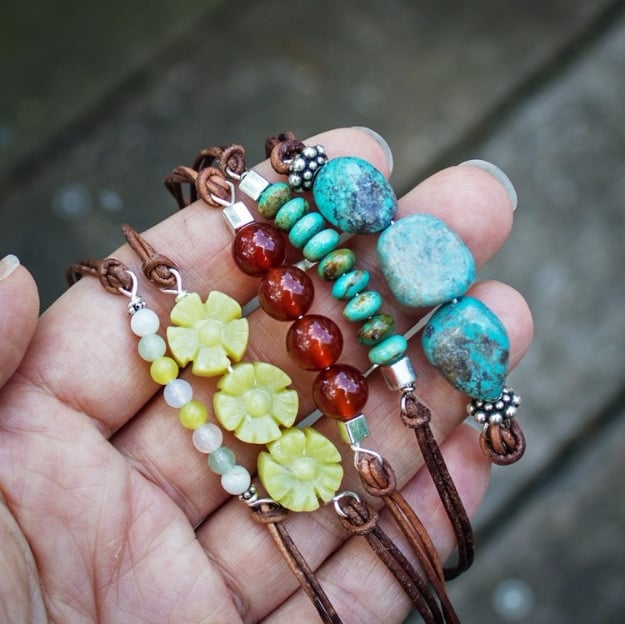
24. Element Jar Necklace
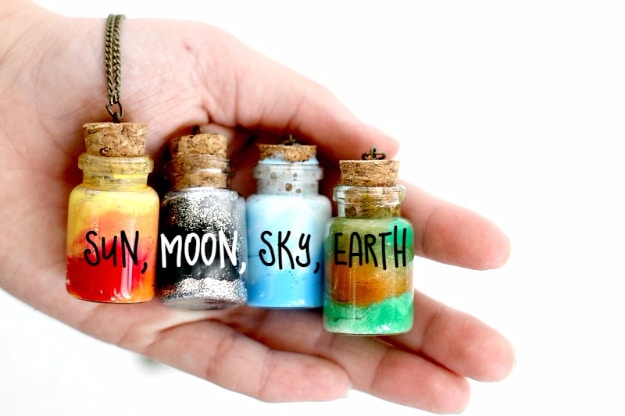
25. DIY Paper Flowers
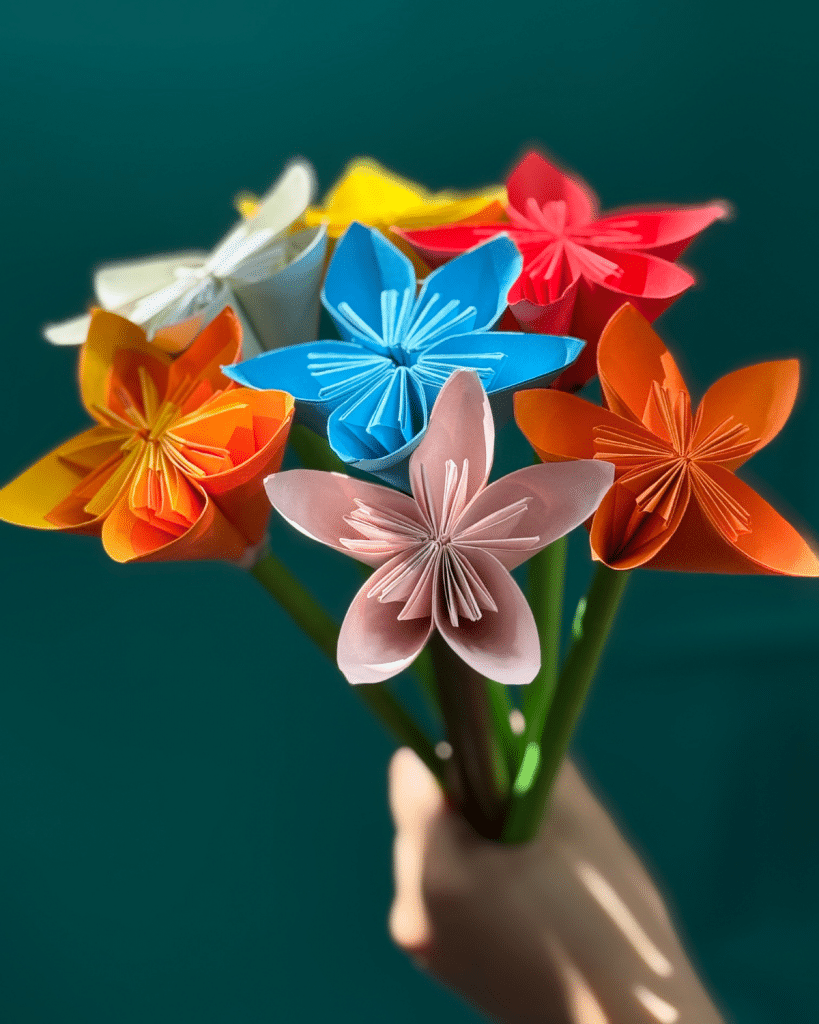
26. Chic Turban Headband

27. Dashes And Dots Floral Mugs
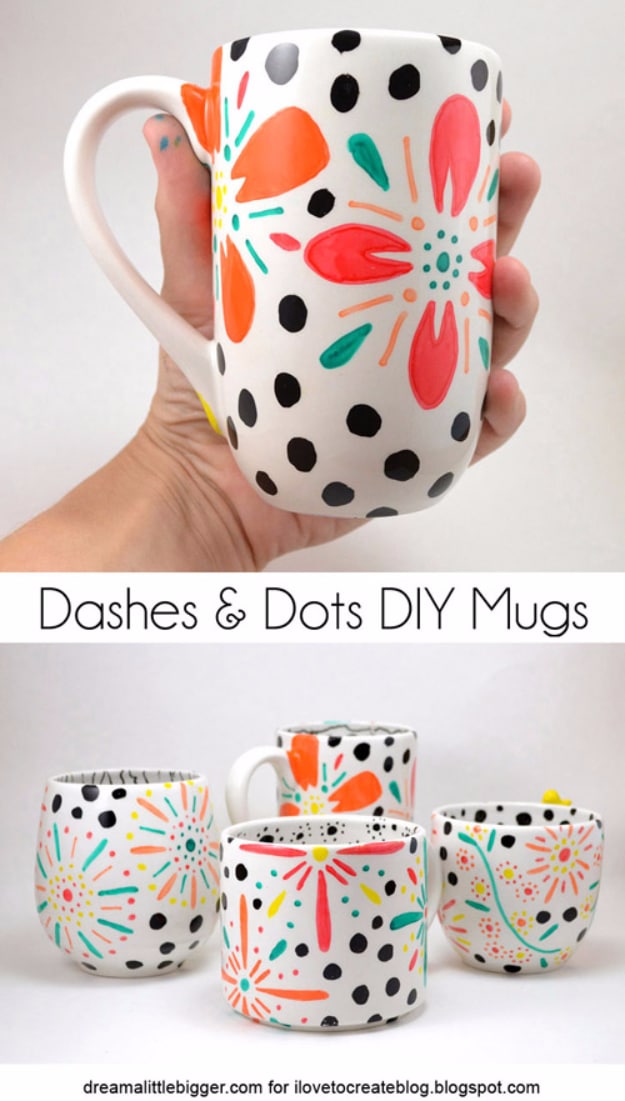
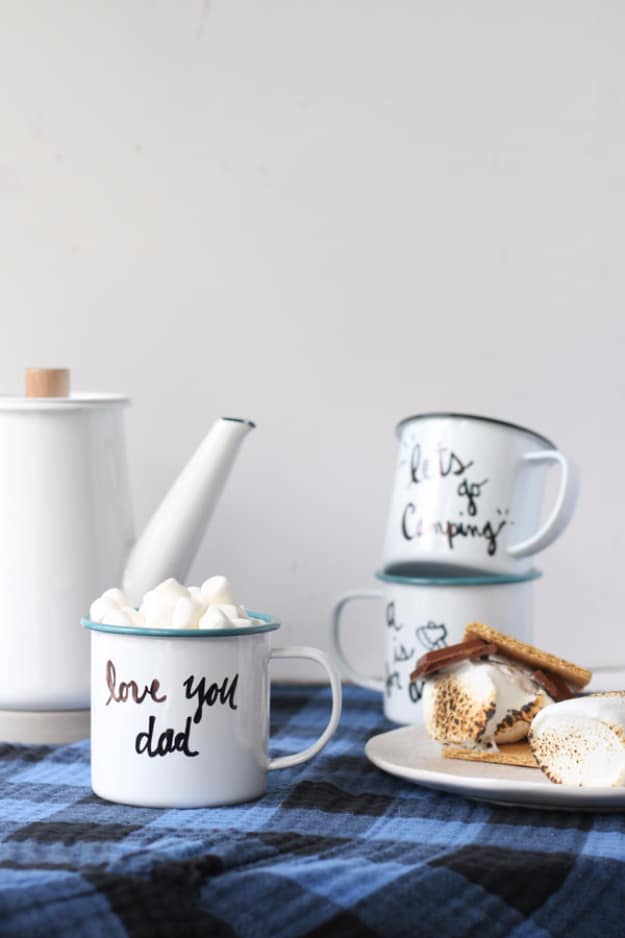
28. Personalized Enamel Mugs
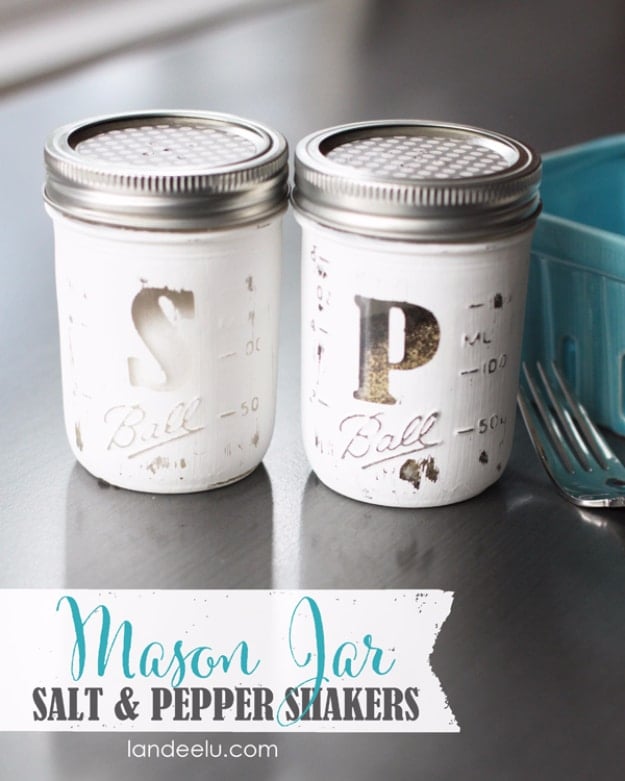
29. Mason Jar Salt And Pepper Shakers
landeeseelandeedo
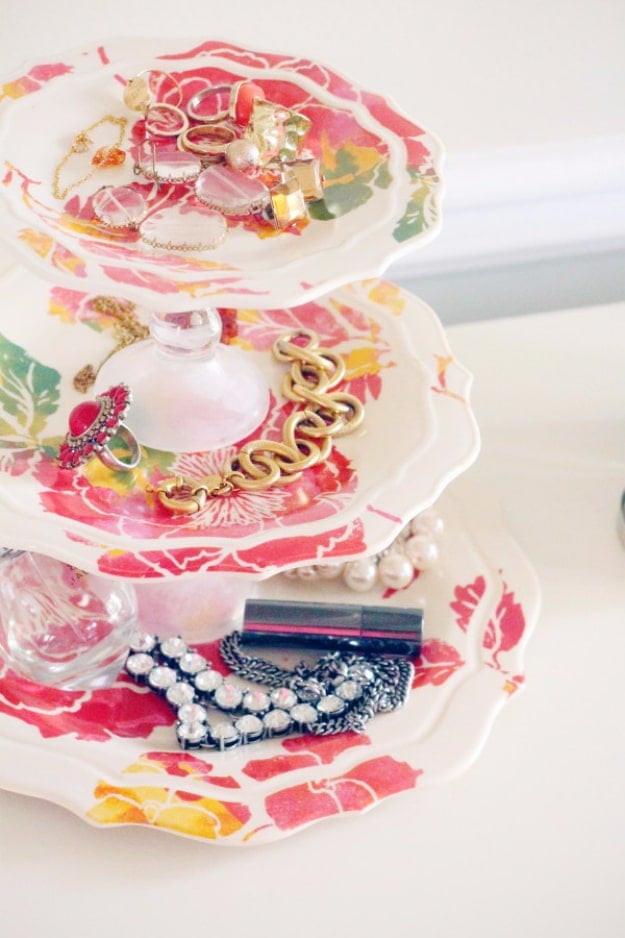
30. DIY Jewelry Tray
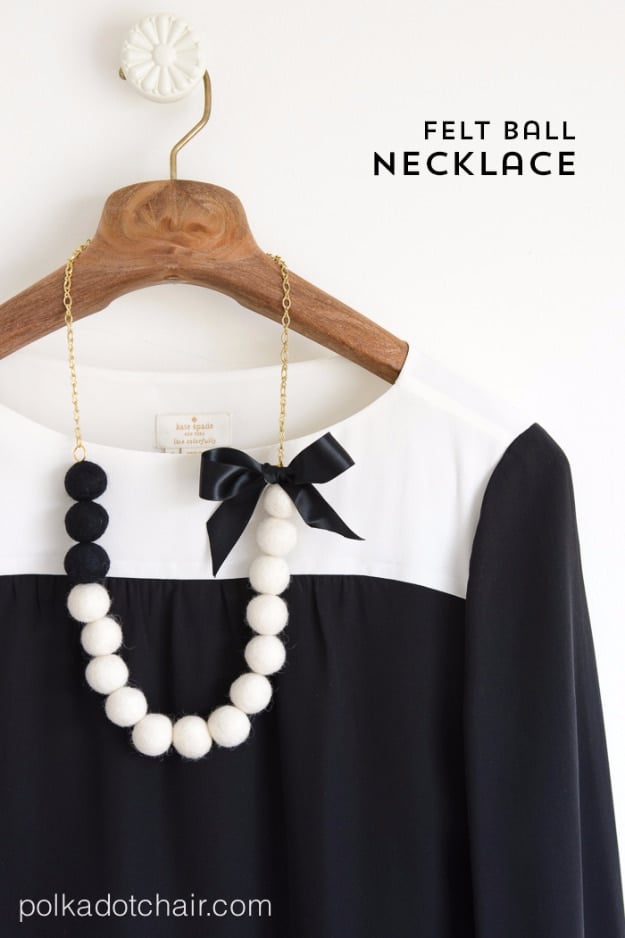
31. Felt Ball Necklace
32. Potted Mason Jar Key Holder
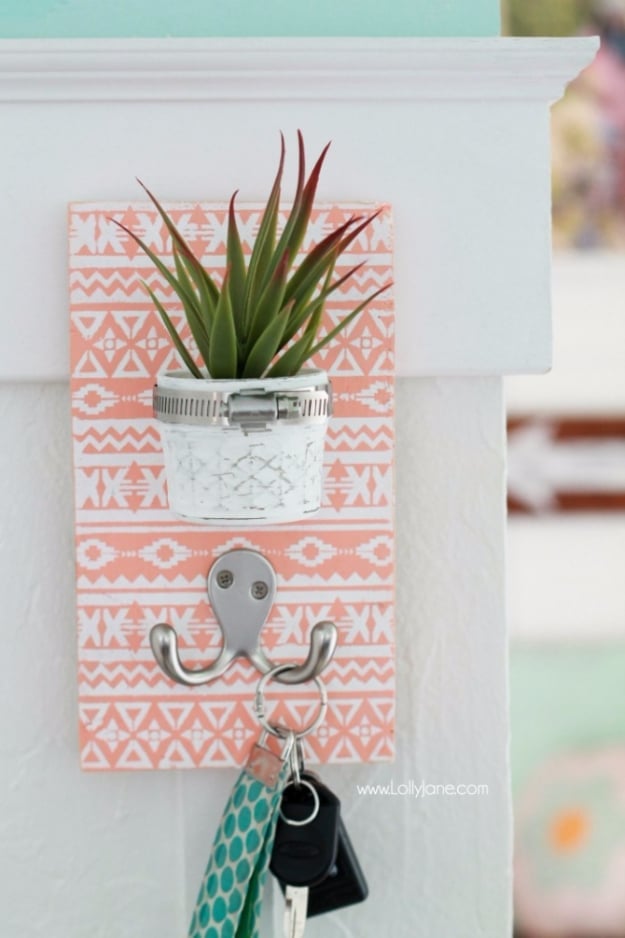
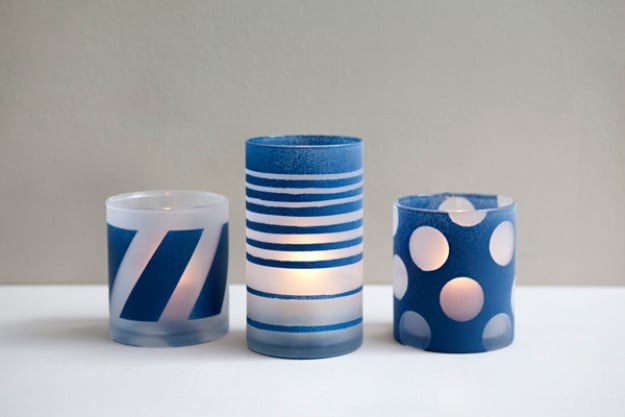
33. Painted And Frosted Glass Jars
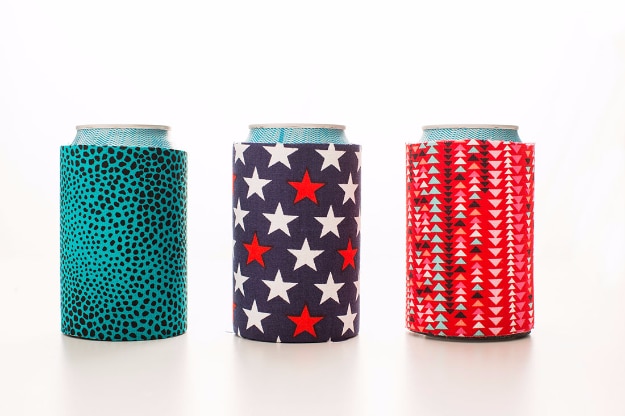
34. Fabric Koozies
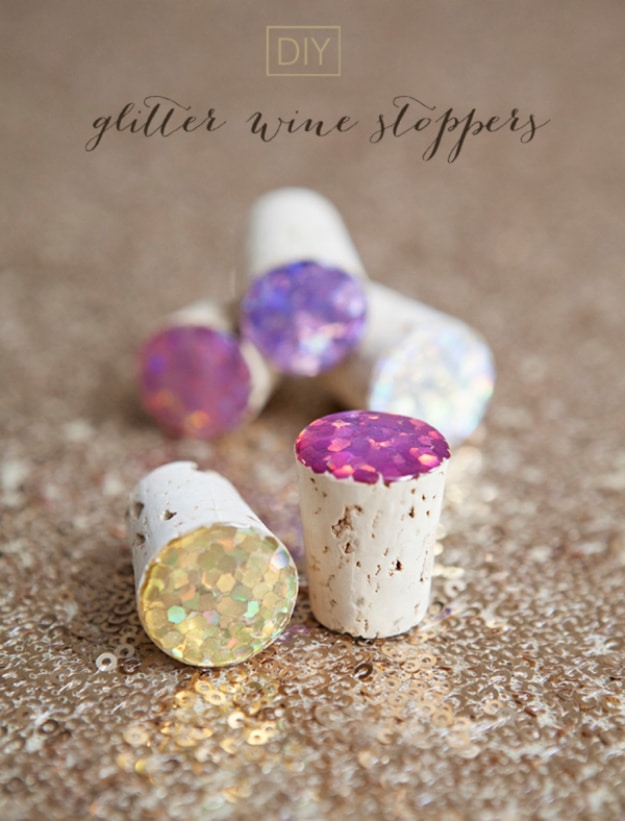
35. Glitter Wine Stoppers
36. No Sew Felt Flowers With Twigs
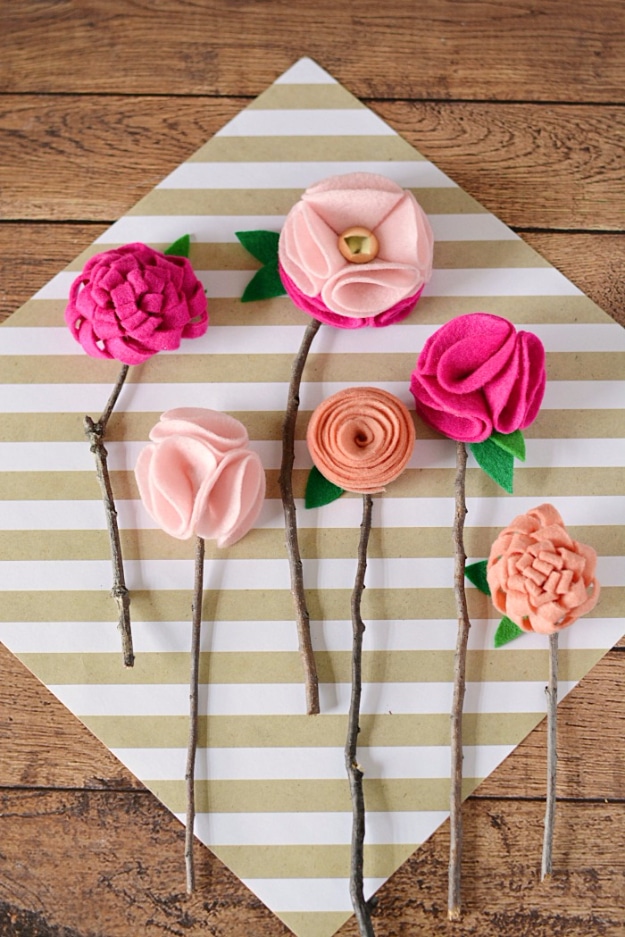
37. Crochet Face Scrubbies
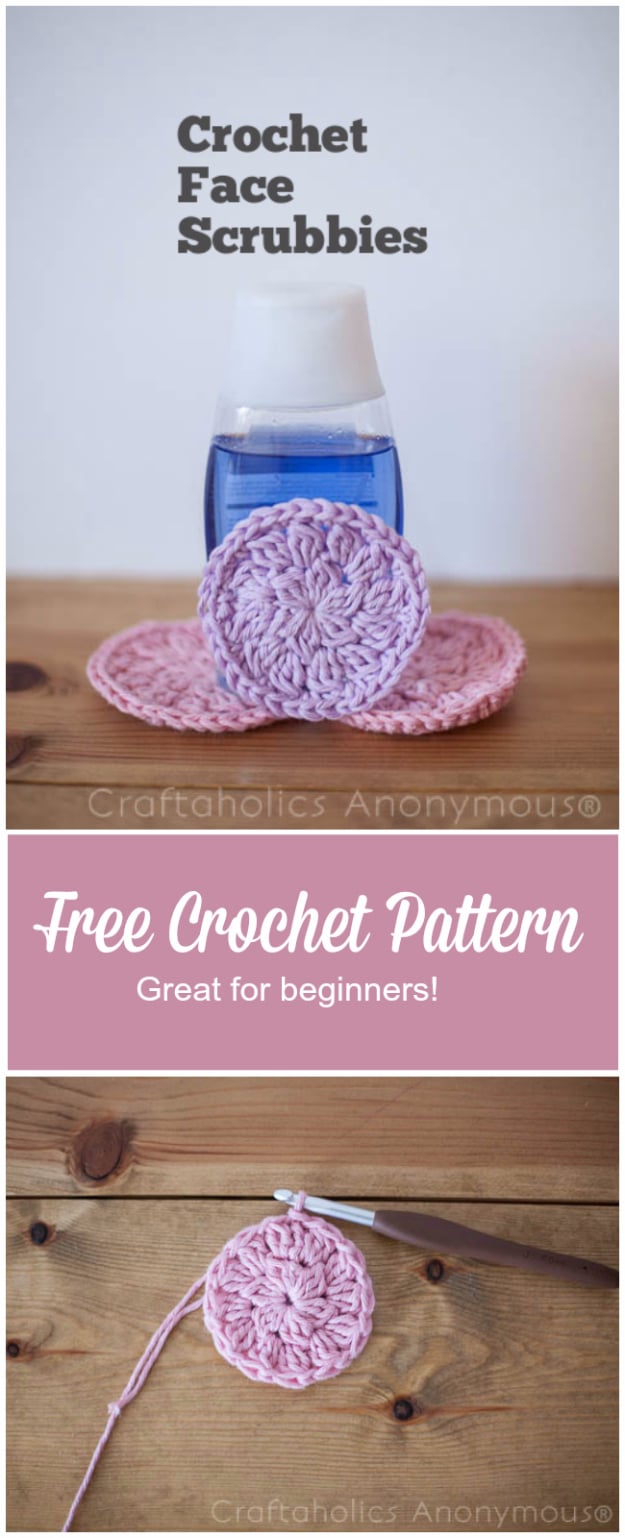
38. Cherry Blossom Art From Recycled Soda Bottle
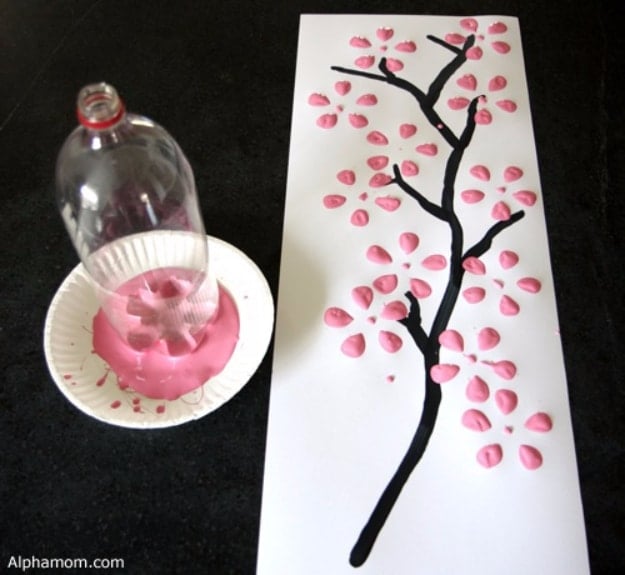
39. Heating Pad Infused With Essential Oils
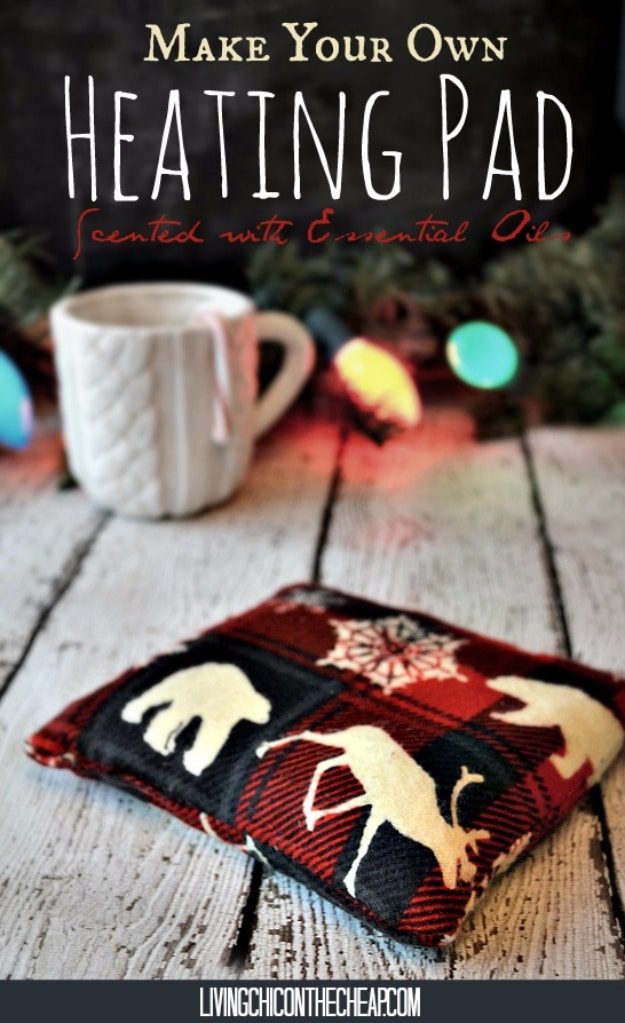
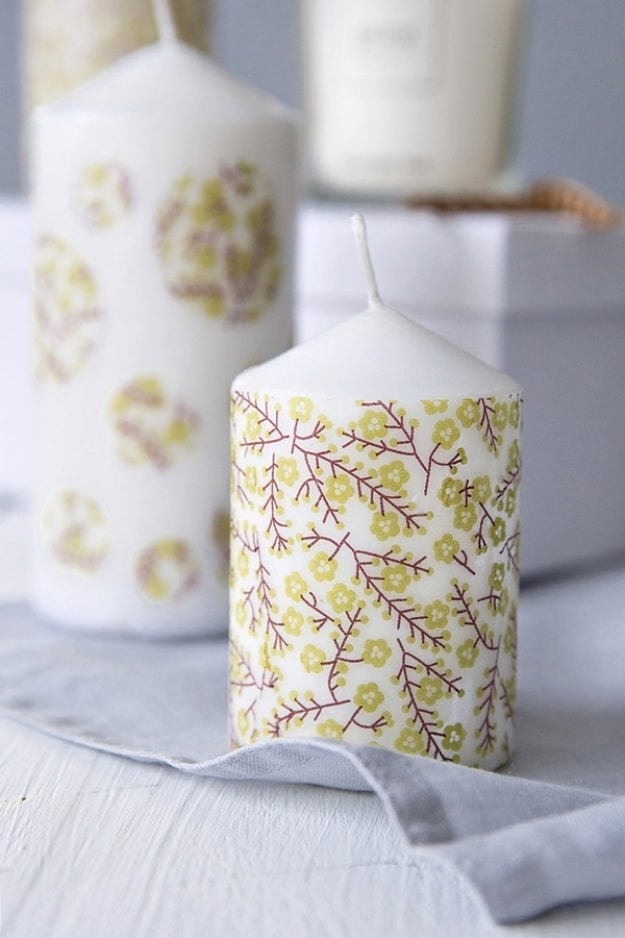
40. Decoupaged Candles
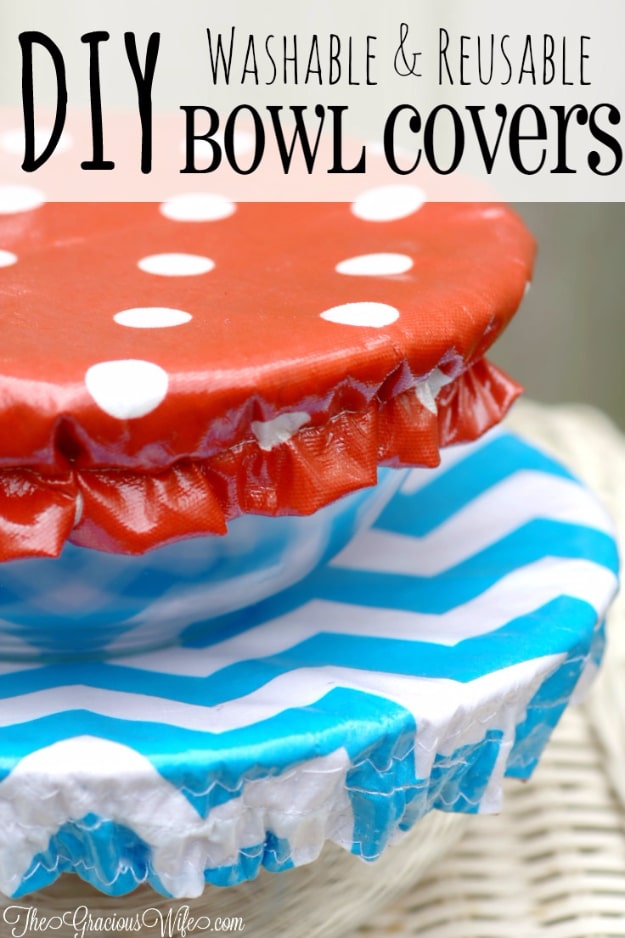
41. Washable And Reusable Bowl Covers
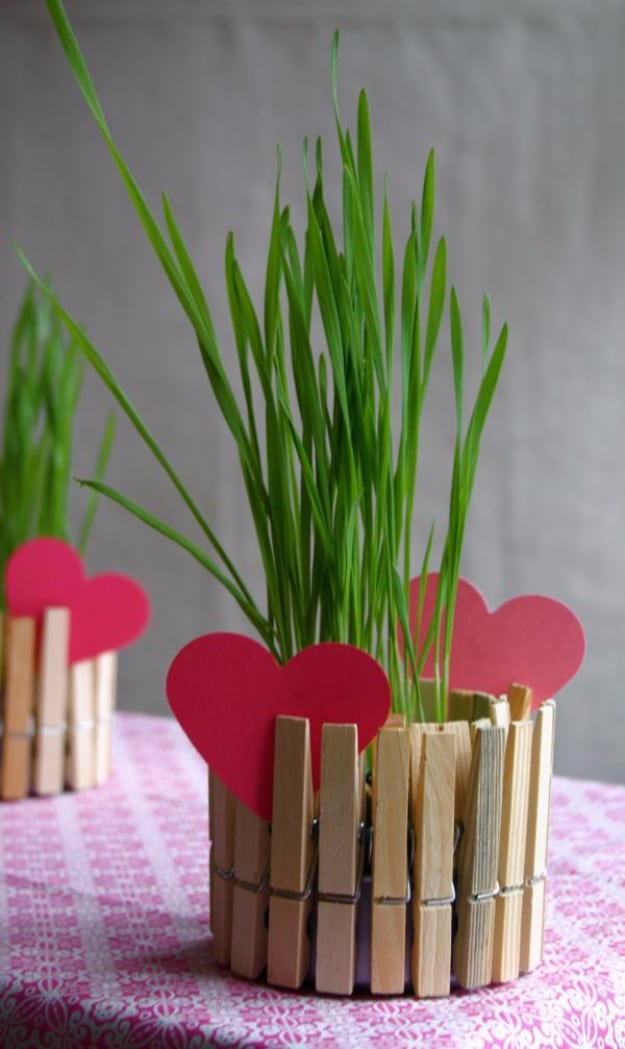
42. Clothespin Flower Pots
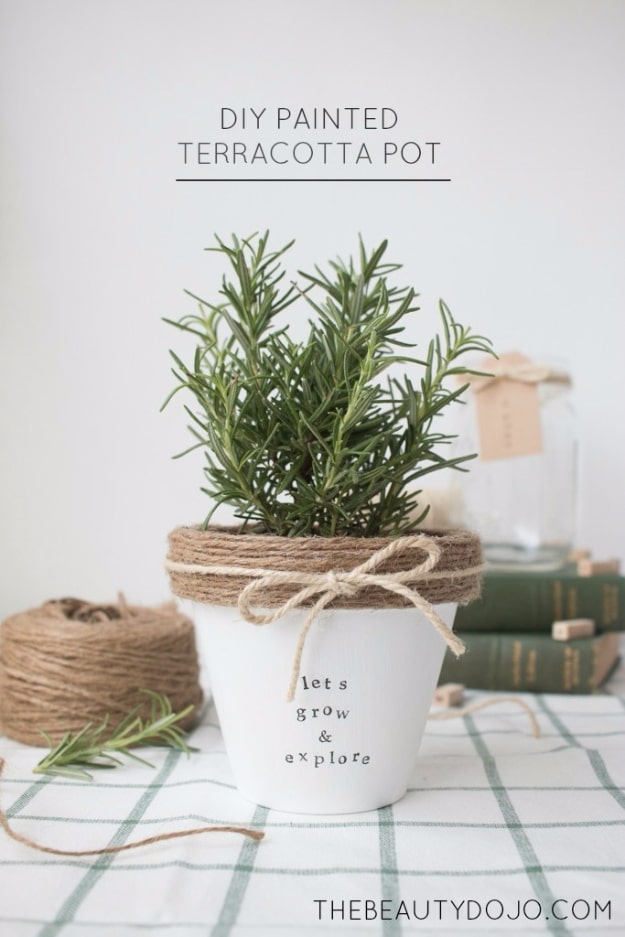
43. Painted Terracotta Pot
44. Simple Erasable Boards
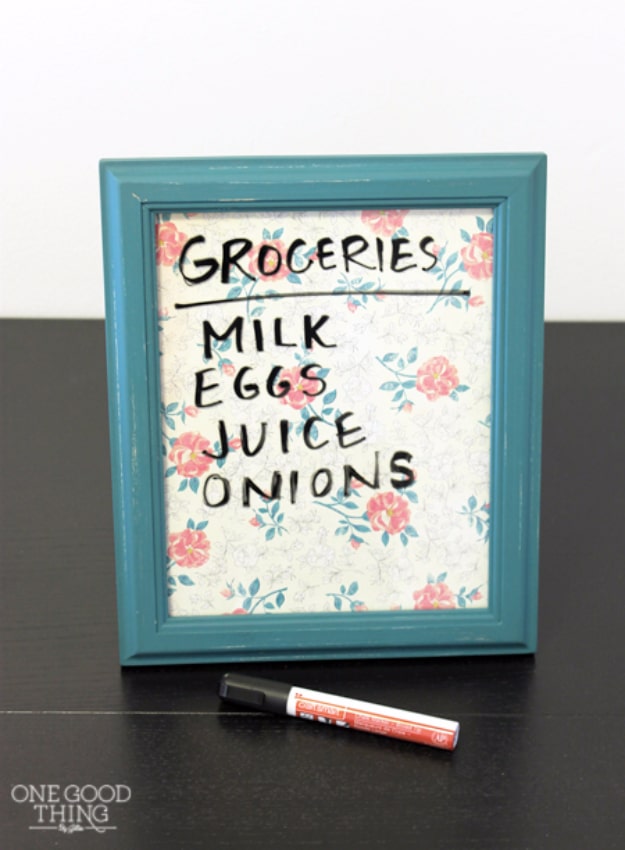
45. Simple And Cute Button Bookmarks
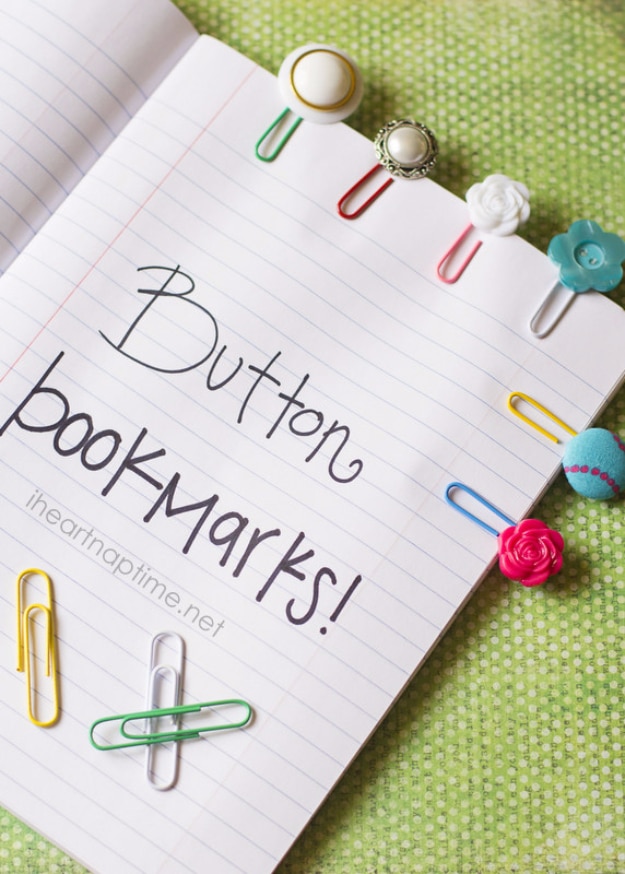
46. Crochet Succulents
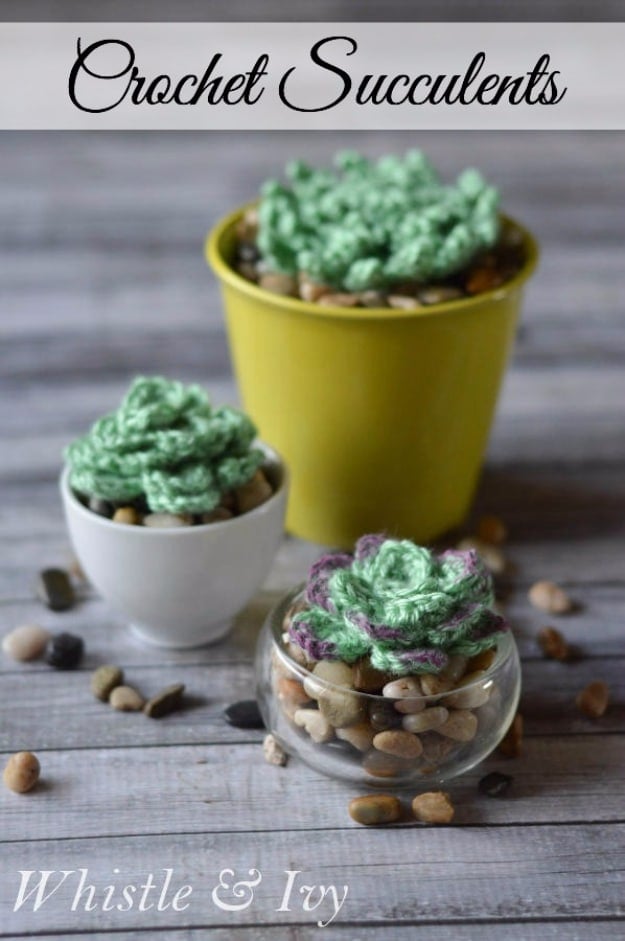
47. Monogrammed Burlap Runner
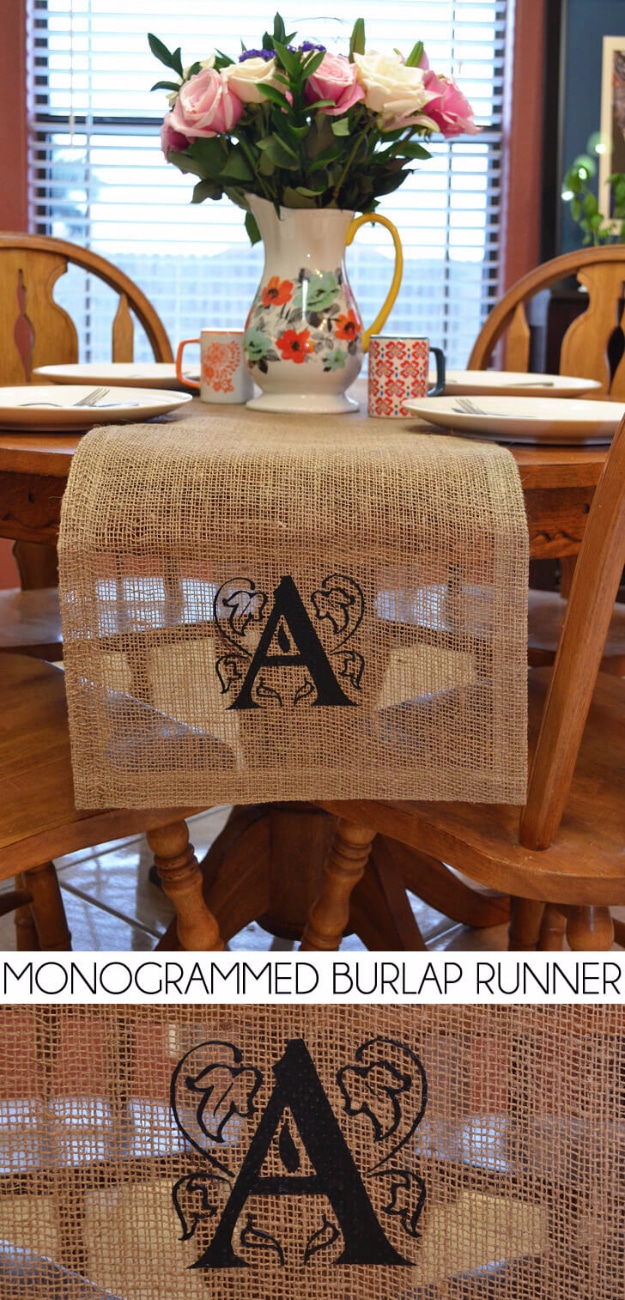
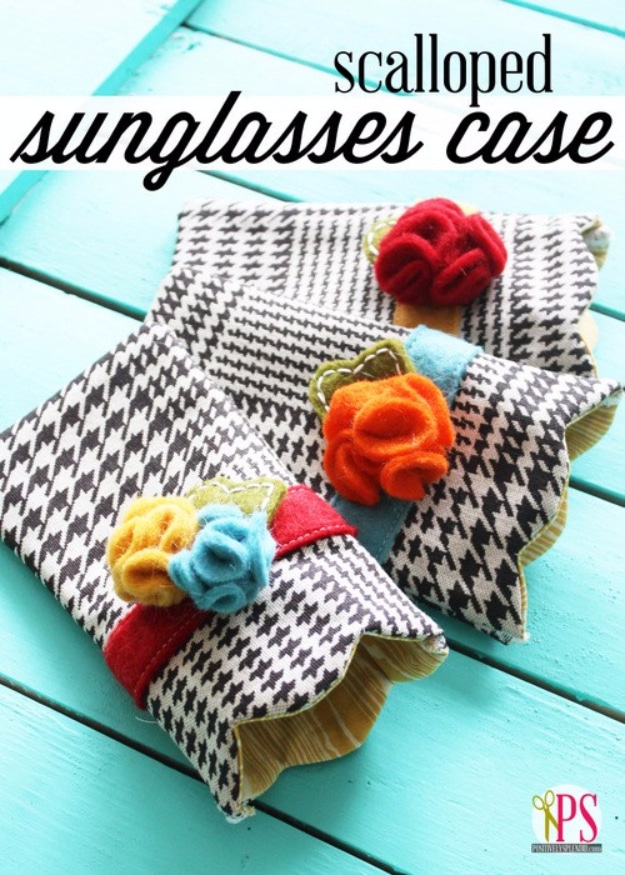
48. Scalloped Sunglasses Case
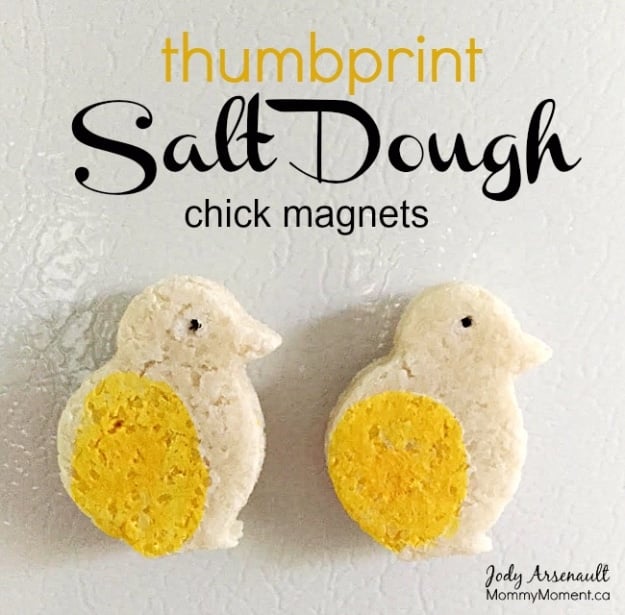
49. Thumbprint Salt Dough Magnets
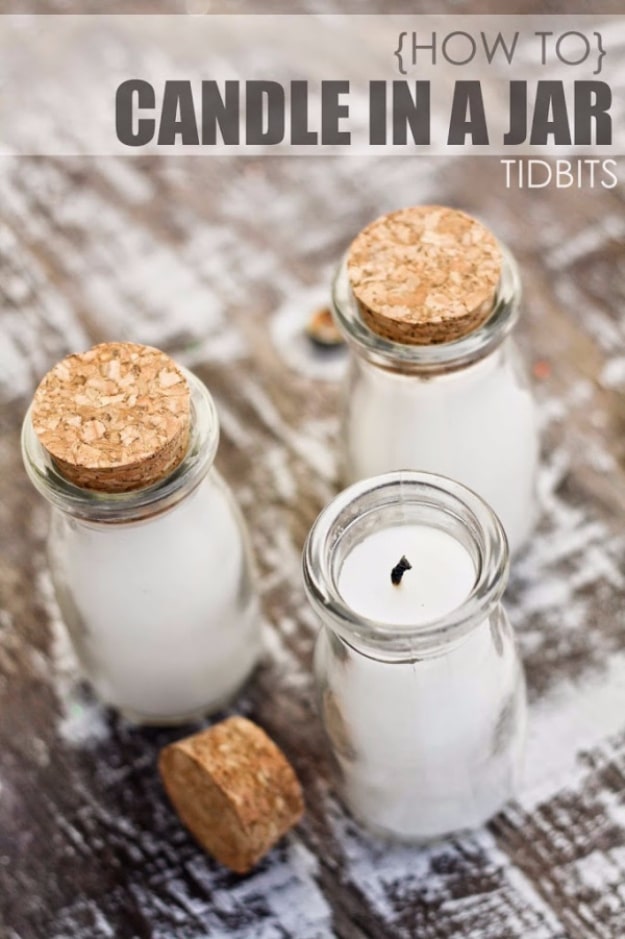
50. Jar Candles
52. Polka Dot Ring Dishes

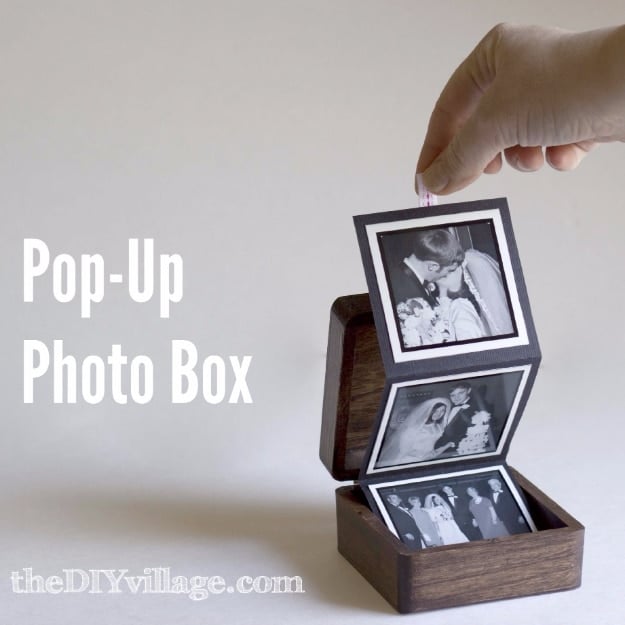
53. Pop Up Photo Box
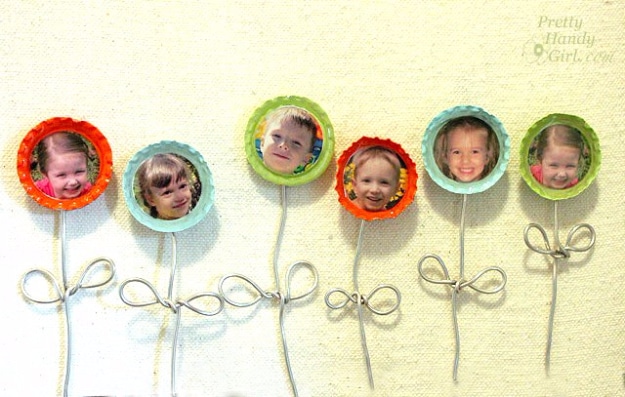
54. Bottle Cap Flower Magnets
55. Vinyl Bowls
