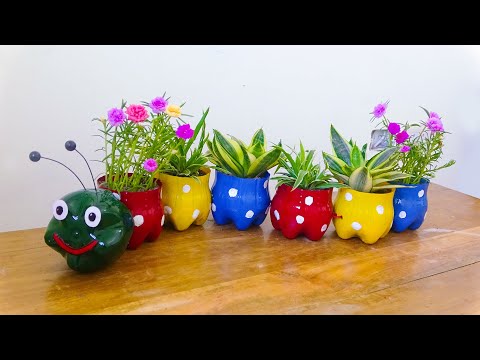
If you love gardening and recycling, then this cute craft project is for you! Create worm-shaped flower pots from plastic bottles lying around your house. Isn’t it wonderful to be able to repurpose waste items and make lovely pots for your plants at the same time? I am sure this will be the center of attention in your yard. What are you waiting for? Watch the video tutorial below by Garden Design and start this DIY planters.
Materials:
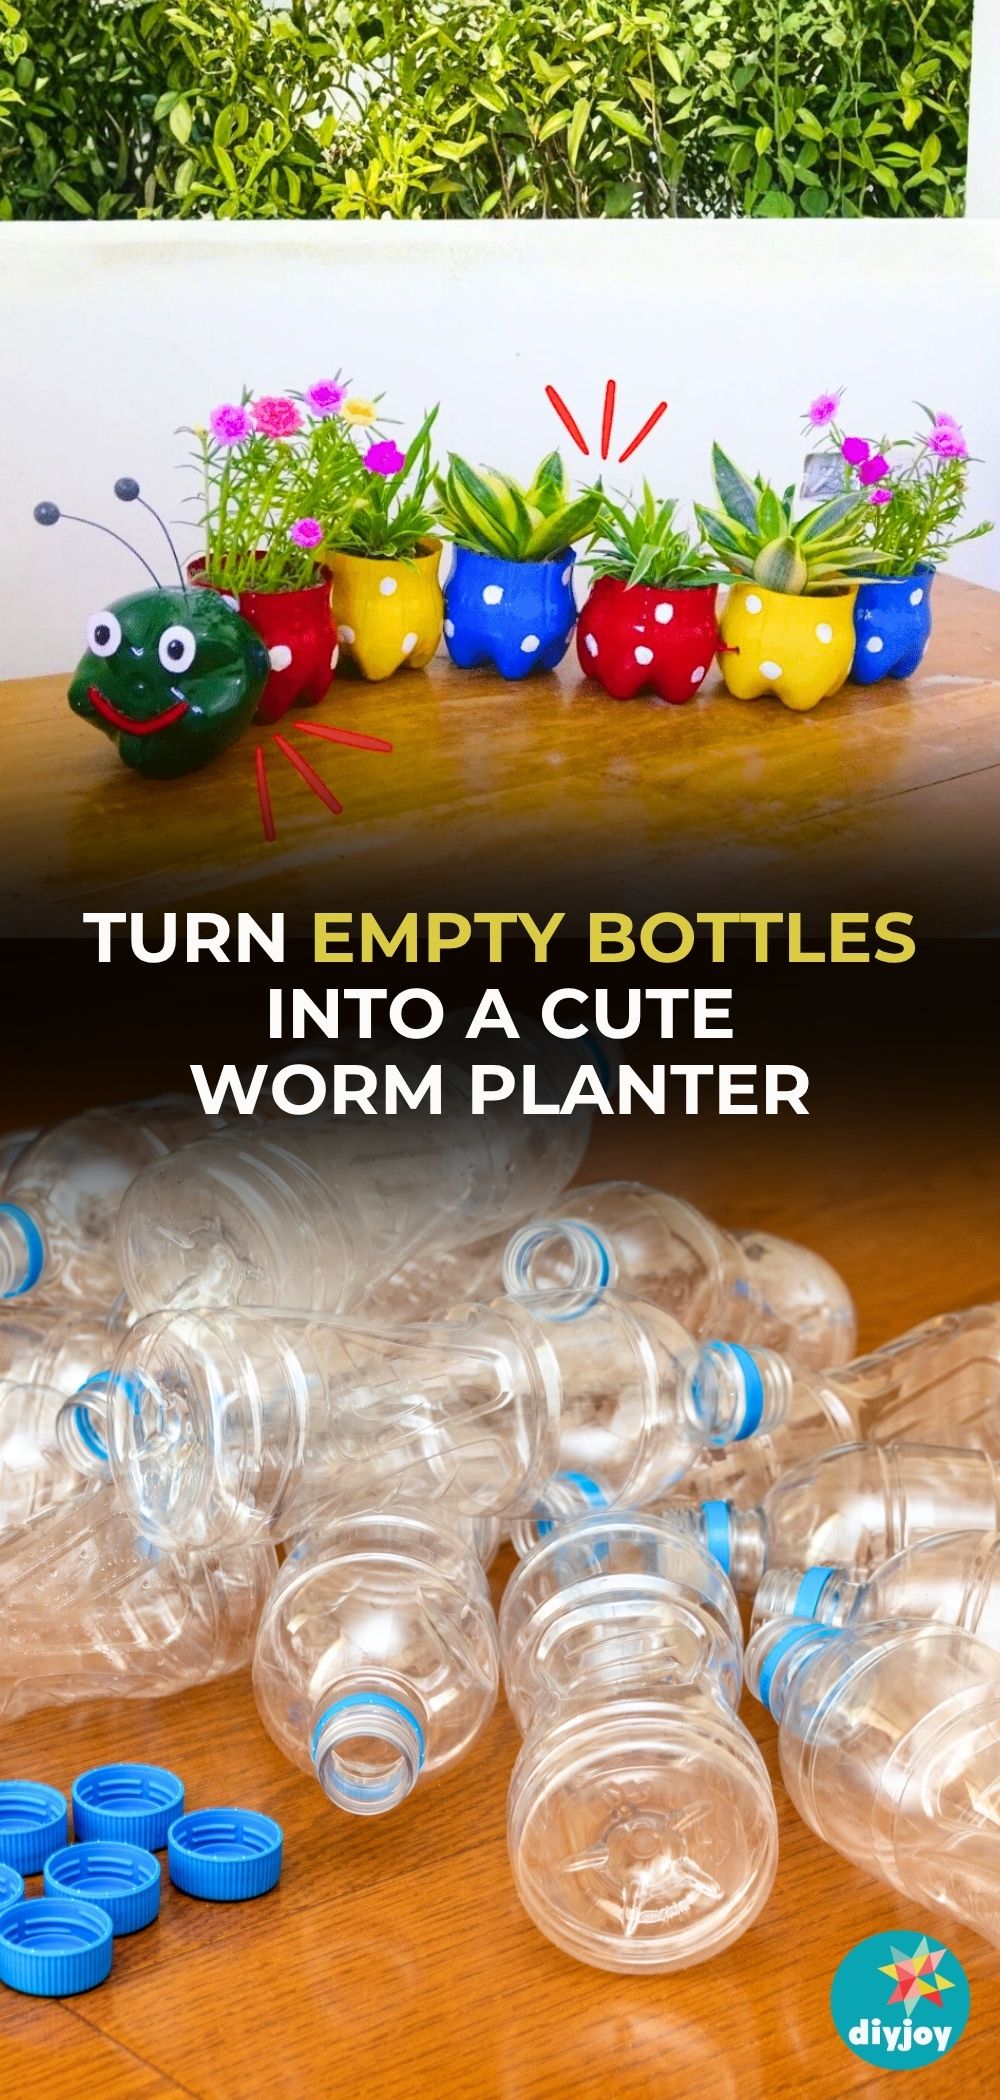
- 8 plastic bottles
- cutter
- pair of big scissors
- soldering iron (if you don’t have one you can use a screwdriver and a candle)
- zip ties
- glue gun
- spray paint with 4 different colors
- white paint
- paint brush
- gloves
- 2 big black beads
- 2 small wires
- marker
[social_warfare buttons=”Facebook,Pinterest,Twitter,WhatsApp”]
Instructions:
Step 1:
Remove all of the labels of the plastic bottles. Then using a cutter, cut the bottom part of the bottles. Make sure that 6 of them have equal sizes. The two remaining bottles will be used for the head of the worm. Cut the other bottle smaller than the other.
Step 2:
Using a soldering iron, make two holes on the front and two holes on the back bottom of the six bottles. If you are using a screwdriver, just heat the tip with the lighted candle and poke through the plastic. Once done, make holes at the feet of the bottles for the drain.

Step 3:
Insert one zip tie for the front and back of the 6 bottles. For the head of the bottle, get the smaller one and create 2 holes in the center. Then insert a zip tie. Next, create 2 small holes on the side for the antenna of the worm. Add glue to the inner sides and attach it to the bigger plastic bottle.
Step 4:
Wear your gloves and paint the bottles. Use the same color for two plastic bottles and a different color for the head. Let them dry.
Step 5:
Using the top part of the plastic bottles, cut 2 ovals and 1 curve-shaped for the face of the worm. Color the mouth with red paint and the eyes with white paint. Attach the black beads to the ends of the 2 wires. Once the paint has dried for both eyes, using a marker shade a circle in the center for the eyes of the worm.
Step 6:
Get the head of the worm and attach the eyes and mouth using a glue gun. Stick them to the part without the zip ties, then attach the antenna of the worm. Set aside and let it dry.
Step 7:
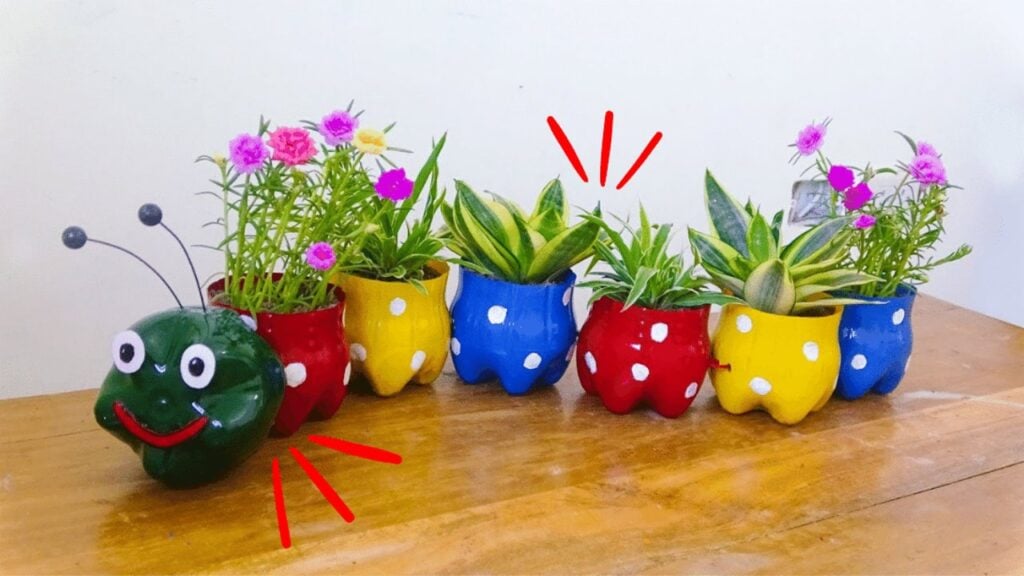
Using white paint and a brush, paint circles on the 6 bottles for the body of the worm.

Step 8:
Once all of the paint is dry, it’s time to assemble the worm. Attach one bottle to another using the zip ties, then cut the excess parts using scissors.
Step 9:
Add soil to each bottle, set the plants, and water them.
Worm-Shaped Flower Pots From Plastic Bottles