Want to improve your quilting skills? Try this weathervane quilt block! This pattern will give you the challenge you are looking for. It’s neither too easy nor too difficult. There are other variations of this pattern that are more beginner-friendly, so if you find Nancy’s Notions’ version a bit complicated, you might want to start with one of those.
RELATED: Windmill Quilt Tutorial
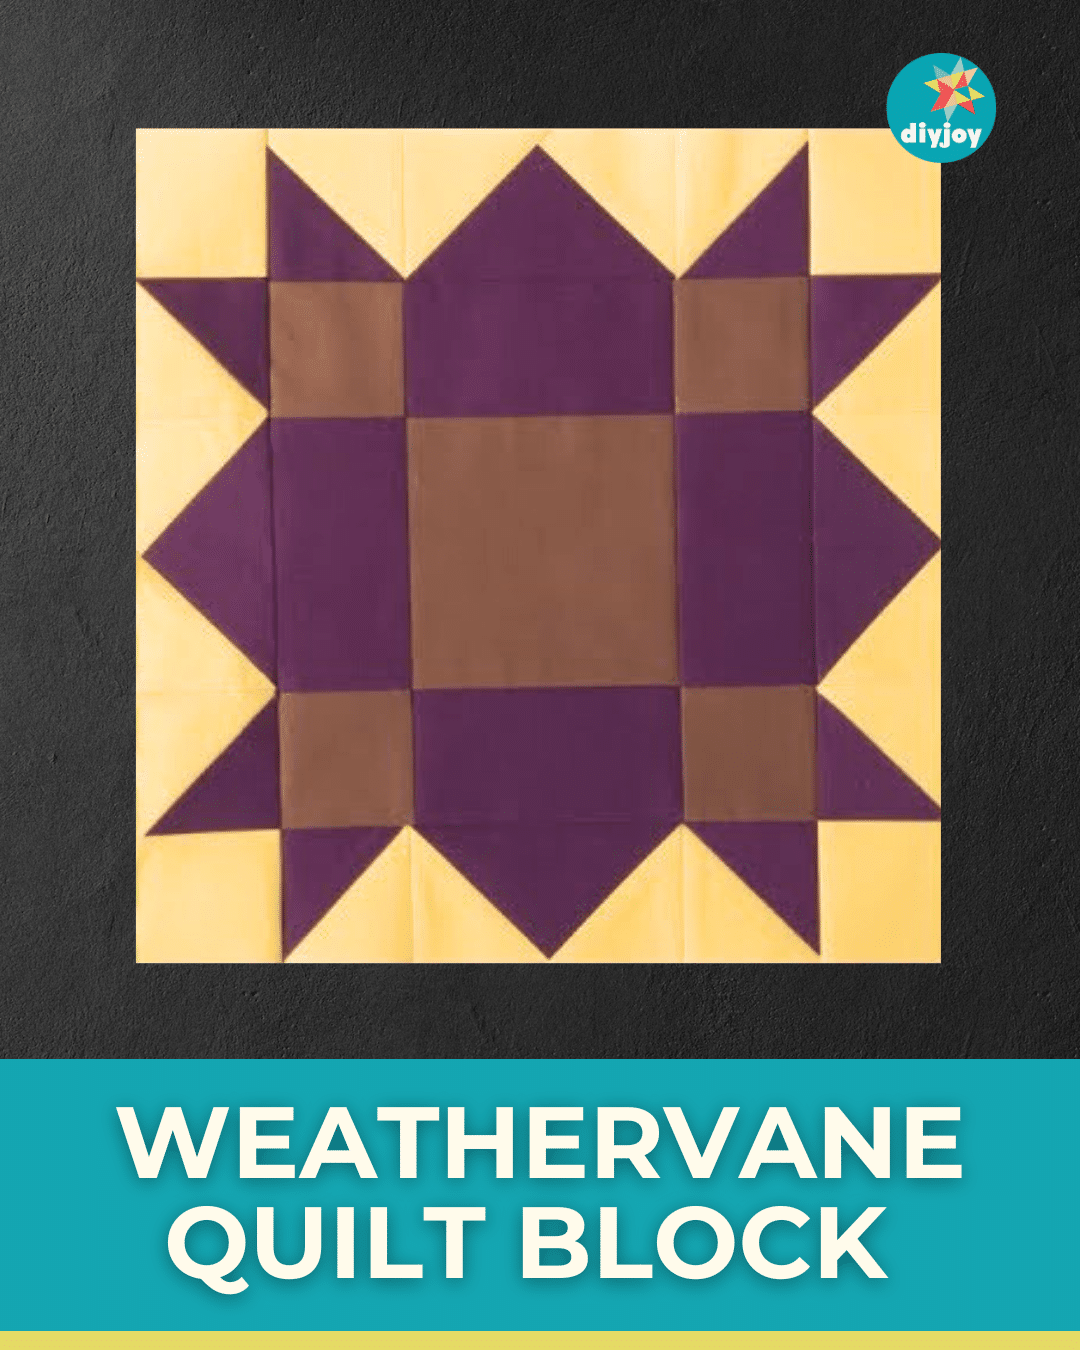
This block comprises half-square triangles, squares, rectangles, and flying geese blocks. While it’s straightforward for seasoned quilters, it can be time-consuming since it has a lot of pieces. Watch the video below for the full instructions. Happy sewing!
Easy Weathervane Quilt Block Materials
- 2 7/8” squares – (4) first color and (4) second color
- 4 pieces of 2 ½” x 4 ½” colored rectangles (first color)
- 8 pieces of 2 ½” squares (second color)
For the center:
- 4 pieces of 2 ½” squares (third color)
- 4 pieces of 2 ½” x 4 ½” rectangles (first color)
- 4 ½” square (third color)
For the corners:
- 4 pieces of 2 ½” squares (second color)
How to Make Weathervane Quilt
Step 1:
Take 2 pieces of 2 7/8” squares in different colors. Place them on top of each other with right sides together. Draw a diagonal line from corner to corner. Sew ¼” away from either side of the line. Cut directly on the line. Press each one open.
Repeat with the remaining 2 7/8” squares to make a total of 8.
Step 2:
Place the 2 ½” square on top of the 2 ½” x 4 ½” rectangle on the left end. Draw a diagonal starting from the top left to the bottom right. Sew on the diagonal, then cut the excess. Press it open. Repeat on the right end but with the diagonal in the opposite direction.
Repeat with the remaining squares and rectangles to make a total of 4.
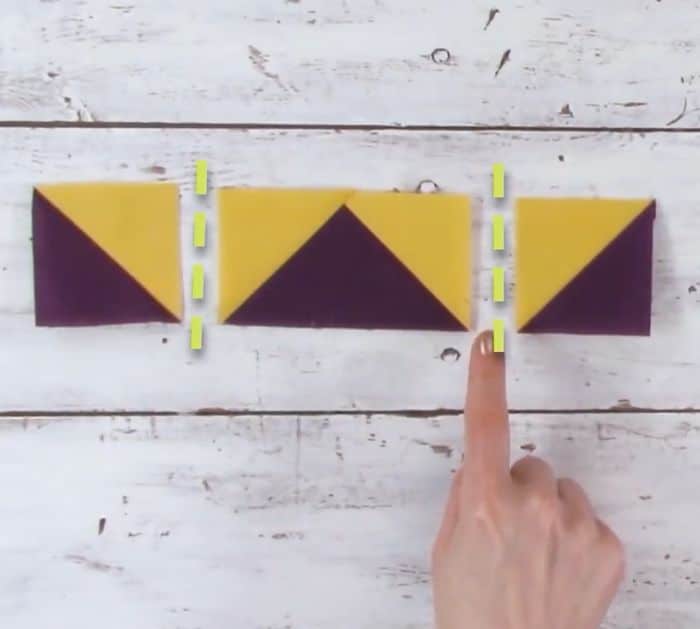
Step 3:
Take 2 half-square triangles and 1 unit from step 2. Sew them together just like in the photo below. Repeat with the remaining HSTs and units.
Step 4:
Take the centerpieces. Place the big square in the center, then place the rectangles on each side. Fill each corner with the small squares. Sew them together.
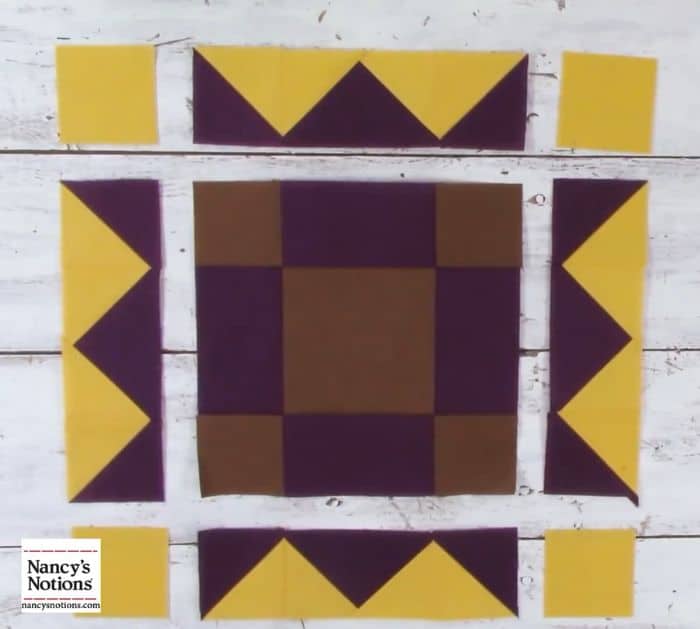
Step 5:
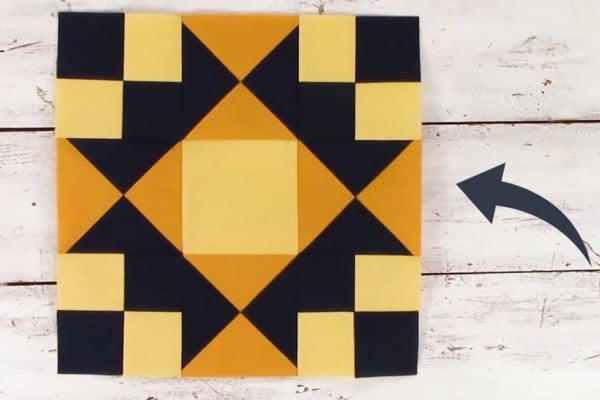
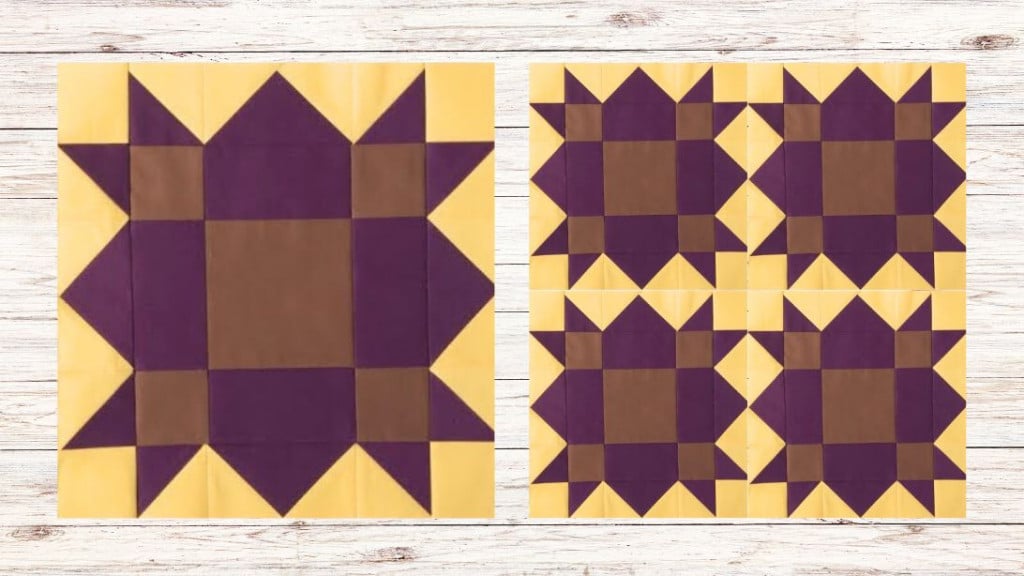
Arrange the pieces just like in the photo below. Sew them together to make the block.
Weathervane Quilt Block Video Tutorial