Making a snowman is one of the most enjoyable things you can do during the winter season—especially when Christmas is just around the corner. But the fun doesn’t have to end just because you don’t have snow where you live. Thanks to all the creative ideas available today, you can easily bring a snowman into your home using simple materials. You can buy ready-made pieces from the store, but if you love crafting or want something more personal, making your own snowman at home is just as magical.
RELATED: DIY Pom Pom Santa Gnome
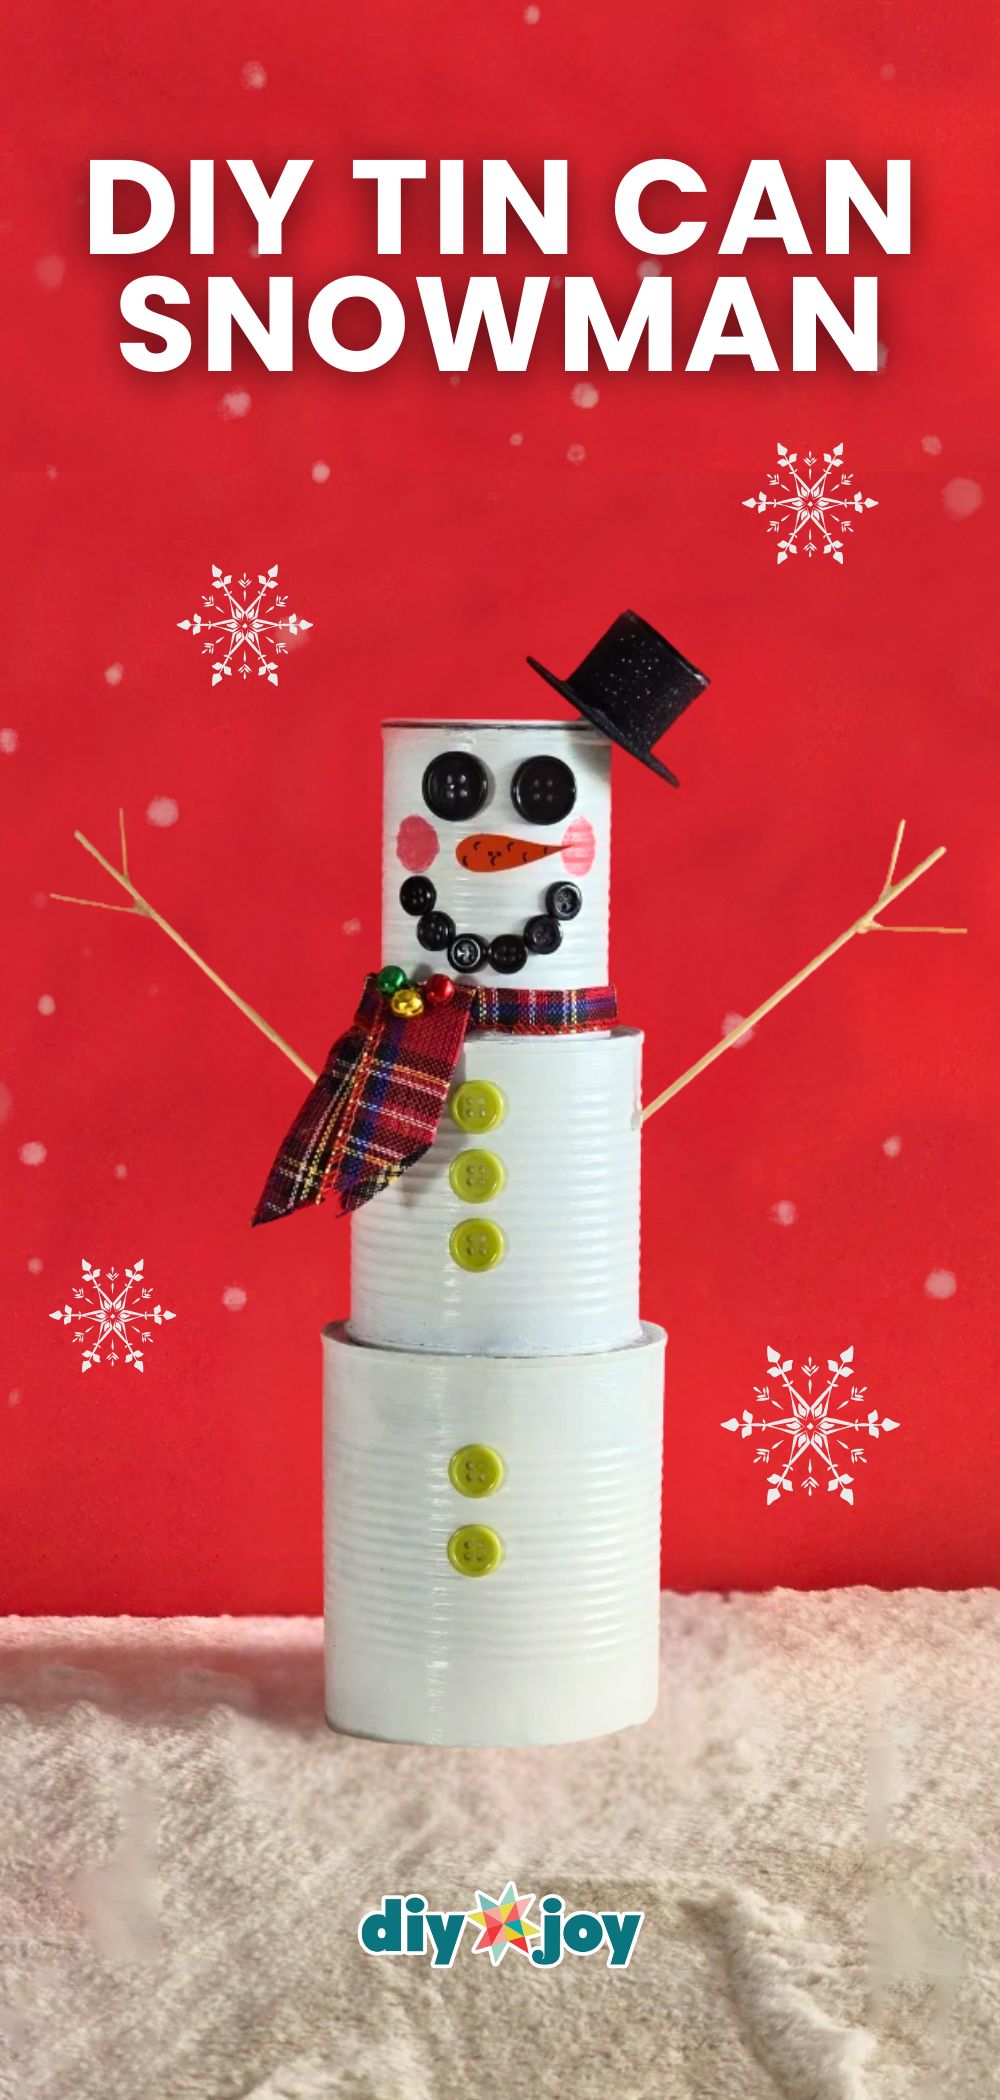
One of my all-time favorite holiday DIY projects is creating a snowman out of empty tin cans. This craft is budget-friendly, beginner-friendly, and the perfect example of turning trash into treasure. Instead of throwing away cans, you can upcycle them into something festive and adorable. Plus, it’s a great activity to do with kids, friends, or family—everyone gets to be creative, and you end up with something cute to display for Christmas.
How to Make a Tin Can Snowman
Step 1: Paint the Cans

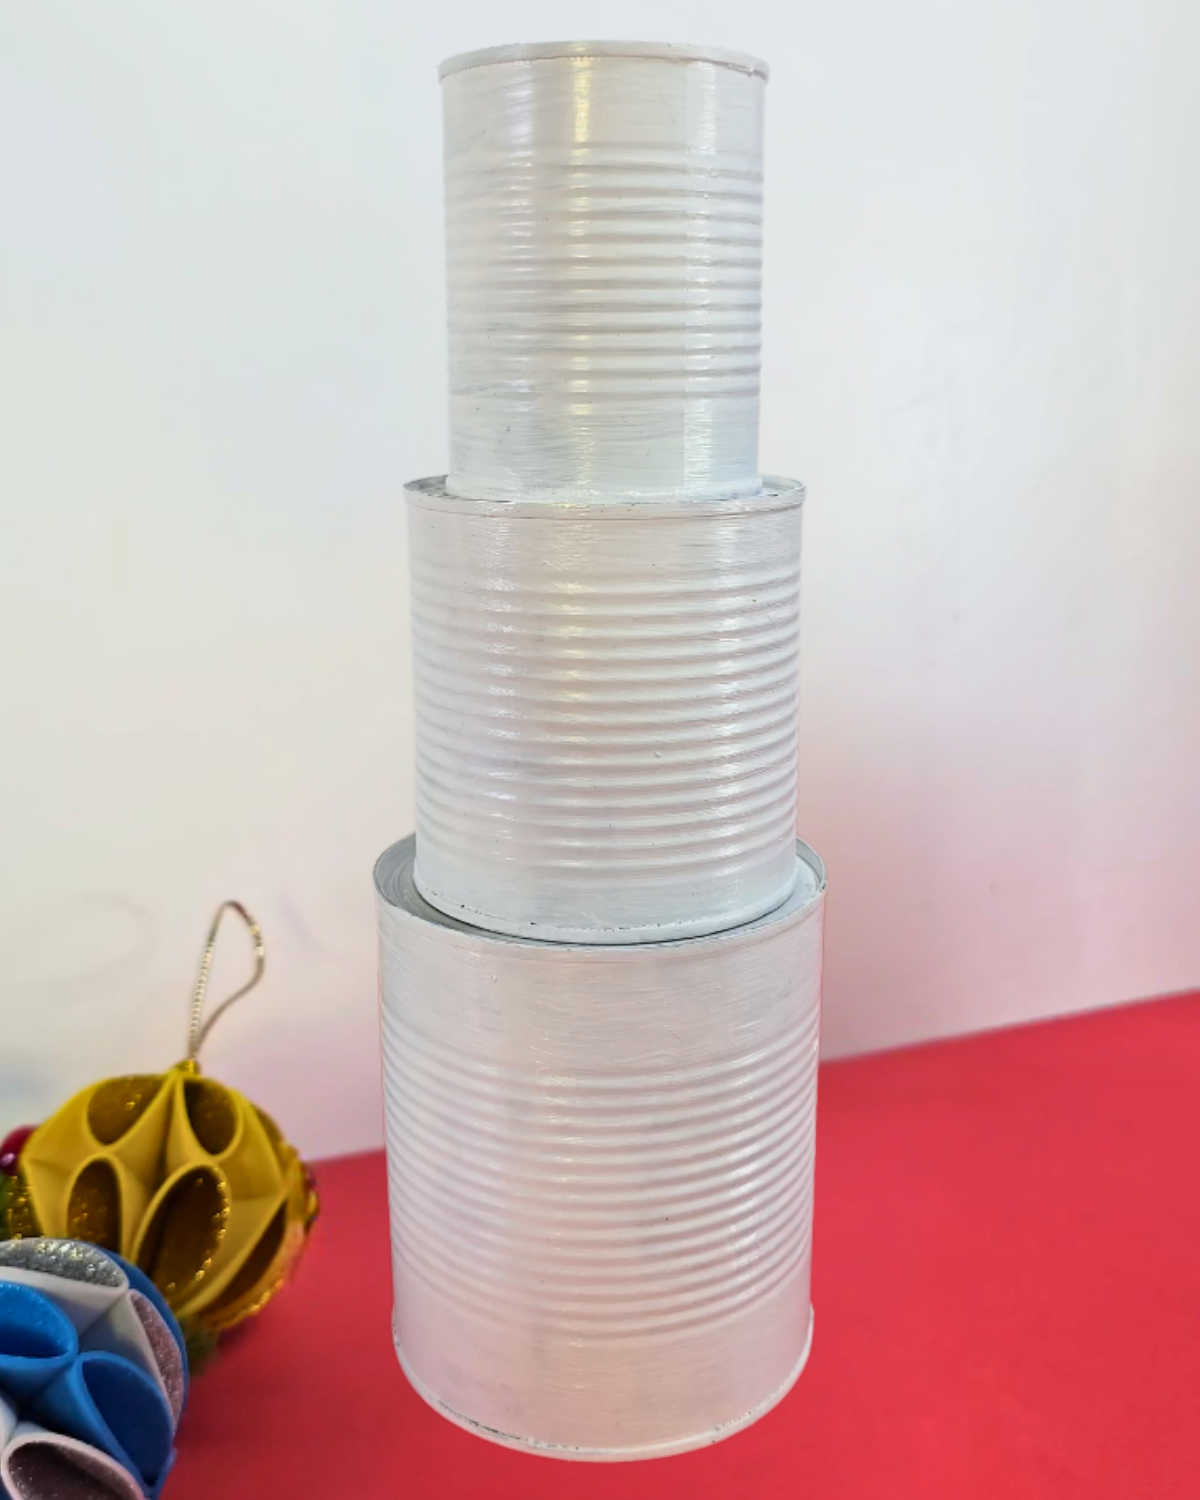
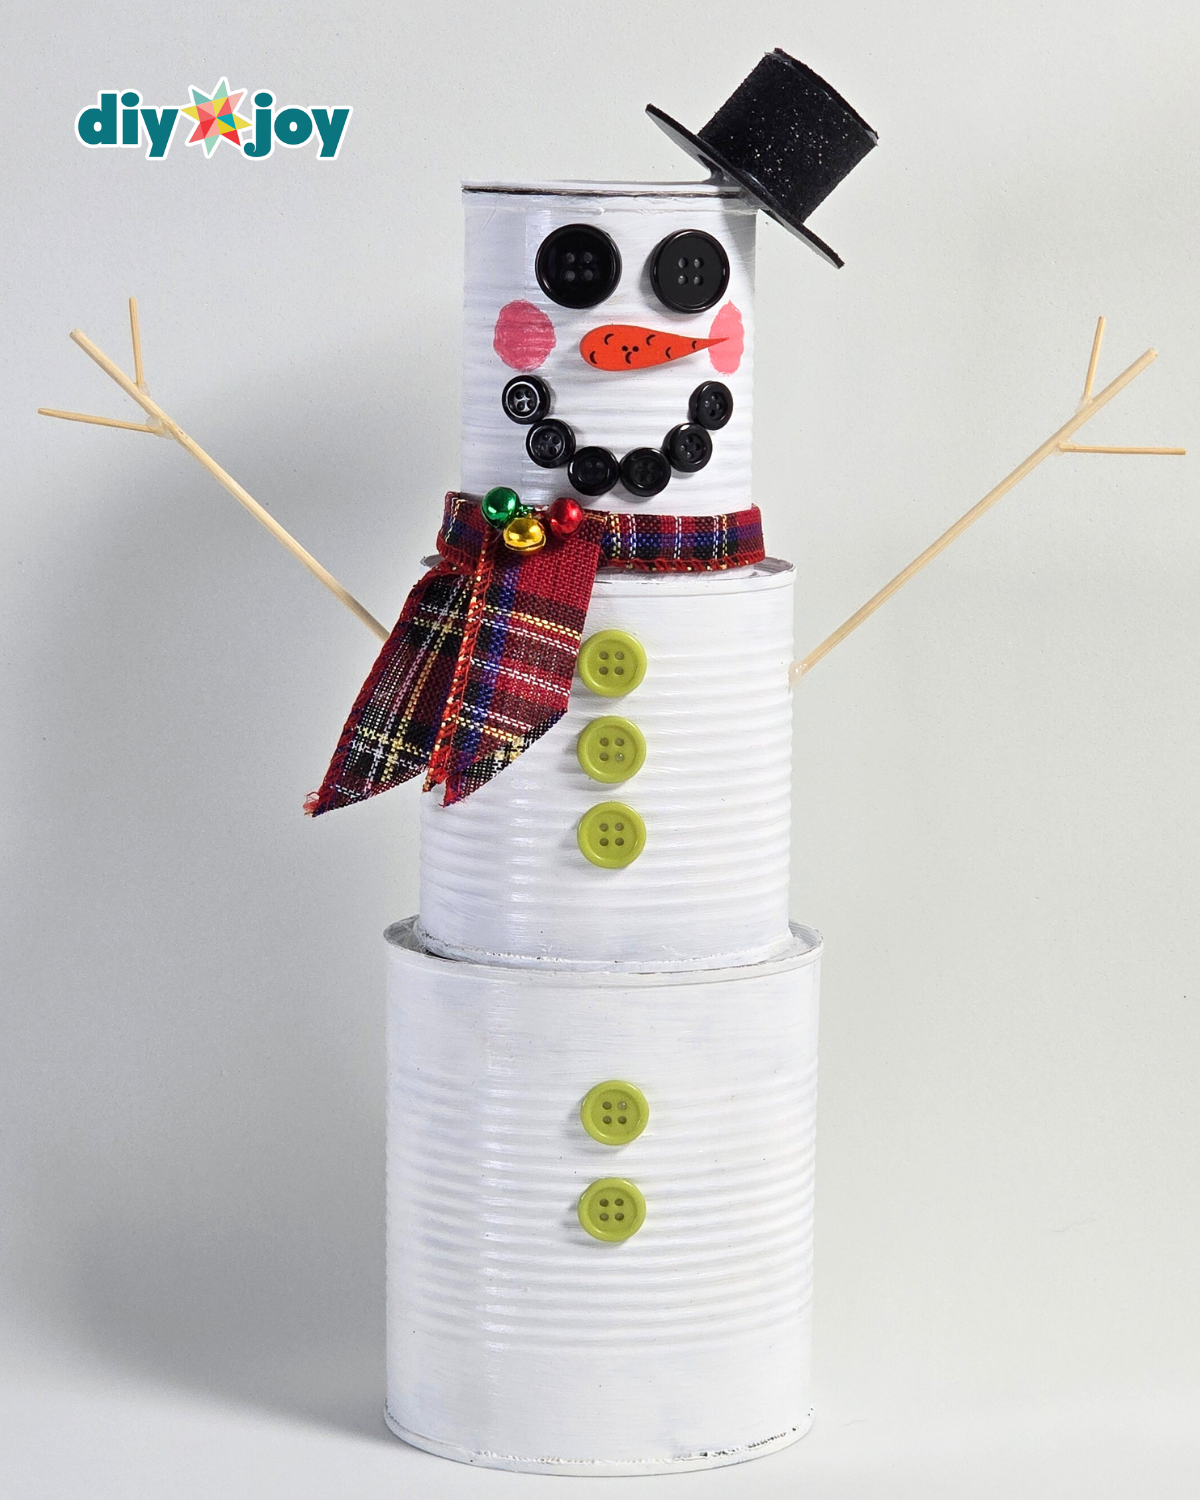
Gather three tin cans in different sizes and coat them with white acrylic paint. Apply a second layer if needed to achieve full coverage. Once dry, stack the cans from largest to smallest to form the snowman’s body.Step 2: Make the Arms and Scarf
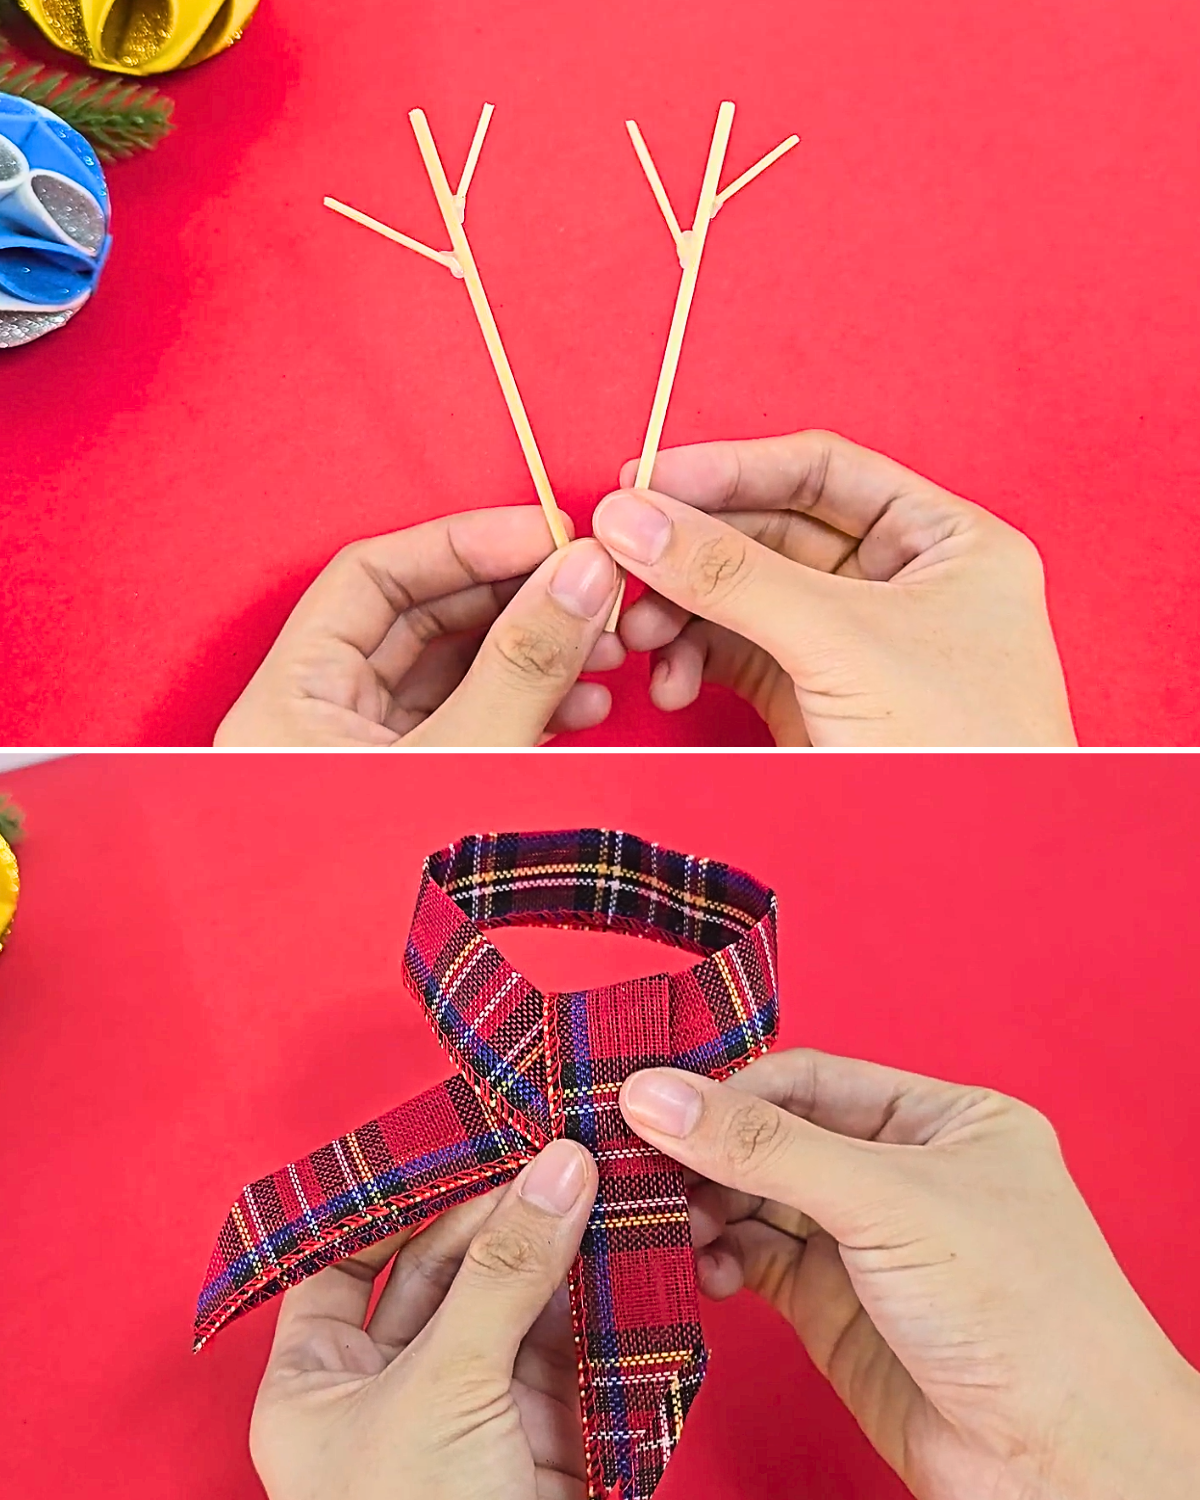
Trim the pointed ends off the skewer and toothpick. Attach the toothpick pieces to the skewer at different positions to create the snowman’s arms. For the scarf, cut a length of ribbon and shape it into a simple bow.Step 3: Build the Hat
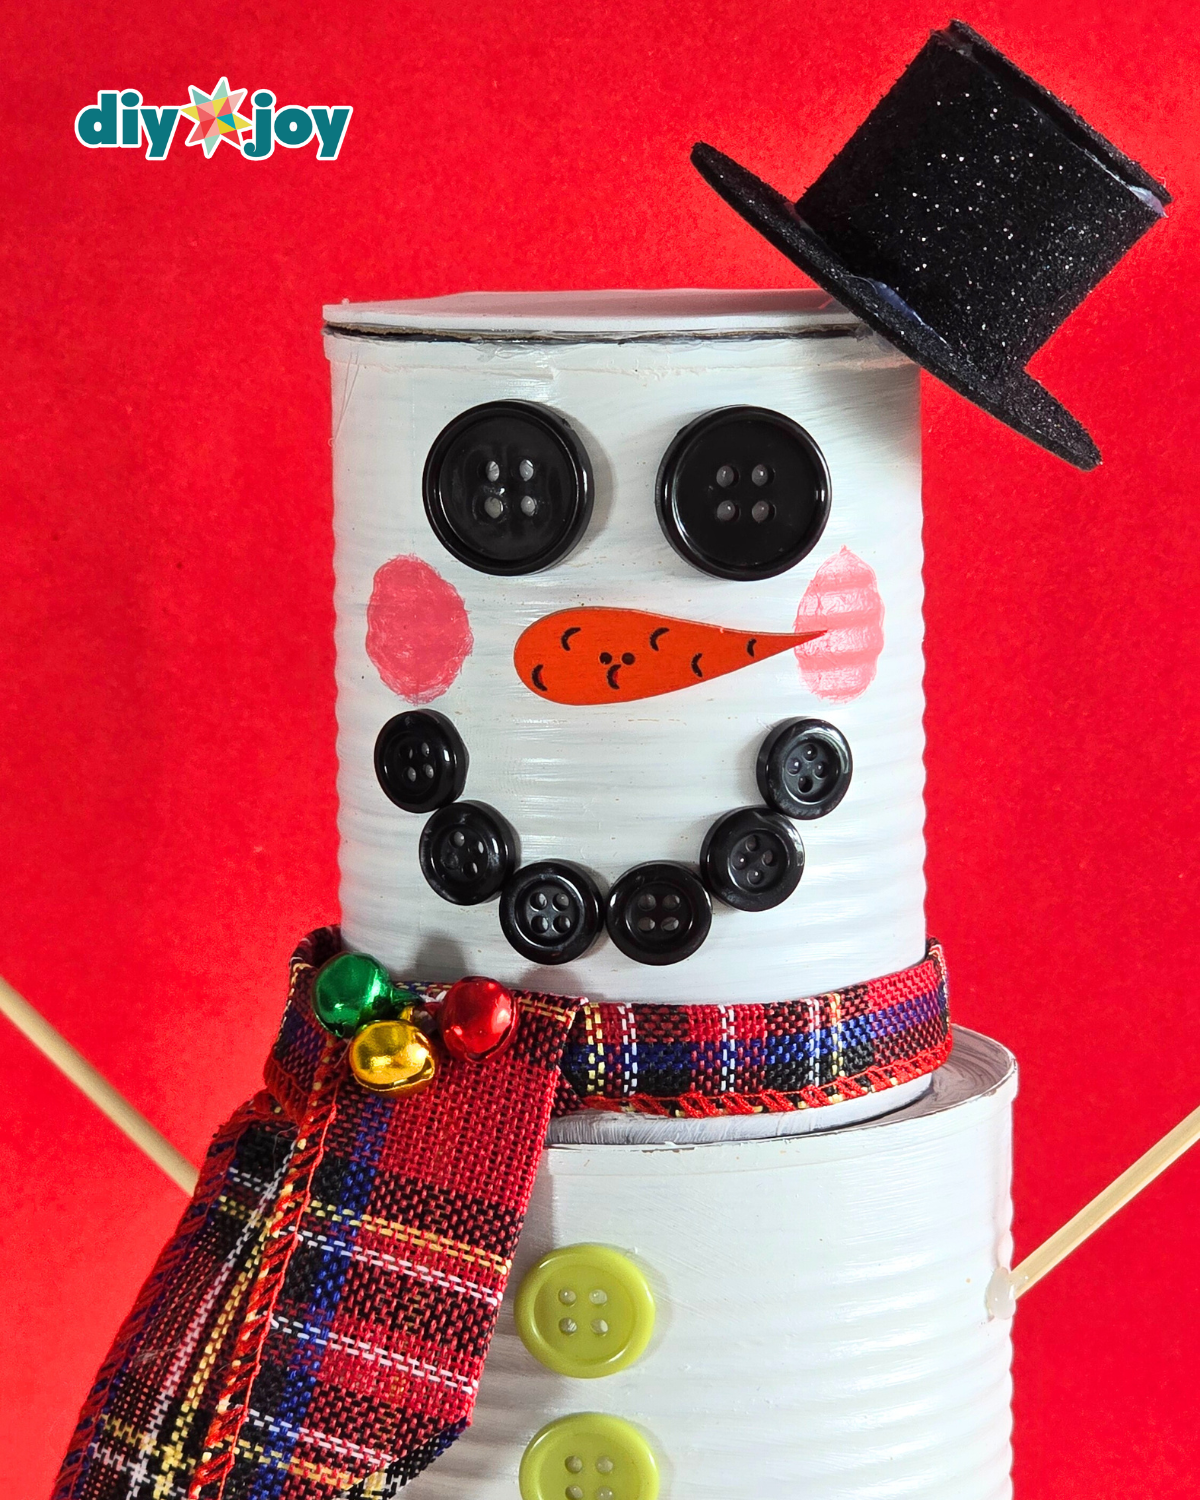
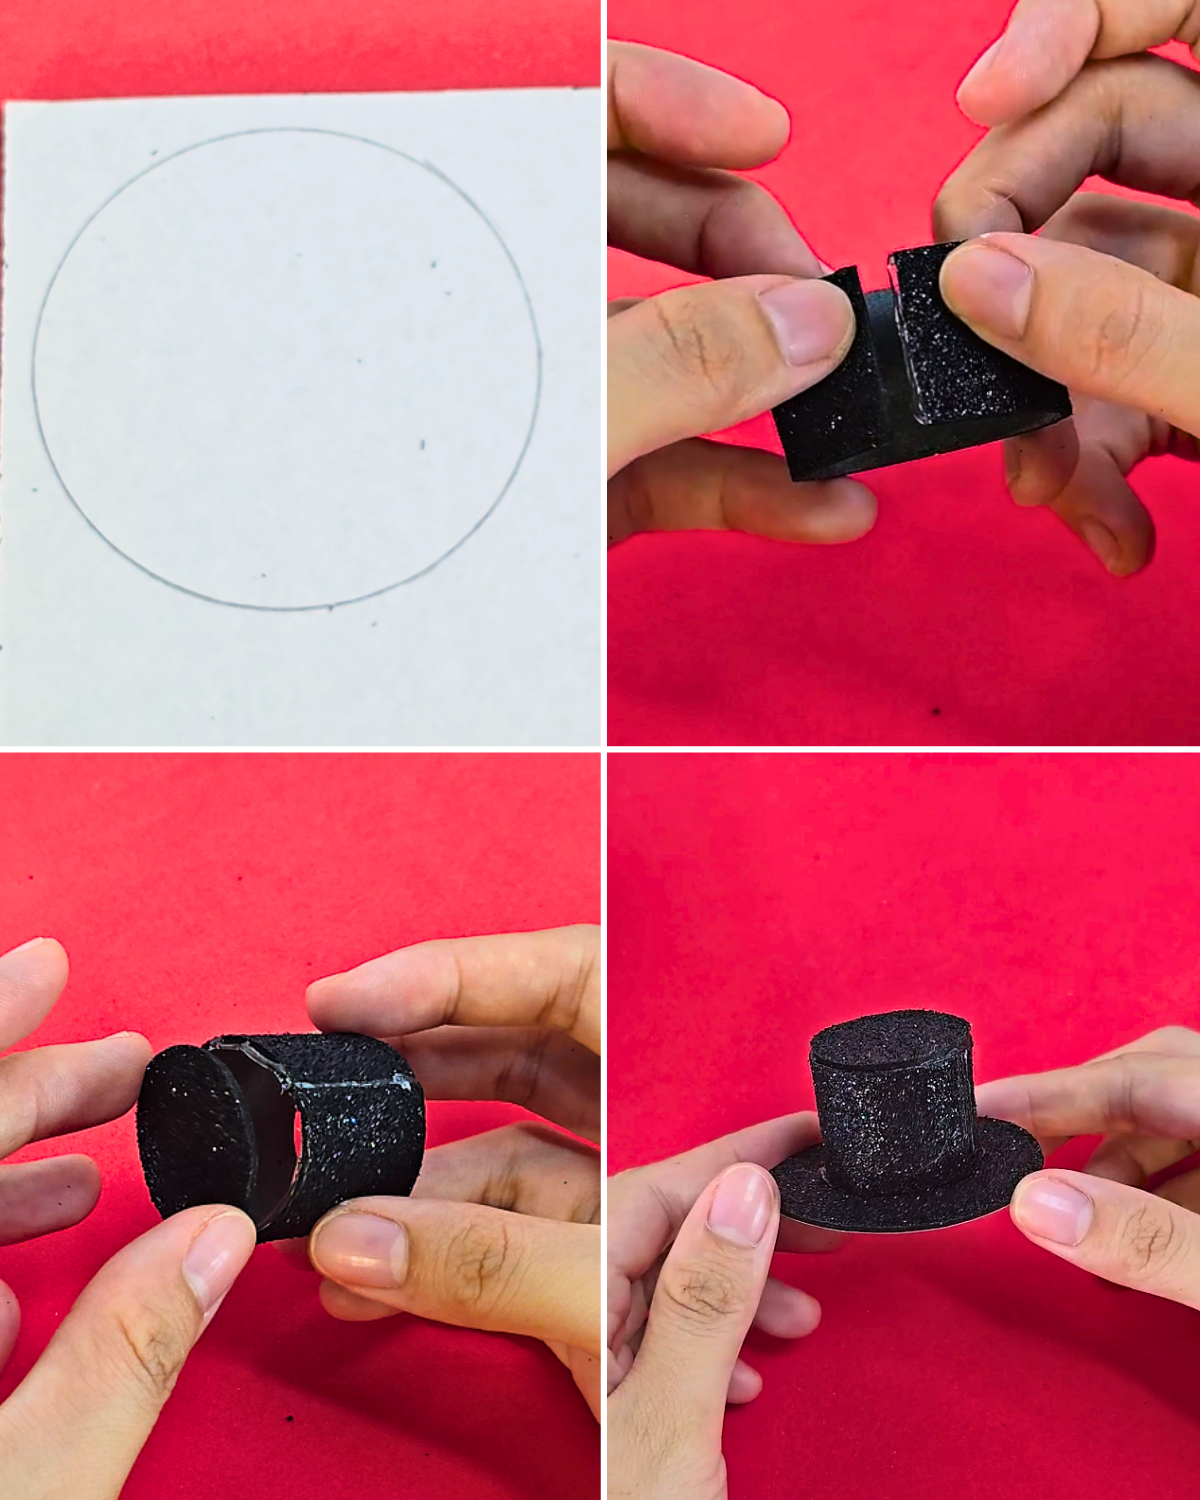
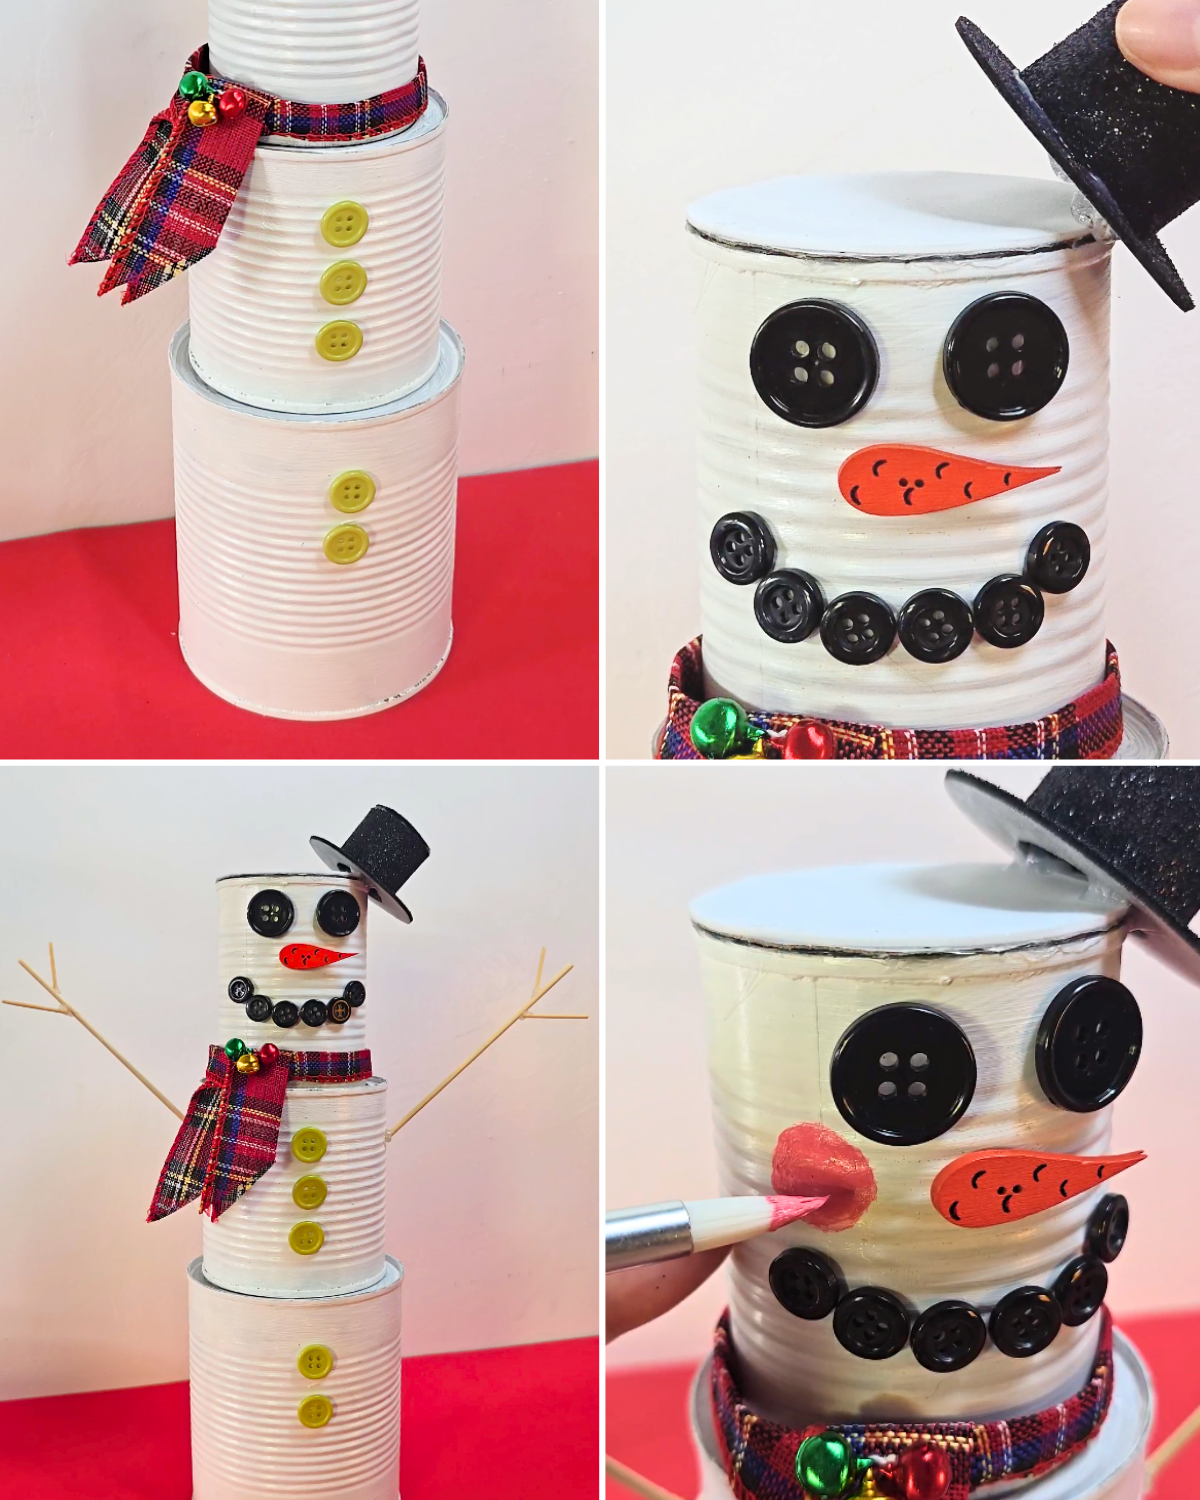
Trace two circles on glitter foam—one small for the top of the hat and one larger for the brim. Cut a straight strip of glitter foam, then gently curve it and join the ends to form a cylinder. Attach the small circle to the top and the larger circle to the bottom to complete the hat.Step 4: Add the Scarf, Buttons, and Face
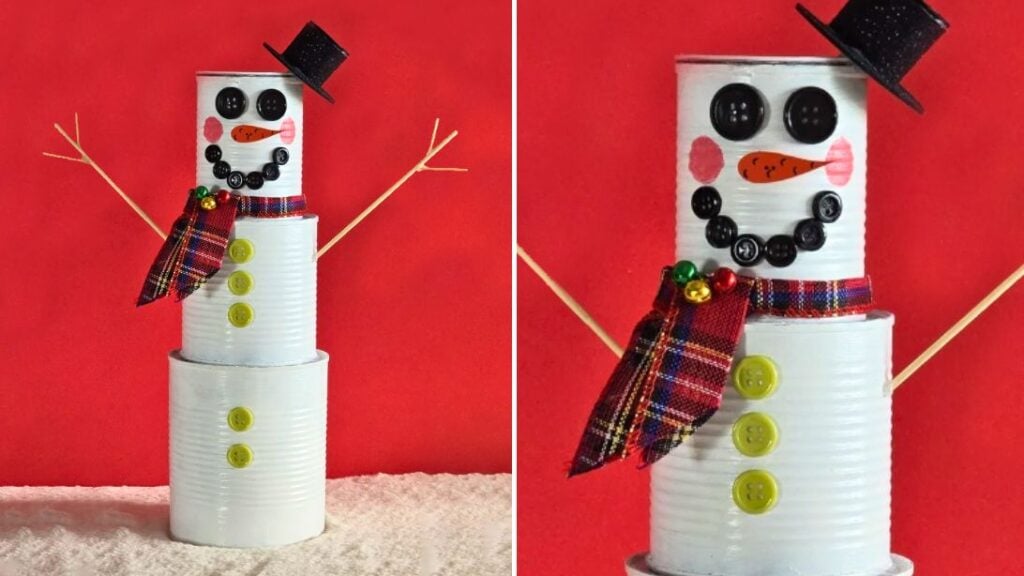
Wrap the ribbon scarf around the “neck” between the top and middle cans. Glue two light green buttons onto the largest can for the lower body, then add three buttons to the middle can.
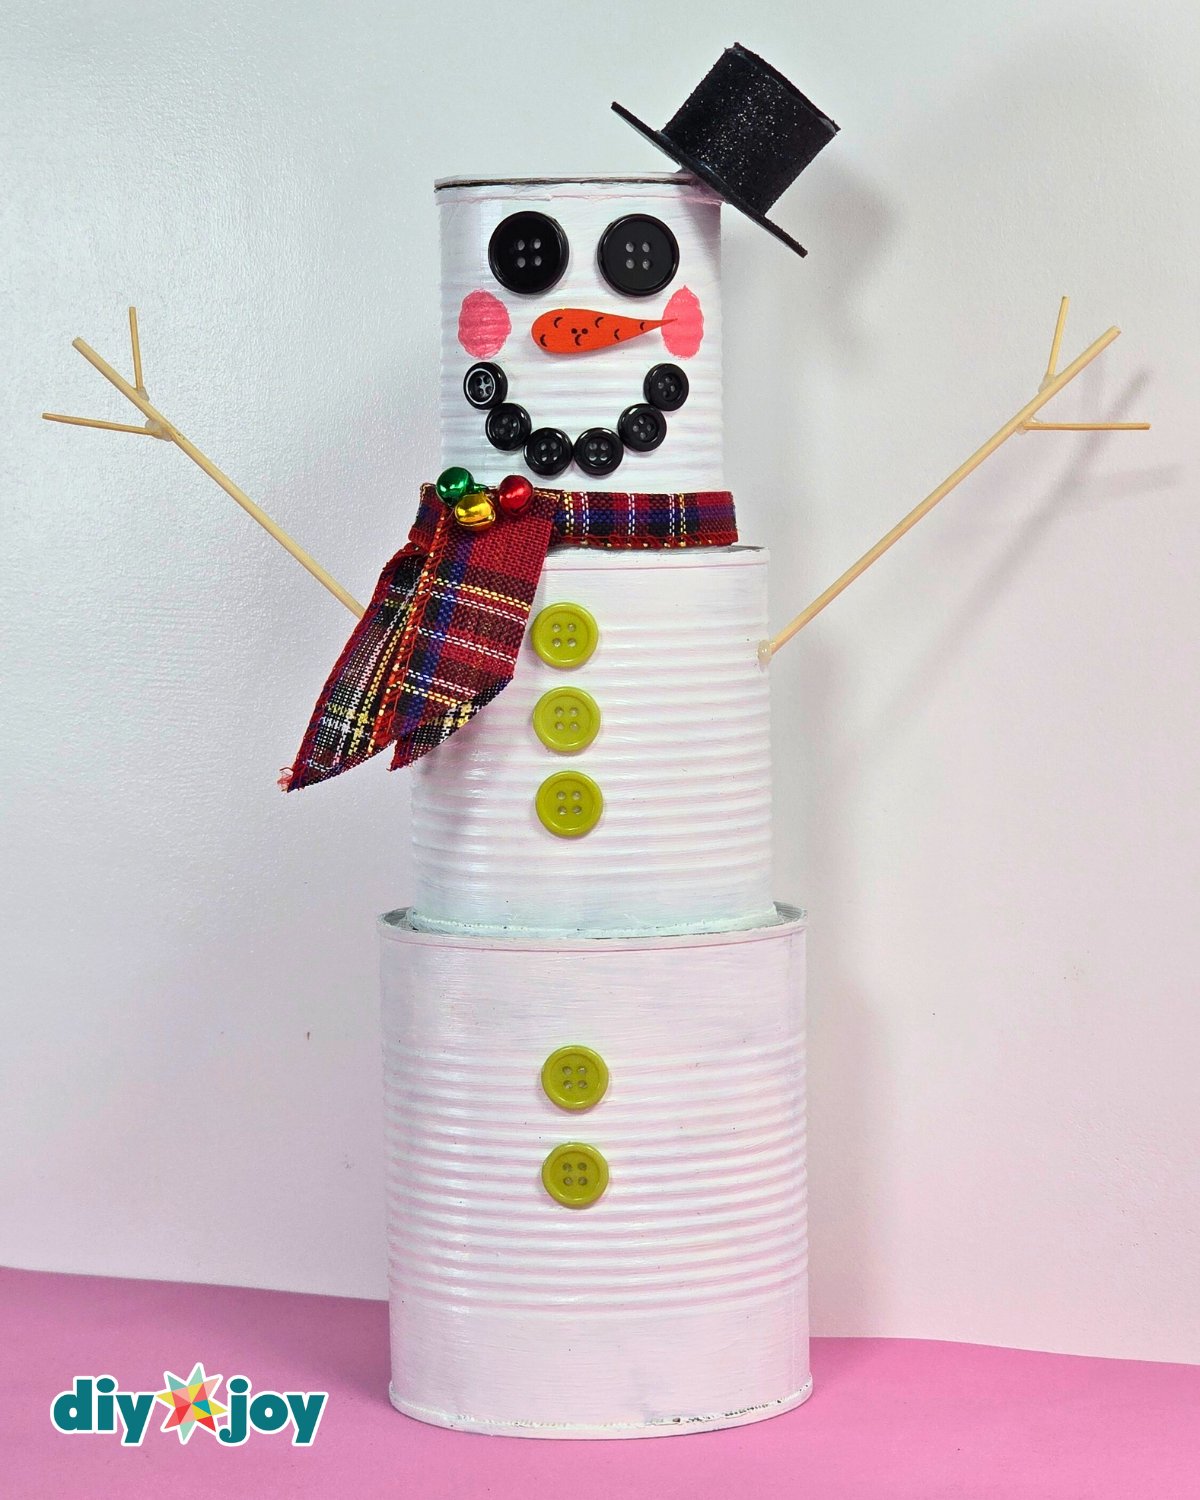
For the face, glue two large buttons for the eyes, place the carrot nose just below them, and arrange the small black buttons in a curve to form the mouth. Set the mini hat on top of the smallest can and glue it in place.
Attach the arms on both sides of the snowman and secure them with hot glue. If you want extra detail, paint two small pink circles on the cheeks for a blush effect.
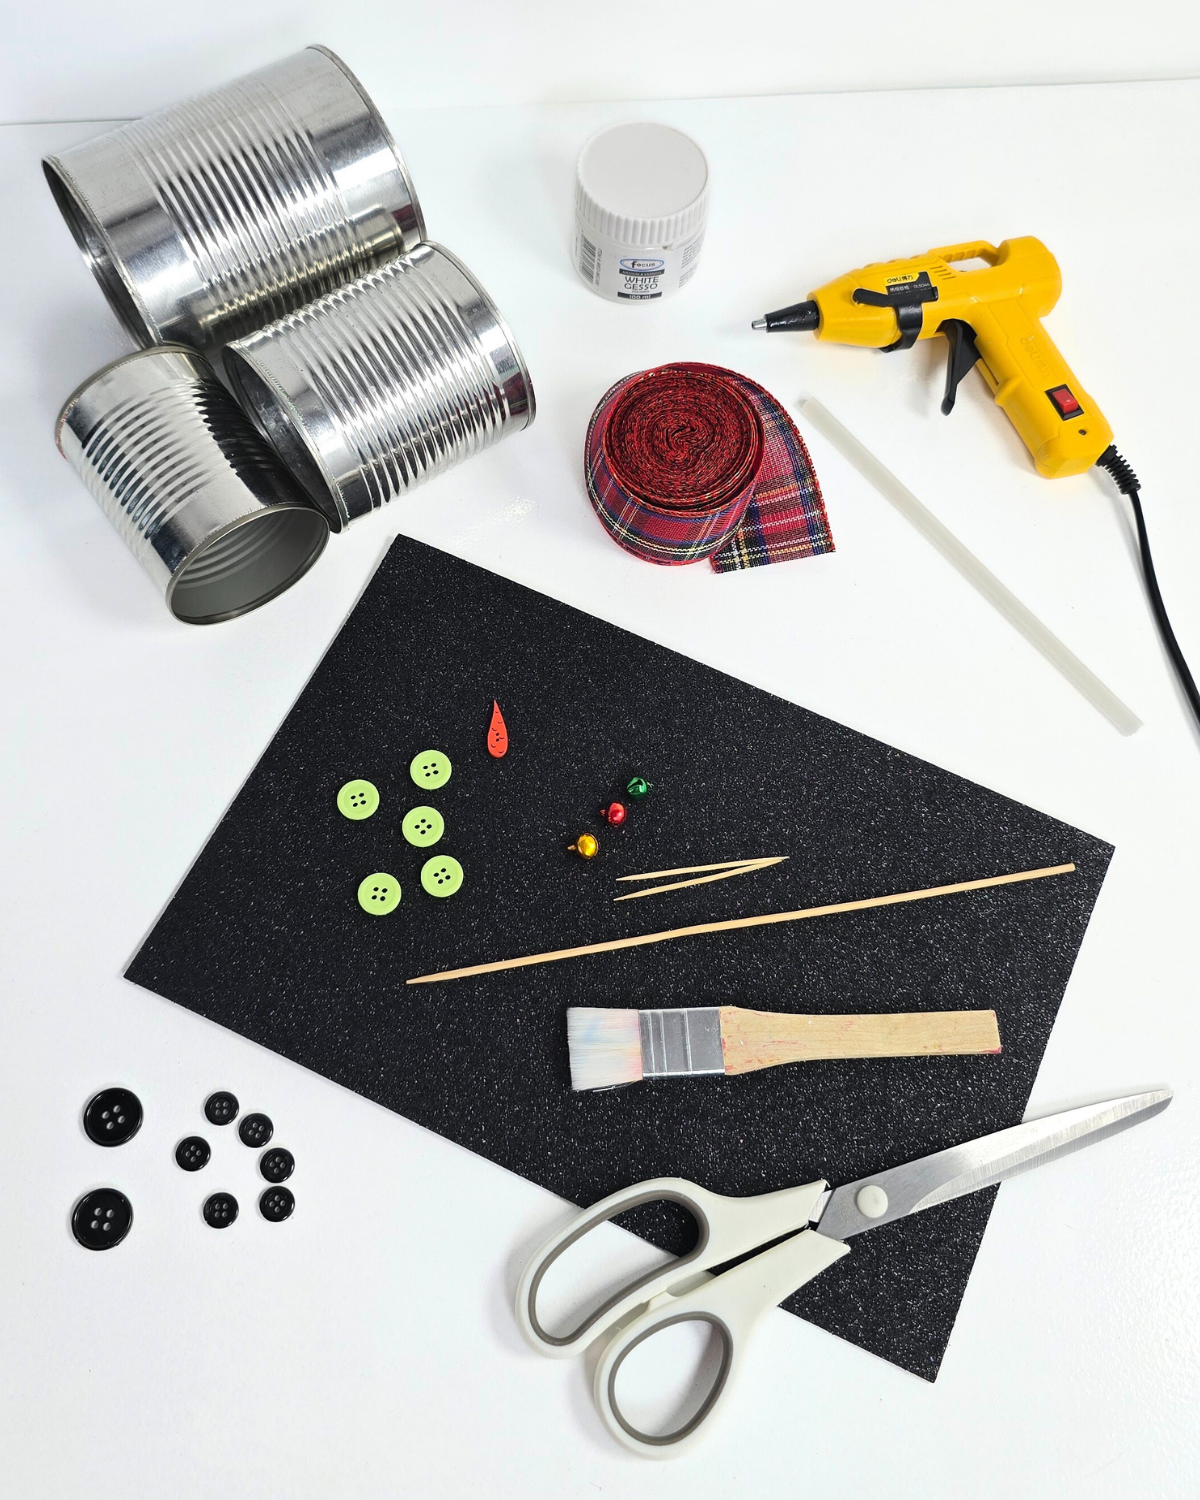
Materials
- Tin Cans, small, medium, and large sizes
- White Acrylic Paint and Primer Paint
- Paintbrush
- Red Plaid Ribbon
- Skewers and Toothpicks
- Small Black Buttons
- Large Black Buttons
- Green Buttons
- Bells
- Scissors
- Glitter Foam, black
- Hot Glue Gun and Glue Sticks
- Carrot Button
![]()
💡 Why Make This Tin Can Snowman
This DIY Tin Can Snowman is incredibly easy to put together, even if you’re not very experienced with crafting. The materials are simple, the steps are straightforward, and the final result is so adorable you’ll be surprised by how little effort it takes.
What makes this project even better is how customizable it is. You can paint the cans in any style, add scarves, buttons, hats, or extra embellishments to match your holiday theme. Whether your decorations are traditional, rustic, colorful, or modern, these tin can snowmen fit right in.
So if you’re looking for an easy Christmas DIY project that’s fun, affordable, and perfect for the whole family, this tin can snowman deserves a spot on your holiday crafting list. It brings cheer, creativity, and a touch of handmade magic to your home—without needing a single snowflake.
What’s Viral on DIYJoy


*If you love this craft, then visit our official website, follow our Facebook page, and subscribe to our YouTube channel for more!
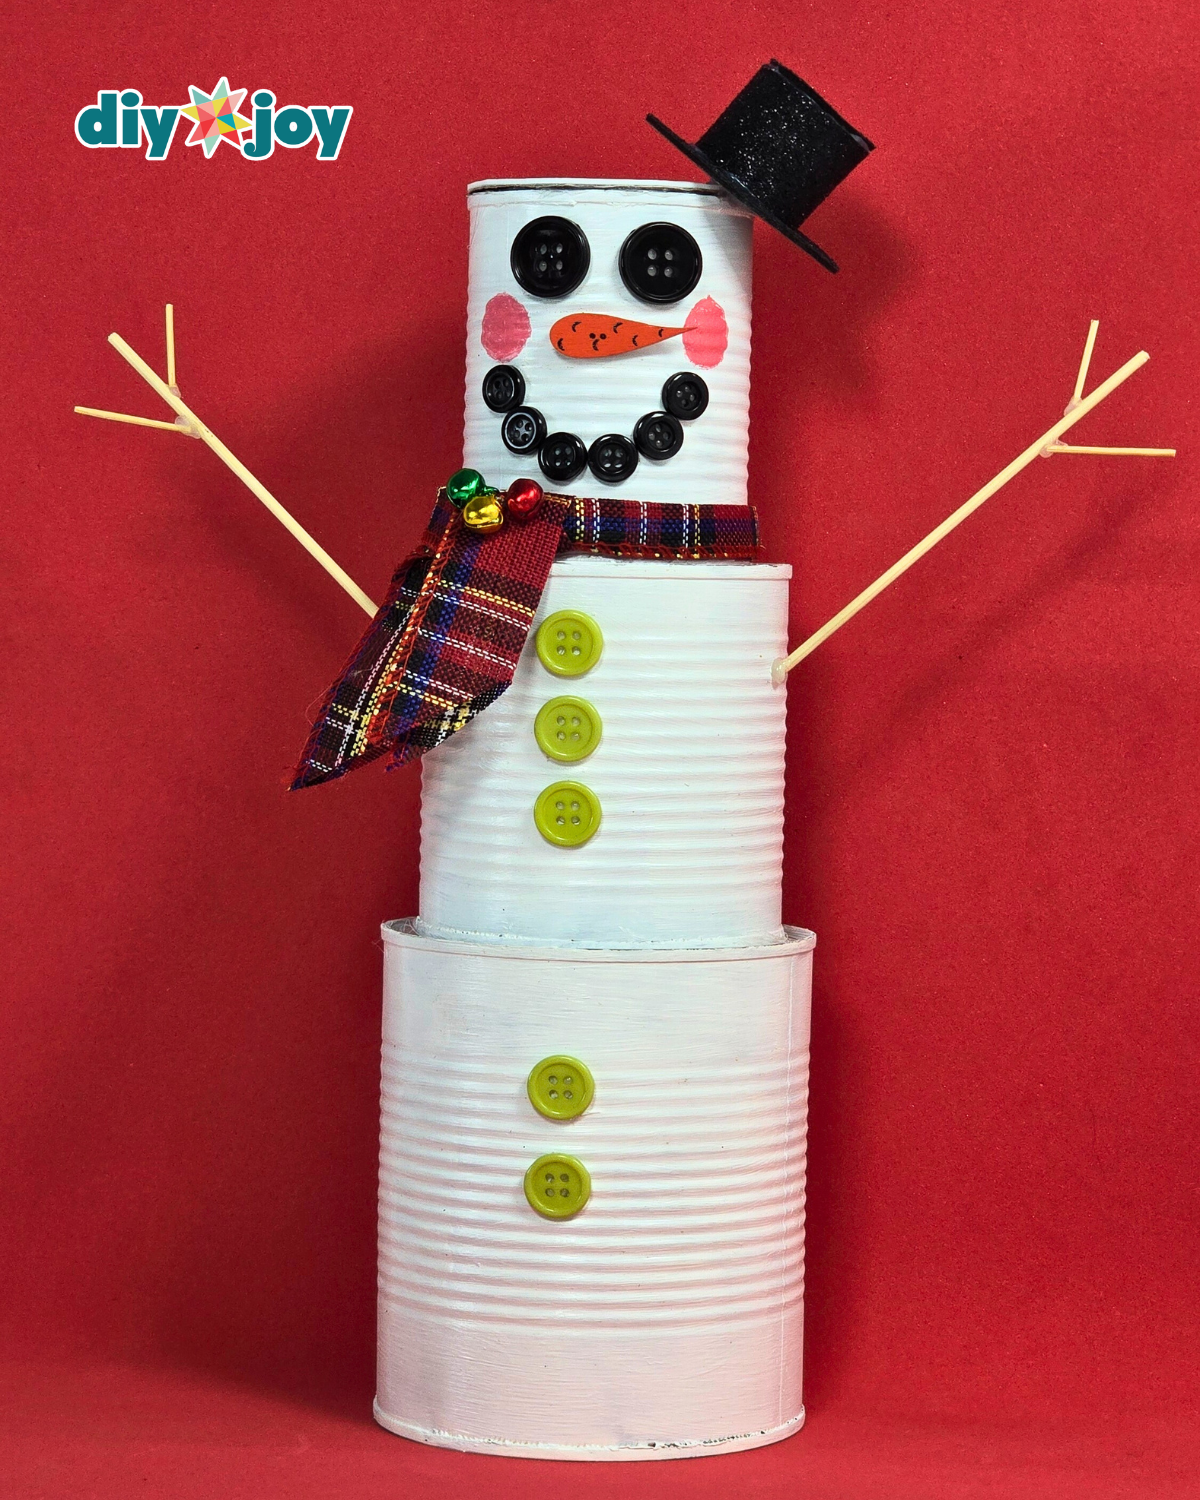
Easy DIY Tin Can Snowman