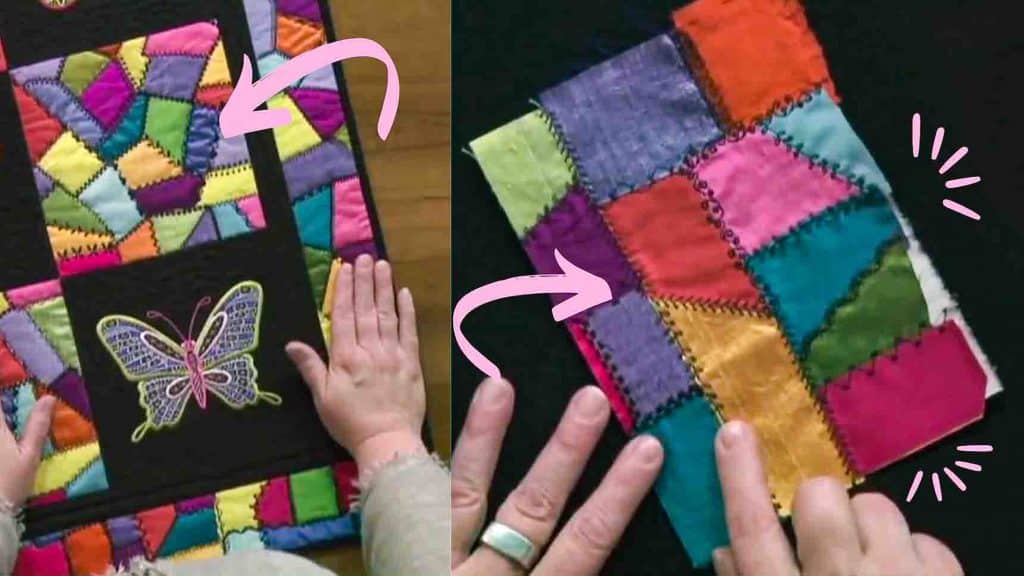
Are you looking for your next quilting project? How about learning this deconstructed crazy quilt technique from National Quilters Circle on Youtube? This project is perfect if you like the look of crazy quilts but don’t want to invest a lot of time. It’s also a great project to use those stitches in your machine that you rarely use. Start learning this today by watching the video tutorial below.
Materials:
- muslin (or any light-colored fabric)
- Teflon pressing sheet
- different silks for the top
- iron-on adhesive
- beads or other objects you like
Directions:
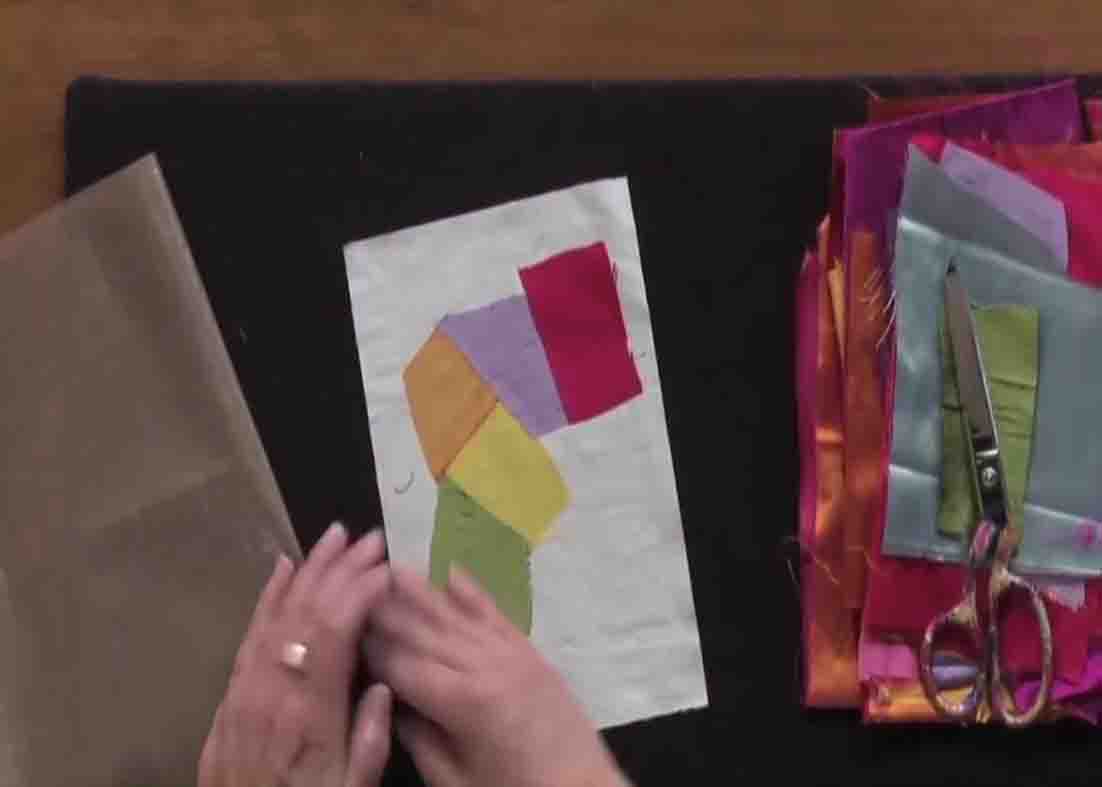
Step 1
Star by putting on some pieces on the muslin with iron-on adhesive. Simply add colors as you go, fitting the shapes in. (You want to have some sort of overlap about an eighth of an to a quarter.) Don’t worry about the raw edges because you can get them to fray some more later. Once you’ve got three or four pieces laid down, cover it with the Teflon pressing sheet and iron. (You don’t need any steam in your iron, just a hot iron.)
[social_warfare]
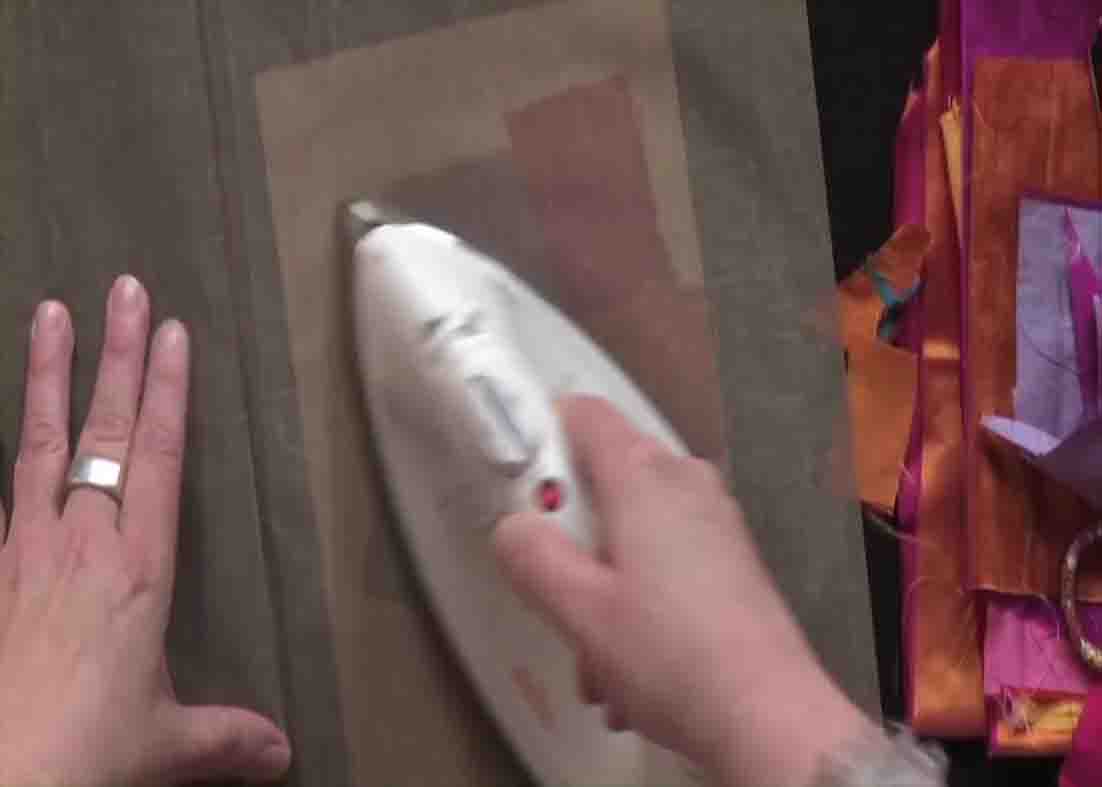
Step 2
Don’t be worried when the fabric sticks to your Teflon pressing sheet because it’s hot, you just have to gently pull it off and then add some more pieces. When you’re all done, you’re just going to take it to your sewing machine and pick some really pretty stitches and start stitching.
The Deconstructed Crazy Quilt Technique


