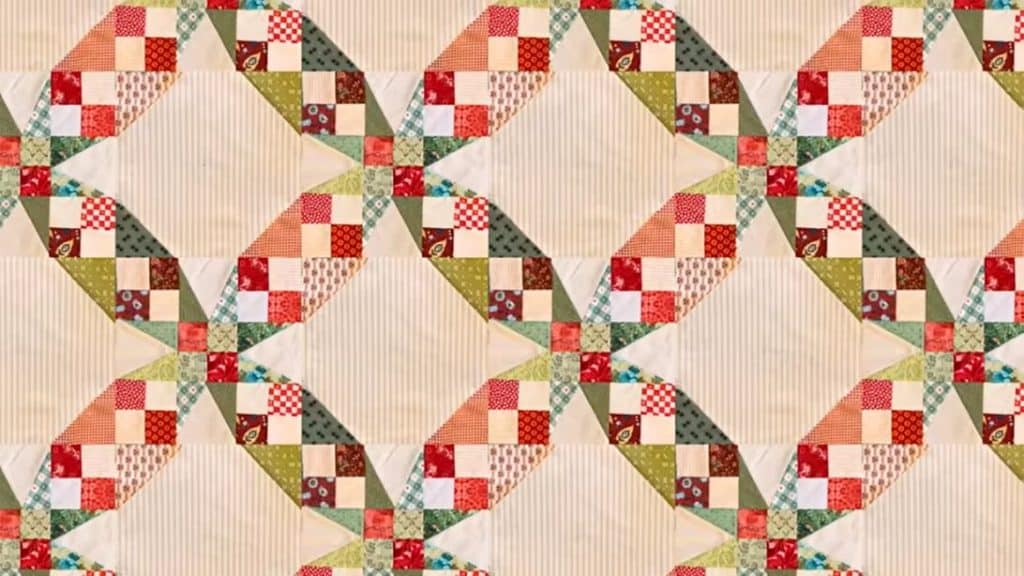
When I first saw this Tennessee waltz quilt by my sewing room, I instantly knew that I had to make it. It’s so beautiful and probably one of my favorite patterns ever. It was definitely a proud moment when I finished this quilt! Check the video below for full instructions
Materials
For the first block:
- 20 pieces of 2 1/2″ squares from fabric scraps (10 pieces for the first dark color, 2 pieces for the second dark color, 8 pieces of light color)
- 4 pieces of 4 1/2″ background squares
- 4 pieces of 3 1/2″ by 5 1/2″ colored rectangles
For the second block:
- 12 1/2″ background square
- 4 pieces of 4 1/2″ squares (2 pieces of the first dark color and 2 pieces of the second dark color)
[social_warfare buttons=”facebook,pinterest,twitter,whatsapp”]
Instructions
For the first block
Step 1:
Start by picking four pieces of 2 1/2″ squares – 2 first dark-colored squares and 2 light-colored squares. Sew them into a four-patch with the colors alternating. The unfinished four-patch should measure 4 1/2″. Repeat to make four. For the center four-patch, use the remaining squares. You’ll have a total of 5.
Step 2:
Make the star points. Get 4 of the rectangles and make two sets – two pieces for each set. Stack the first set, right sides up, and cut diagonally. Next, stack the second set, right sides up, and cut diagonally in the opposite direction. So, you’ll have 4 triangles for each set.
Step 3:
Get one 4 1/2″ background square and fold it in half to make a crease. Measure 1/4″ away from the bottom center and mark. Connect the left corner and dot by drawing a diagonal line. Do the same to the right corner. Repeat 3 more times to make a total of four.
Step 4:
Attach two triangles, one from each set, to a background square. Use the pencil line as your guide. Start by sewing one side. Press it flat, then trim off the excess. Repeat to the other side. Do the same process for the remaining squares.
Step 5:
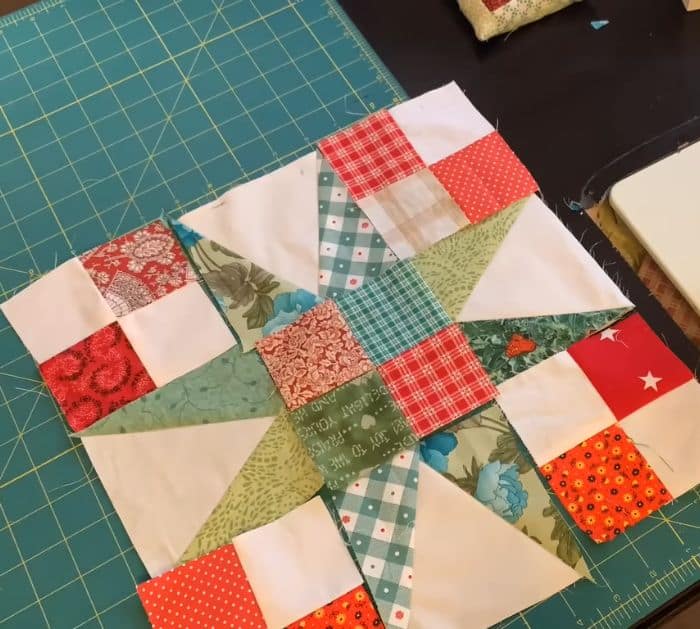
Arrange the squares just like in the photo below. Sew them in rows first. Press them open, then sew the rows together.

For the second block
Steps:
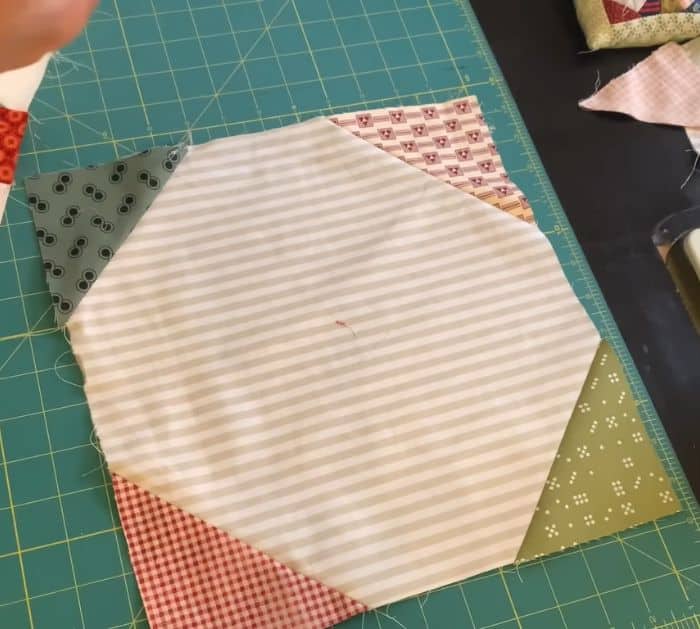
Fold the 4 1/2″ squares in half diagonally. Place them on the corners, right side down, and sew directly on the line. Make sure the colors are alternating. Trim off excess and press flat.


