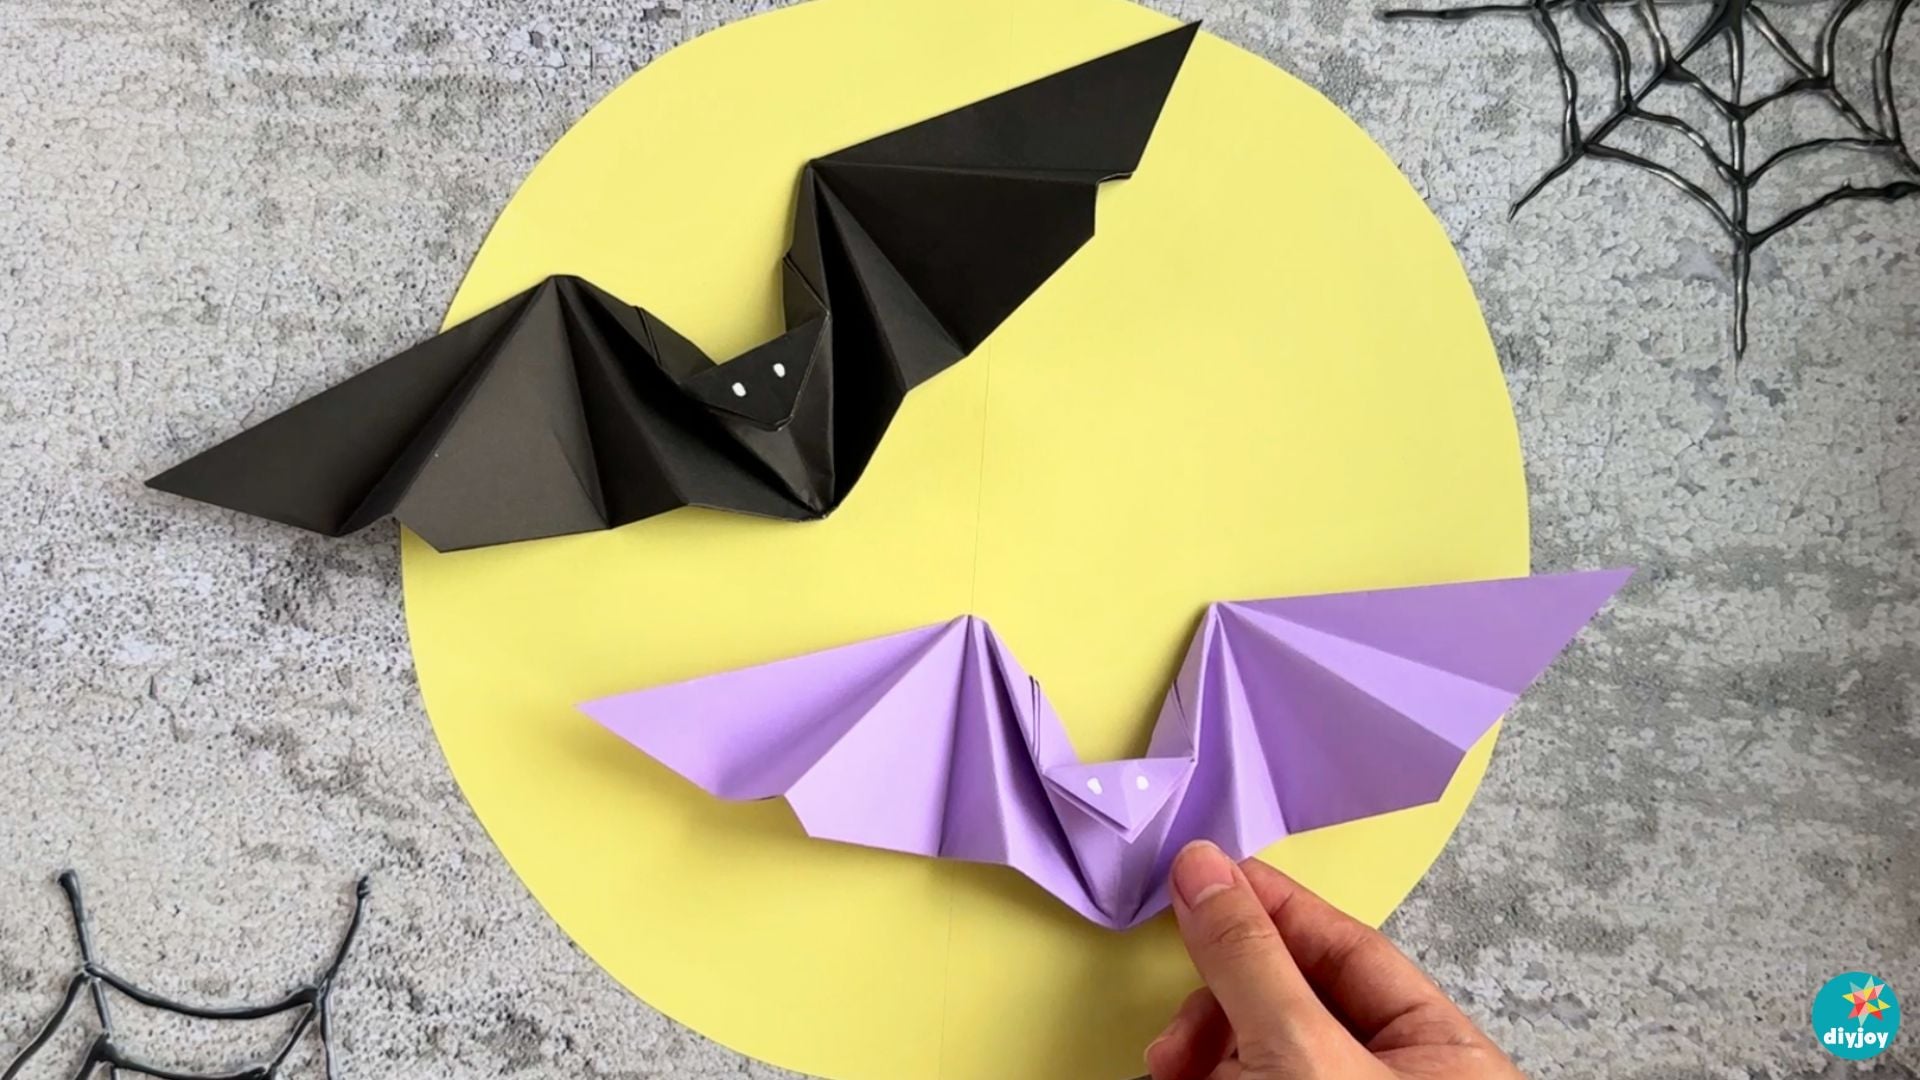
Supplies You Need For This Project
✨ Most people grab these three items
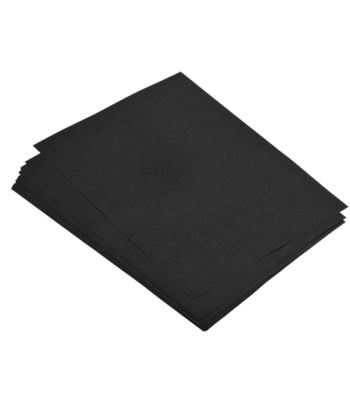
Colored Paper
This paper is the perfect thickness for origami and comes in a variety of colors!
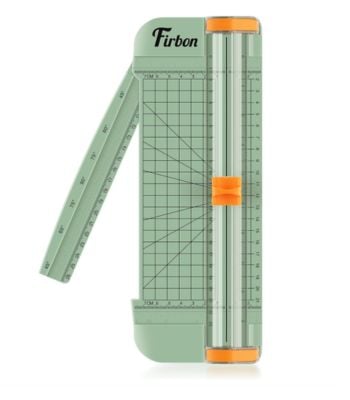
Paper Cutter
Make straight, clean cuts quickly and easily with this paper cutter!
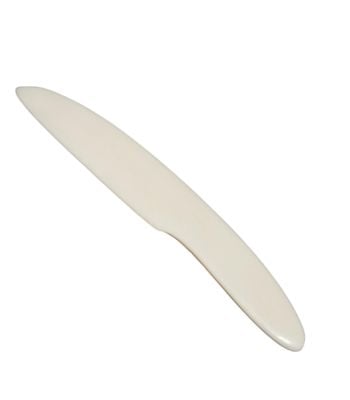
Bone Folder
Get sharp creases with this bone folder! It makes folding this origami project much easier.
These products are all listed on our DIY JOY Amazon store, so you can order and know exactly what you will get, and when. We do earn a small commission on these links and very much appreciate your support ❤️
Quick Steps
Step 1: Fold the paper diagonally in both directions, unfolding after each fold.
Step 2: Fold the top tip down, unfold, then fold it toward the crease line. Unfold again.
Step 3: Fold the bottom edge up to the top crease, then fold the tip down.
Step 4: Create the creases, then fold both sides and bottom corners toward the center.
Step 5: Flip the paper over. Fold the bottom triangle’s edges toward the center, then collapse the middle section inward.
Step 6: Fold the remaining edges toward the center. Fold both triangles outward to form the wings, then unfold them.
Step 7: Hold the bat with your thumb and index finger. Gently press the back fold to flap the wings, then add eyes if desired.