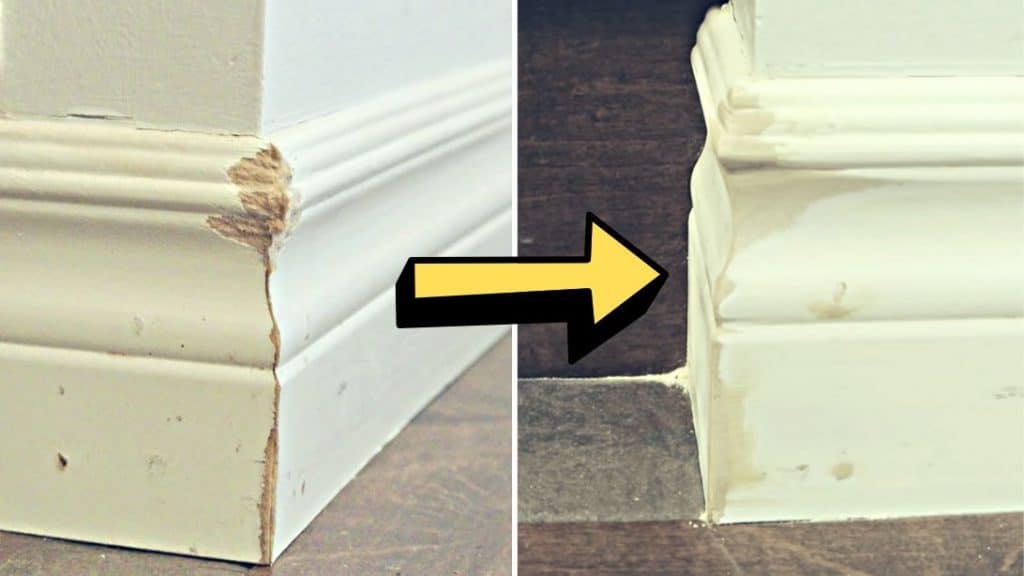
This video tutorial by The Funny Carpenter on YouTube is a quick and easy fix for your baseboard! Using only a few materials and a simple technique you can repair the baseboard of your house even if you’re a beginner. Proceed to read down below for the full instructions and watch the video tutorial as well so that you can learn the process better.
Materials:
- 120 grit sandpaper
- 150 grit sandpaper
- Wood glue
- Wood filler
- Rag or cloth
- X-acto knife
Directions:
Step 1
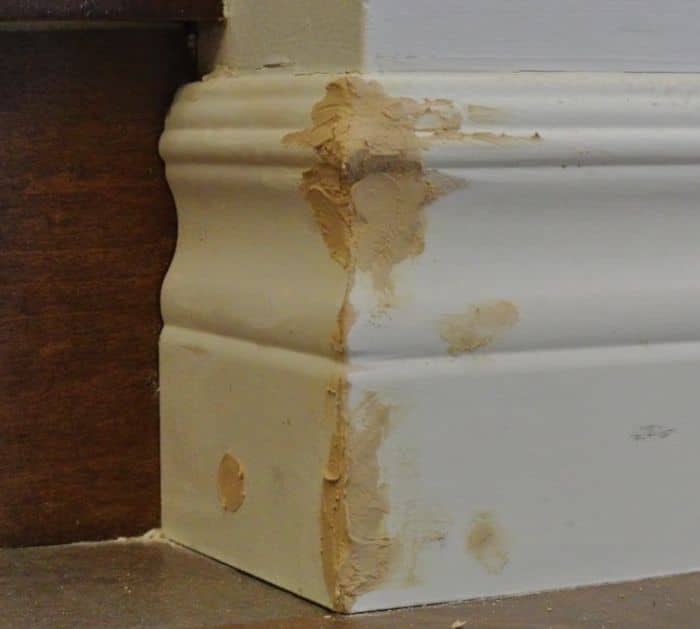
Remove or sand away any of the loose impediments or fiber on your baseboard by using 120 grit sandpaper first. Get the x-acto knife, then use it to chop and remove the little fuzzy bits on the baseboard to smoothen it out a bit. Wipe away the dust and other stuff on your baseboard and around it with a wet rag, then put some wood glue on your finger, and apply it onto the wood fibers to moisten that area on the baseboard.

[social_warfare]
Step 2
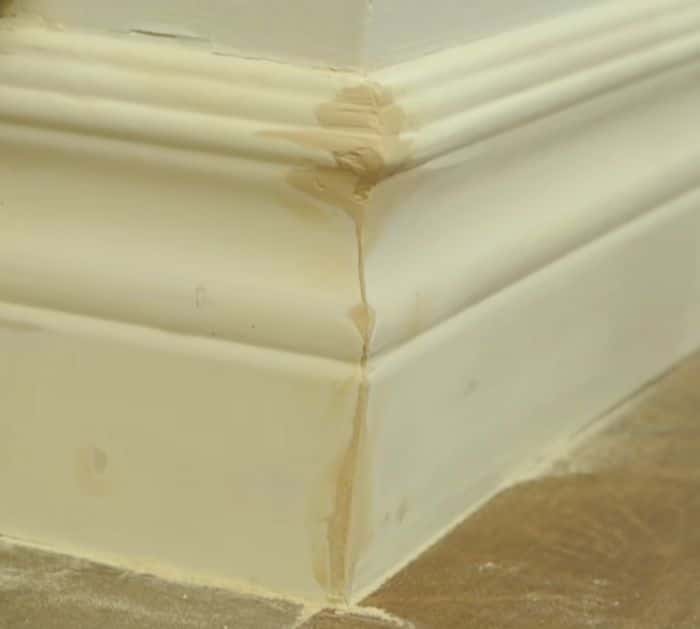
Put some wood filler on your finger, then apply it on top of the area with the wood glue, let that once coating dry completely up to overnight or until it has completely set. Switch to using 150 grit sandpaper, then sand the baseboard in one direction and consistently glide until you smooth it out. Wipe it with the wet rag, then apply a second coating of wood glue and wood filler same as you did earlier, and let it dry completely. Repeat sanding and wiping until smooth, apply paint to even out the color, and hide the repaired area.

*Thanks to The Funny Carpenter via YouTube for all images used here. If you loved this video tutorial, then you’ll surely love his other videos too, so give his channel a visit and subscribe!


