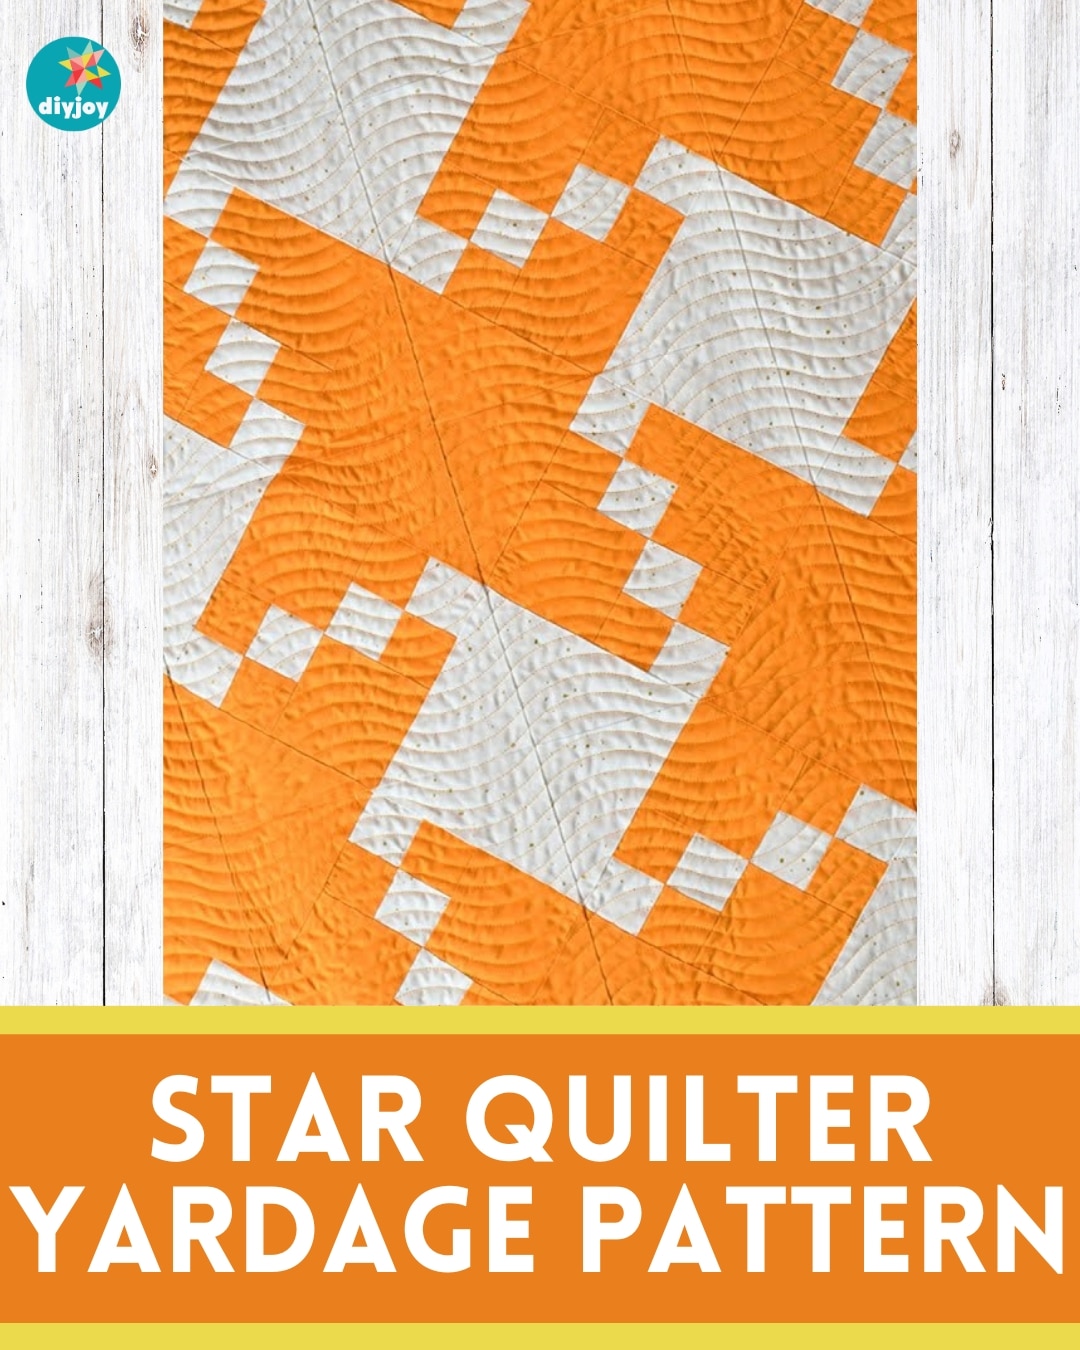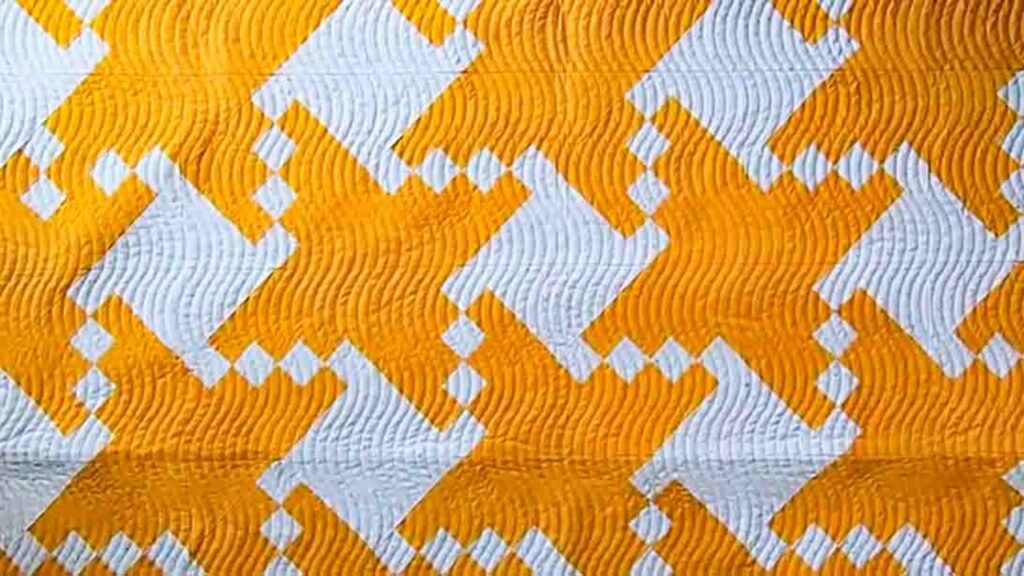
Are you looking for your next quilt project? I recommend this star quilter yardage pattern from Moonkin Stitchery on YouTube. It’s a modern two-tone quilt that really pops and is pleasing to the eyes. It’s quick and easy, and perfect for beginners!
RELATED: Star Spangled Variation Quilt Tutorial
In this step-by-step instructions, Moonkin Stitchery will guide you on how to make this quilt using just fabric yardage. It’s fast and simple, even a novice will be able to pull this off in a day. Watch the video tutorial below to learn how.
Materials:
For a throw size:
- 2 yards of yellow star yardage
- 1 1/2 yards background yardage
- 1/2 yard binding
- 3 1/2 yards backing
- 56″ x 64″ batting
- (click here for the free pattern)
Directions:
Step 1
Cut the yellow star yardage into six 5″ x WOF strips and subcut those into forty-two 5″ squares. With those 5″ squares, cut them into half diagonally to make a total of eighty-four half-square triangles. Next, cut seven 3 1/2″ x WOF strips, and subcut those into eighty-four 3 1/2″ squares. Lastly, cut nine 2″ x WOF strips. Stack the sets together and set them aside.

Step 2
With the background yardage, cut six 5″ x WOF strips and subcut those into forty-two 5″ squares. With those 5″ squares, cut them into eighty-four half-square triangles. Lastly, cut nine 2″ x WOF strips. Stack the sets together and set them aside.
Step 3
Now, piece together a 2″ x WOF yellow star and a 2″ x WOF background fabric and sew them with a 1/4″ seam allowance. Repeat this step until you piece all the 2″ x WOF strips. Once done, take the 2″ x WOF strip set and subcut them into 2″ x 3 1/2″ rectangles, yielding twenty 2″ x 3 1/2″ rectangles per strip. Repeat this to all the strip sets you made. Now, with the 2″ x 3 1/2″ rectangles you made, select two rectangles, then rotate one of them 180’degrees to make a checkerboard look. After this, sew the blocks together with a 1/4″ seam allowance. The four-patch block should measure 3 1/2″ square. Repeat this step until you made eighty-four blocks.
Step 4
Once you have the four patches, select two, and two from yellow 3 1/2″ squares to make a larger four-patch block. Sew the block together with a 1/4″ seam allowance. The four-patch block should measure 6 1/2″ square. Repeat this step until you make forty-two blocks. Continue with the four-patch you made, then tilt your block 45 degrees and select two yellow half-square triangles. With a 1/4″ seam allowance, sew the half-square triangles to the bottom left and top right of the four-patch. Repeat this step until you make forty-two blocks.
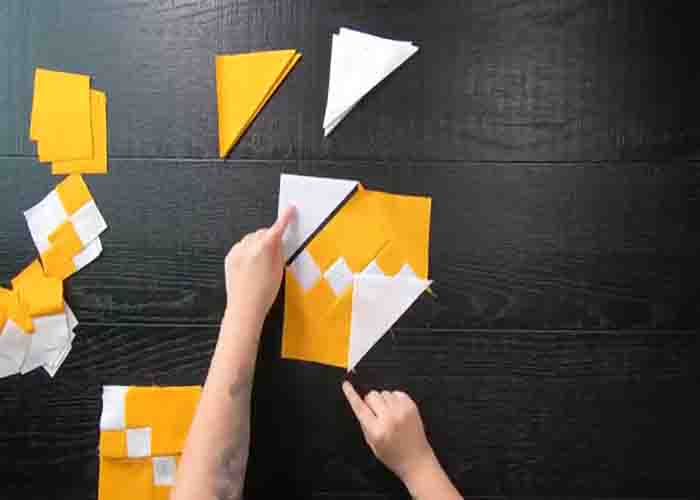
Step 5
Continue with the block you just made and select two background half-square triangles. With a 1/4″ seam allowance, sew the half-square triangles to the top left and bottom right of the block. Repeat this step until you make forty-two blocks. For the layout (refer to the free pattern for the diagram), rotate the blocks 90 degrees. Sew the blocks together to form rows, then sew those rows together to complete the quilt top.
Star Quilter Yardage Pattern Tutorial