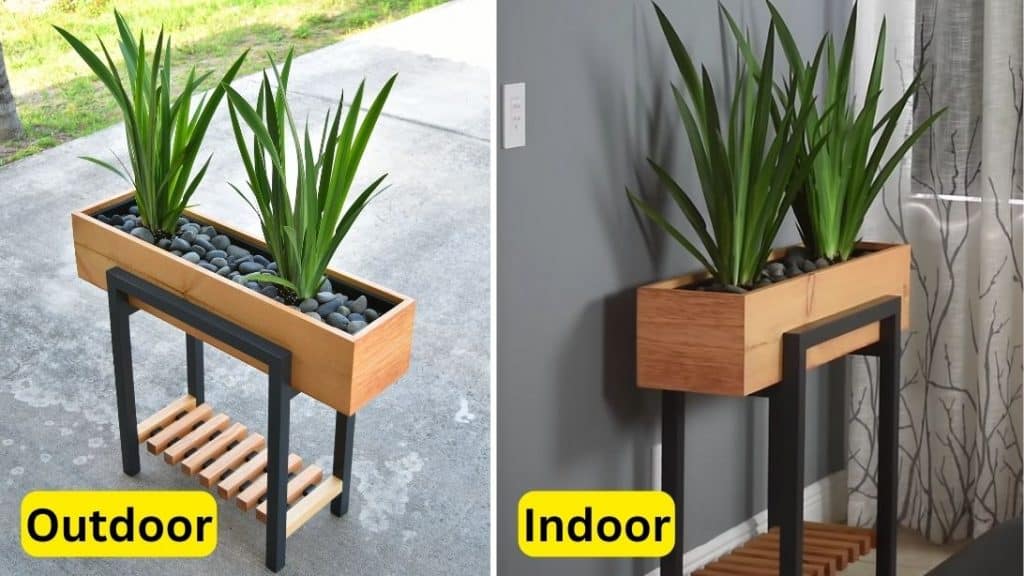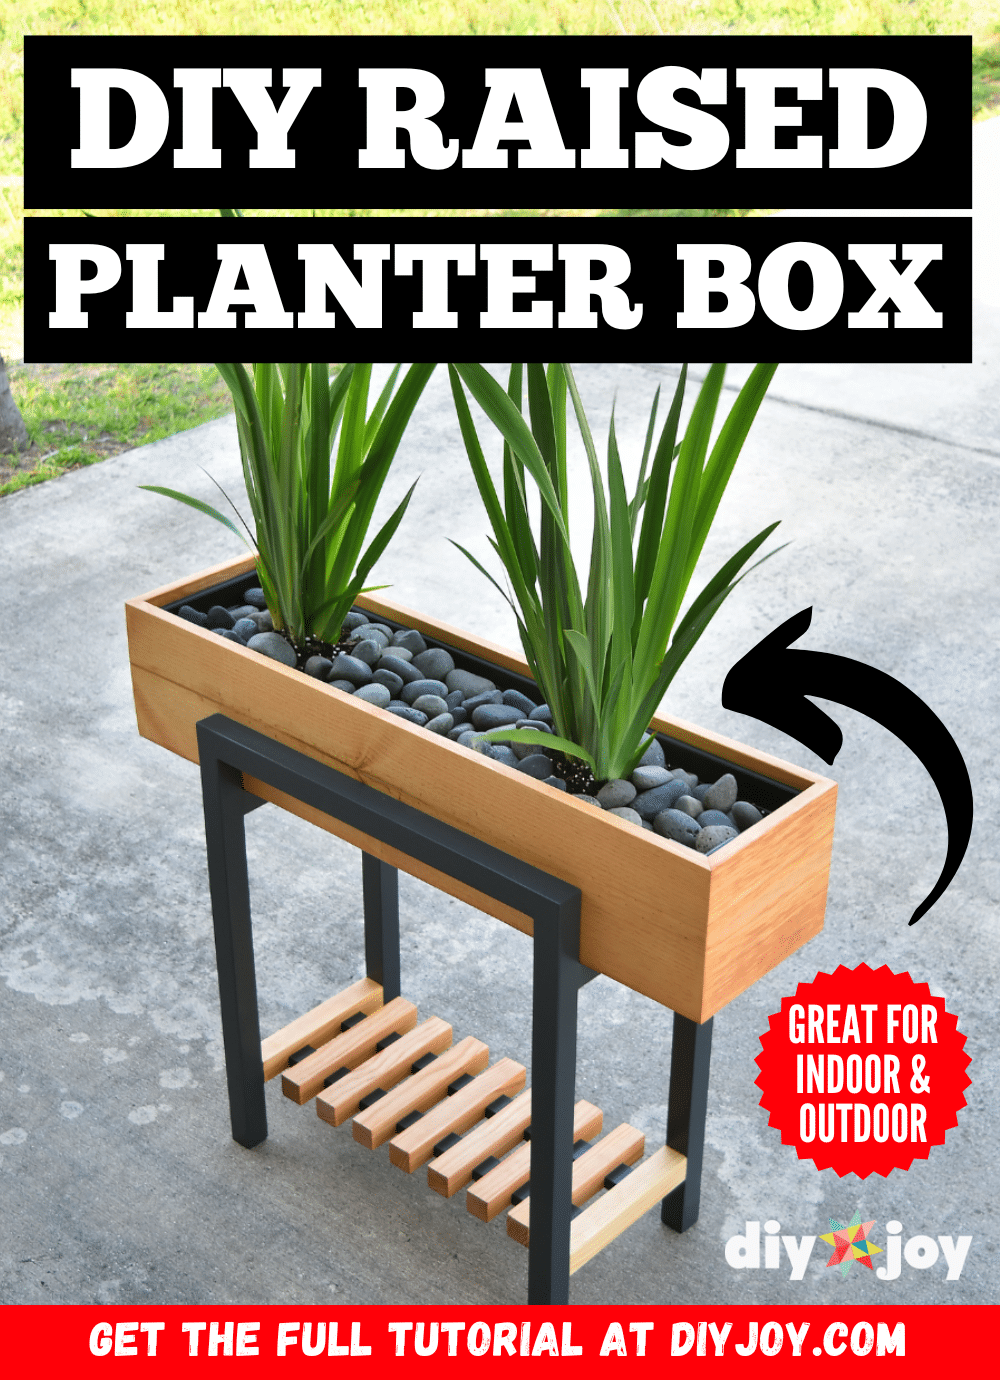
A few weeks ago, while browsing online for inspiration or ideas that I can try for a planter that I was planning to make, I stumbled upon this amazing project idea by DIY Creators on YouTube. This raised planter box would look great both indoors and outdoors, I can already imagine having a few of these in my house, and they are quite fun to build, too! You can ask a friend or family for a hand in this project or you can build it all on your own. Watch this video tutorial now and give this project a try!
Materials:
- 2×2 wood, for the stand and shelf
- Board, for the planter box
- Miter or circular saw
- Drill
- Screw
- Staple gun and nail
- Hammer
- Dowel rod
- Wood glue
- Sanding machine
- Stain and/or paint
- Pond liner
- Plastic planter
- Plan (Click here to download the plan)
Directions:
Step 1
Cut the 2x2s according to the plan instructions, then cut the board pieces for the planter box as well, and start drilling pocket holes. Grab the planter box wood pieces, then apply wood glue along the sides, and attach them together. Insert the screws into the pocket holes, then attach the board on the other side using the same process, and do this for the board on the shorter edges, too. Band clamp the whole planter box to hold them in place, then set them aside, and allow them to dry completely.
[social_warfare]
Step 2
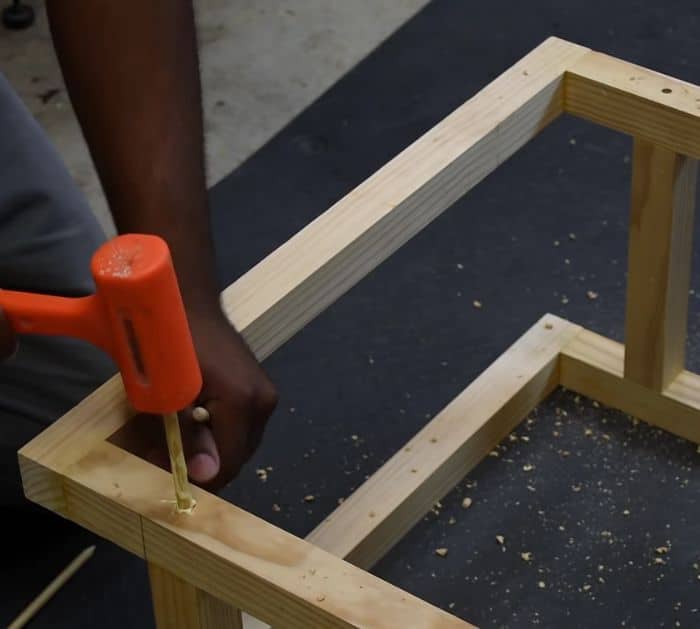
While waiting for the glue to set, prepare the stand of the planter, spread glue all over the sides before attaching them together, then dab glue inside the pocket holes, and insert dowel rods on them pushing them in with a hammer. Cut the excess dowel a bit higher than the wood, then hold them together with a clamp, and make another set.

Step 3
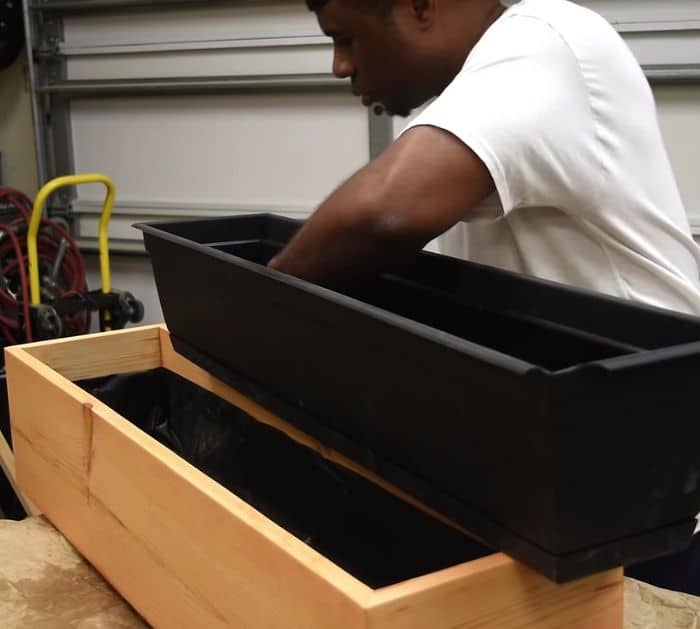
Allow the glue to dry completely, then cut the wood pieces for the joints and shelves, and attach them to the planter stand using wood glue and dowel rods. Once the glue has dried, start sanding everything smoothly, then stain and/or paint them as desired, and allow them to dry completely. Line the planter box with a pond liner, then transfer the plant and soil to a plastic planter box, and place it inside the wooden planter box that you built.

*All image credit belongs to DIY Creators via YouTube. Follow and subscribe to his channel for more!


