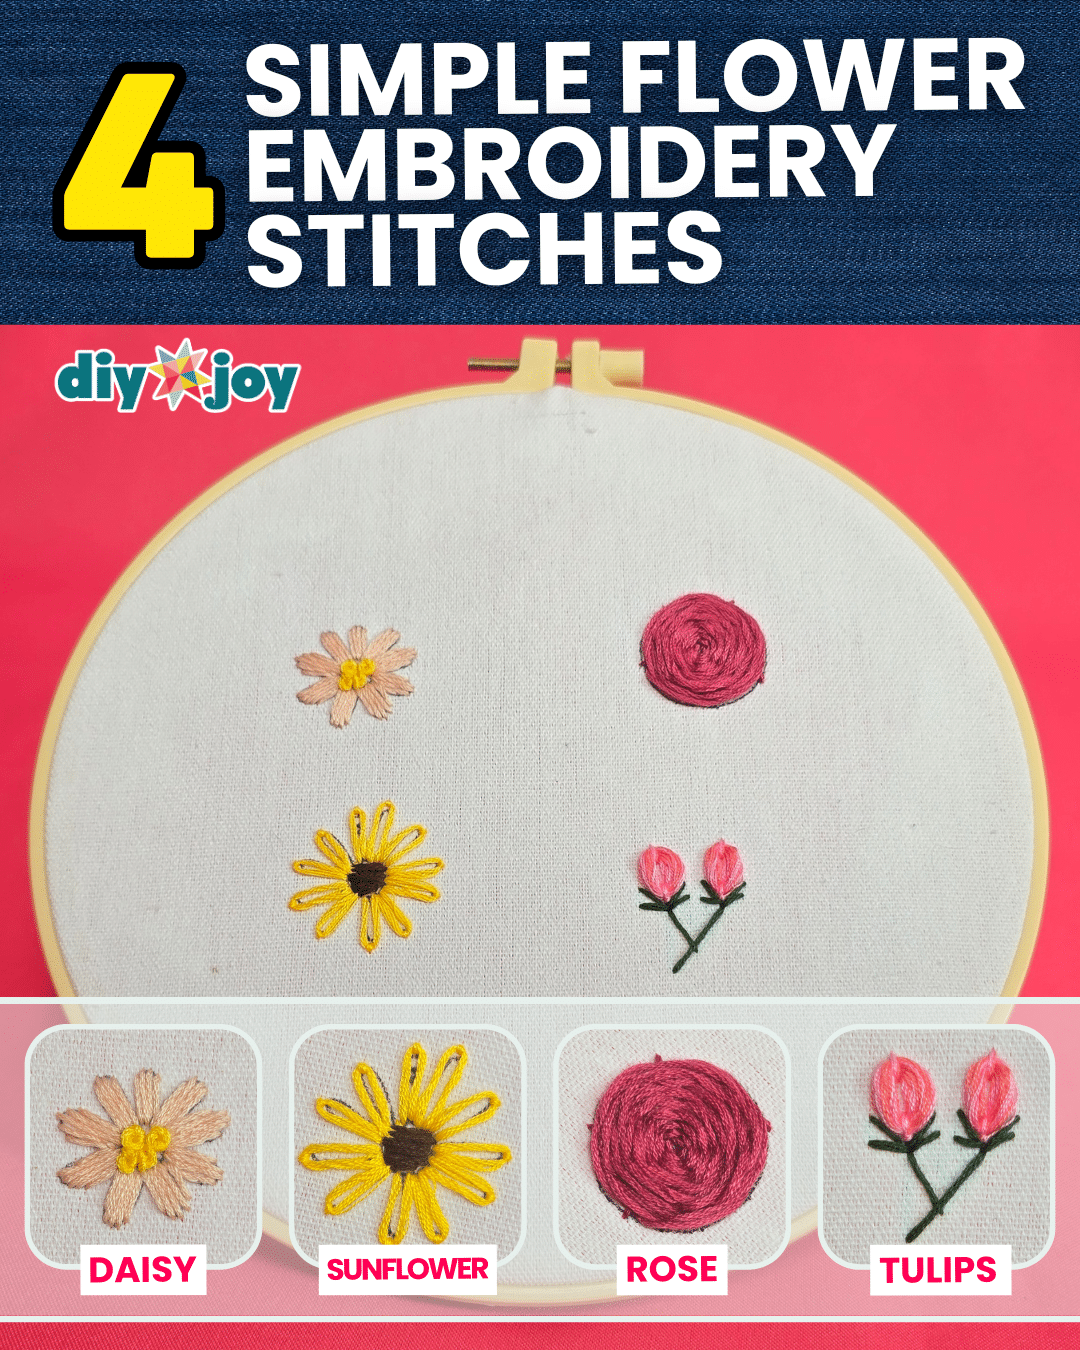
If you’re looking for a relaxing and creative way to spend your time while making sure to be productive, then this idea is perfect for you! In this tutorial, you will learn how to stitch four simple and beautiful flower designs: a daisy, a rose, a sunflower, and a tulip. These floral embroidery stitches are not only very easy to learn but also incredibly satisfying to create. Whether you’re brand new to embroidery or just looking to practice your basic stitching, these flower patterns are a fun and approachable way to build your skills.
Each stitch is broken down step by step so you can follow along at your own pace. With just a needle, some thread, and a piece of fabric, you’ll be able to complete all four flower designs in just 30 minutes or less. That’s right—this is a quick skill you can learn in under an hour, making it ideal for busy crafters or anyone looking to try something new without a big time commitment.
So grab your materials and join me in this easy and fun embroidery session. By the end of the video, you’ll have four charming flower designs under your belt and a brand new hobby to enjoy. Let’s get stitching and bring a little handmade beauty into your day!
What You’ll Need for Embroidery
- Embroidery Hoop
- Needle and Thread
- Scissors
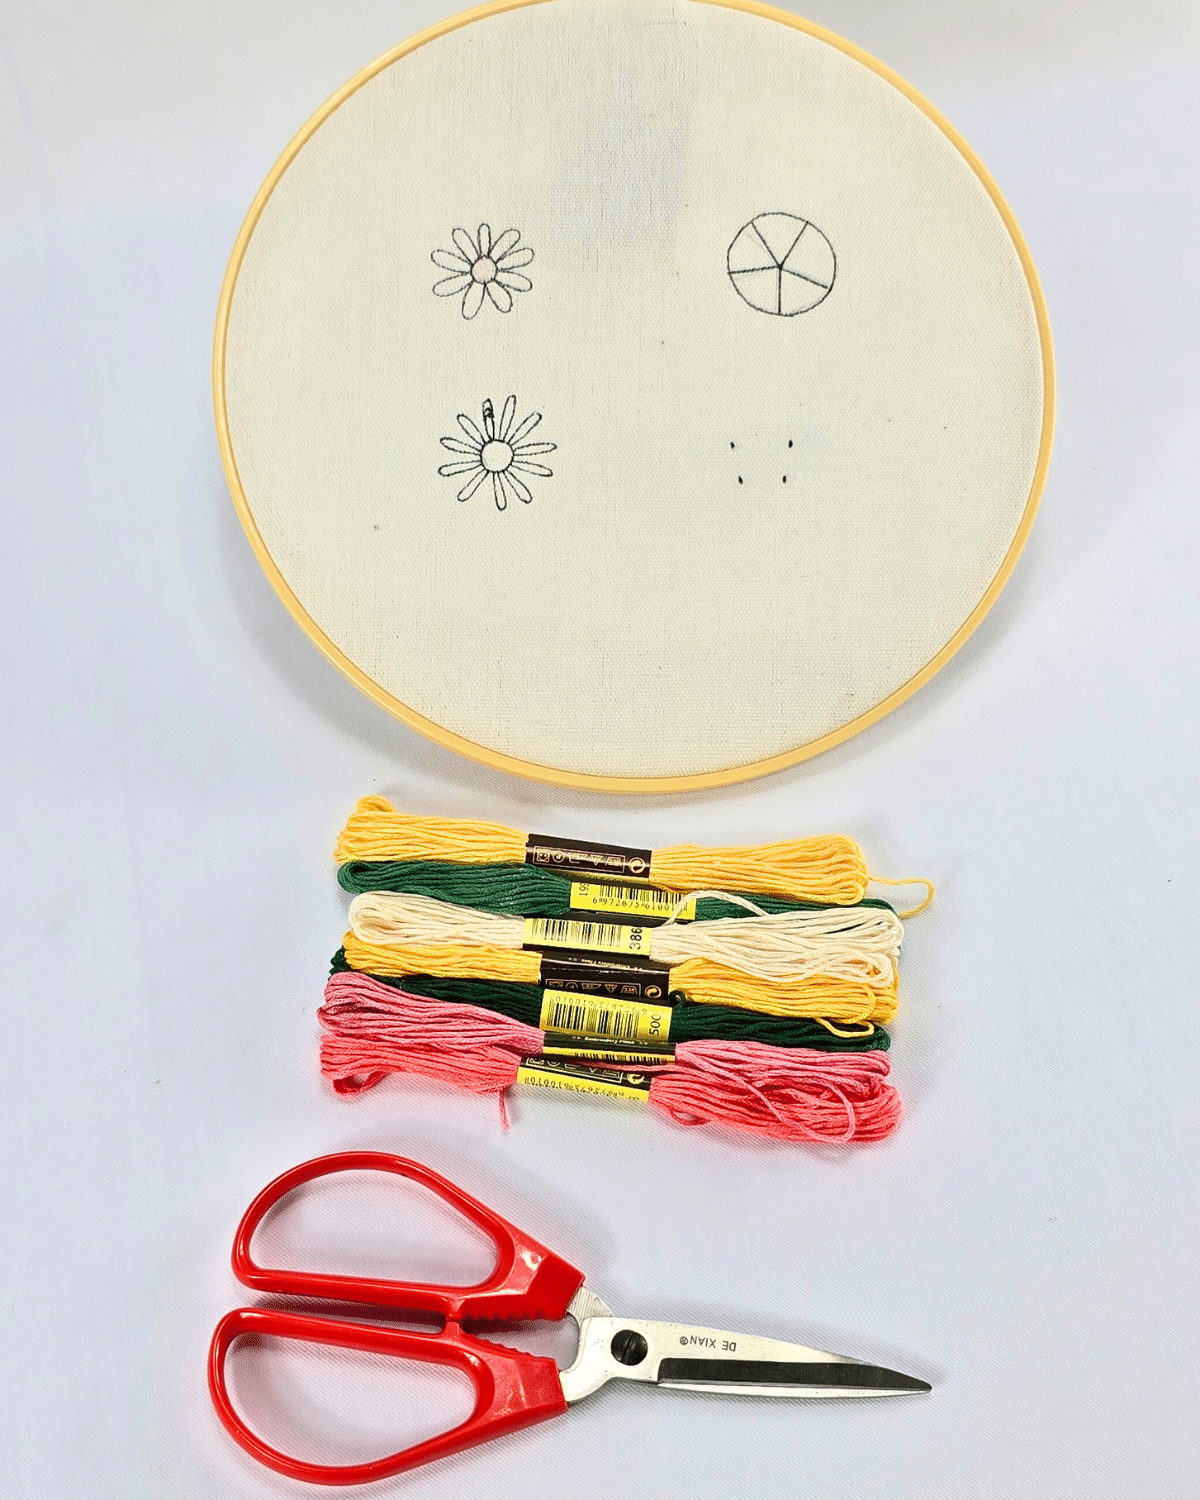
![]()
Why You’ll Love This Embroidery Design
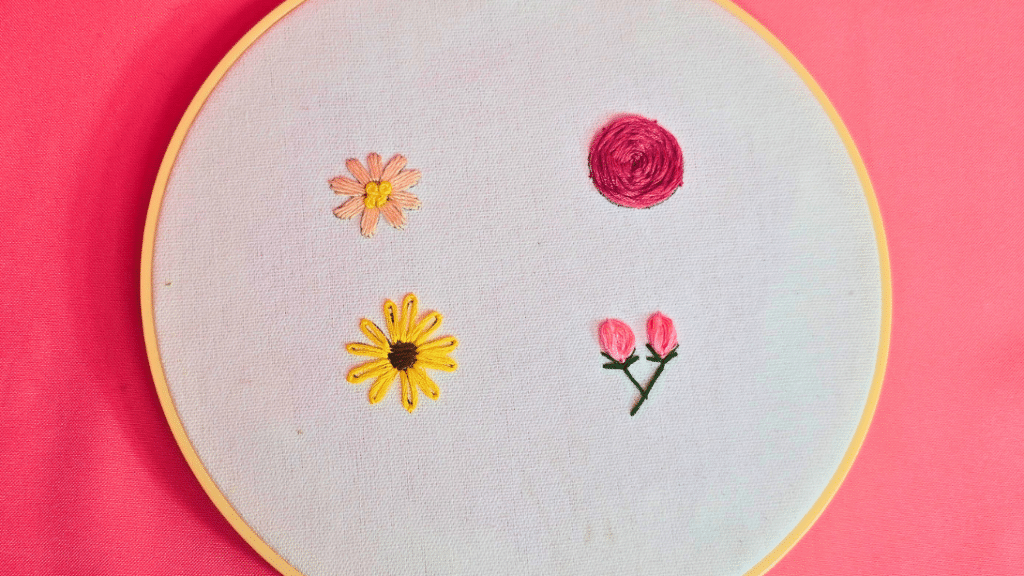
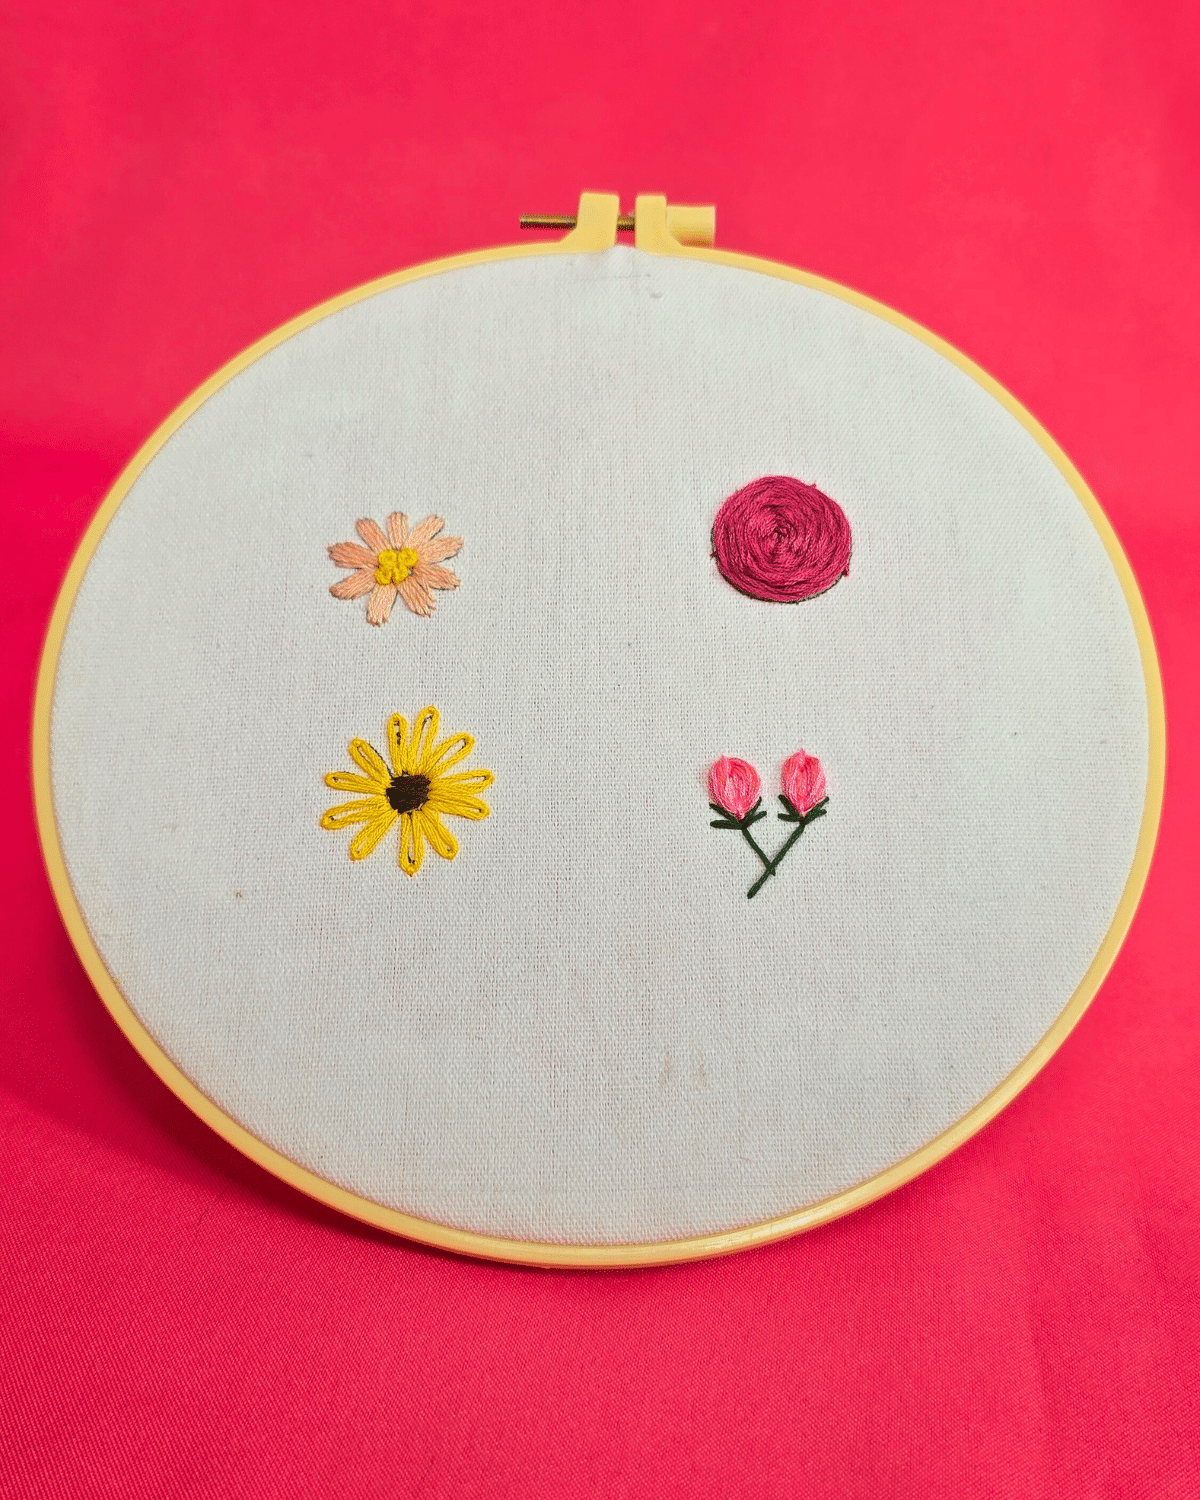
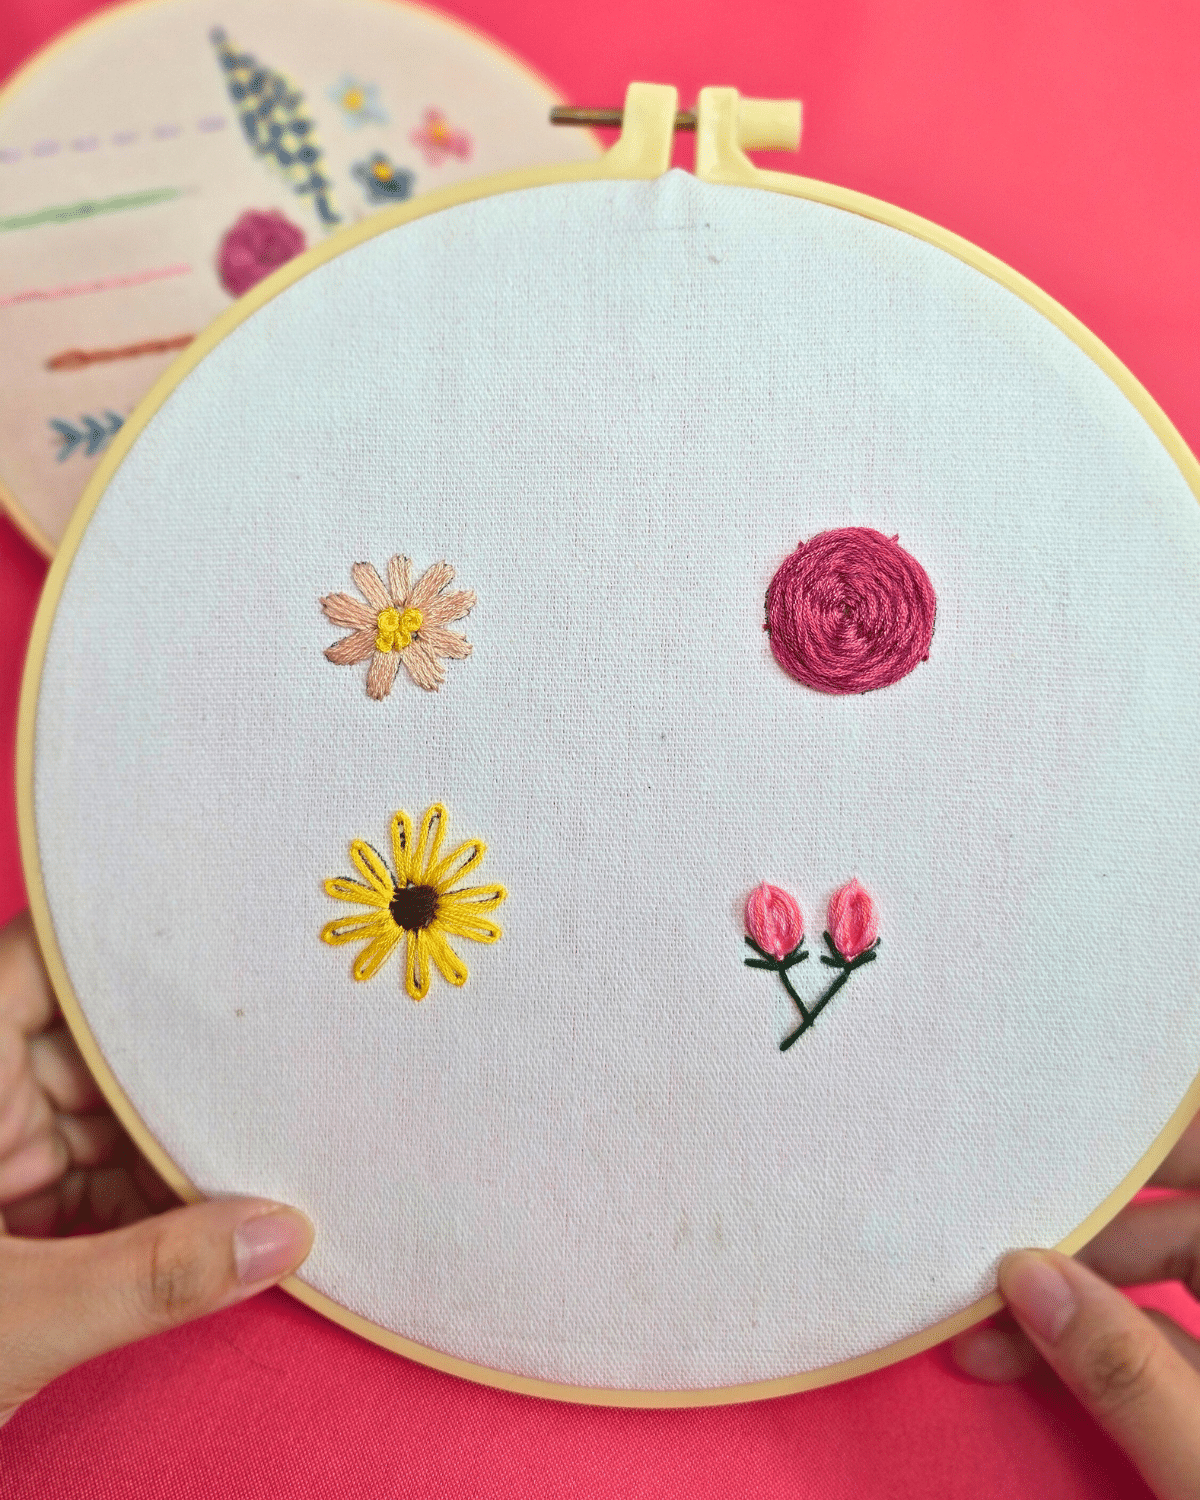
These cute and colorful flowers are perfect for decorating clothing, personalizing accessories, adding flair to fabric gifts, or even creating your own embroidery art pieces. From the delicate petals of the daisy to the bold bloom of the sunflower, each stitch adds a unique touch to your handmade creations.
How to Embroider a Flower
4 Simple Flower Embroidery Step-by-Step Guide
Daisy Embroidery Stitch

How to Embroider a Daisy
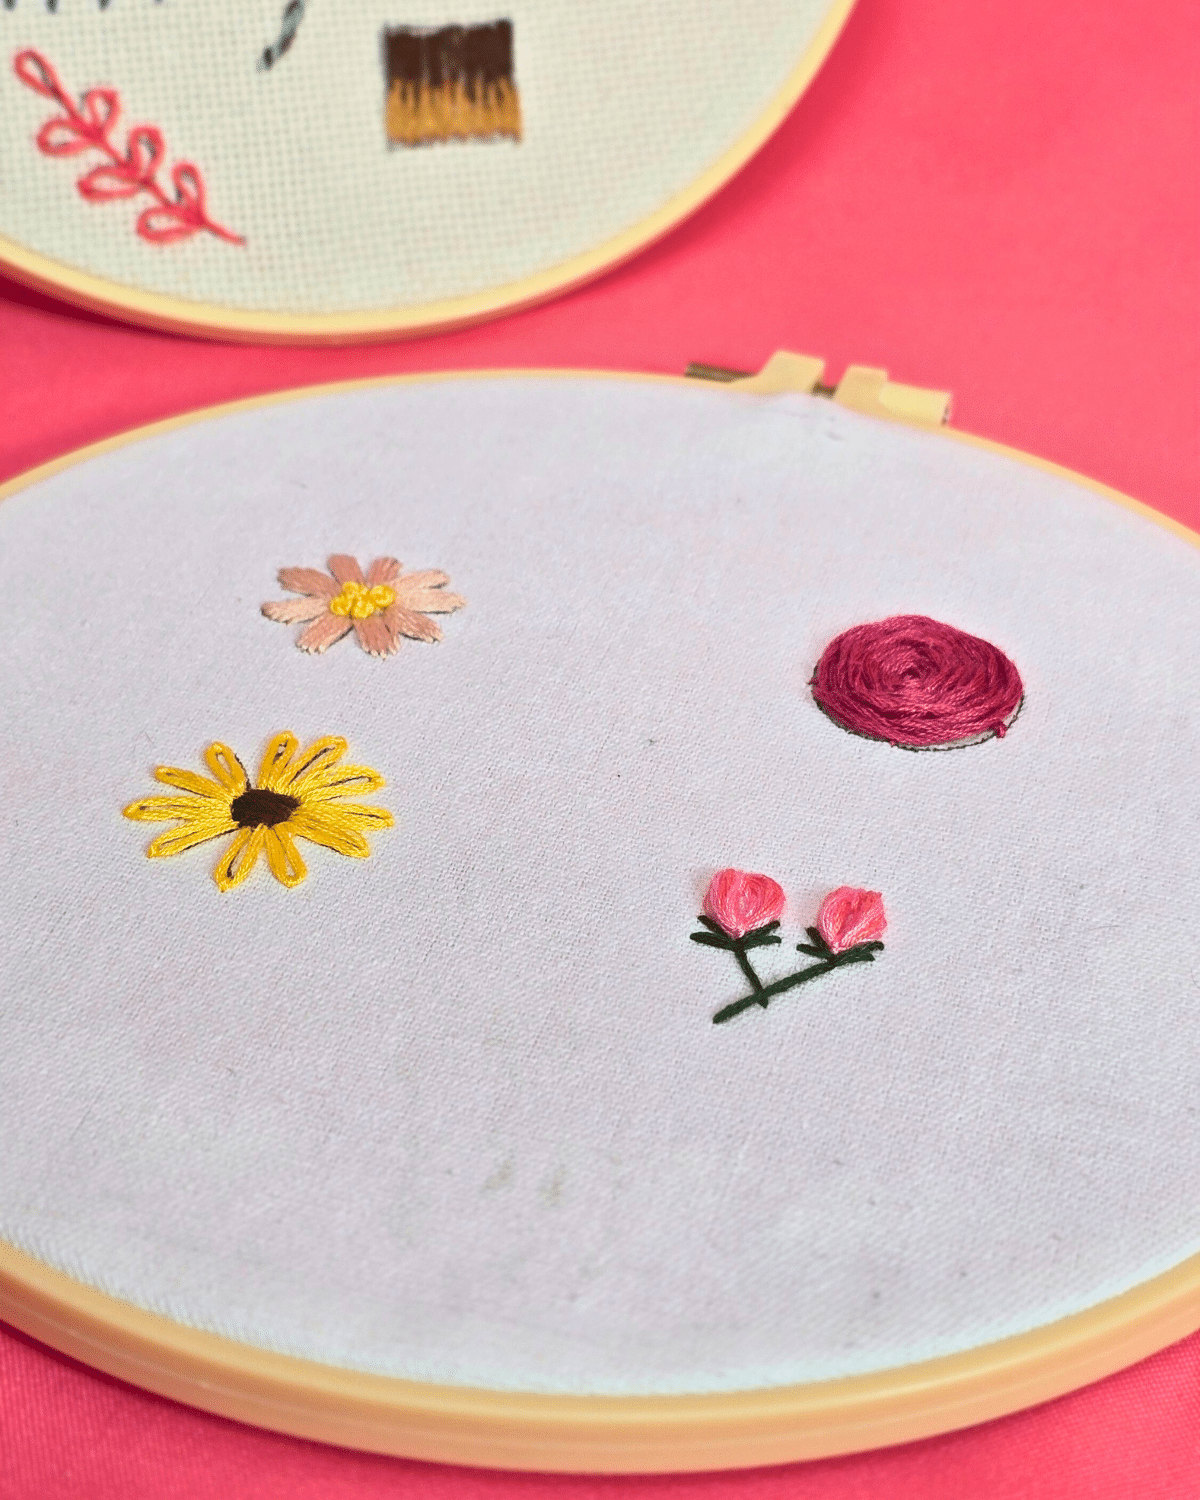
Bring the needle up at your starting point, push it right above the tip of the petal, then pull the thread all the way to the back, and push it to your next starting point, right beside the first one. Repeat the steps until you’ve filled the entire petal. Do the same for the other petals, then make French Knots at the center.Rose Embroidery Stitch
How to Embroider a Rose
Sew all along the 5 lines of your pattern to make a star. Insert your needle under one thread, then skip over to the next, and insert under the next one. Keep doing this motion until you’ve covered the entire circle or you’re content with the size of your rose.Sunflower Embroidery Stitch
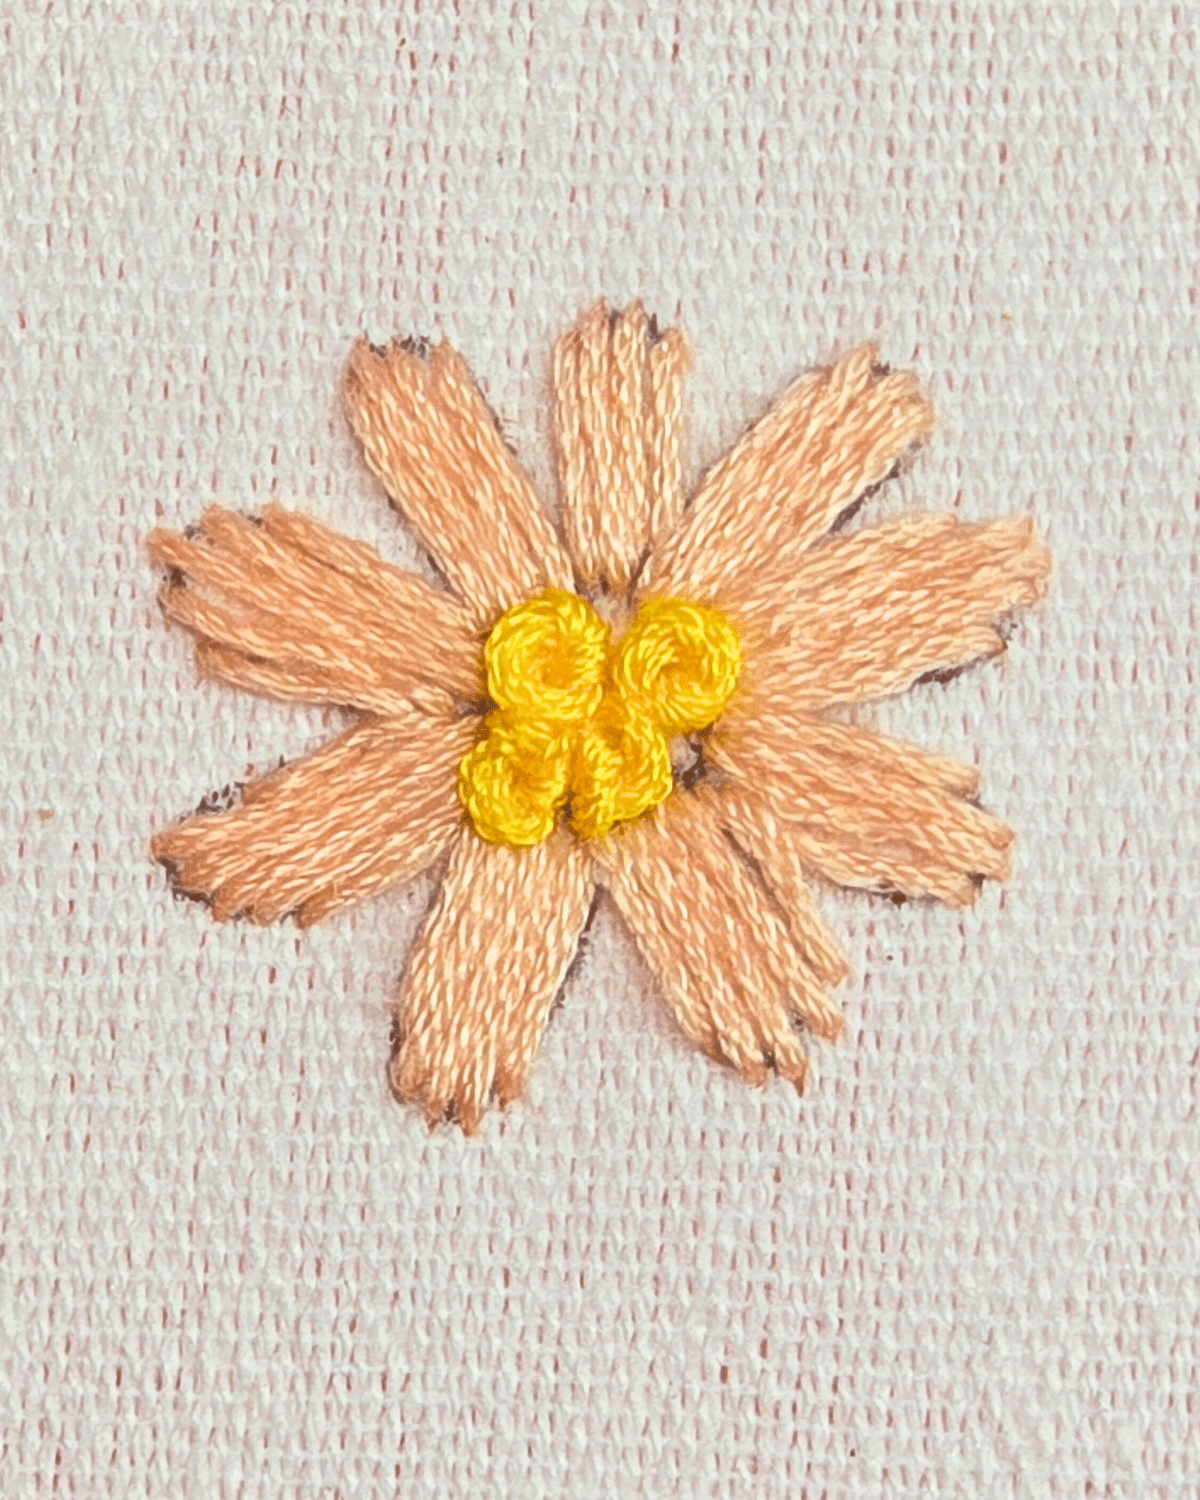
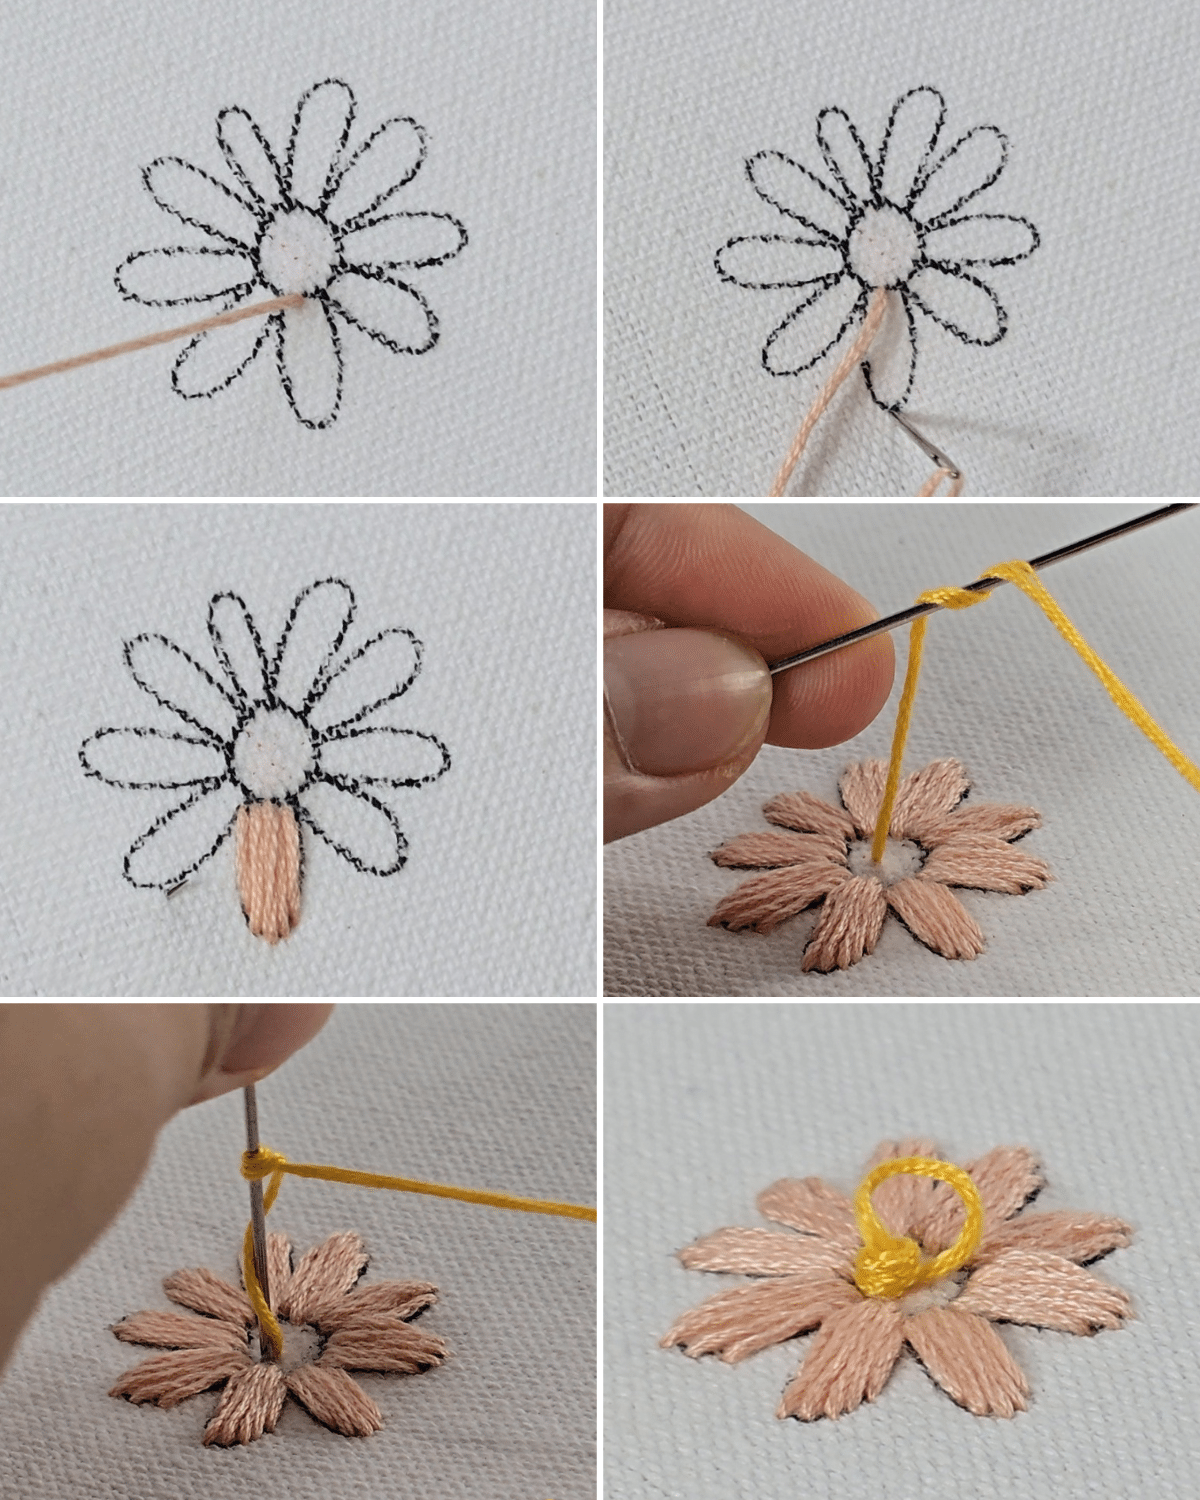
How to Embroider a Sunflower
Insert the needle up at your starting point, then insert it back down near the starting point, then pull it gently, but don’t pull all the way, and leave a loop. Insert the needle into the center of the tip of the petal from under the fabric, and bring it over the top of your loop before pulling and locking it in place. Repeat the steps for the rest of the petals, then make a satin stitch for the center.
Tulip Embroidery Stitch
How to Embroider a Tulip
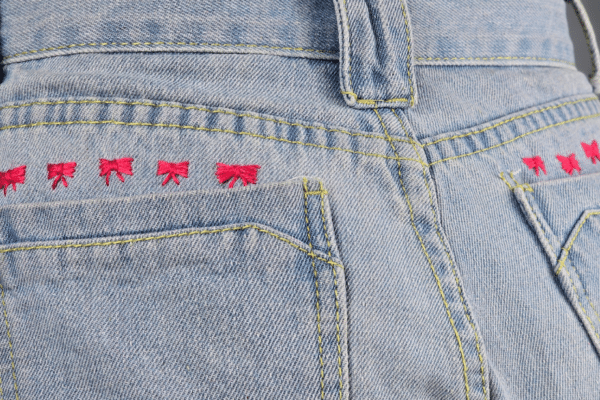
Make 2 small stitches that are about ¼-½ inch apart, one located at the top and the other below it. Insert your needle beside the bottom stitch and pull all the way. Insert your thread into the upper stitch, loop it around, then insert it through the bottom thread. Continue the motion until the desired tulip size. Repeat the steps for the other tulip, then embroider the leaves and stem as shown in the pictures above.
 Bring the needle up at your starting point, push it right above the tip of the petal, then pull the thread all the way to the back, and push it to your next starting point, right beside the first one. Repeat the steps until you’ve filled the entire petal. Do the same for the other petals, then make French Knots at the center.
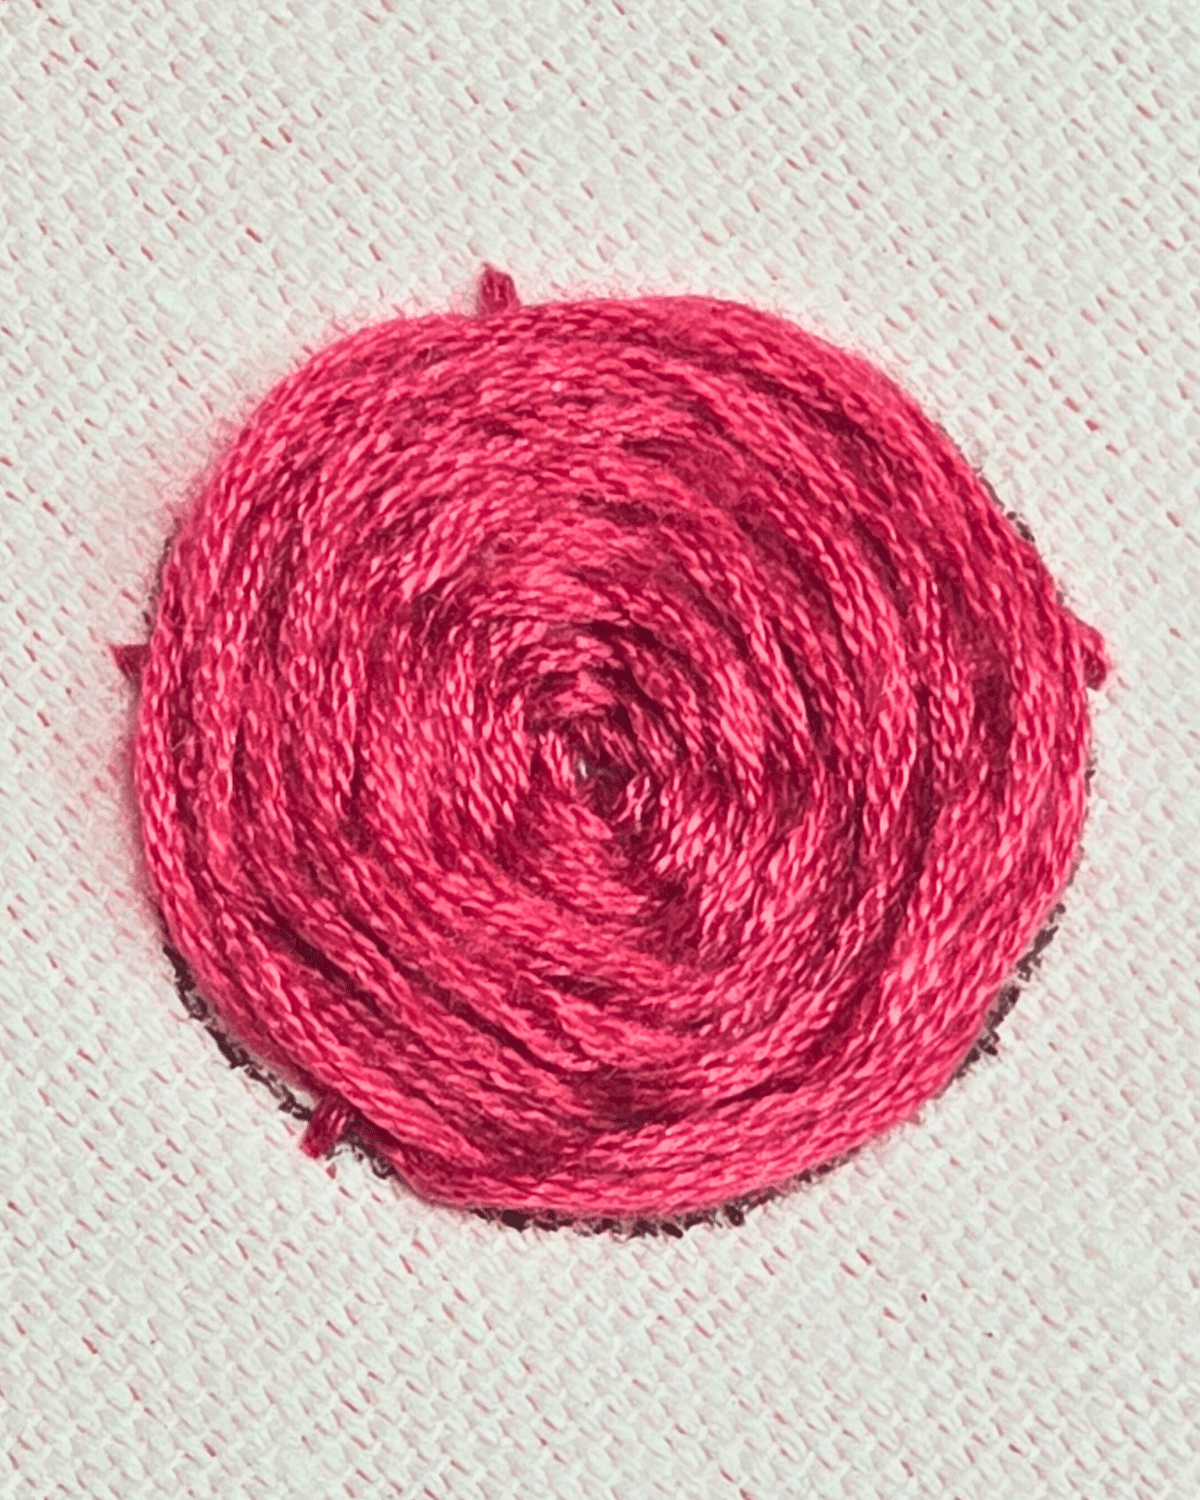
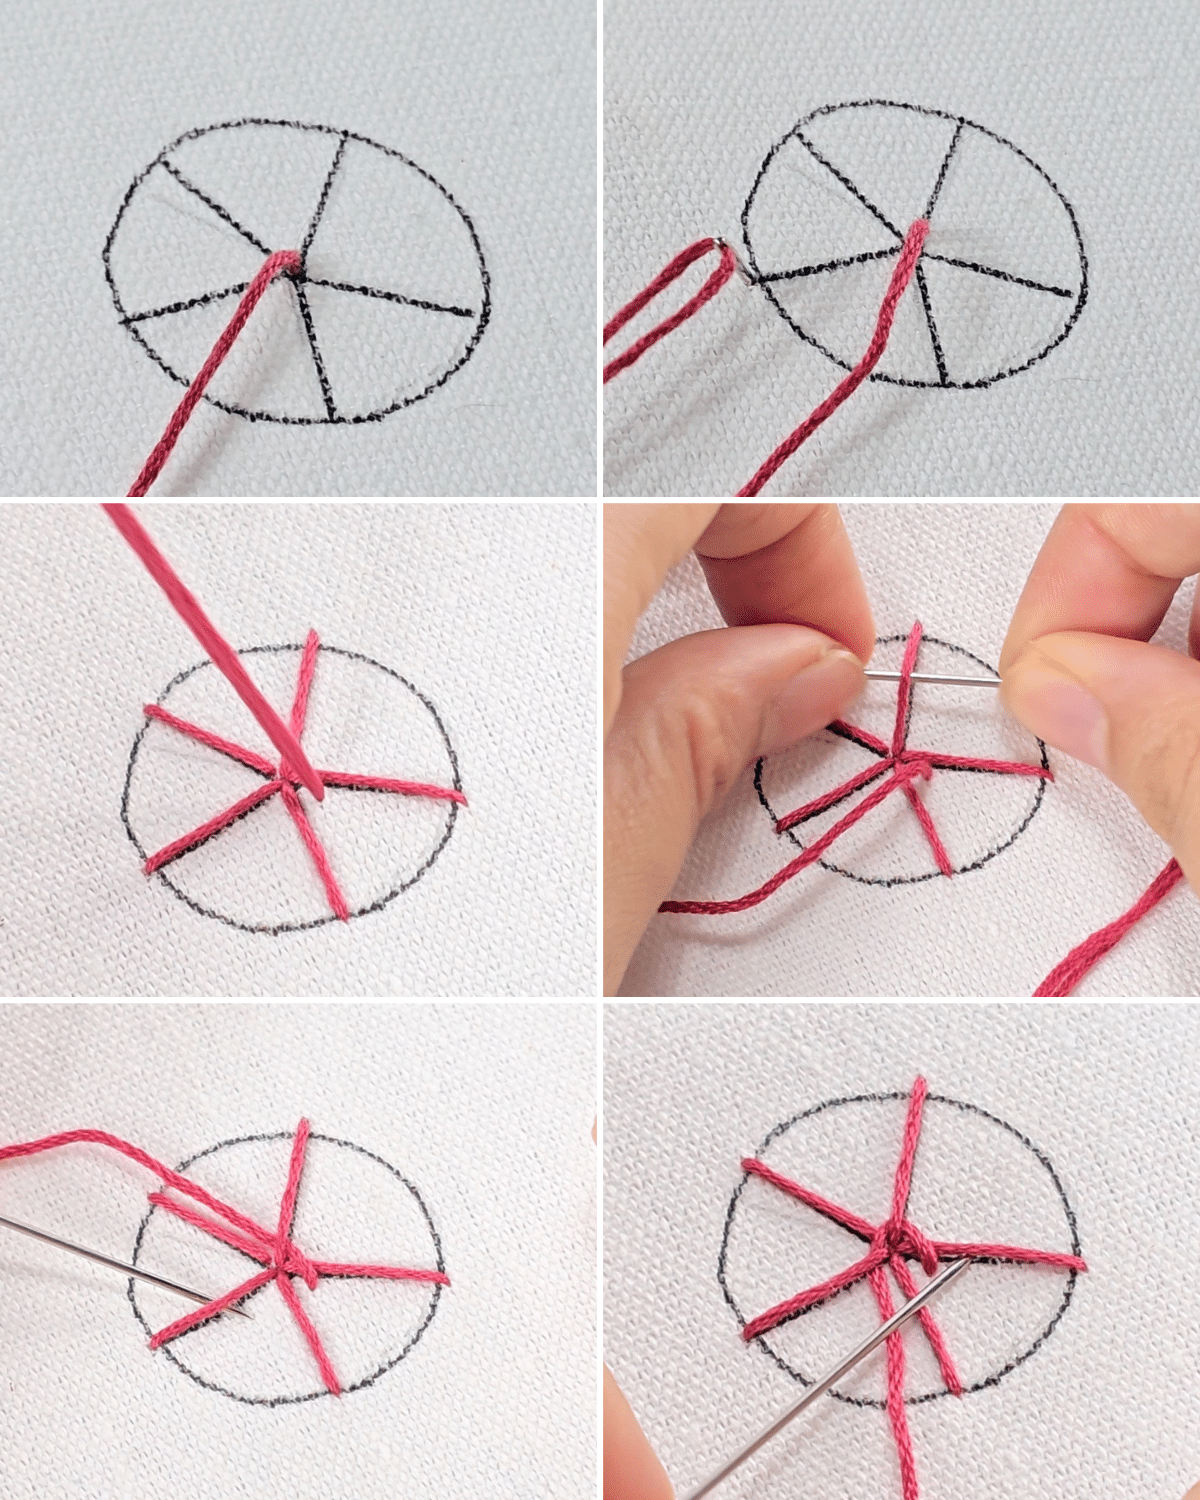 Sew all along the 5 lines of your pattern to make a star. Insert your needle under one thread, then skip over to the next, and insert under the next one. Keep doing this motion until you’ve covered the entire circle or you’re content with the size of your rose.
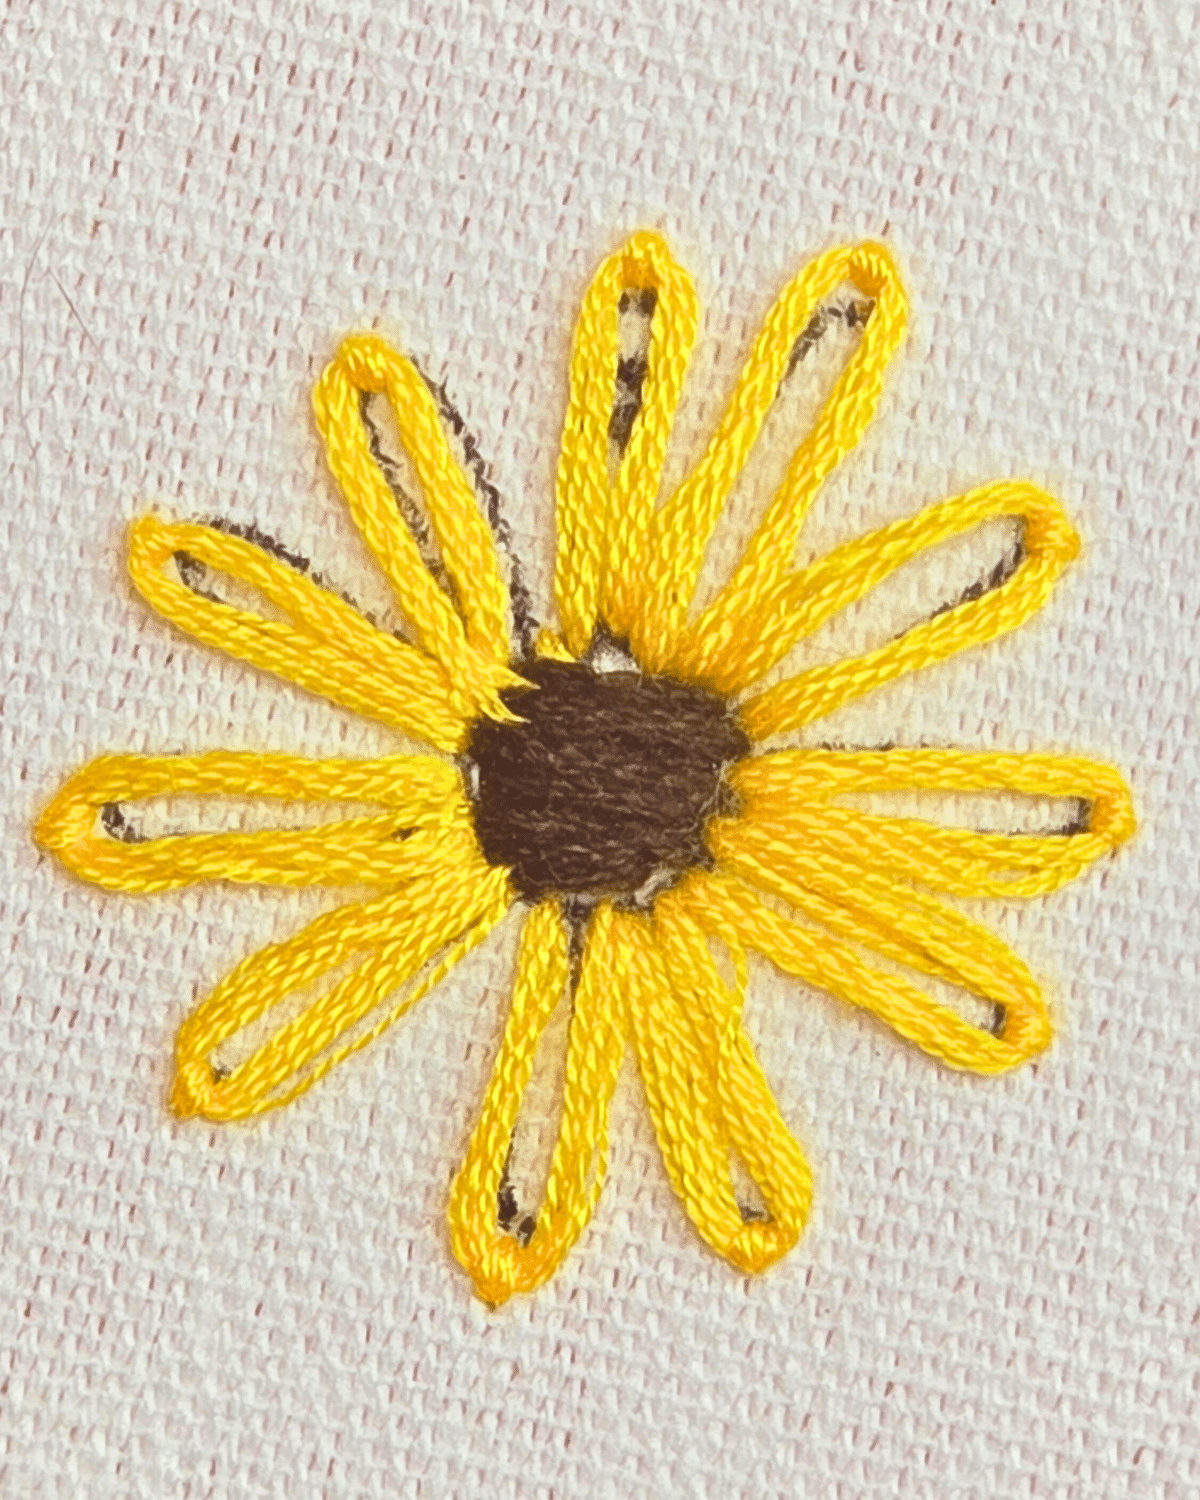
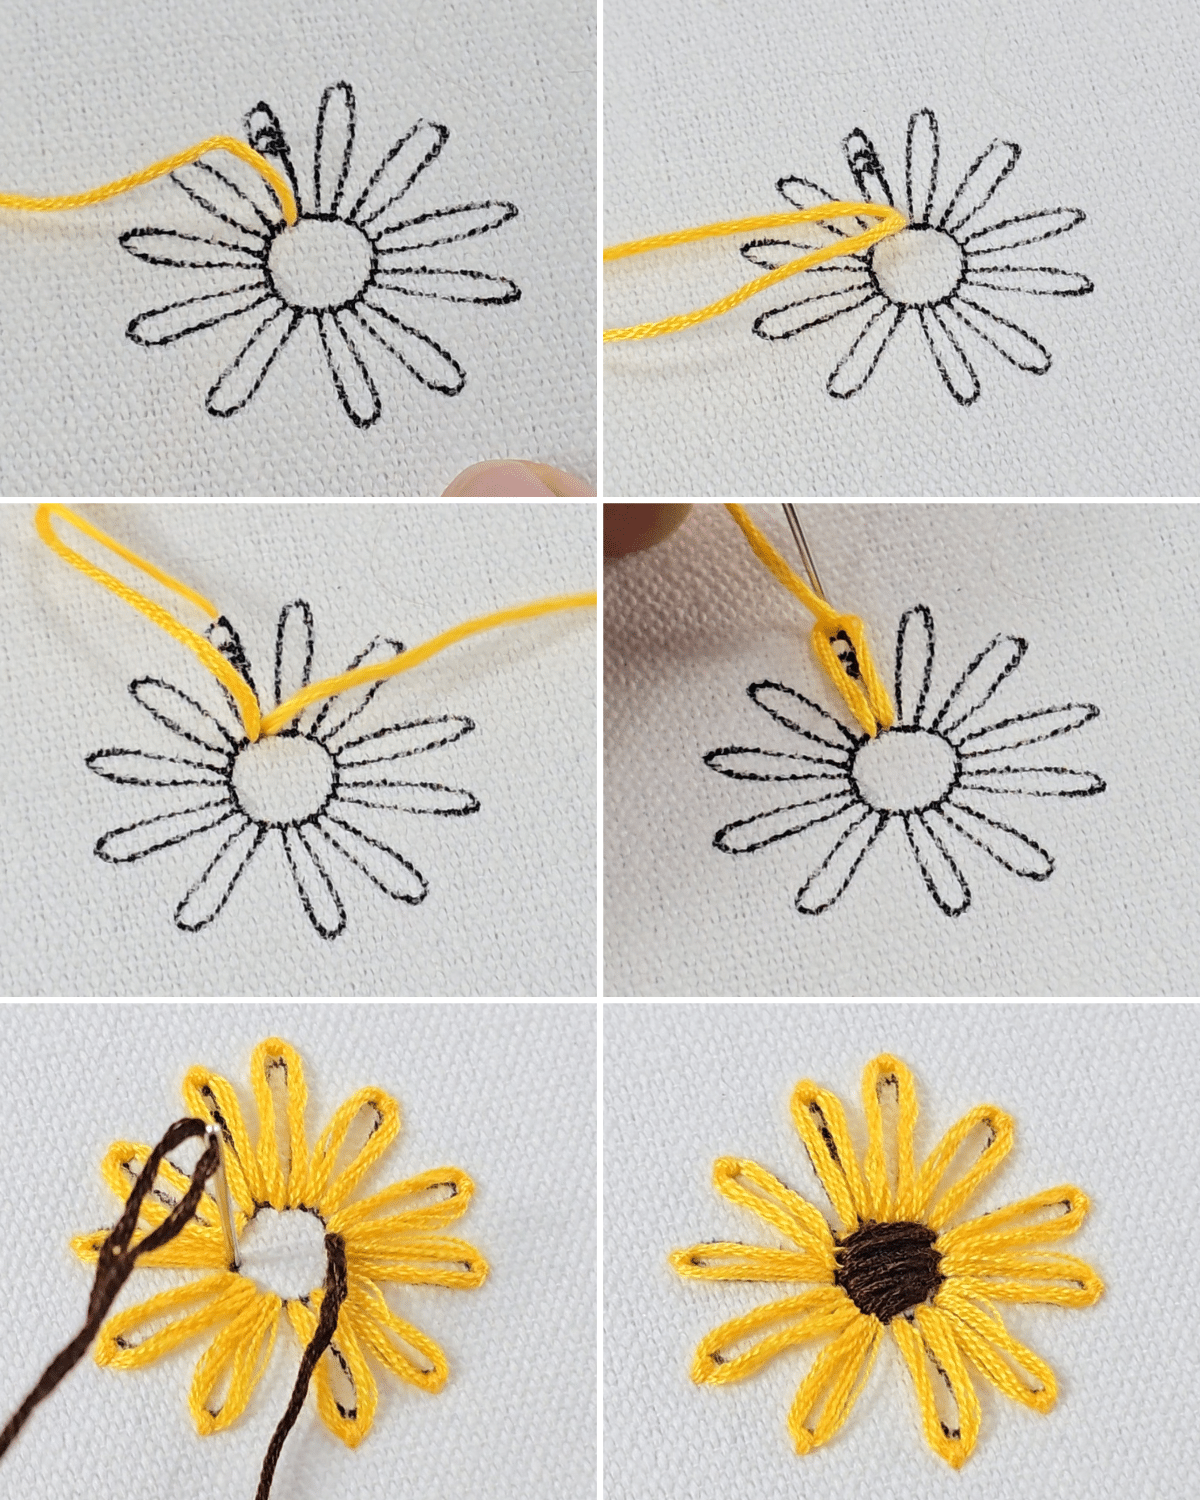 Insert the needle up at your starting point, then insert it back down near the starting point, then pull it gently, but don’t pull all the way, and leave a loop. Insert the needle into the center of the tip of the petal from under the fabric, and bring it over the top of your loop before pulling and locking it in place. Repeat the steps for the rest of the petals, then make a satin stitch for the center.
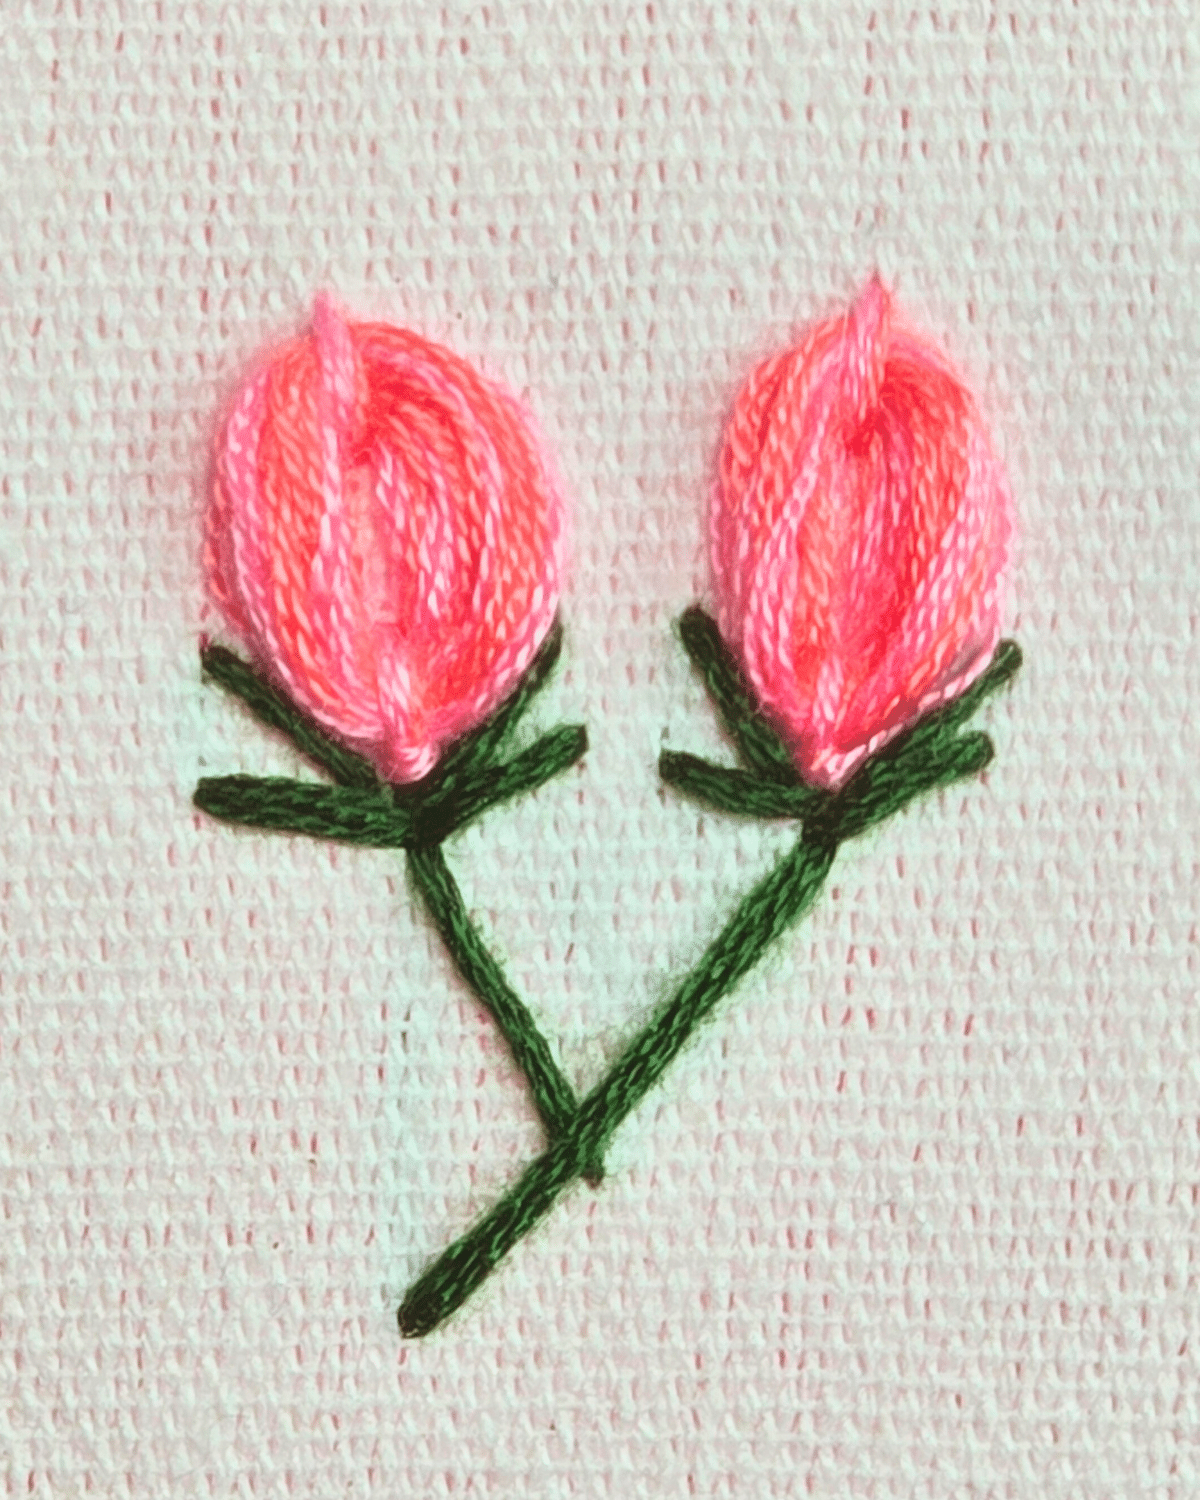
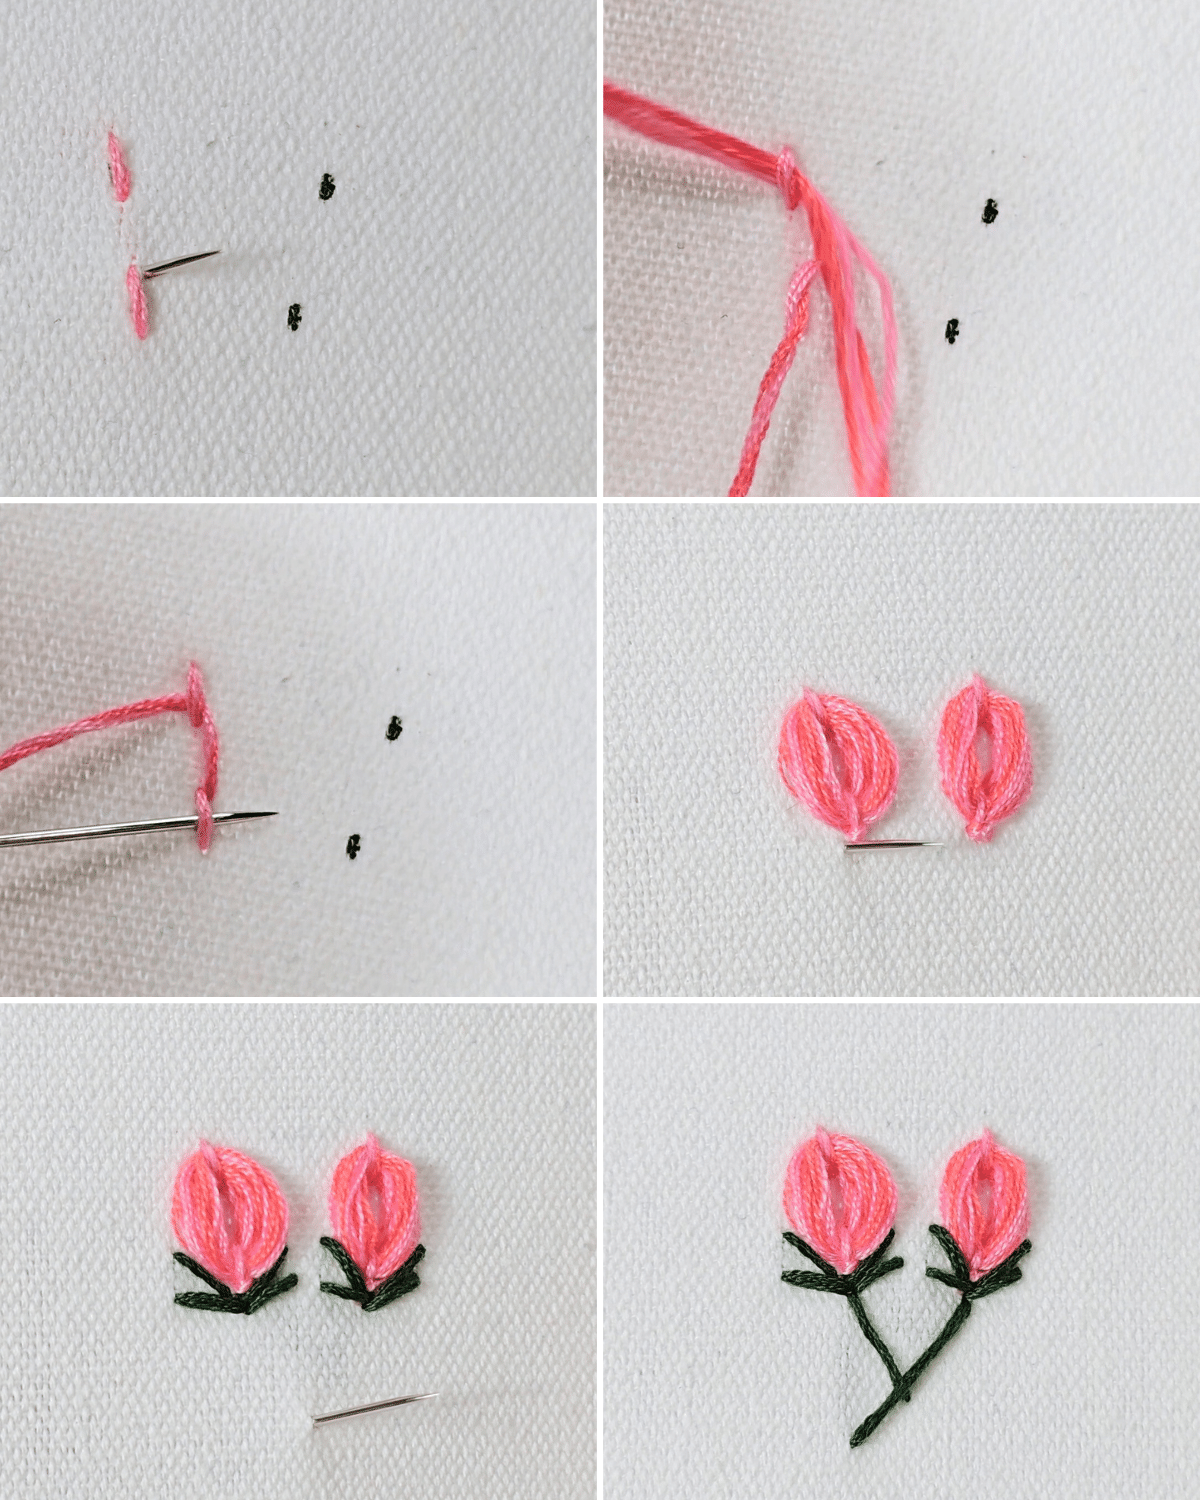 Make 2 small stitches that are about ¼-½ inch apart, one located at the top and the other below it. Insert your needle beside the bottom stitch and pull all the way. Insert your thread into the upper stitch, loop it around, then insert it through the bottom thread. Continue the motion until the desired tulip size. Repeat the steps for the other tulip, then embroider the leaves and stem as shown in the pictures above.
Materials
- Embroidery Hoop
- Needle & Thread
- Scissors
Other Projects You’ll Love
Sewing Projects
Crafts
Sewing Ideas
Sewing Ideas
*If you love this craft, then visit our official website, follow our Facebook page, and subscribe to our YouTube channel for more!
4 Simple Flower Embroidery Stitches