Binding the raw edges of your project will stop them from fraying and hide raw edges, making a beautiful and finished look. To do this, you need a bias strip of fabric. There are three different ways of bias binding. You can do the half fold, single fold, or double fold. It may be difficult for beginners, but as you go along, it will be easier. If you are really struggling to make straight bindings, try this awesome sewing hack by AlejandraMezaDIY. I wish I had known this trick sooner – it would have helped me finish my projects faster. It’s a very simple hack using a piece of paper.
Bias Binding Hack
For this trick, she used a double fold bias tape. As the name suggests, it is folded twice. The outer edges are folded towards the middle then the strip is folded in half. This will create a clean finish with the bias edge seen on both sides of the project.
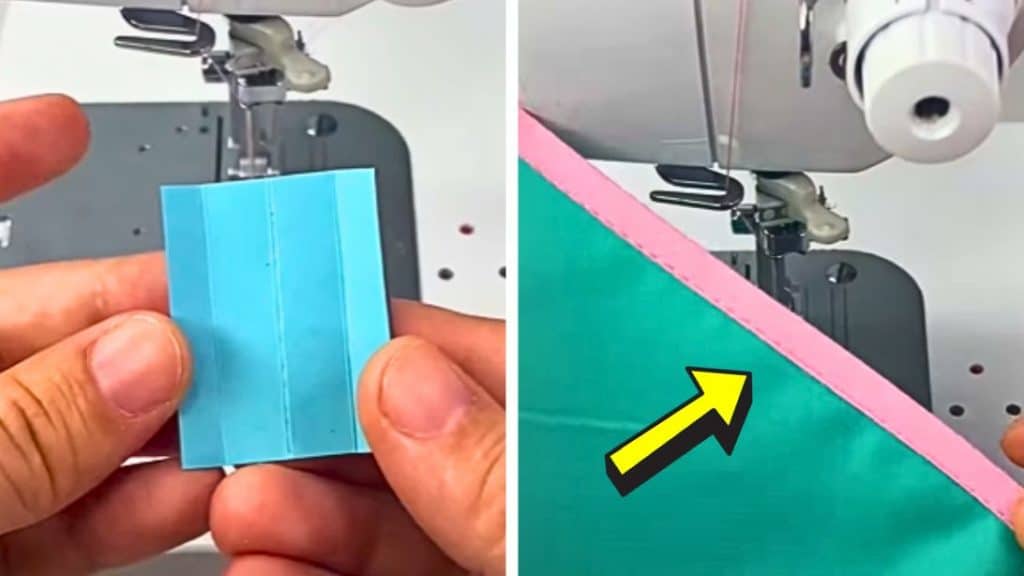
She started by getting a piece of cardboard paper, then double folded it just like a double-fold bias tape. Next, she opened it, inserted the double fold bias tape, and folded it in half again. You don’t need to pin your fabric into the bias tape with this technique.

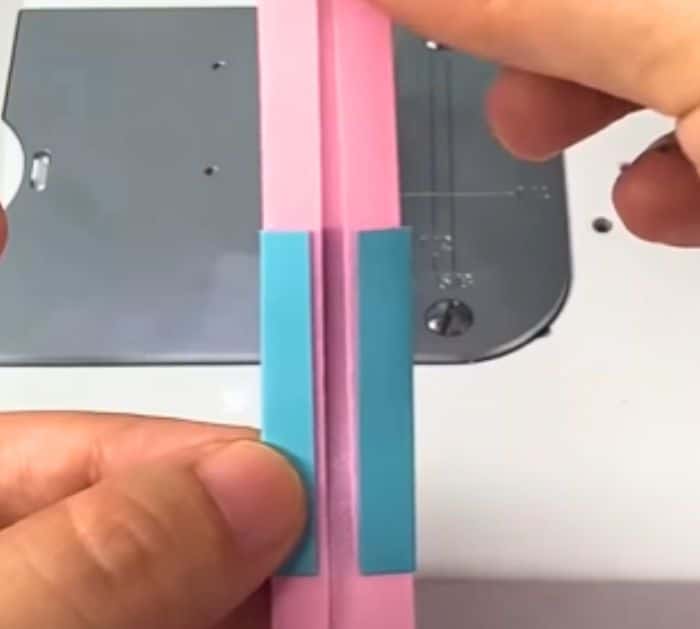
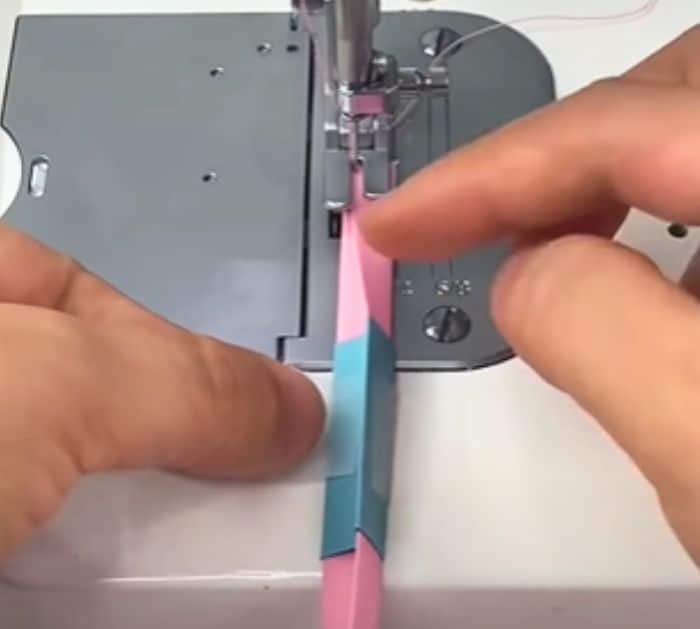
Insert the folded bias tape into your presser foot. Tape the top of the small piece of cardboard paper to the right. Open it up and tape the other side to the left. This will keep it in place while you sew.

Insert the edge of your fabric into the folded bias tape then sew how you normally would. This will make sewing the binding much easier. The bias tape won’t move, and you can focus on sewing a straight line.


