This tutorial on how to sew your own double-faced quilted fabric from Nancy’s Notions on Youtube will let you have your own quilted fabric that you can later transform into something awesome! It’s a technique applicable for any size of fabric – easy, quick, and you can totally design it on your own. Watch the video tutorial below to learn the step-by-step process.
Materials:
- top fabric (fat quarter)
- backing fabric (fat quarter)
- batting (same size as your top/backing fabrics)
- matching thread or monofilament thread
- 505 basting spray
- binding buddy ruler
- marking pen
- deluxe walking foot
- rotary cutter and mat
- sewing machine
Directions:
Step 1
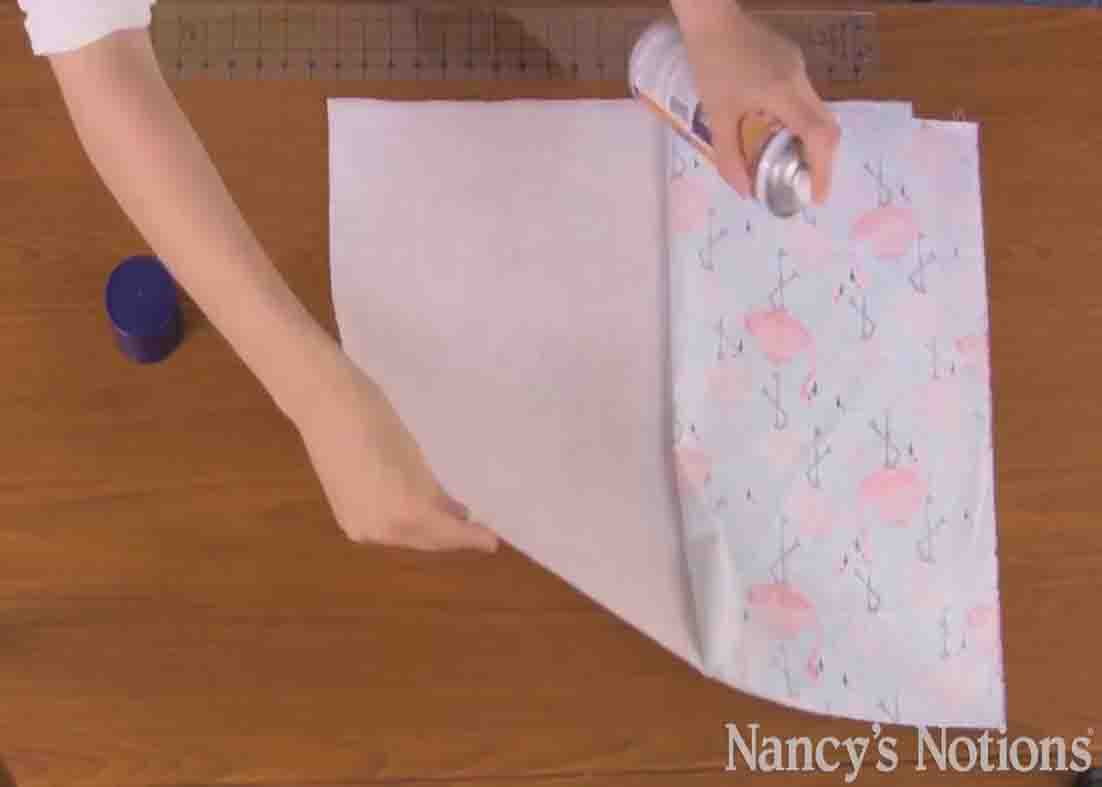
Layer your backing, batting, and the top fabric. Next, spray your basting spray, one layer at a time. After this, use the binding buddy to mark lines (draw an “X” from corner to corner across the fabric.) Stitch along one line. (You can clip the extra fabric out of the way to sew better.) Now, line up your stitching with the guide on the foot, then stitch.
[social_warfare]
Step 2
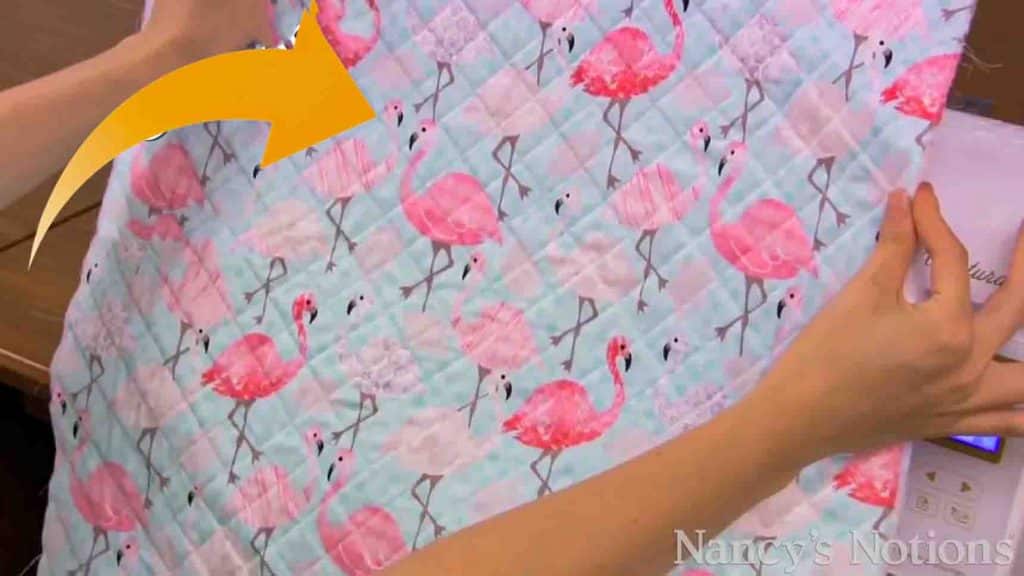
Flip the front to back for each row to prevent puckers. Now, sew the other direction or the other line. (Flipping from one side to the other as you stitch keeps the fabric from stretching and bubbling.) Your quilt fabric is now finished. Now, turn it into something awesome!

Sew Your Own Double-Faced Quilted Fabric Tutorial


