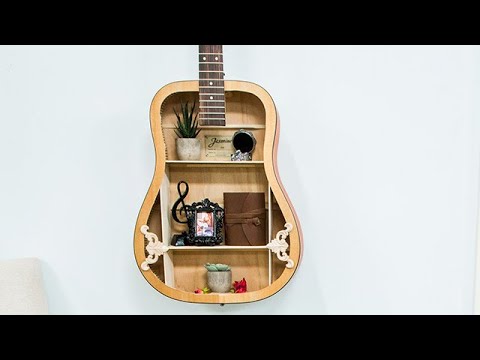
If you have an old guitar just lying around your house and don’t know what to do with it, then you might want to try this amazing project idea by Hallmark Channel on YouTube! However, if you don’t own an old guitar but would still like to make this decor for your house, then you can try to purchase an old or used guitar online or you can always try the flea market. Hope you love and enjoy this project as much as I did.
Materials:
- Old guitar
- Craft wood for shelves
- Wood glue
- Jig saw
- Pencil
- Tape measure
- Wood glue or hot glue
- Sandpaper, 60 grit and 100 grit
Optional
- Wall guitar hanger
- Acrylic paint
- Small LED lights
Directions:
Step 1
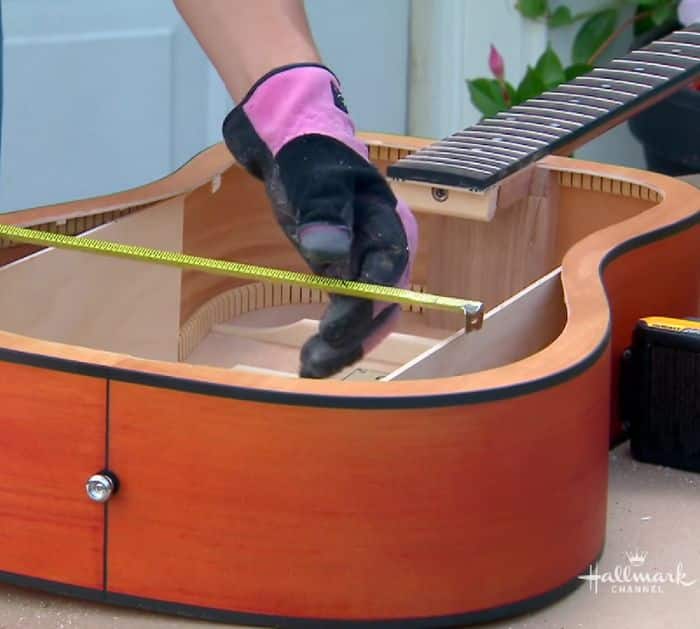
First off, remove all of the strings of the guitar, then use a pencil and a piece of cardboard as a guide, draw a line along the face of the guitar as shown in the video, and cut it out with a jigsaw. Remove the cutout guitar face, then sand the cut edges until nice and smooth, measure the areas where you would like to put the shelves, and start cutting the board pieces for the shelves using a saw.
[social_warfare]
Step 2
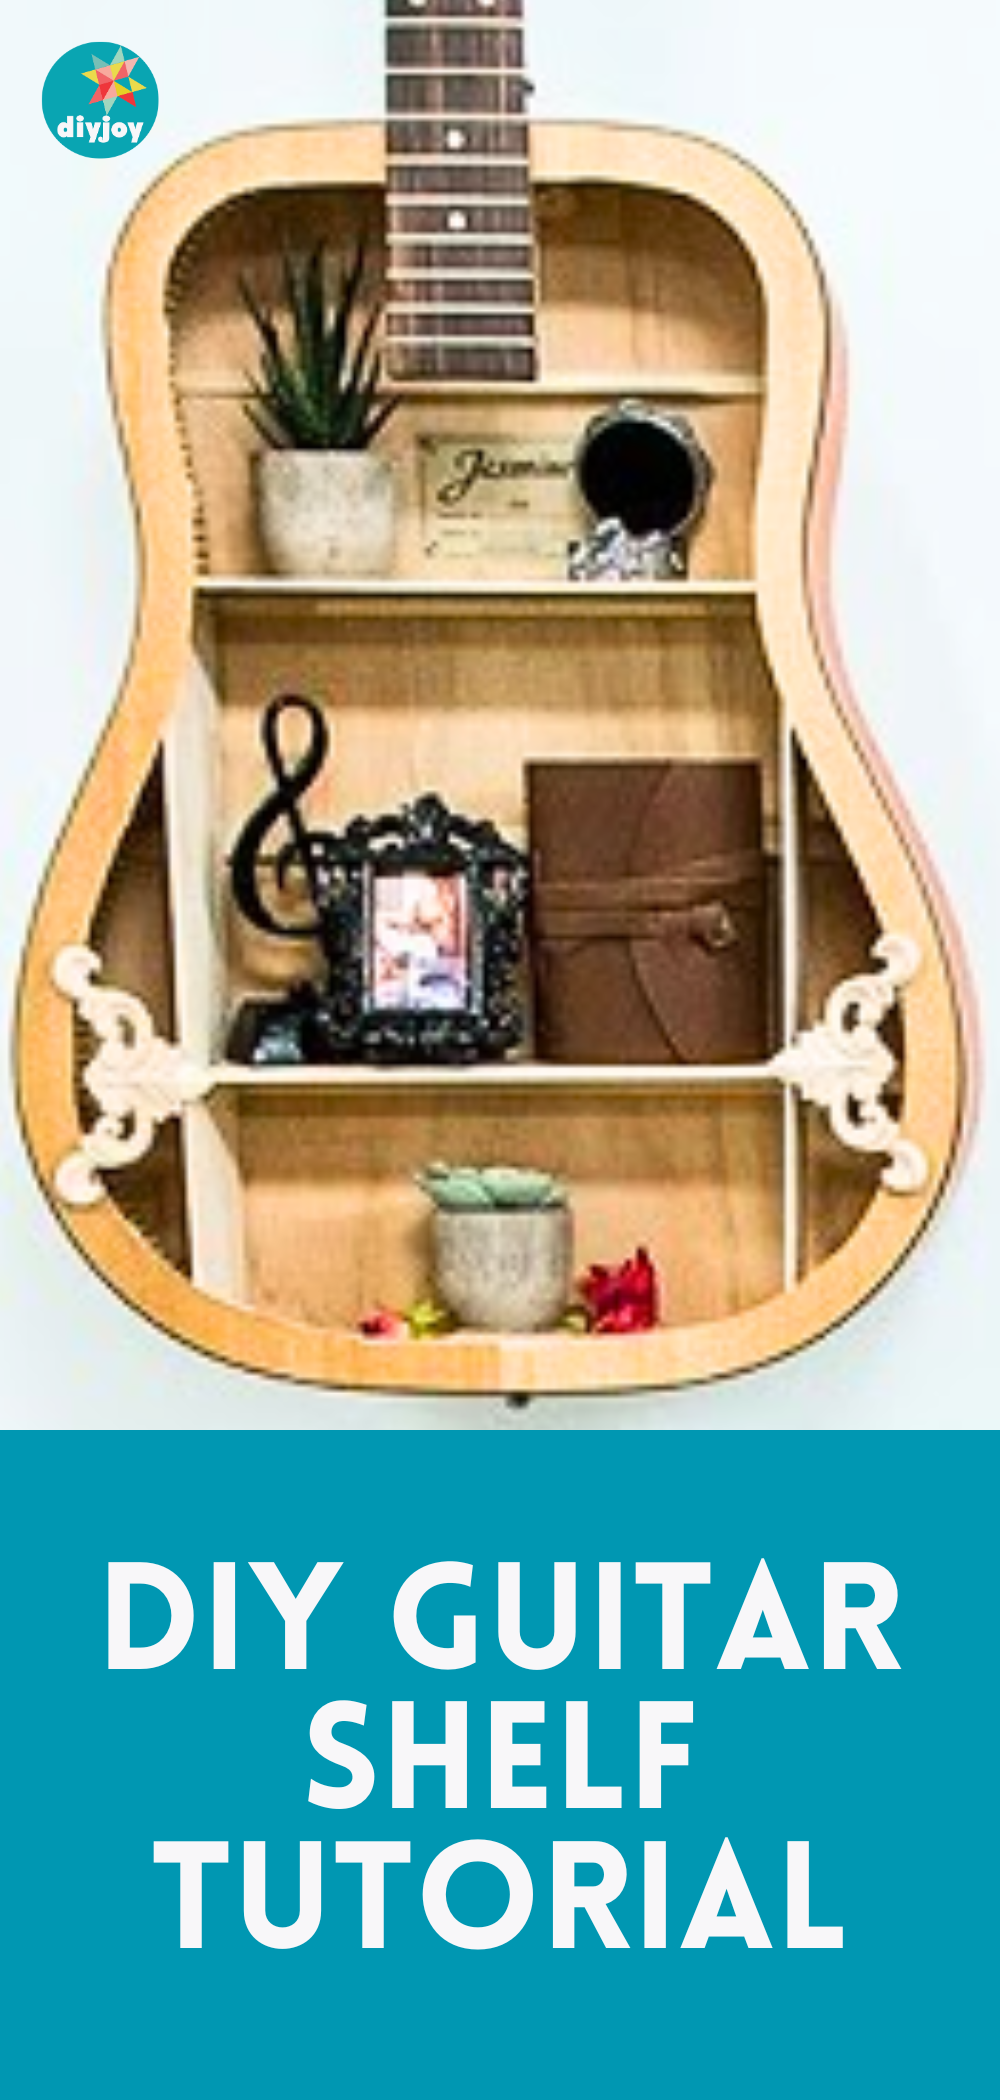
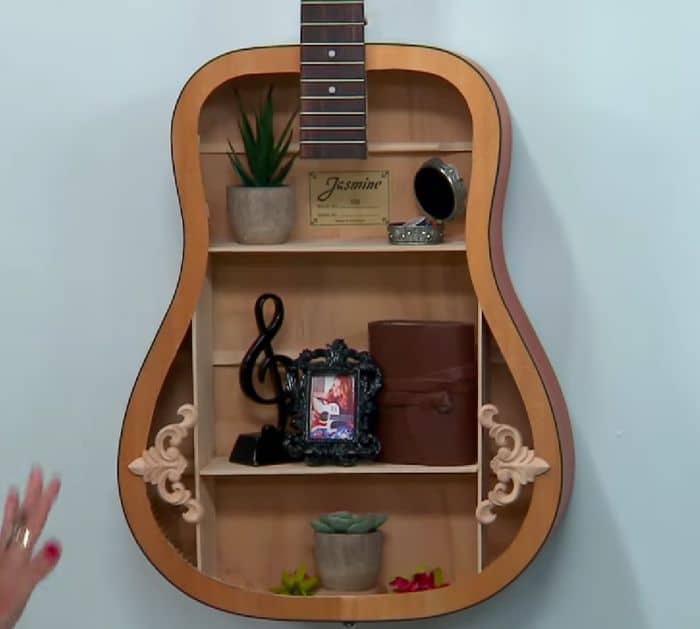
Once done cutting, attach the shelves or boards with wood glue inside the guitar, then let the glue dry completely, and paint them if desired. You can also add some lights or leave it as is, then hang the guitar on your wall, and add small decorations that you like.
*Thanks to Hallmark Channel via YouTube for all images used here. If you loved this project, then you’ll surely love their other video tutorials too, so give their channel a visit and subscribe!
Repurposed DIY Guitar Shelf Tutorial