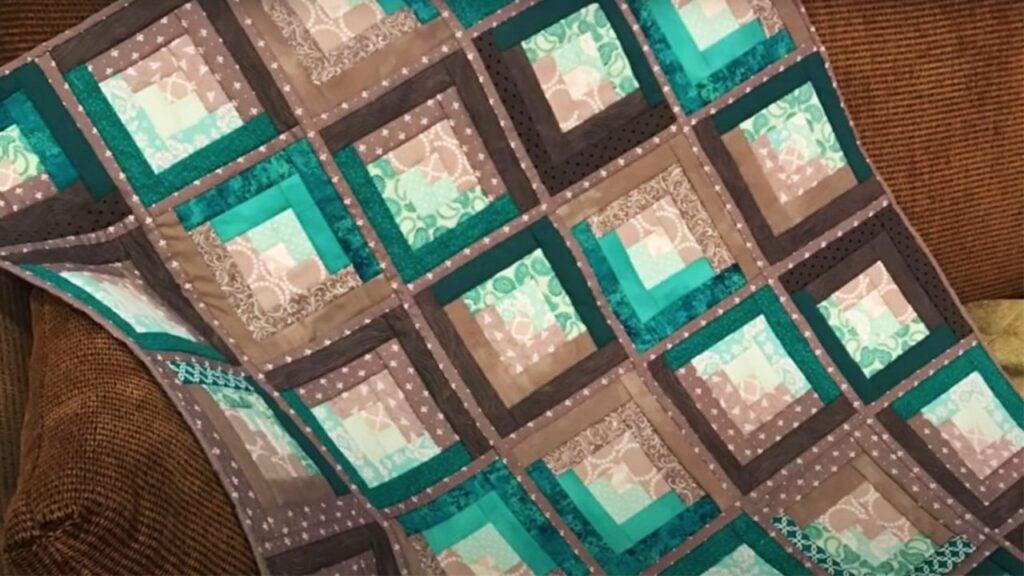
This log cabin quilt is a fun technique for sewing enthusiasts. Jeri B on YouTube shares with us this exciting quilt project that measures 36 inches x 44 inches when done.
Materials:
- Backing Squares – 8″x8″
- Batting Squares – 8″x8″
- Binding – 2-1/4″ strips, folded in half
- Front sashing – 1″ strips
- Back sashing – 1 1/2″ strips, folded in half
Directions:
Prepare all the needed materials. Make sure to pick fabrics that you like and synchronize well.
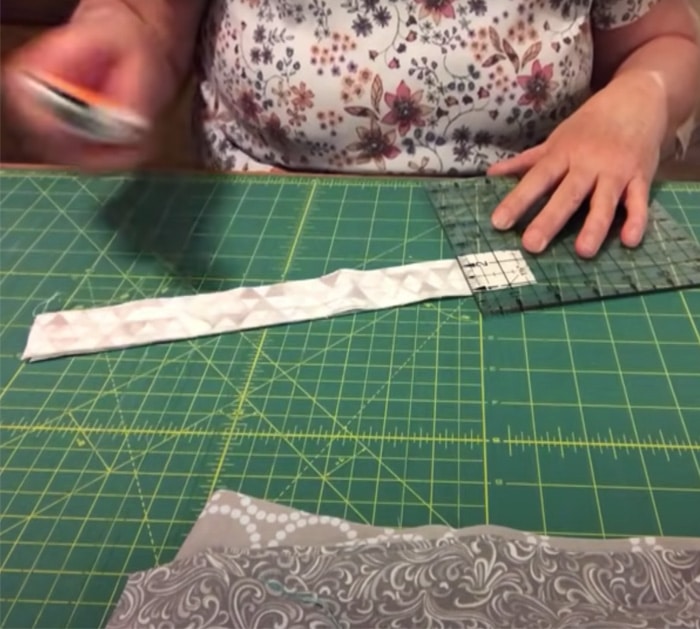
First, work on the back sashing by folding in half the fabric and cutting a measurement of 1 ½ strips. Use a ruler followed by a rotary cutter for a faster and more efficient cut.
When everything is prepared and cut in 1 ½ strips, it is time to cut the different size lengths:
In this tutorial, the 1-1/2″ log cabin strips are placed in order of application, starting with:
Gray 1-1/2″ (square)
Teal 1-1/2″ (square)
Teal 2-1/2″
Gray 2-1/2″
Gray 3-1/2″
Teal 3-1/2″
Teal 4-1/2″
Gray 4-1/2″
Gray 5-1/2″
Teal 5-1/2″
Teal 6-1/2″
Gray 6-1/2″
Gray 7-1/2″
Stack the same fabric strips on top of each other and start the pattern with the central fabric. Then follow by working your way clockwise with the rest of the strips as seen in the photo.
Divide the pieces into piles that will be needed to build one block.
Cut 8-inch x 8-inch squares out of your batting fabric. Cut out 8-inch x 8-inch squares from the backing fabric. Stack the backing fabric and batting fabric on top of each other, facing the wrong side up. Pin in place.
Center the two 1 ½ squares on top of the batting fabric. Then, start sewing a quarter inch seam down the right side of the square. Trim the excess thread, open the top square, and finger press it into place.
Proceed by working your way clockwise with the rest of the strips as you did prior to your log quilt. Make sure to maintain the quarter inch seam as you sew as you go.
Cut out the excess batting and backing fabrics. Repeat the process with the remaining blocks.
Cut 1 ½ inch wide strips of the backing fabric. Then, using an iron, press lengthwise.
For the binding, cut out 2 ¼ inch strips from the binding fabric. Also, cut out 1-inch strips for the front sashing from the same fabric. Match two of the 2 ¼ inch strips right sides together and sew diagonally from corner to corner. Cut off the excess fabric. Press the binding strips lengthwise to sew them on quickly.
Layout all the log quilt blocks that you have sewn.
To connect the blocks, take the folded piece of the strip that goes on the back and line it with the back fabric. Next, with the two open edges next to the edge, take the 1-inch sashing and line it up with the right sides of the fabric facing the right side of the block. Pin in place and sew with a quarter-inch seam.
Place another block on top of the made block, facing the right sides together. Pin in place and sew across the right side of the sashing. Flip it on the backside and hand stitch or sew over the machine.
Repeat to connect with the rest of the blocks.
Cut the excess fabrics and hand sew the sashing on the backing fabric. Place the strip 6 to 8 inches from the corner for the binding and pin it in place. Then, fold over the back fabric and sew in place.
When you come to the corner, make a plea to continue around.
Lastly, sew both edges together.
Quilt as You Sew Log Cabin Quilt


