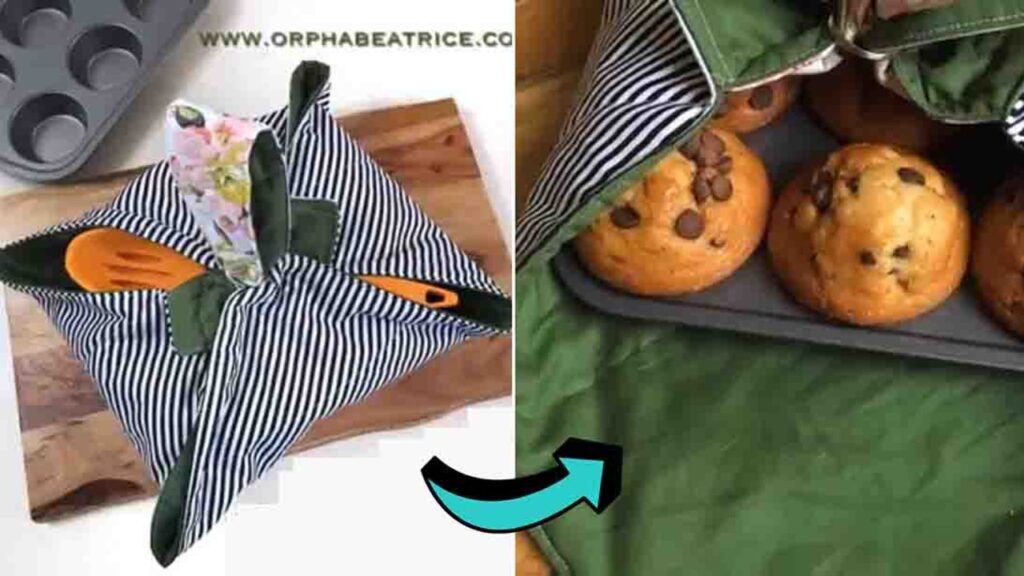
Are you looking for a fun project to do in your free time? Why not try making this DIY party dish carrier from Orpha Beatrice? This gorgeous DIY is a fun sewing project you can do that will make the perfect personalized gift for your loved ones.
RELATED: How To Make A Quilted Casserole Carrier
It may look complicated, but this swing project is actually so easy to do and beginner-friendly. It’s one of my favorite sewing projects, and my friends who received this as a gift from me all loved it and still use it. Watch the video tutorial below to learn the step by step instructions.
Materials:
- 1/2 yard cotton fabric (for outer shell)
- 1/2 yard cotton fabric (for inner lining)
- 18″ square cotton batting (or insul-bright)
- sewing machine and thread
- scissors, pins, ruler
- 2 metal rings
Directions:
Step 1
To start, cut 18″ x 18″ squares of your outer and inner fabric as well as your batting, and 3″ x 22″ of two chosen fabrics and batting. Next, line your 3″ x 22″ fabrics, right sides together, then place the batting on top. Pin them in place, then sew around the edges, leaving out a 3″ gap at the right side. After sewing, flip it right side out, tucking the rough edges of the fabric inside. Sew the gap close.
Step 2
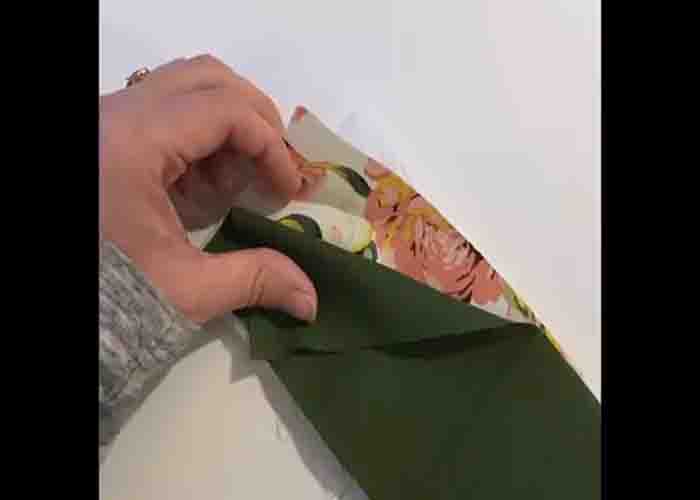
Line the batting and the outer fabric on top of each other with the right side of the fabric facing up, then start to quilt the batting to the outer fabric. Once done, lay the outer fabric, batting facing down, on your working surface, then place the strap in one of the four corners. The center of the strip should touch the corner of the fabric. Next, lay the lining fabric on top, right side facing the strap, matching its position to the outer fabric. Pin the top and left sides, then sew them first, leaving a 3″ gap.
Step 3
Align the strap the same way on the opposite corner by pinning the two other opposite corners, then fold the top left corner so the other end of the strap would reach the corner. Now, pin the remaining two sides, then sew. Once you’re done, trim the excess fabric on the corners, then turn the project right side out through the gap, then sew it close. Lastly, fold the corner down and stitch along the edge for your metal rings.

Party Dish Carrier Tutorial for Beginners


