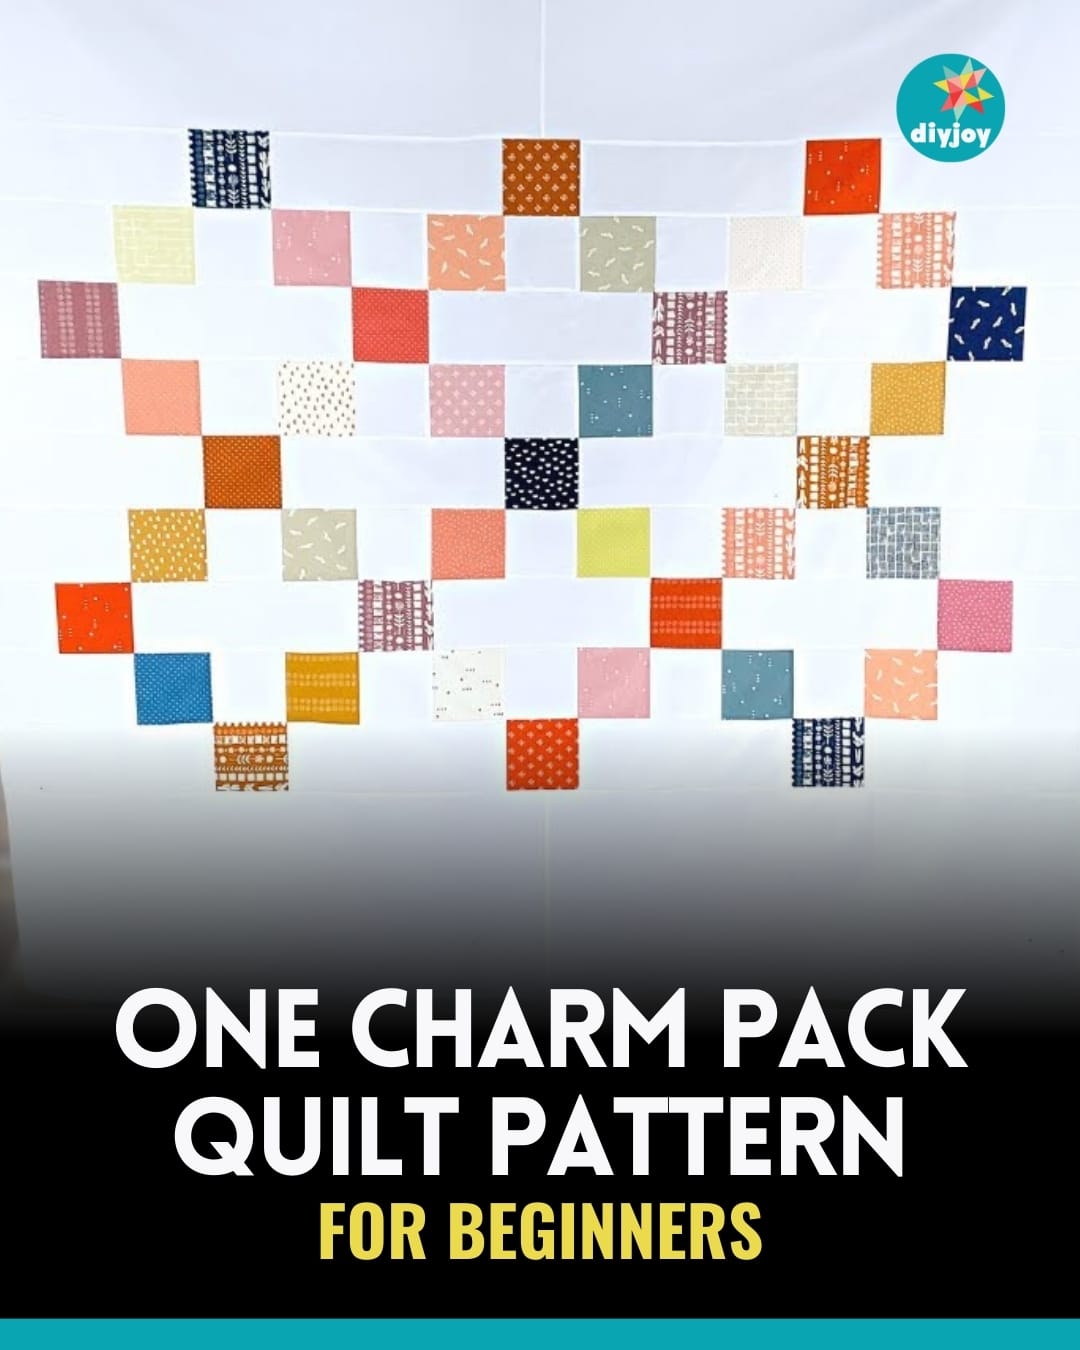
If you’re a total beginner at quilting, you might want to try this charm pack quilt pattern from Hailey Stitches. It’s a beautiful quilt pattern made with just one charm pack. It’s quick, easy, and definitely for beginners. And if you’re a seasoned quilter, this quilt is the perfect afternoon quilt project.
RELATED: Charm Pack Crispies Quilt Tutorial
You will love how simple this pattern is, yet it looks so pretty! It’s one of those quilt patterns that you’ll surely repeat whenever you need a quick quilt for gifting or to pass the time. Check out the video tutorial below for the full instructions.
Fabric Requirements:
- (click here for the free pattern)
- 1 charm pack (fabric A)
- 3 yards of background fabric (fabric B)
- 1/2 yard binding
- 4 1/4 yards of backing
Cutting Instructions:
- 7 – 2 1/2″ x WOF strips
Fabric A:
- 41 – 5″ squares
Fabric B:
- 10 – 5″ x WOF strips subcut into (24) 5″ squares, (8) 9 1/2″ rectangles, and (15) 14″ rectangles
- 4 – 14″ x WOF strips subcut into (4) 34 1/4″ rectangles and (3) 5″ rectangles
Directions:
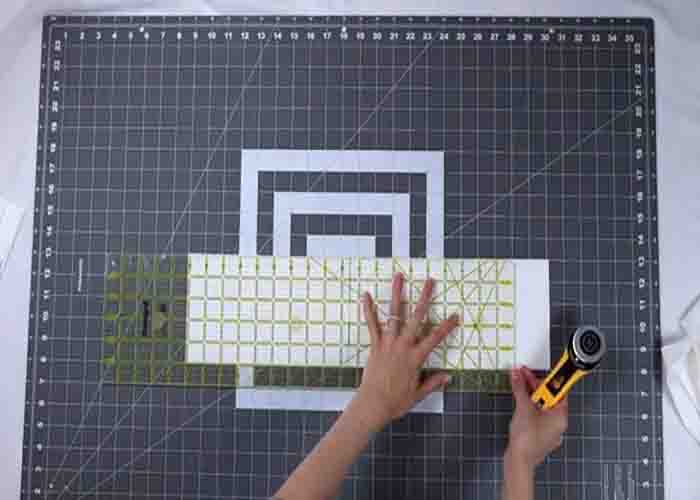
Step 1
Cut the background fabric into ten 5″ strips. Next, from those strips, cut twenty-four 5″ squares, eight 9 1/2″ rectangles, and fifteen 14″ rectangles. Set them aside in piles. After this, grab your background fabric again and cut four 14″ strips. Once done, cut these strips into 34 1/4″ rectangles, and with the remainder of the fabric, cut one 5″ rectangle. Repeat the process three more times to get a total of four 34 1/4″ rectangles and three 5″ rectangles. These fabric pieces will be your fabric B in the pattern.
[social_warfare]
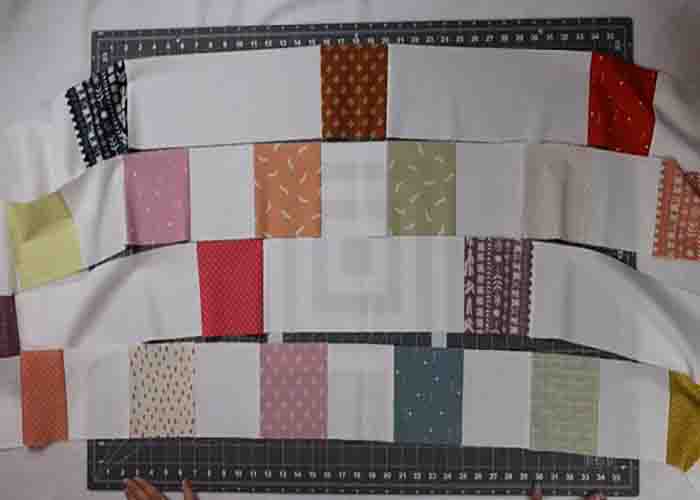
Step 2
Now, start assembling your pieces. Sew one 14″ fabric B rectangle to one fabric A 5″ square, then press it to the right. Make nine of these. Next, take three of these units and sew them together in a long line. Finish this by sewing another 5″ x 14″ fabric B rectangle to the edge. Make three of these section A rows. Set them aside. Now, assemble the section B rows. Take one fabric A 5″ square and one fabric B 5″ square, and sew them together. Make 20 of these, pressing them to the left. Next, sew five of these units together, then sew one more fabric A to the end. Lastly, sew 5″ x 9 1/2″ to both ends. Make four of these units.
Step 3
Next, make the section C rows. Take one charm square and one 14″ rectangle, sew them together, then press to the right. Make six of these units. Now, take three of them and sew them together into a long line. Take one charm square, sew it on the end, then finish it off by sewing fabric B 5″ squares on both ends. Make two of these.
Step 4
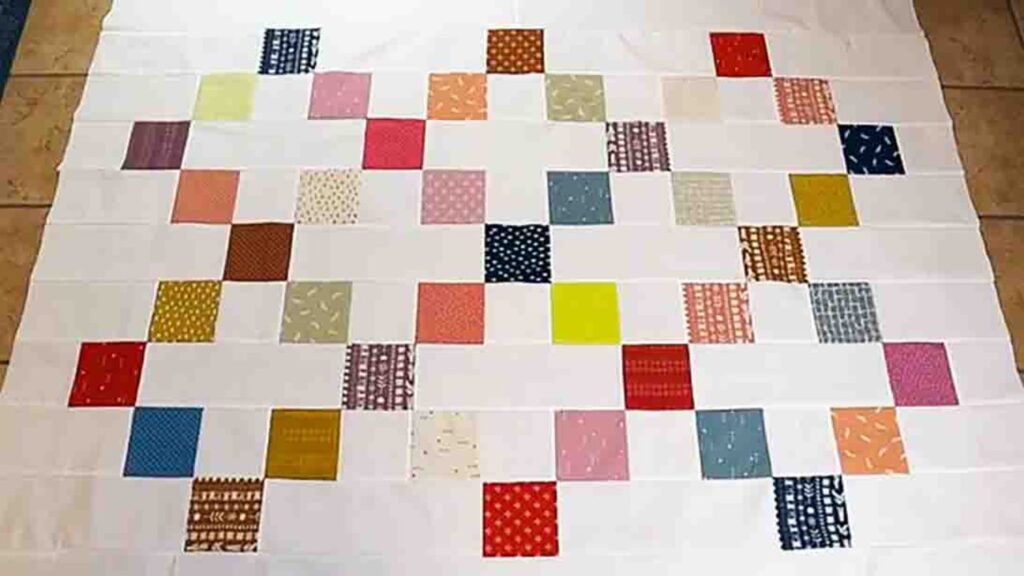
Lastly, make the section D unit. Take two 14″ x 34 1/4″ rectangles and sew them together. Make two of these units. Now, start assembling the quilt top. Lay row A, row B, row C, then row B. Sew them together. Make two of these, then sew these two together. Sew the last row A at the bottom, then sew the large section Ds on top and bottom of the quilt tp finish it.
One Charm Pack Quilt Pattern for Beginners