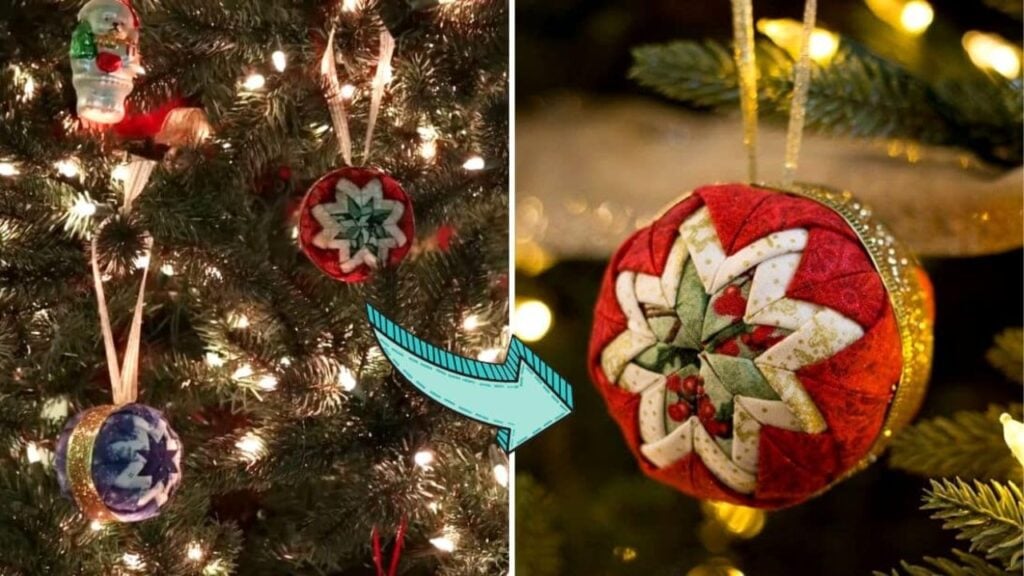
This ornament might look quilted, but it’s actually not! You can use the fabric scraps you accumulated from January until December to make these beautiful decor pieces. How fun is that? This no-sew “quilted” Christmas ornament is a creative idea by Shabby Fabrics on Youtube. Watch the video below for full instructions.
Materials:
- Styrofoam ball
- 2 1/2 inch strips by the width of the fabric (3 different fabrics with contrast)
- 200 straight pins
- ribbon
[social_warfare buttons=”Facebook,Pinterest,Twitter,WhatsApp”]
Instructions:
Step 1:
Decide what fabrics to use in the bottom, middle, and front. Once you are decided, cut 8 squares out of the center fabric, and 16 out of the two other layers.
Step 2:
Start with the center fabric. Get one piece of square and fold it in half right sides together, then finger-press. Fold it in half and finger press again. Unfold and put a pin through the wrong side of the fabric and insert it into the styrofoam ball. Fold the fabric in half, then bring the sides in. Insert pins in the middle and the side. Do the same for the other side.
Step 3:
Get another center fabric and do the same. Insert it exactly where the point is. You want to be 180 degrees opposite to the first one. Repeat the steps to fill in the two spots.

Step 4:
Get a piece of the second fabric. Fold it in half two times then insert a pin in the middle. Measure about half an inch from the center of the first layer. Make sure that what you do on one side, you do it on all four sides. Do the same fold. Repeat for the three other sides. Get the same fabric square, fold it in half twice, and insert a pin in the middle. Insert in between the space of two triangles, at the same distance as the others. Do the same for the remaining 3.
Step 5:
For the last fabric, start with the spaces between the last layer and make the four corners.
Step 6:
Place the ornament upside down and do the same steps as you did on the other side.
Step 7:
Cover the middle with the ribbon and secure it with pins or use a glue gun. Tie a small ribbon so you can hang it.
No-Sew “Quilted” Christmas Ornament


