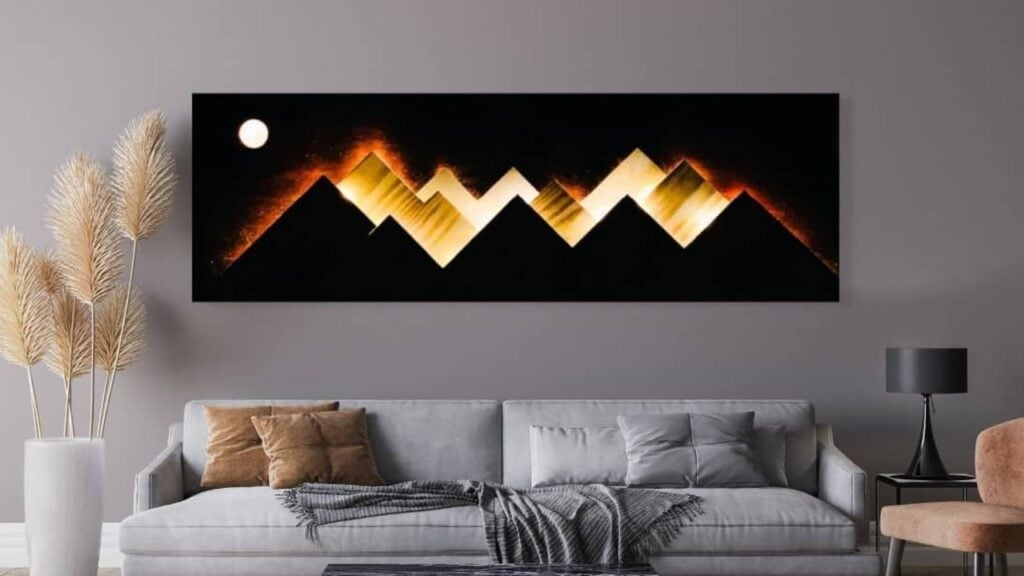
If you like the outdoors, you will surely love this beautiful art project that can light up at night. It’s a big design centerpiece you can hang in your living room or bedroom. This is the lighted mountain wood wall art DIY by anusual creates on Youtube. Want to recreate this at home for your space? Read on or watch the video below.
Materials:
- 1/4″ x 6″ and 1/4″ x 4″ wood (poplar, red oak, and pine wood were used in this project)
- 48″ x 18″ wood board
- miter or chop saw
- rafter square for creating lines
- measuring tape
- wood glue
- wood oil
- wood stain (red oak color)
- masking tape
- shims and small wood blocks
- 6″ long screws
- drill bit in size 2″
- A4 paper
- string lights or LED strip lights
[social_warfare buttons=”Facebook,Pinterest,Twitter,WhatsApp”]
Instructions:
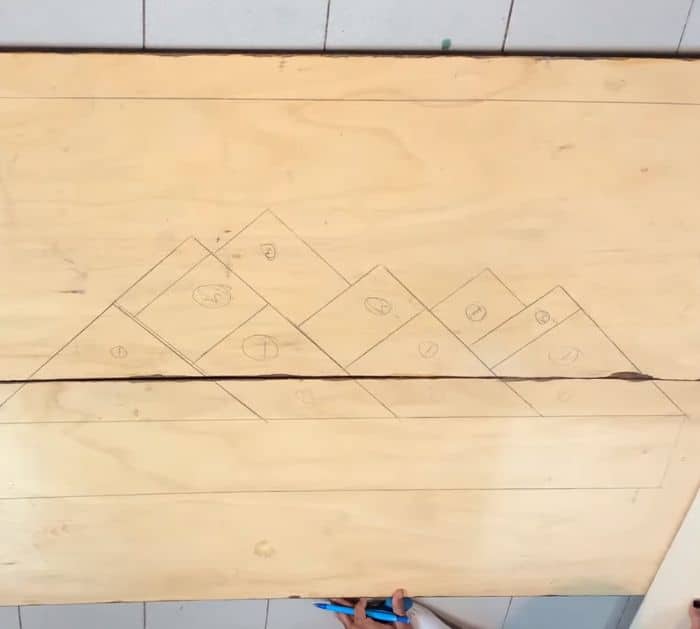
Step 1:
Sketch the plan of how you want it to look. Simply draw the shape of the mountains on the wooden board. Make sure that all the mountains are aligned at 45 degrees. Use the 1/4″ x 6″ wood sheets for the first and second layer of the mountains then the 1/4″ x 4″ for the third layer on the back. Mark the sheets in the sizes you need then cut them at 45 degrees.
Step 2:
Glue each of the mountains on the first layer together using wood glue. Do the same for the remaining layers. Oil the pieces to maintain the color of the wood.
Step 3:
Sand the wood board and stain. Next, glue some small blocks on the bottom of the mountains for each layer except the front layer. Use them to create a gap between each layer.
Step 4:
Glue the first layer of the mountains with wood glue and let it dry completely. Next, place the second layer and let it dry. Lastly, glue the top layer. Put some weight on the top and let them dry completely.

Step 5:
Once dry, create a 2-inch hole on the upper left of the wood board for the moon. Cover it with a piece of an A4 sheet so that light could pass through it then insert string lights on each layer of the mountains.
Lighted Mountain Wood Wall Art DIY