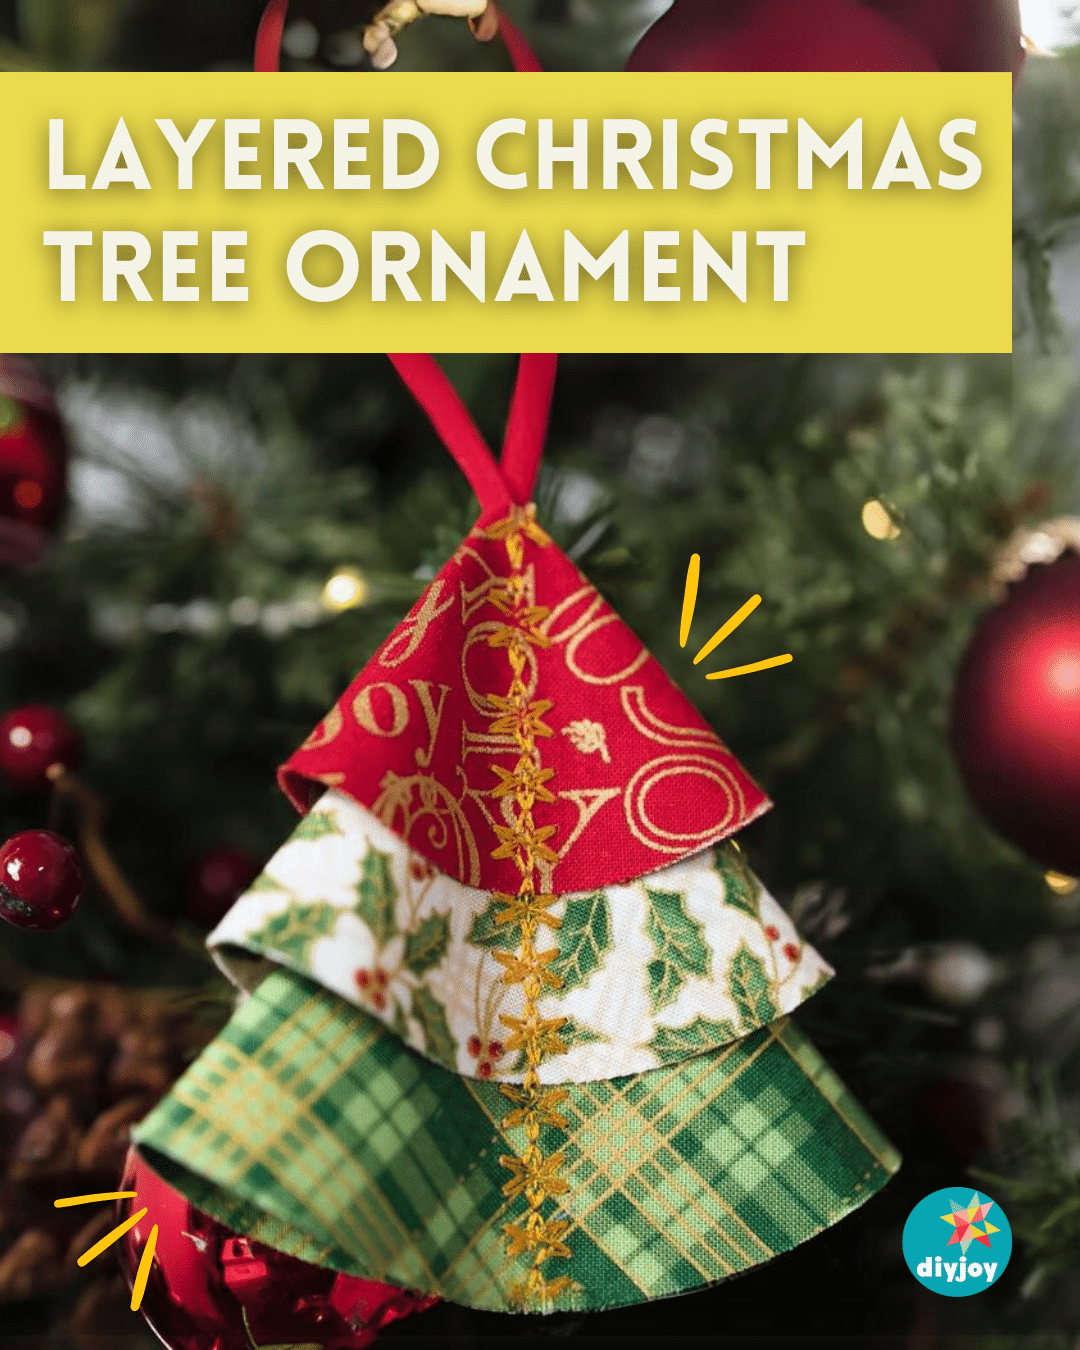
Do you have some leftover Christmas fabrics from your past projects? Take them out of your closet and turn them into these beautiful layered Christmas tree ornaments. Shabby Fabrics will teach you step-by-step instructions on how to make these decorations with just fabric squares. If you are someone who loves to make their own decorative pieces, just like me, this project is for you.
RELATED: Folded Christmas Fabric Ornaments
Making these ornaments is very easy and doesn’t require much time and effort. It’s the best project to do on a weekend with your family or friends this season. All you need is basic sewing skills, and you can turn your fabric squares into these stunning Christmas decorations. There’s nothing complicated in the process at all! You can even finish one ornament in just 5 minutes. That’s how easy it is.
Fabric Christmas Tree Ornament Materials
- one 4.5″ x 4.5″ square (top layer)
- one 5.5″ x 5.5″ square (middle layer)
- one 6.5″ x 6.5″ square (bottom layer)
- fusible webbing
- banded elastic
- pins
[social_warfare buttons=”facebook,pinterest,twitter,whatsapp”]
How to Make a Layered Christmas Tree Ornament
Step 1:
Fuse the fusible webbing to the wrong side of the fabric squares. From your top layer square fabric, cut a 4″ diameter circle. From your middle layer square fabric, cut a 5″ diameter circle. Lastly, from the bottom layer square fabric, cut a 6″ diameter circle.
Step 2:
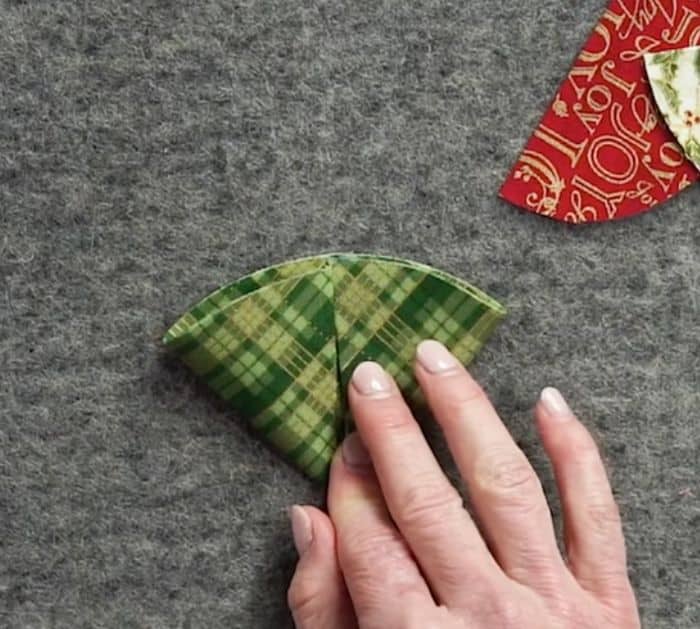
Remove the paper from the back of the fabric. Fold the circle in half, making sure to align the raw edges. Press it to fuse to form a semi-circle.
Step 2:
Fold the straight edges towards the middle, then keep them in place using pins.
Step 3:
Repeat steps 2 and 3 for the other layers.
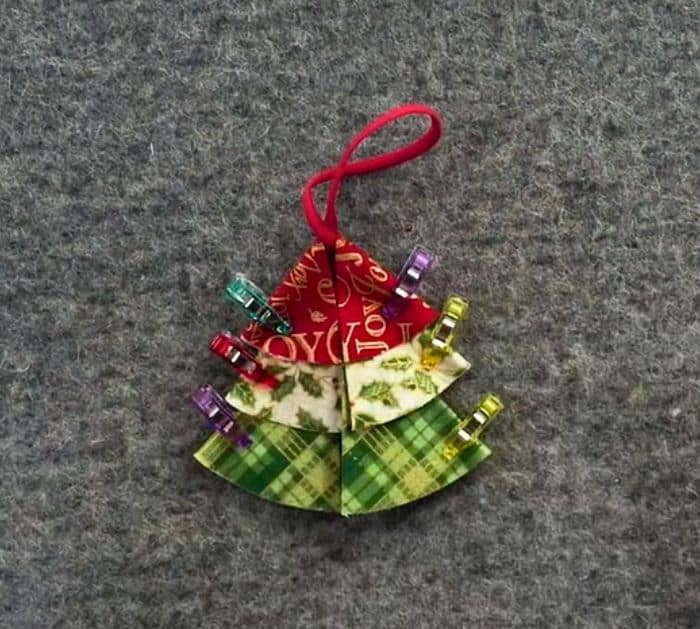
Step 4:
Starting from the bottom piece, stack them in layers, tucking the point inside the layer above, about 1″ apart. Pin them in place.
Step 5:
Cut a 5″ elastic. Fold your elastic into a loop, and tuck ends inside the folds of the top layer. Pin it to secure.
Step 6:
Starting from the bottom, sew the center of the ornament using a zig zag stitch or decorative stitch. Make sure to secure the hanging loop well.
Layered Christmas Tree Ornament