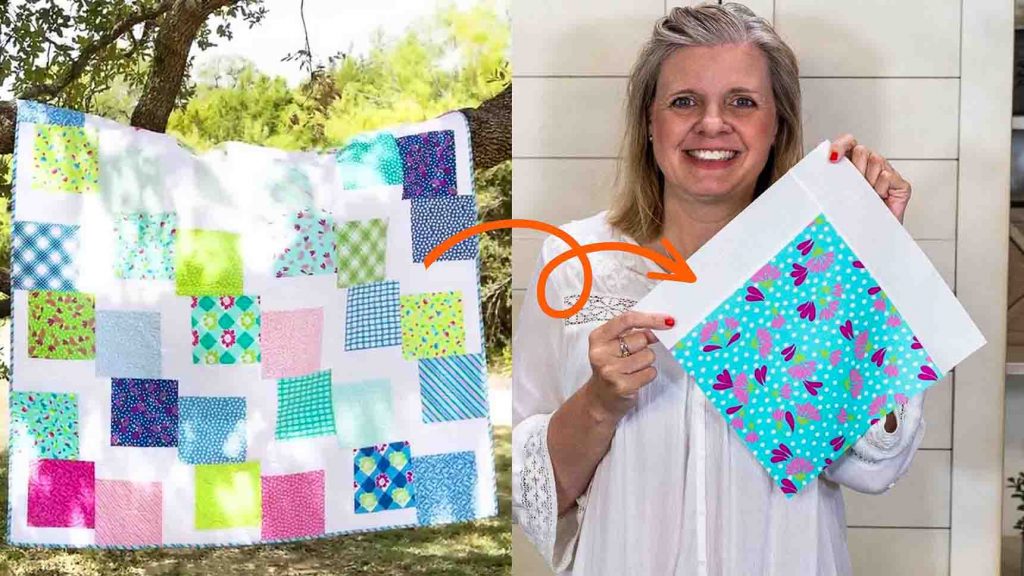
I’m telling you, you need to learn this layer cake tumble quilt from Fat Quarter Shop on Youtube, as this will be your new go-to pattern for quick projects! Super quick and easy to make, this is a straightforward quilting project you can make for birthdays, holidays, or even baby showers. Learn the step-by-step instructions by watching the video tutorial below.
Materials:
- one print layer cake or 36 pcs. 10″ print squares
- one solid junior jelly roll or 18 pcs. 2 & 1/2 x WOF strips
- 5/8 yard binding
- 4 & 1/2 yards backing
cut each 10″ print square into:
- 1 – 9″ square – 36 total (fabric A)
- cut each 2 & 1/2″ x 11″ rectangles – 36 total (fabric B)
- 2 – 2 1/2″ x 9″ rectangles – 36 total (fabric C)
cut binding fabric into:
- 7 – 2 1/2″ WOF strips (fabric D)
Directions:
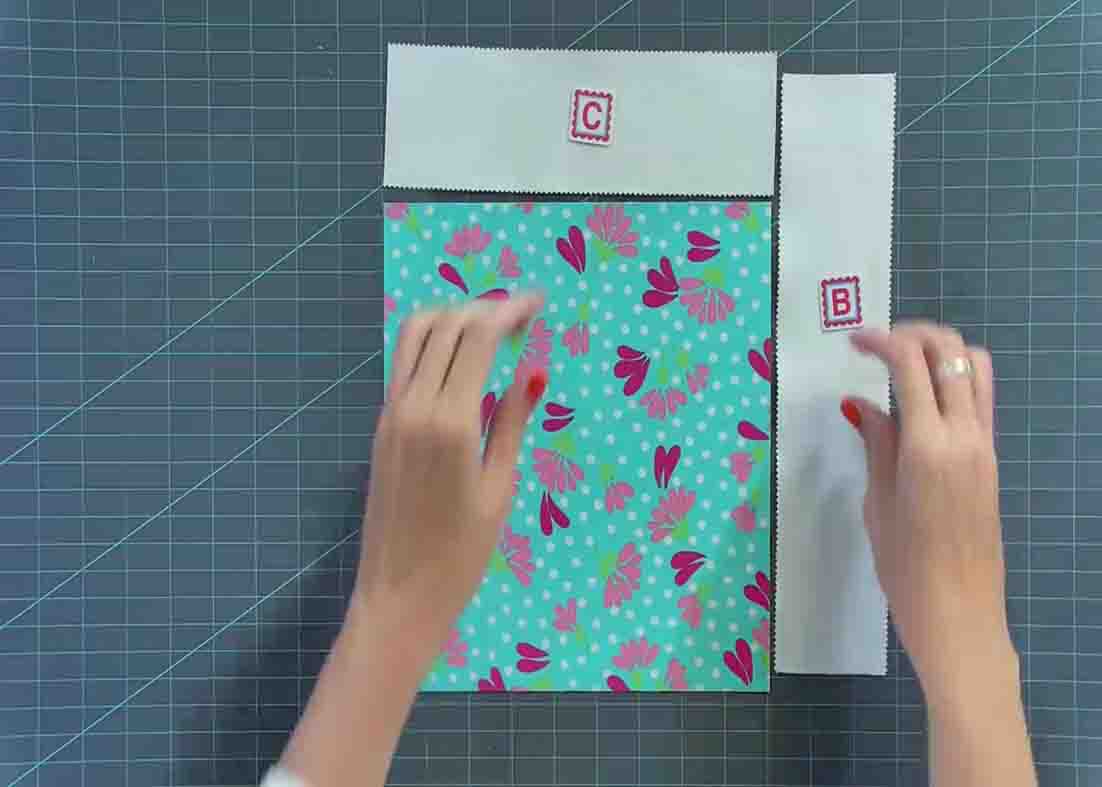
Step 1
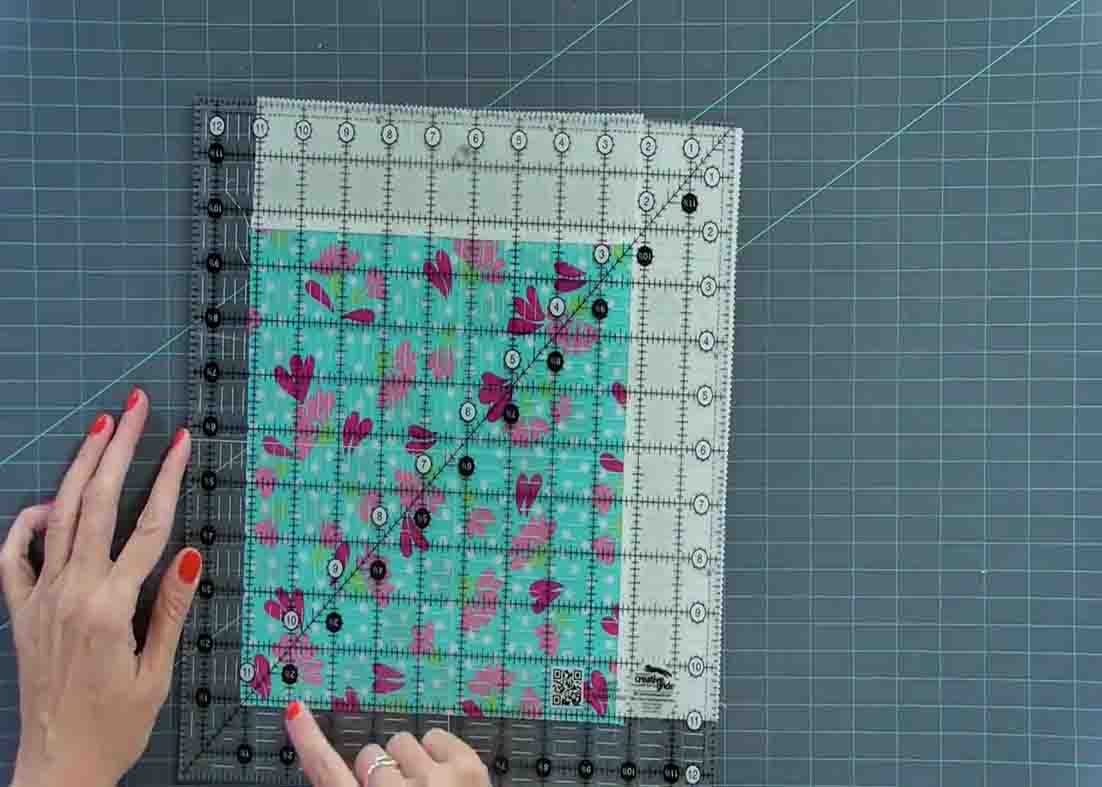
After cutting the fabrics accordingly, take one junior jelly roll and place one fabric C on top and one fabric B on the side. Put fabric C and the jelly roll right sides together and sew with a scant 1/4″ seam. Press open, then add fabric B with the same method. After this, trim the excess fabric.
[social_warfare]
Step 2
Make 36 pieces of these blocks. Next, when you lay out your blocks, lay out six across and six down. Then, take your blocks and rotate them. Lay out the blocks first before sewing so that you can make sure you have no fabrics and colors touching.
Layer Cake Tumble Quilt Tutorial


