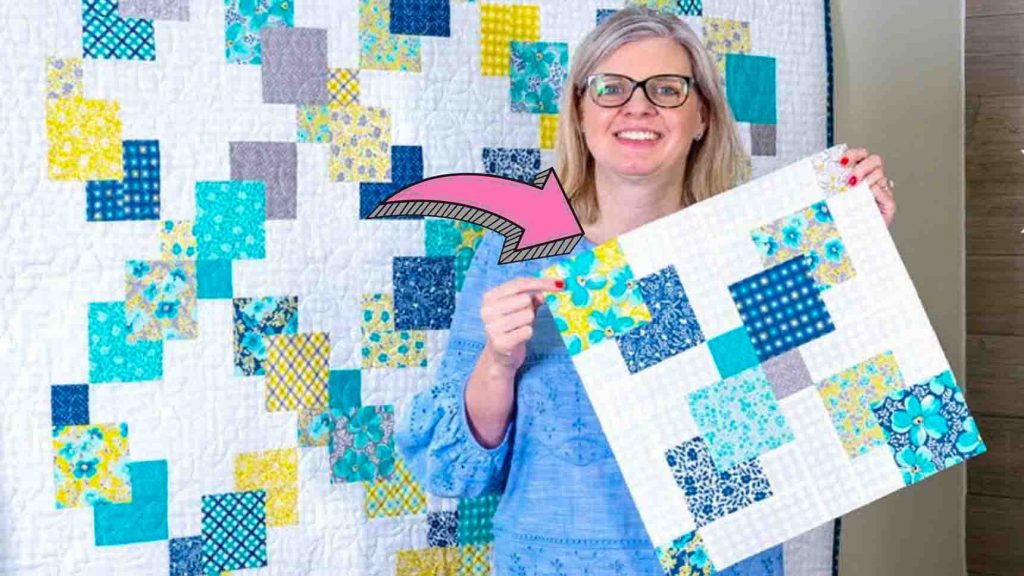
If you’re a beginner, this layer cake lollies quilt from Fat Quarter Shop on Youtube is a great project to start with. It’s fast, easy, and a shortcut quilt project you can make at any time. Make this stunning quilt today by watching the step-by-step instructions in the video below.
Materials:
- layer cakes & 10″ square quilt fabric
- 50wt aurifil light sand 100% cotton mako thread
- 2 & 1/8 yards of background fabric
- binding and backing fabric
- little house glass head pins with tin
- pink alphabitties specialty marking tools
- black frixion pen
- iron
- rotary cutter
- scissors
Directions:
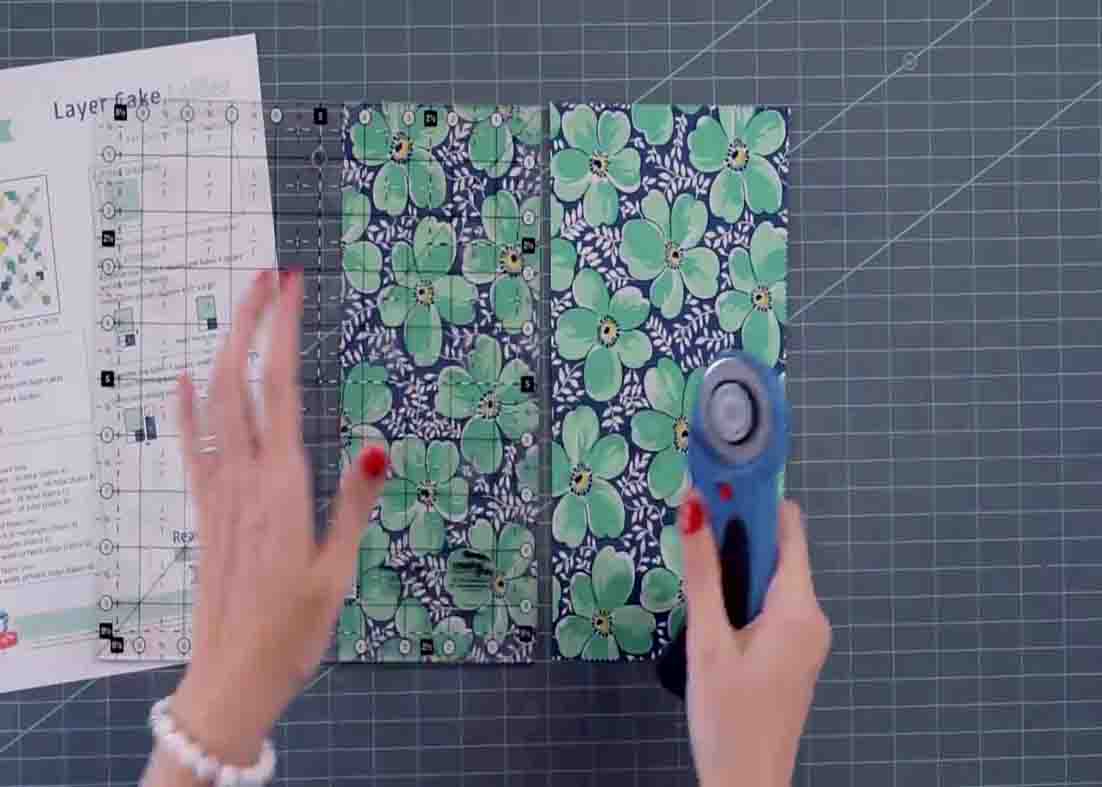
Step 1
Grab 1 of your layer cake square and cut a straight line to go from, then cut a 4 & 1/2″ strip and a 2 & 1/2″ strip using your perfect 10 ruler. From your 4 & 1/2″ strip, cut 1 pc. 4 & 1/2″ square. After this, cut 2 & 1/2″ x 4 & 1/2″ rectangle. These will be your fabric A and B. (Label these with your alphabitties.) Now, come back and cut 2 pcs. 2 & 1/2″ strips from that remaining strip. These will be your fabrics C and D. Follow this pattern and cut 36 of your layer cake squares just like these and cut all your background fabrics, then put these blocks together.
[social_warfare]
Step 2
Now, lay your fabric A, fabric F, and fabric C square. You want the block to be scrappy so make sure that A and C are different fabrics. Remove your alphabitties or markings, put fabrics F and C right sides together, stitch with a 1/4″ seam, and press. Once that is done, you will attach that to your fabric A square, and this unit will measure 6 & 1/2″ and you’re going to make 36 of these. Keep building the block by putting fabric F and fabric B together. Now, you want your fabric C to match fabric B. Put these two fabrics’ right sides together, stitch with a 1/4″ seam, then attach that to the right sides of your unit. When that is assembled, it’s going to measure 6 & 1/2″ square and you’re also gonna make 36 of these. To keep building your block, you’re going to lay out 2 pcs. of fabric E rectangles and a fabric D square. First, take your first fabric E, put those right sides together, and stitch. Do the same thing on the other side of the unit, put the right sides together, then stitch. Put these two together and this going to be your lollies unit. Now, take four of these to build your block. Once you stitched these, you now have your layer cake lollies block and this will measure 16 & 1/2″ square. Make nine of these, then assemble the quilts. After this, lay out your blocks, three blocks across and three blocks down. Assemble your blocks into rows, then assemble your three rows together into your quilt center. Once your quilt center is assembled, add your side borders, press, then add your top and bottom borders.

Layer Cake Lollies Quilt Tutorial


