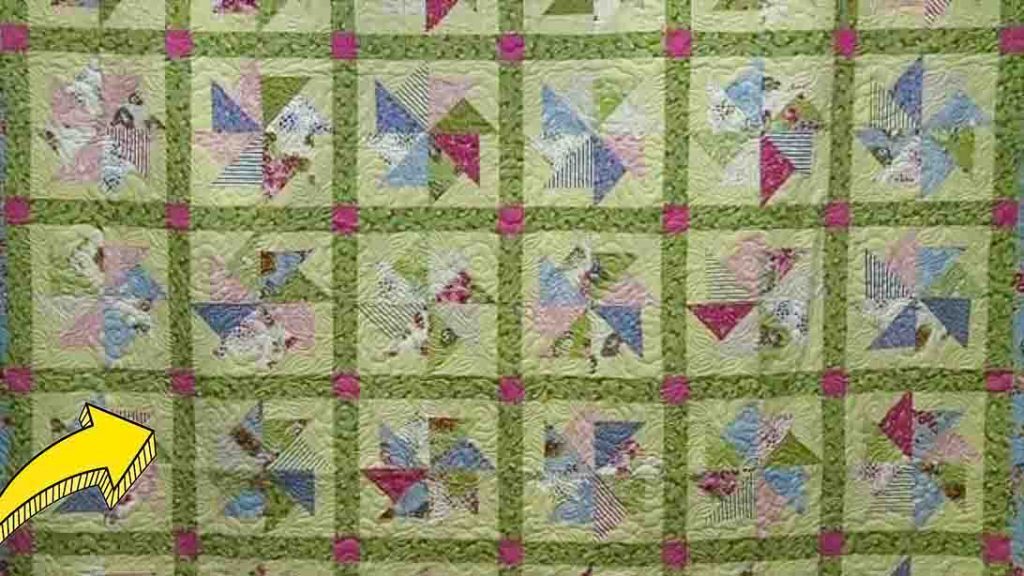
As I was looking for my next quilt project, I found this kindred pinwheels quilt from Missouri Star on YouTube. It’s so beautiful that I tried doing it even though I’m a beginner. And I’m glad I did, as it’s pretty simple to make despite its complicated appearance. Watch the video tutorial below to learn the step by step instructions.
Materials:
- 1 pack of 10″ squares
- 4 yards of background fabric
- 2 1/2 yards of print sashing fabric
- 1/2 yard cornerstone fabric
- 1 3/4 yards of outer border fabric
- 8 1/2 yards of backing fabric
Directions:
Step 1
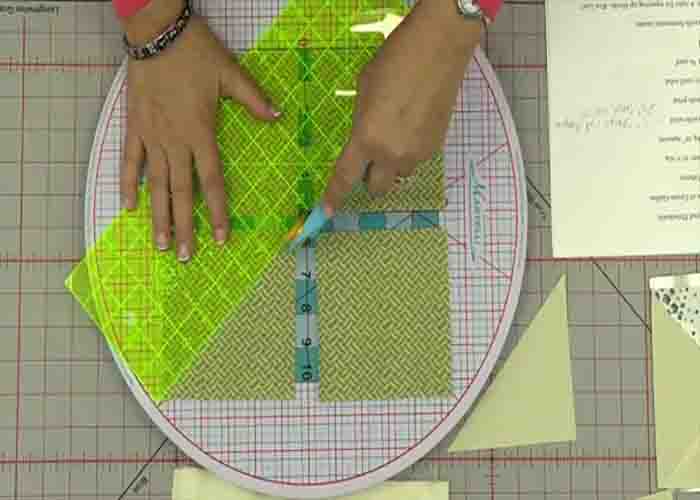
Subcut each 10″ square into four 5″ squares. After this, cut the 5″ squares diagonally from corner to corner, making your printed triangles. For the background, cut 5″ strips and 2 1/2″ strips. From your 5″ strips, cut 5″ squares, then cut diagonally from corner to corner, making your solid triangles. Moving on to the 2 1/2″ strip, you’re going to need 7″ strips (so 2 1/2″ x 7″). You’ll need four of these for each block. Once you have all your fabric pieces, you can now assemble the block.

[social_warfare]
Step 2
Grab one printed piece and one solid. Match the triangles, putting them side to side, then sew them together. Press open afterward. For the other half of the block, take another printed triangle and one 2 1/2″ x 7″ strip, and sew it on one of the shorter sides of the triangle. Press open afterward, then lay down your ruler, letting the triangle be the guide, then trim off that edge. Now, sew both units together, matching up the two colored edges in the center.
Step 3
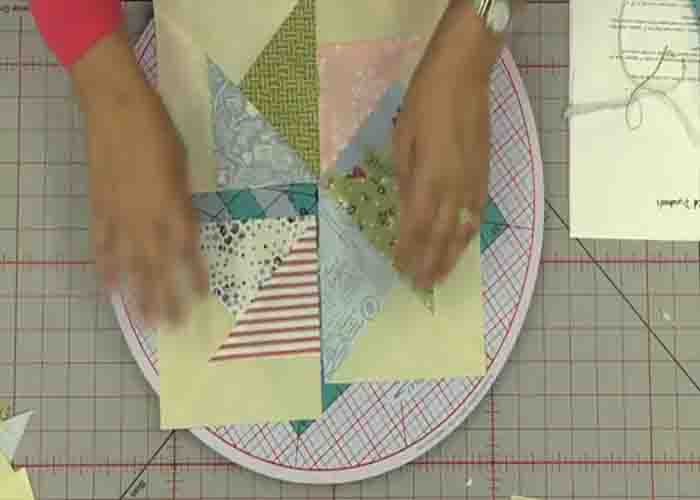
Now, square off the block into 6″ square. This finished piece is one fourth of the quadrant of the block you’re going to make, so repeat these steps to create more units. Once you have enough, put them together, then sew them like a four-patch. (Refer to the image below for the placement.) Press open afterward. To make the quilt top, lay six blocks in one row, sashing in between. (Whatever size your block ends up, cut your sashing to that size and attach it to the edge of your block in between the whole row.) For the next line of sashing below the row, sew the cornerstones in, and attach those together, creating a long strip.


