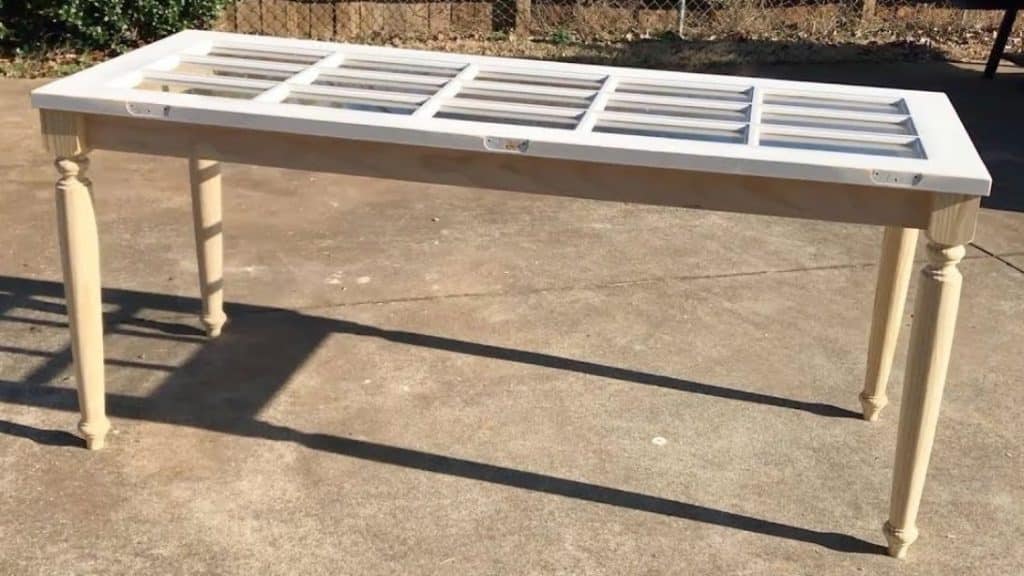
Don’t be scared to be creative and do try this fun project by Jared Turner on YouTube! This video tutorial will show you just how easy it is to turn an old wooden door into a pretty and sturdy table that you can use anywhere you like. So, if you have been considering doing a similar project but don’t have the confidence that you’ll be able to execute it properly, then let this DIY tutorial give you some much-needed confidence.
Materials:
- An old door
- Wooden table legs
- 1×4 lumber
- Wood glue
- Nails
- Screws
- Drill
- Sandpaper or sanding tool
- Wood filler
- Pencil
- Paint
Directions:
Step 1
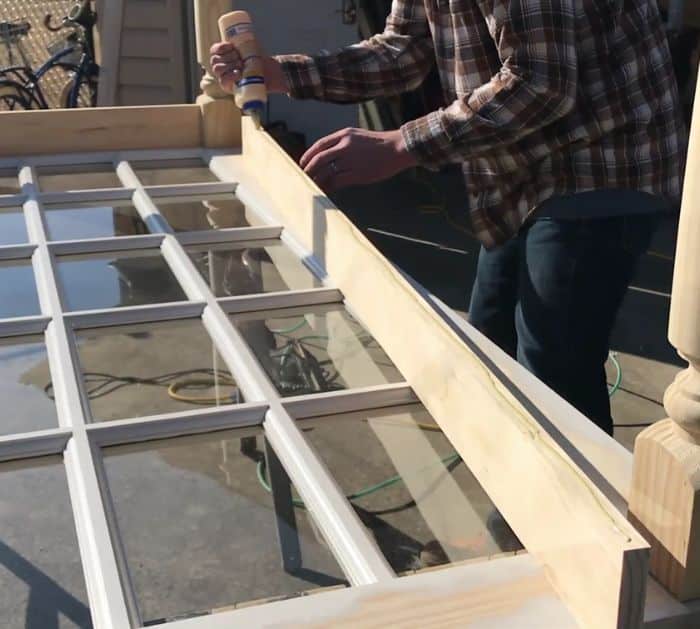
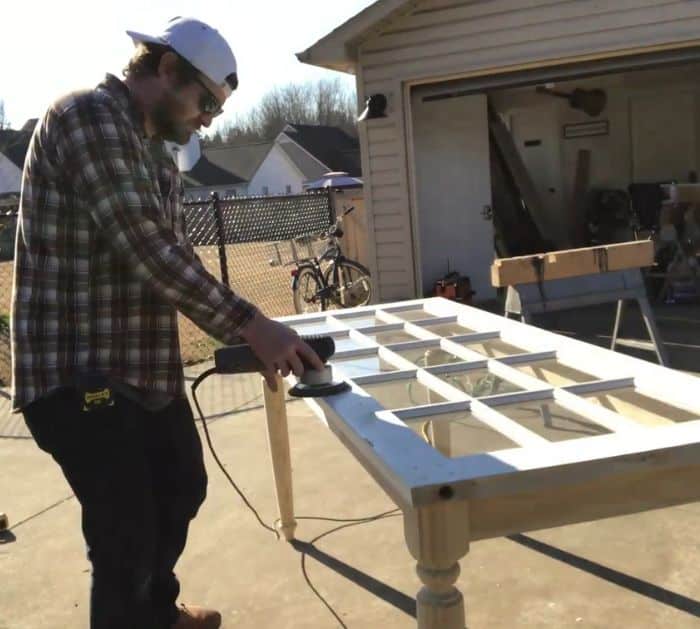
The first thing that you have to do is to make the door symmetrical, to do that, measure the shorter or top part of the door, then cut the bottom part to the same size, and sand the corners where you’ll attach the legs. Next, get the wooden legs, then cut about 3 inches or depending on what height you want your table to be, add some wood glue on top of the legs, and attach them to the door. Pre-drill some holes on top of the table door, then attach a few screws for a stronger hold. Flip over the door table so that the underneath is facing up, then measure and cut 1×4 lumber for the rails in between each leg, and sand those areas on the table door so that the wood glue would stick better.

[social_warfare]
Step 2
After adding some wood glue, slide the rails down, then attach some nails all the way around, and flip it over standing right side up. Mark where the rails are located on top of the table, then pre-drill some holes on those markings and attach nails or screws all around the top. Apply some wood filler to the holes of the gaps, then sand them nicely, and clean the table from all of the dust and debris before you start painting it. If you are using this table for dining and not for decoration of some sort, then you can place a glass top or use epoxy to flatten the top.

*All image credit belongs to Jared Turner via YouTube. Follow and subscribe to his channel for more!


