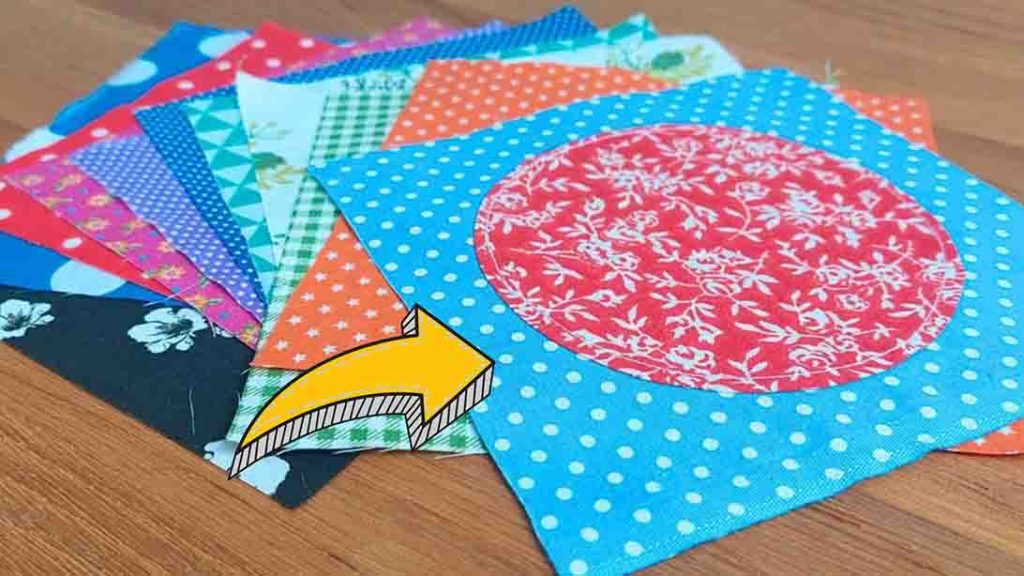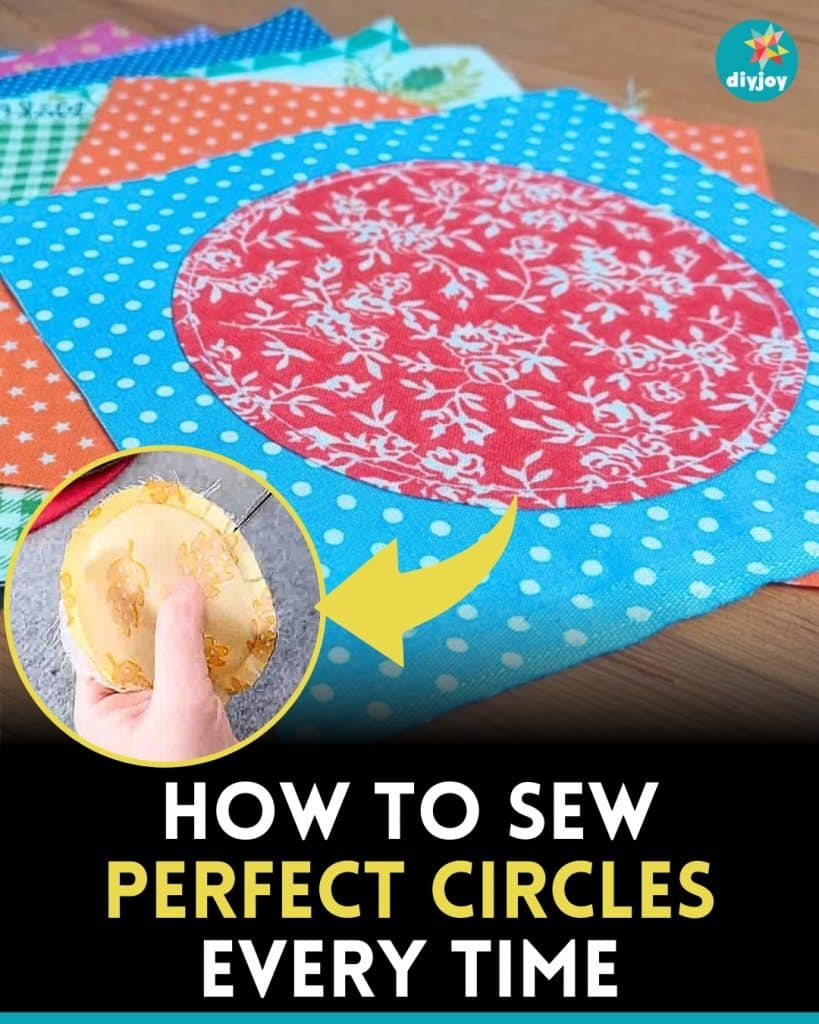
If you’re looking for a way to sew a perfect circle on your quilt, Sew Easy by Sandy on YouTube has two fantastic methods for you! Whether you’re a beginner or a seasoned quilter, I’m sure you’ll be able to pick up some amazing techniques with these methods. I never knew there was a much simpler and easier way to sew a circle perfectly every time!
RELATED: How To Sew Perfect Corners On A Sheet
In this step by step guide, Sew Easy by Sandy will teach you two methods on how to sew a perfect circle. Whether you need a circle on your block or simply want to learn this technique, I’m sure these beginner-friendly methods will become handy each time. Learn how by watching the video tutorial below, or continue reading down for the step by step instructions.
Materials:
- fabrics
- rotary cutter
- sewing machine
- scissors
- pencil
- thermal adhesive
- pre-made circle template
- iron, for pressing
Directions:
Method 1
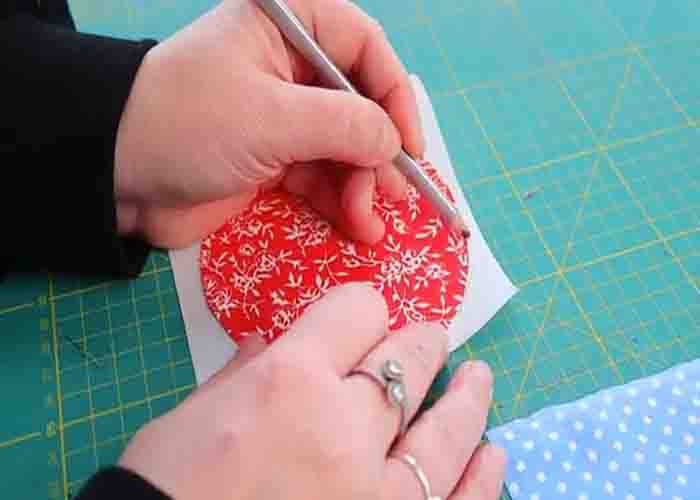
Take two different fabrics; a 6″ square and a 5″ square. Make a circle using a compass or a pre-made template. After this, trace the circle on a thermal adhesive using a pencil, then cut the shape out. Press it afterward, then peel the adhesive and put the circle in the center of your block. Press it, take it to the sewing machine, and sew the edges.

Method 2
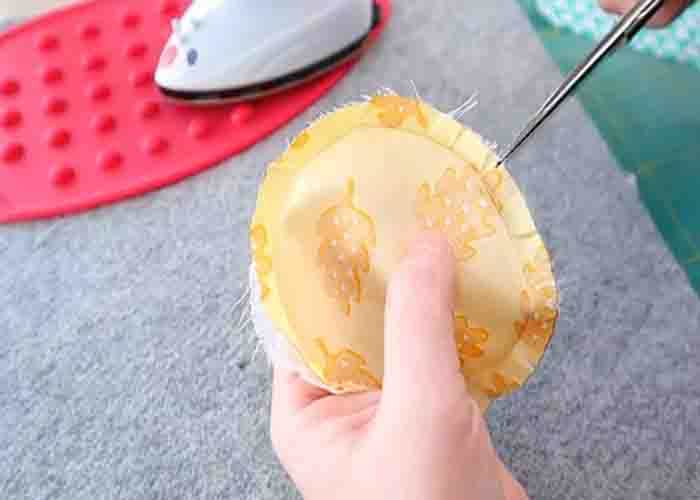
Get two more fabrics (a 6″ square and a 5″ square), trace a circle on the 5″ square, then sew them on the 6″ square, right sides together. Cut off the excess fabric afterwards. Clip the edges around in small intervals, snip off the center as well, then turn it inside out. Press again afterwards. Take a big square and sew the circle in the center.


