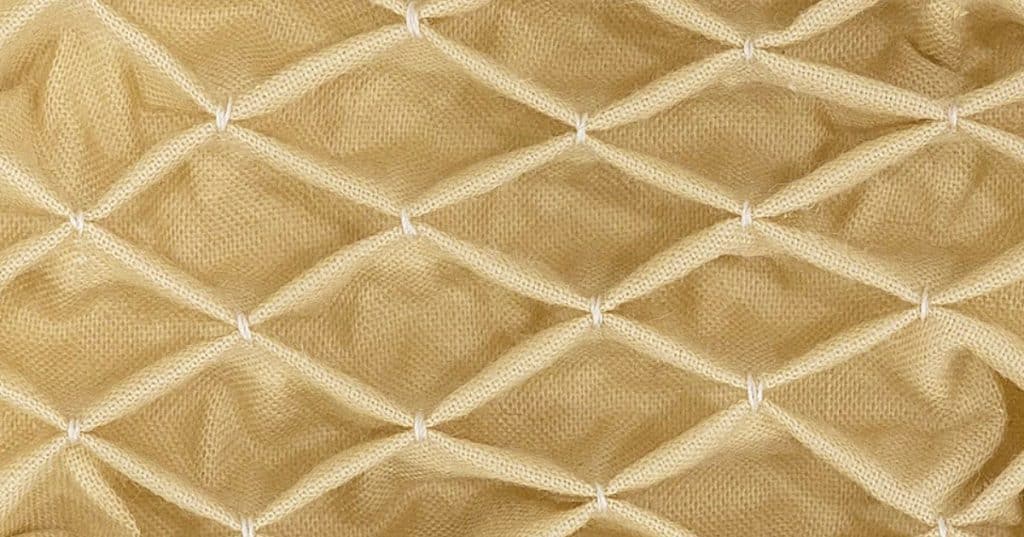
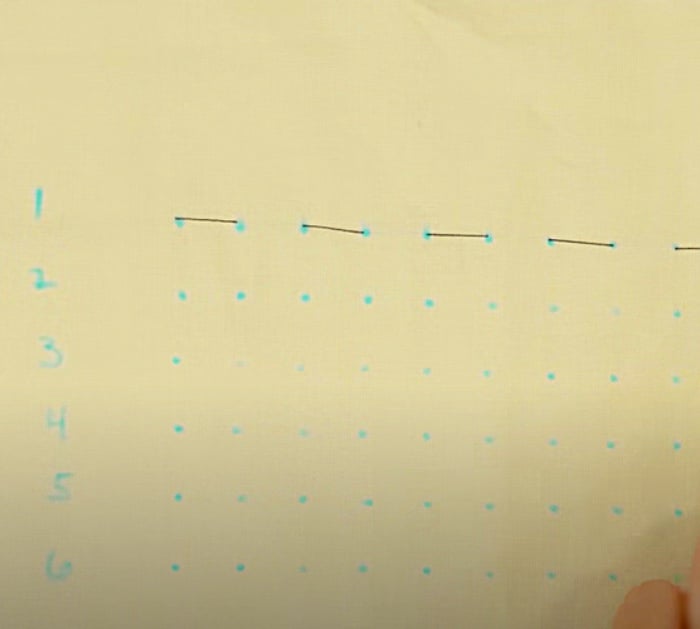
Smocking is such a lovely technique and looks fantastic on clothing and really good on pillows as well. The amazing thing that I recently found out was that smocking was really not hard at all with simple instructions. When I saw this video tutorial by Professor Pincushion on how to do a basic honeycomb smocking, I learned that it wasn’t hard at all. You just get a ruler and make your markings on your fabric and number the dotted line you will make with dots around one inch apart. I bought a fabric marker from Joann’s Fabrics that is a purple colored felt tip style and it actually disappears after several hours, which is perfectly long enough to finish your work. Make sure and download the Joann’s Fabrics app that will give you the coupons of the day which are always between 40 to60 percent off. Joann’s always has the best deals in town, it is my favorite store, bar none.
Materials:
- A piece of fabric
- Fabric marker (or pencil, the best kind of fabric marker disappears by itself)
- A needle
- Thread
- A ruler
Directions:
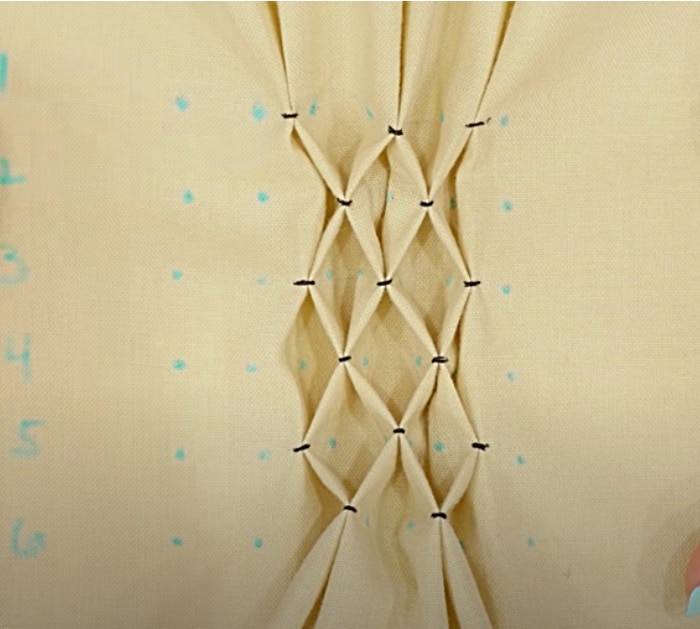
In the video, you will be guided step by step on how to make your markings and start your thread pattern that will create the smocked bunches.
Then, you will be shown exactly how to join these bunches with an attractive top embroidery type of stitch.
I can’t wait to do this to some blouses and on pillow cases, it’s just so elegant, I really love it.
How To Sew Honeycomb Smocking