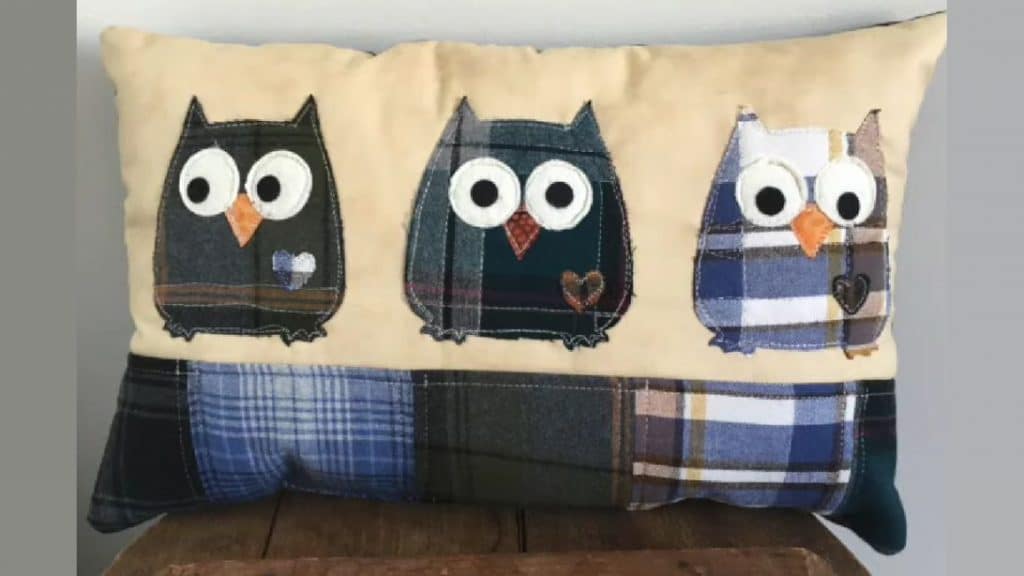
If you love adding owl designs to your sewing project, then you might just find this technique by stitchesbyjulia on YouTube absolutely adorable! Not only does it make your pillow cute but it also adds more character and dimension to your owls. You can learn how to sew this easily by reading the instructions down below, you can also watch the actual video tutorial as well.
Materials:
- Old flannel shirts
- Bigz owl die or find a pattern online
- Background fabric
- Fabric for the back of your pillow
- Fabric glue
- Scissors
- Rotary cutter and mat
- Ruler
- Marking pen
- Needle and matching thread
- Sewing machine
Directions:
Step 1
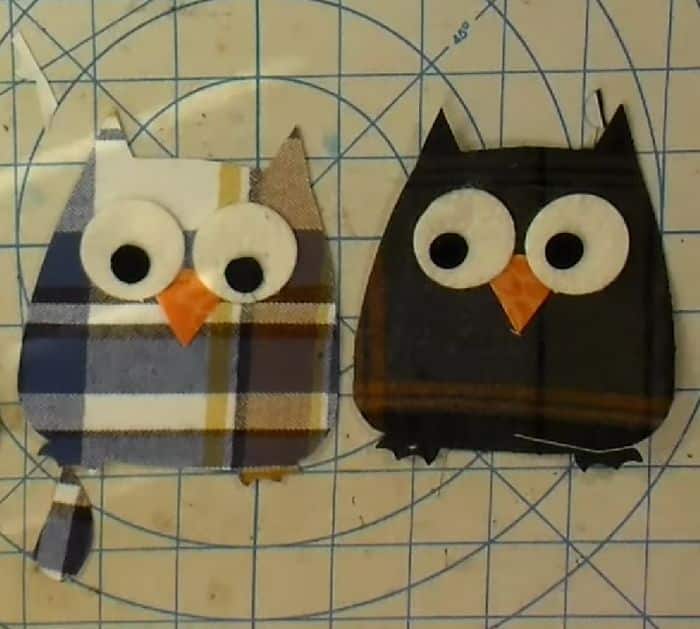
The first thing that you have to do is to cut your flannel fabric scraps into a bunch of squares, the quantity depends on how many owls you want to make and what is needed on your pillow. Next, fuse the heat and bond lite to the left side of the square flannel scraps by pressing it with an iron. Cut each fused flannel square into the shape of an owl, then cut the details as well such as the eyes and beak, and attach them to the owl using fabric glue pressing them into place with an iron.
[social_warfare]
Step 2
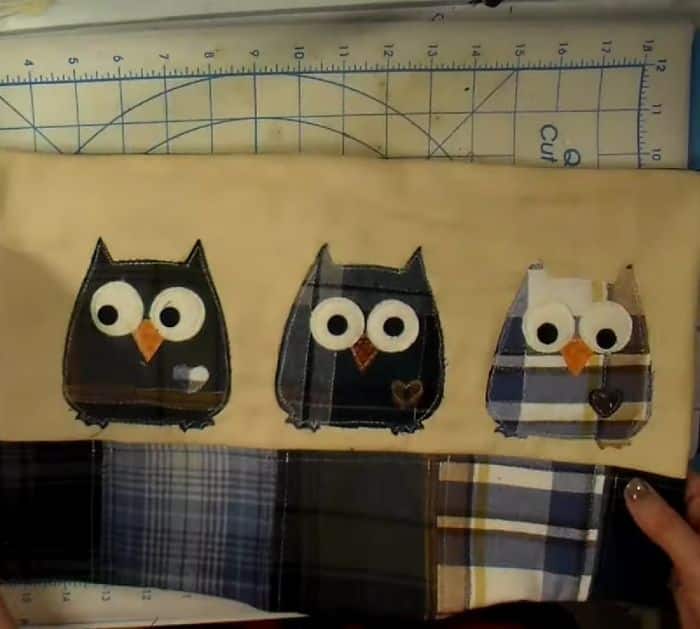
Sew a row of square flannel, then sew it at the bottom of your background fabric with a straight stitch. Now, grab your owl pieces, then peel off the backing paper fused at the back, and figure out how you want to put them on the background fabric. Give it a nice press, then sew in place. Now, place the piece of fabric on the back of your pillow, then place it on top of the front piece with their right sides facing, and sew it in place leaving a small gap for turning. Turn the fabric right side out, then fill the pillow, and stitch the gap close.
*All image credit belongs to stitchesbyjulia via YouTube. Follow and subscribe to her channel for more!

