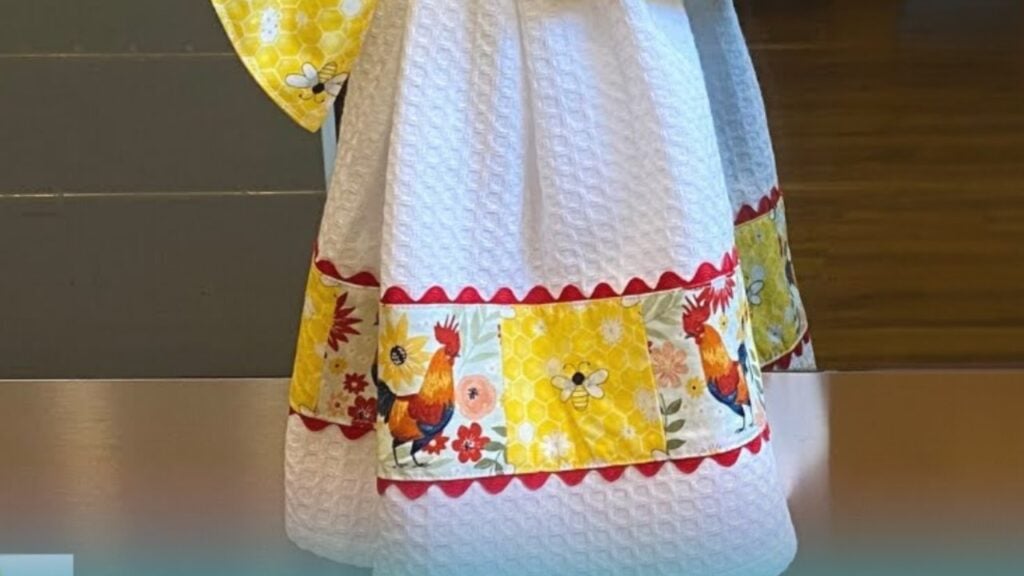
This sewing project by Notches Sewing is one of the best that I’ve ever seen on the internet! It is a pretty tea towel that can also serve as a gift to a loved one, plus, it is super easy to sew, and uses only a few simple materials. What I love the most about this project is that it needs no button, elastic band, or velcro to be attached or hung. Simply loop it over a bar or anywhere you like, then tie, and you’re done. Watch the video tutorial and see how easily this tea towel is made.
Materials:
- 100% quilting cotton
- Tea towel
- Ric Rac ribbon
- Fabric pins and clips
- Marking pen or chalk
- Scissors or rotary cutter and a cutting mat
- Iron, for pressing
- Sewing machine
- Pattern (click here to download and print the pattern)
Directions:
Step 1
First, cut and join the pattern pieces of the top tie and the optional solid band for the bottom. If you want to use different fabrics for the bottom band, then take the small pattern for the bottom band, and trace it out on a template. Use this to cut the pieces, then sew them together to form the bottom band, press the seams open, and set it aside. Now, for the top tie, get the fabric, then fold along the lengthwise grain with their wrong sides facing together, and place the pattern along the fold. Cut the fabric out making sure not to include any of the salvage edges. Open the fabric, then fold it again with their right sides facing together this time, then mark the opening of the pattern at the center of the edges, and pin or clip in place. Start sewing them with a ¼” seam allowance from the edge of the fold, then pivot, and continue stitching until you reach the first opening mark. Lift the presser foot, then skip on the opening, and proceed to stitch starting from the other mark. Trim the corners at an angle making sure not to cut the thread, then turn it right side out poking the corners nicely.
[social_warfare]
Step 2
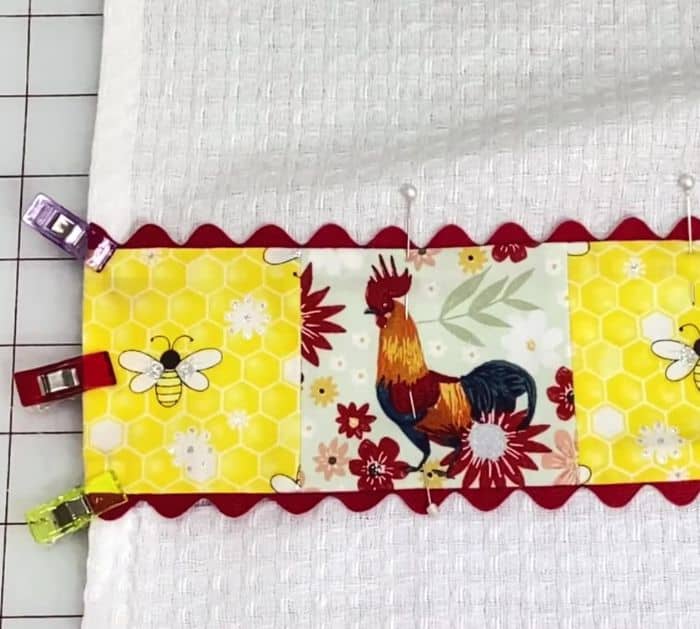
Tuck the seams of the opening, then press it nicely, and stitch it close with a 1/16″ seam allowance. Give it a quick press, then fold the piece in half with their half point lined up, and press the center crease. Get the bottom band piece, then sew the Ric Rac ribbon on top and on each side of the fabric with a little extra on the edges, make sure to sew in between the Ric Rac. Once you reach the end, cut the ribbon a bit longer than the fabric, then fold them over to the other side, and press. Get the tea towel, then on the right side bottom edge, mark 2.5″, turn it over, and fold in half lengthwise with their wrong sides together, crease the center. Open the fabric, then mark along the crease on the wrong side of the fabric. On the front of the towel, find the center of the bottom line, then place the bottom band making sure to match their midpoint, and pin them in place.
Step 3
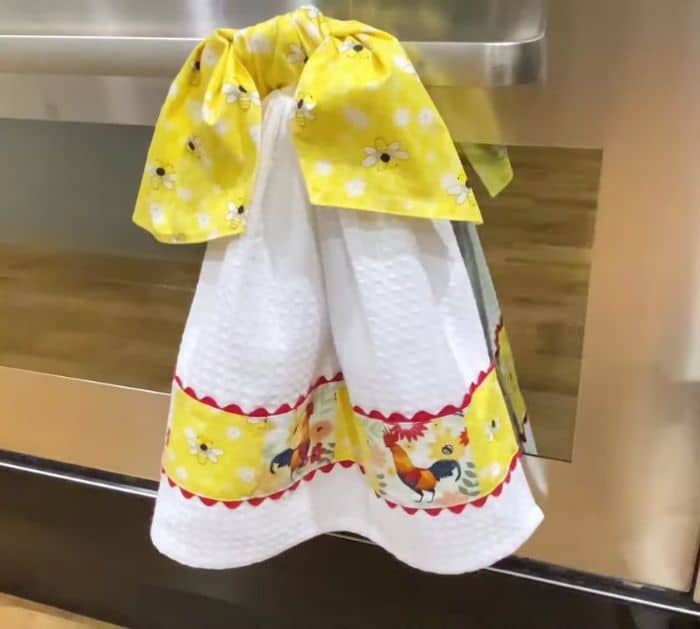
Fold the end of the band over at the back, then fold the corner at an angle, and edgestitch all around. On the wrong side of the towel, sew about ½” from each side of the center line, then open the band, and place the towel on top with their center line and crease matching. Now, pin them together in place, then separate the two top threads from the bobbin thread, and pull them together until the towel is gathered the same size as the band. Make sure to keep their edges lined up on each side and gather at the center nice and even, then stitch them together right down the center line on the towel, pivot, and stitch over the same stitching line. Carefully cut the gathering and bobbin threads before gently pulling them all out. To hang this towel, simply loop one part of the tie over, then tie them together, and pull at the center to remove.
*All image credit belongs to Notches Sewing via YouTube. Follow and subscribe to her channel for more!
How To Sew A Pretty Tie-On Tea Towel


