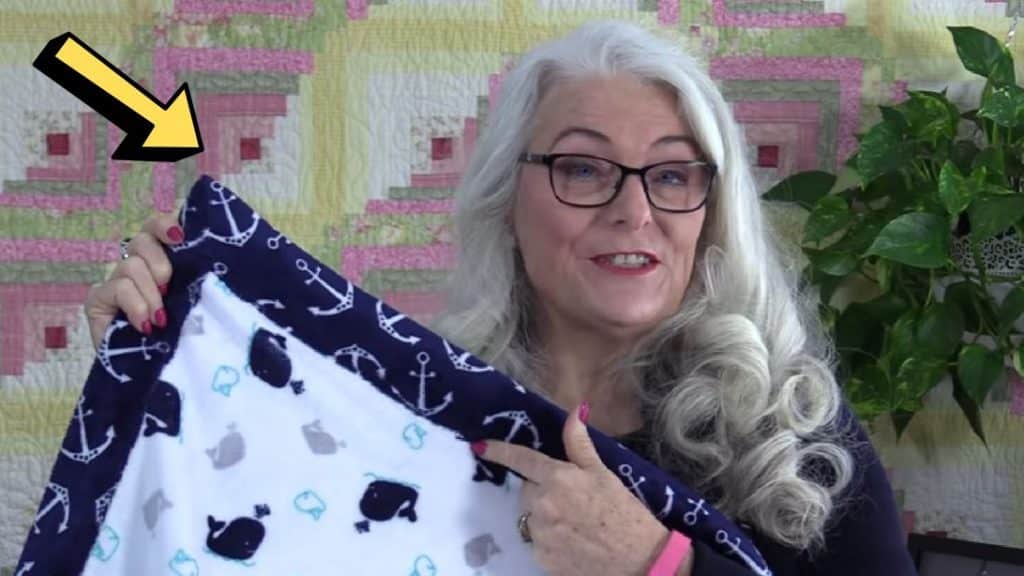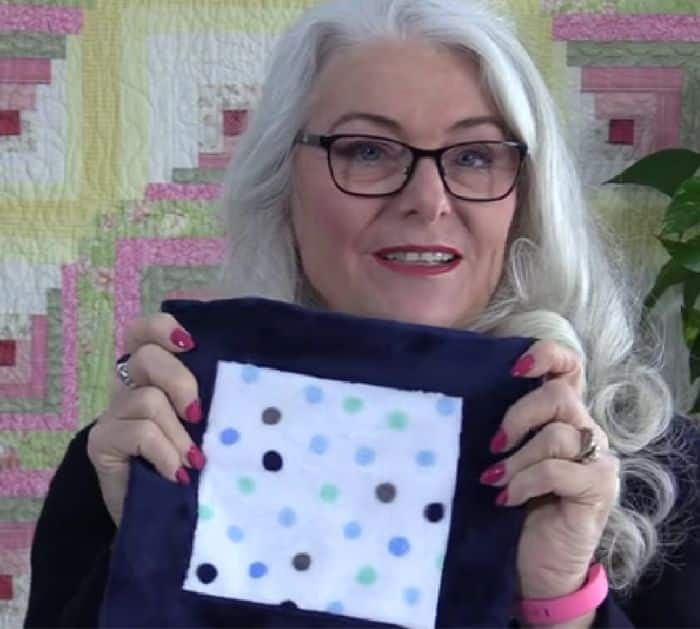
This adorable and cuddly sewing project by SewVeryEasy on YouTube is going to be my new favorite tutorial. Not only is this super easy to do, but it also requires only a few simple materials to put together. Plus, this also makes a great gift idea or something to sell. Check out this sewing project now and see for yourself.
Materials:
- 1½ yards of cuddle fabric, for the back
- 40 inches of cuddle fabric, for the front
- 90/14 stretch needle
- Coordinating polyester thread
- Fabric pins and clips
- Sewing machine
- Pattern (click here for the pattern)
Directions:
Step 1
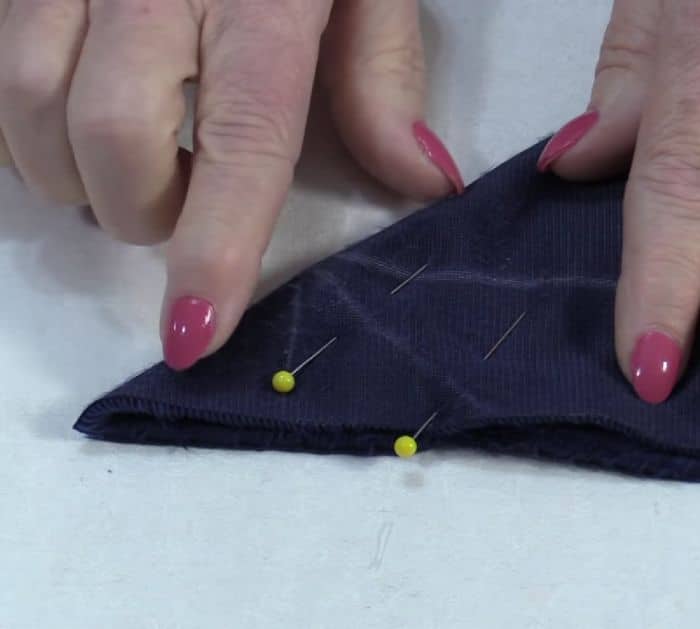
Mark the wrong side of the backing fabric with a 40 inches square, Then the front fabric with a 34 inches square, and cut along those lines. Draw a 2-inch border from the raw edges around all sides of the backing fabric, then using those lines as guides, draw a 45-degree angle line that intersects the guides for every corner. Fold the corner with their right sides together to show the stitching line, then pin, and stitch along those lines.

[social_warfare]
Step 2
Once you’ve sewed all of the corners at an angle, turn the corners in making sure that every corner is mitered and laying flat. Trim with a half-inch seam allowance, then lay the front fabric at the center with the wrong sides facing together, and tuck the edges under the frame created in the backing fabric smoothing them out evenly. Pin the layers together, then sew them together with a zigzag stitch. You can topstitch along the outside fold or edge, and use a serpentine stitch for a nicer finished look.

*Thanks to SewVeryEasy via YouTube for all images used here. If you loved this sewing project, then you’ll surely love her other videos too, so give her channel a visit and subscribe!


