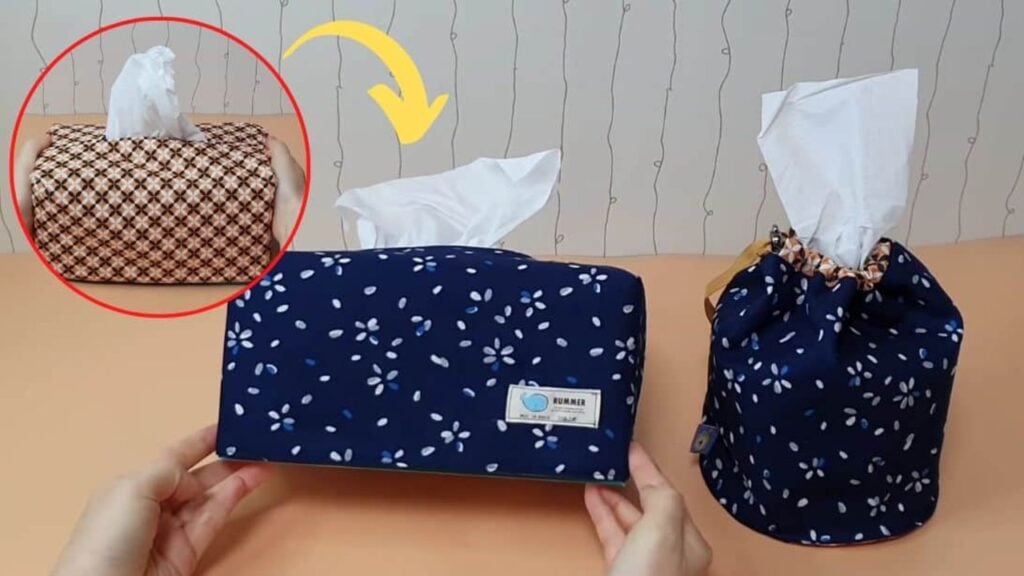
This pretty fabric tissue cover by Tendersmile Handmade on YouTube is a simple sewing project that you can make for your own use or sell. This is also reversible so you can have two different designs in one piece.
Materials:
Outer fabric
- 2 pieces @ 15 by 7.9 inches, for the tissue box cover
- 1 piece @ 18.5 by 15.7 inches, for the napkin cover
Lining fabric
- 2 pieces @ 15 by 7.9 inches, for the tissue box cover
- 2 pieces @ 6.7 by 6.7 inches, for the napkin cover
- 1 piece @ 18.5 by 2 inches, for the napkin cover
Other supplies you’ll need
- Interfacing fabric
- Ruler
- Scissors or rotary cutter and a cutting mat
- Marking pen or chalk
- Fabric pins and clips
- Needle and thread
- Iron, for pressing
- Sewing machine
Directions:
Step 1
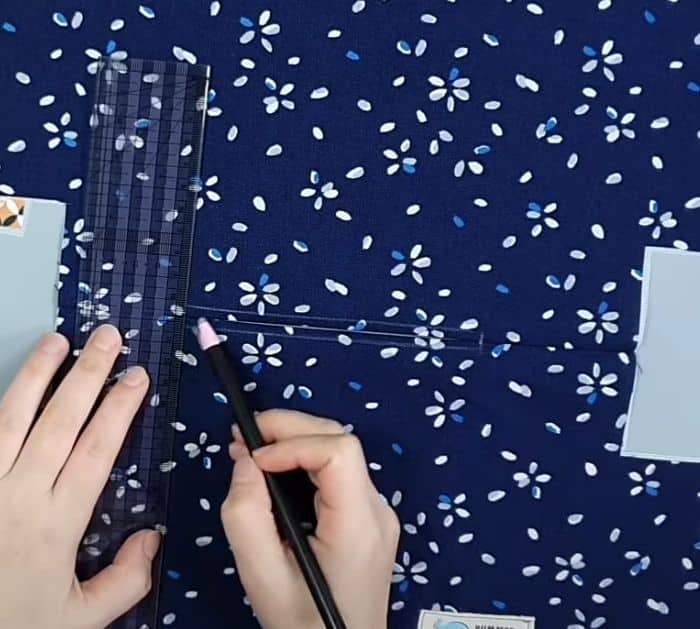
Measure the dimensions of your tissue box, then make your template from it, and cut the fabrics accordingly making sure to add about 0.4″ seam allowance all around. Press the interfacing to both outer and lining fabric pieces, then measure the bottom corner with 3.5″ x 1.6″, and sew the label on the intersection of lines. Fold all pieces of fabric in half to find the midpoint, then mark them with pins, lay the outer fabric together with their right sides facing and midpoint lined up, and measure about 2.3″ on each side of the midpoint for a total of 4.7″. Sew the top and stop once you reached the marks, then repeat this process to the lining fabric pieces. Press the seams open for both pieces, then flip them over so their right sides are facing up, and mark two lines a little bit above and below the original line at the center, topstitch on those lines.
[social_warfare]
Step 2
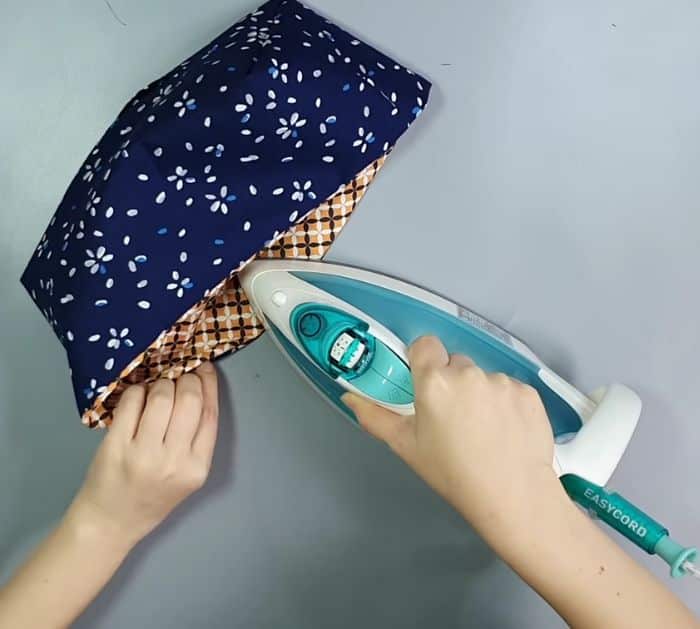
Fold the fabric down so that their right sides are facing again, clip them around in place, then sew on the short side with 0.4″ seam allowance, and press the seams open. Match the edges of the top corners, clip in place, then sew, and repeat with the lining piece. Turn the outer piece right side out, then insert it into the lining fabric with their right sides facing, and line up the edges before clipping them around in place. Sew them all around, then turn it right side out through the gap at the bottom, and poke the corners nicely. Give the whole piece a good press, then topstitch around the edges. Watch the video tutorial to see how to sew the napkin cover.
*All image credit belongs to Tendersmile Handmade via YouTube. Follow and subscribe to her channel for more!
How To Sew A Reversible Fabric Tissue Box Cover


