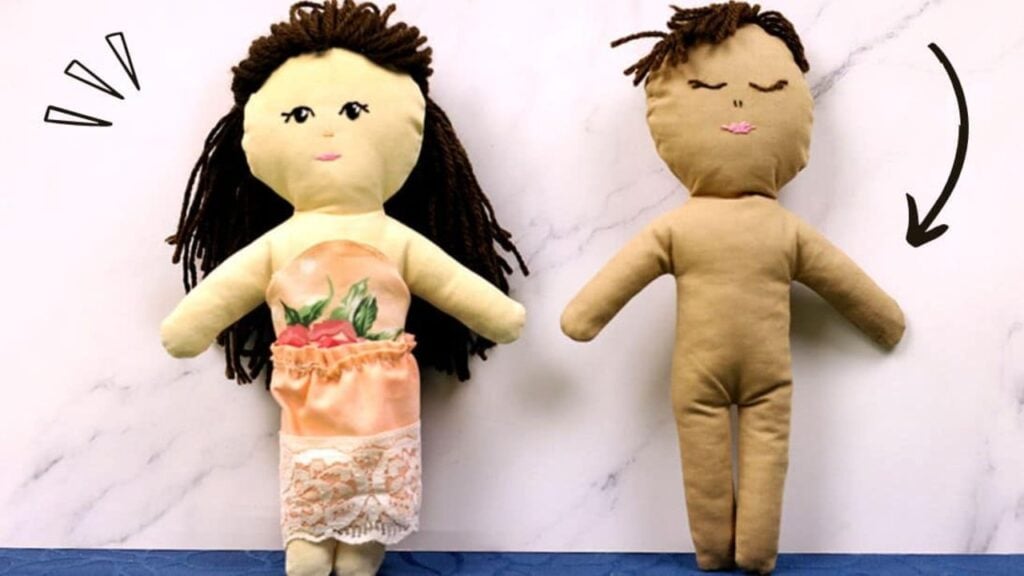
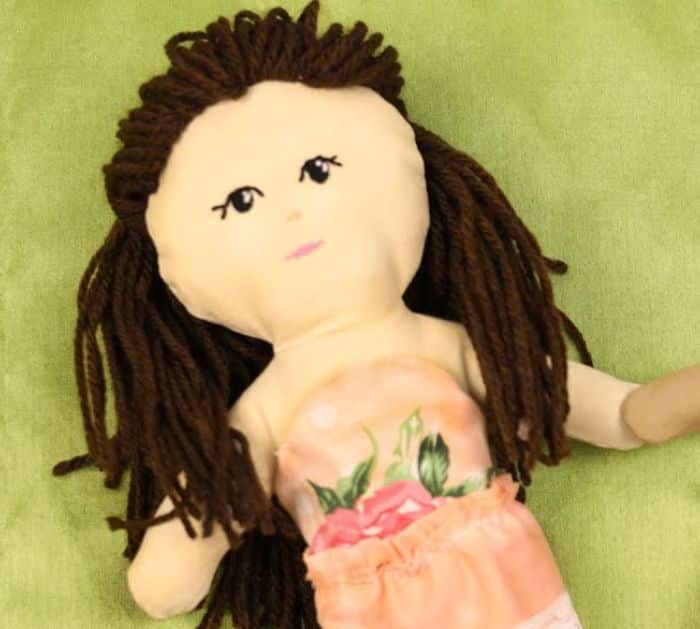
This adorable and simple sewing project by Hello Sewing on YouTube is an easy and fun activity that you can also do with kids. You can customize the skin, hair, and clothes of this doll to what you prefer and give this as a gift to your loved one.
Materials:
- 13″ x 15″ medium-weight cotton fabric, skin tone, for the body of the doll
- 13″ x 15″ white cotton or flannel fabric, for the lining or double layer of the doll
- Poly-fil fiberfill
- Needle and matching thread
- Scissors or rotary cutter and a cutting mat
- Ruler or measuring tape
- Iron
- Fabric pins
- Needle and embroidery thread
- Yarn, for the hair
- Pinking shears
- Pattern (Click here to download and print the pattern)
Directions:
Step 1
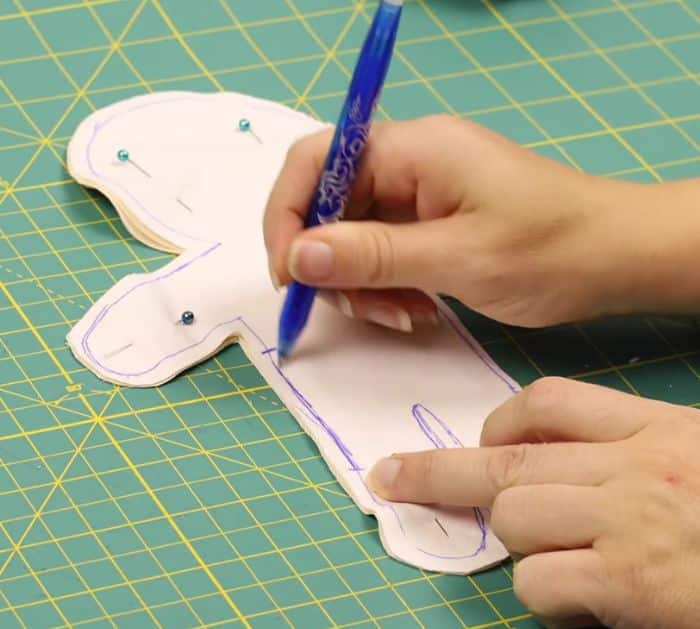
Print out and cut the pattern, then fold the skin tone fabric over, place the cutout pattern on top, and trace the shape. Place a folded flannel underneath the skin tone fabric, then pin them together, and start cutting out the shape leaving about ¼ inch seam allowance from the marking. You may also want to iron your 4 fabric pieces before moving on to the next steps. After removing all of the pins and ironing the pieces, separate, and start stacking the layers. Stack the 2 skin tone fabric right sides facing together, then place the flannel at the top and the other underneath, make sure to match their edges together as much as possible and pin them together. You can retrace the pattern so that you can stitch the pieces easier and start sewing.
[social_warfare]
Step 2
Simply sew right around the marked lines or ¼ inch away from the seams making sure to leave a 2-inch gap for turning later, then snip off all the excess fabric around the piece using pinking shears, and then turn it right side out poking the corners nicely. Stuff the doll with poly-fil fiber, then hand sew the gap close and then prepare the hair. Wrap the yarn around a piece of cardboard about 40 to 50 times, then cut it in half, gather the yarn together nicely, place clear tape on each side to hold them together, and sew them right down at the center. Carefully remove the tape, then sew the yarn piece around the head of the doll, and embroider the eyes, nose, and mouth.
*All image credit belongs to Hello Sewing via YouTube and her official website. Follow and subscribe to her channel for more!


