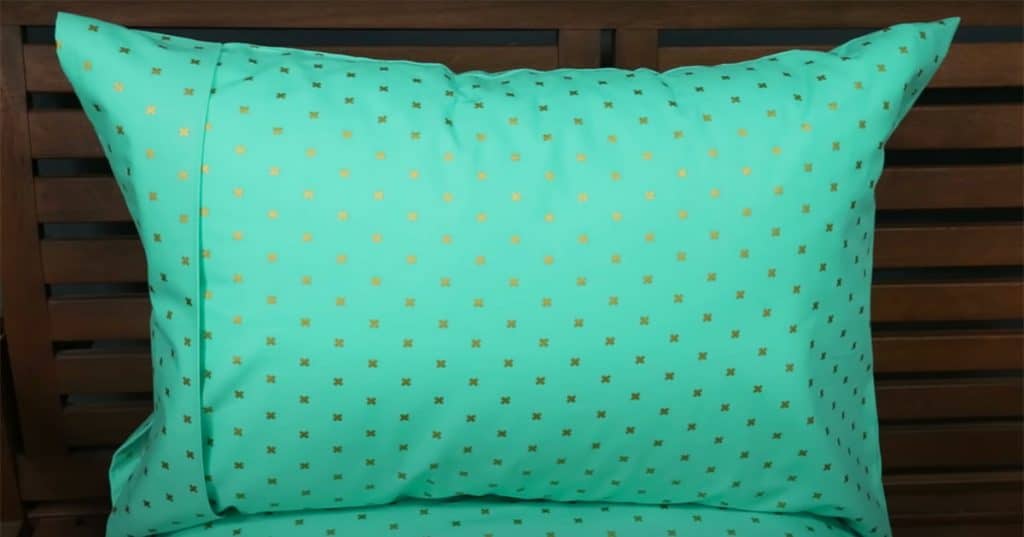
This DIY sewing project by Craftsy on YouTube shows how to sew a pillowcase with a free pattern provided. Pillowcases are easy to make especially if the instructions are simple and easy to follow along. I love how you can choose any type of fabric too because I like to explore different materials to go along with my bedsheet such as silk. It’ll save money because sometimes you can’t buy specific individual pillowcases and this DIY is a great way to create and customize your own at home.
Materials:
- cotton fabric or any type of fabric
- chalk
- yardstick
- iron
- sewing machine
Directions:
First, measure the pillow that you are covering to create a pattern. Make sure to leave room for 1/2 seam allowances and the top finished edge. Add an extra 11 inches long to the length to make a finished fold at the opening of the pillow. Cut 2 of these. Continue to watch Craftsy tutorial on YouTube for full instructions and details.

[social_warfare]
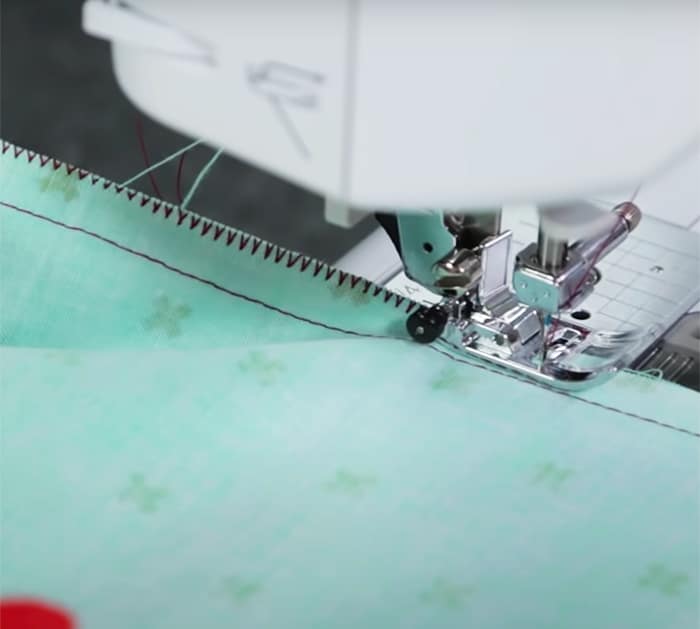
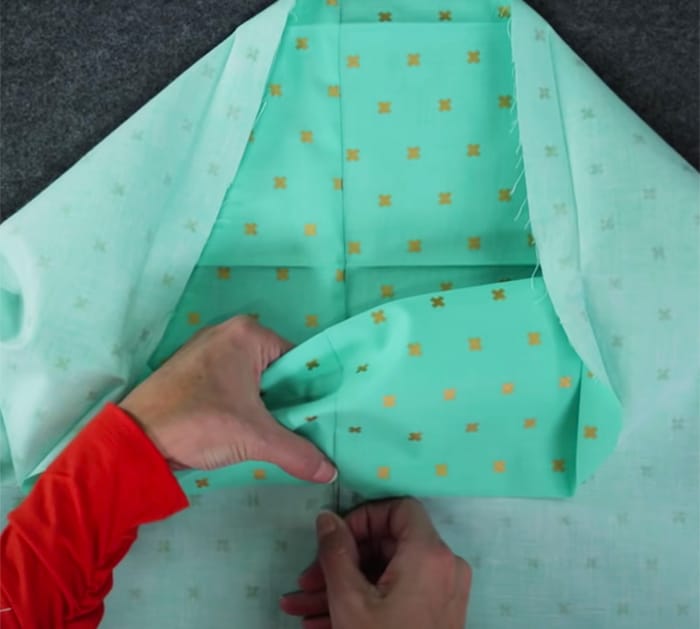
Next, once the perimeter is stitched, turn the press folds towards the wrong side of the fabric, making sure to line up the side seams, and pin. Stitch 1/8″ away from the folded edge. Turn the pillowcase to the right side and iron the crease. Turn back the fold to the right side of the pillow and press again. This will keep the fold in place.

Overall, it’s an easy sewing tutorial to follow along with the step-by-step instructions. I love how thorough and detailed she is because it did not take long to make at all. I want to make a few of these because I like to have a few pillows on my bed with different fabric materials. This would add variety without having to buy pillowcases or bedding sets.


