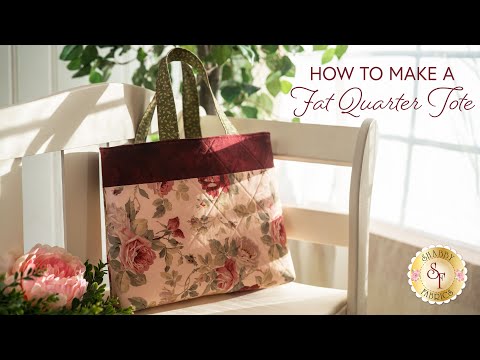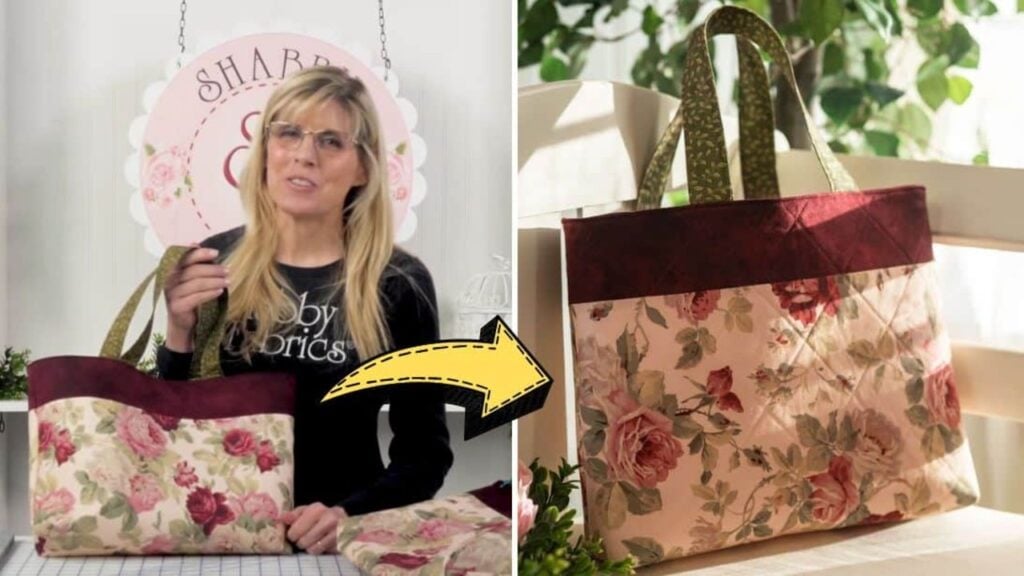
I am in awe of this sewing project by Shabby Fabrics on YouTube because of how simple it was to make and how beautiful it turned out. This lovely tote bag can be used everywhere and I can already imagine making a lot of these while experimenting with the fabrics that I would use. This beautiful bag can be given as a gift or you can even sell it if you want.
Materials:
- Main fabric
- Lining fabric
- Coordinating fabric, for the top of the bag
- Fusible fleece
- Fabric, for the handle
- Scissors or rotary cutter and a cutting mat
- Marking pen or chalk
- Ruler
- Fabric pins and clips
- Iron, for pressing
- Sewing machine
- Pattern (Click here to download the pattern)
Directions:
Step 1
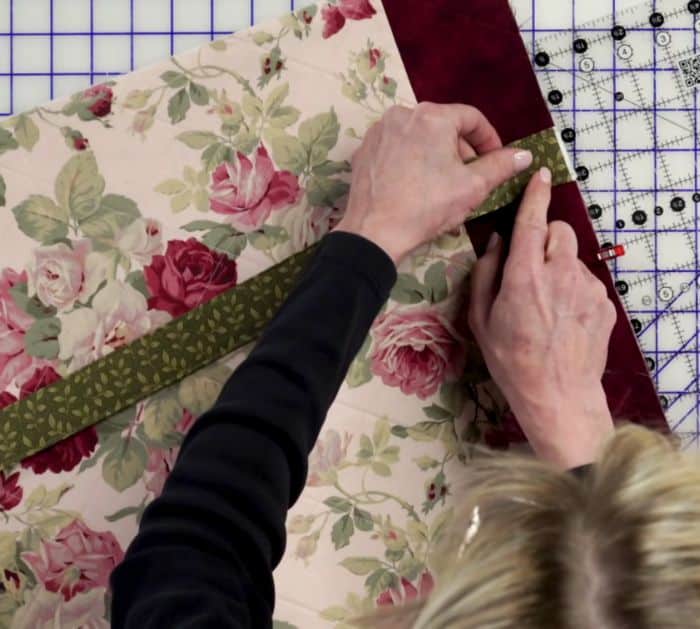
Cut the fabric pieces according to the pattern requirement, then sew the top piece on both shorter ends of the main fabric, and press the seams open. Repeat the same process with the lining fabric, then set aside. Get the main fabric, then press the fusible fleece at the wrong side, and quilt it with a criss-cross pattern as shown in the video or however you like. Get the handle pieces put, then fold the edges inward with a ¼-inch seam allowance, press nicely, fold the piece in half, and press. Make sure to do this step for both handle pieces, then Insert the fusible fleece strip inside the folded handle pieces, and press to fuse. Sew the handle pieces on both sides really close to the edge, then fold the main piece of the bag in half to find and mark the midpoint, and pin each edge of the handle 2 inches on either side of the midpoint.
[social_warfare]
Step 2
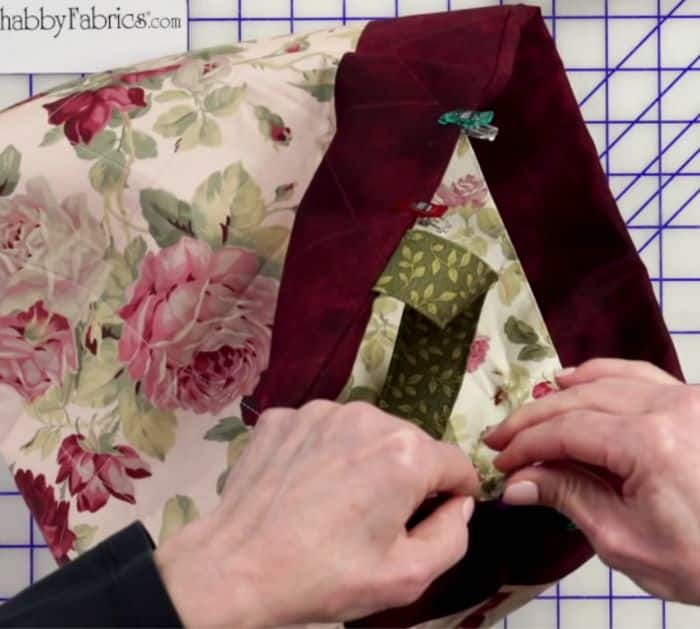
Do this for both top parts of the main piece of the bag, then sew the handles in place. Fold the main part of the bag up so that its right sides are facing together, then match the edges as well as the handles nicely, pin them together around, and sew all the way down on both sides with a ¼ inch seam allowance. Once done sewing the outer piece of the bag, start boxing the corners, then sew the lining piece of the bag, and box its corners as well. Turn the lining piece right side out, then put it inside the outer piece so that their right sides are facing, and then line up the seam and make sure that their boxed corners fit nicely. Sew them together on the edges making sure to leave an opening, then once done, turn it right side out through the gap, and push the corners nicely. Press the seams of the gap, then pin or clip around the edges of the bag, and topstitch all the way around.
*All image credit belongs to Shabby Fabrics via YouTube. Follow and subscribe to her channel for more!
How To Sew A Fat Quarter Tote