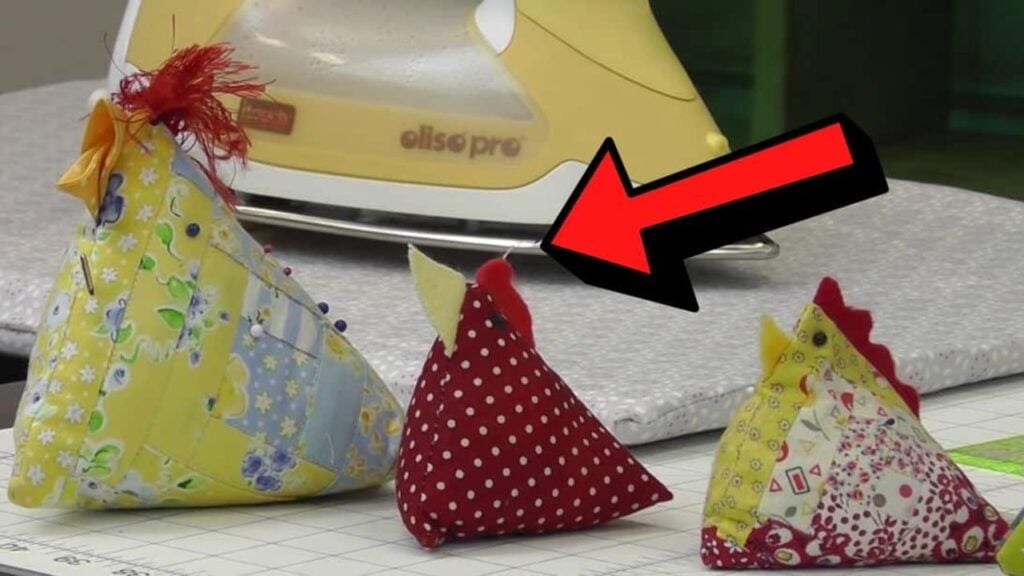
If you have fabric scraps or leftovers from previous quilts, then you must try this sewing project idea by Missouri Star Quilt Company on YouTube, and you’ll love it for sure! With only two fabric squares of the same size and a few fabric scraps, you can make an adorable pincushion shaped like a chicken. It is super easy and quick to make, plus, you can use any filling that you want, from beans to crushed shells, and even beads. Try it out now!
Materials:
- 2 square fabrics of the same size
- 1½ inch square fabric, for the beak
- 2½ inch square, for the tail
- 1¼ x 2½ inches strip, for the comb
- Fabric pins or clips
- Needle and thread
- Scissors
- Rotary cutter and a cutting mat
- Iron, for pressing
- Sewing machine
Directions:
Step 1
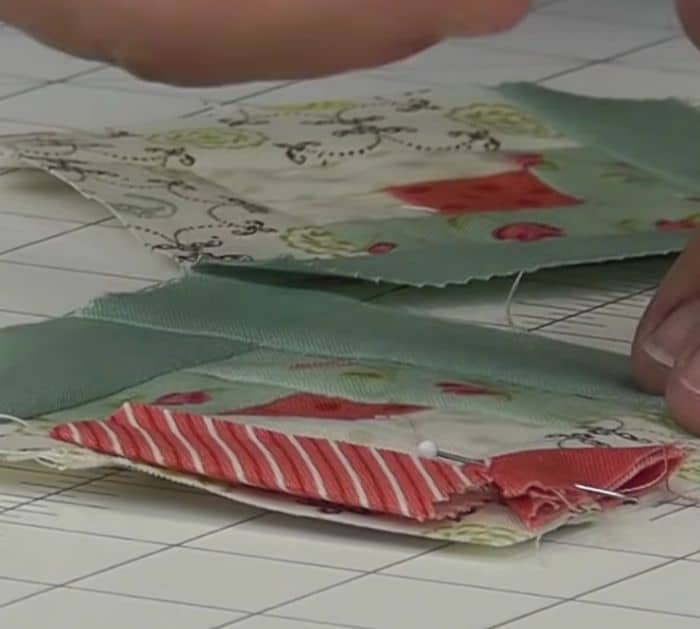
After cutting the fabric pieces that you need, grab the comb piece, then fold it in half, press it down, and set it aside. Take the tail, then fold it in half diagonally, press it down, and fold it again in half into a triangle and press. Repeat this step for the beak piece, then lay one block right side facing up, and place the beak on the left side of the block about ¼ inch from the top with its pointed side facing in and the folded side facing down. Pin it in place, then place the comb strip on the top of the block right about a ¼-½ inch away from the beak, and place the other block piece on top with its right side facing down, pin them in place.
[social_warfare]
Step 2
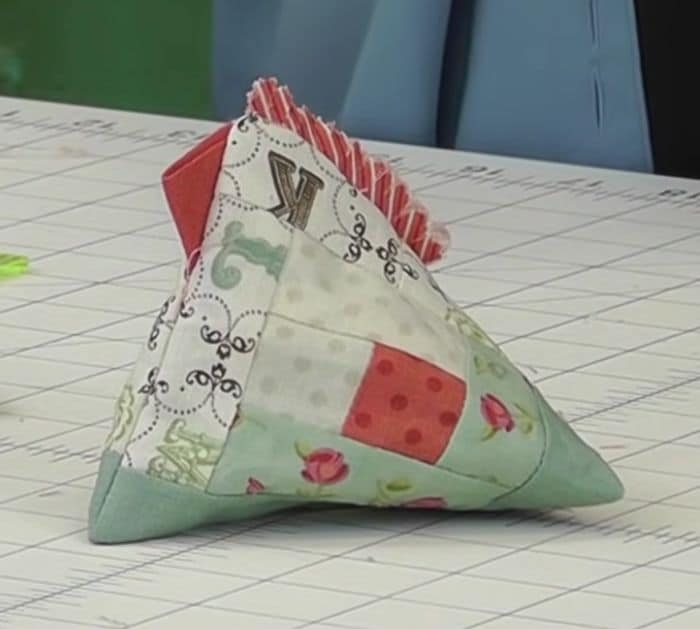
Sew the top and left side to stitch the comb and beak in place, then turn it right side out, and find the open side where the tail should be. Once you’ve figured it out, turn the right side back in, then sew the bottom leaving only about a 1½ inch gap, and pull the other open side apart so that the seams are matching. Insert the tail with its point going in and match the seam to the midpoint, then sew that side straight, and turn it right side out through the gap. Poke the corners nicely, then fill the chicken with crushed walnut shells, and sew the gap close. If you want to add eyes to the chicken, simply insert a pair of black pins on either side, and you’re done.
*All image credit belongs to Missouri Star Quilt Company via YouTube. Follow and subscribe to their channel for more!
How To Sew A Chicken Pincushion Using Fabric Scraps


