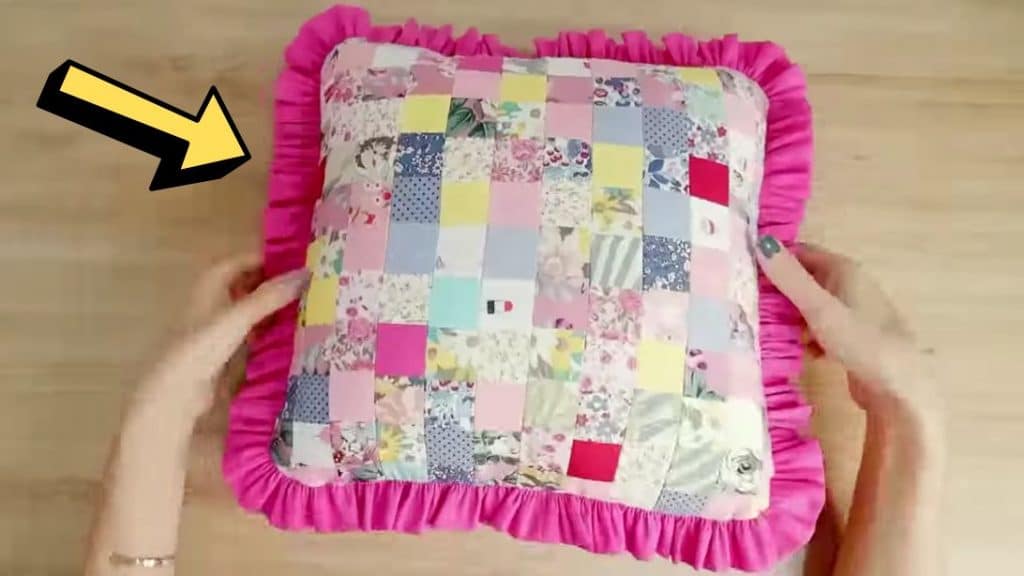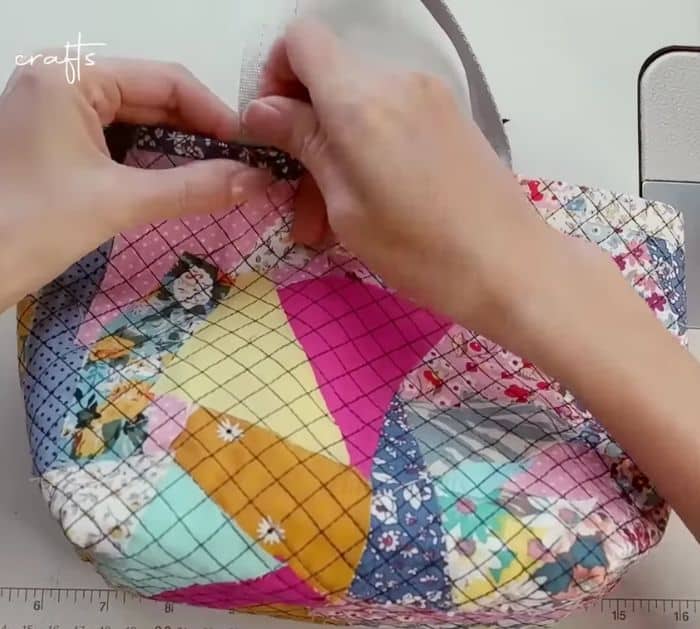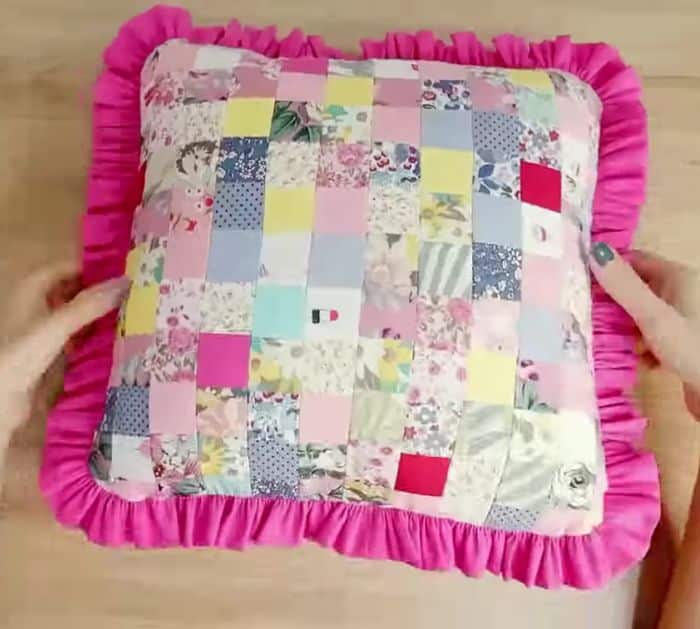
The next time that you think of throwing out your fabric scraps, consider collecting them for future sewing projects like this one by Thuy crafts on YouTube. You can make a pretty bag or a cute pillow with only a few simple steps, this is also perfect for beginners who are looking for an easy sewing project to try.
Materials:
- Fabric scraps
- Lining fabric
- Interfacing fabric
- Ruler
- Marking pen or pencil
- Fabric pins and clips
- Iron, for pressing
- Polyester fiberfill
- Needle and thread
- Sewing machine
Directions:
Small scrappy bag
- Cut the interfacing and lining fabric to 11.8×19.7 inches, then start placing the fabric scraps on top of the interfacing fabric however you want just as long as the whole interfacing will be covered. Once done and contented with how the fabric scraps are arranged, give it a nice press to fuse into the interfacing, then flip it over, and give the back a nice press as well. Flip the patchwork over so that the right side is facing up, then draw diagonal lines from one corner to the other making sure that they are spaced about 0.4″ apart from each other, and then repeat on the opposite side as well to make a criss-cross pattern. Sew along those marked lines, then flip it over to its wrong side, and fold each short side inward at about 0.8″ seam allowance.
- Repeat this process with the lining fabric, then clip their folded seams together making sure they are lined up nicely and clip their raw sides as well. Box the 2 bottom corners, then draw a 0.4-inch seam allowance on each raw side and sew along those lines stopping at the boxed corner marking. Cut the boxed corners, then open the seam sideways to flatten them, then pin them together, and sew. Turn the bag right side out and poke the corners nicely, then pull each center apart, and match the side seams in the middle. Clip them in place, then mark 1.6 inches from each end, then pin the handles on those marks, and topstitch.

[social_warfare]
Small scrappy pillow
- Cut a 1.6×1.6 inches cardstock template, then use it to trace, and cut the fabric scraps. Next, stack 2 pieces together with their right sides facing, then sew them on one side with a 0.2″ seam allowance, open the fabric, stack another piece on top of the fabric piece at the end making sure to match the edges nicely, and then sew. Continue this process until you sew 12 pieces of fabric in one row, then make a total of 12 rows. Press each of their seam open, then flip over, and press on top of each strip. Sew the strips together, then press their seams open, flip them over, and press again. Trim and straighten the sides making sure that the whole piece is nicely squared. Cut the lining fabric into a square that is 2.7 inches bigger than the whole patchwork, then fold it in half, and cut.
- Measure one side of the patchwork, then multiply the size into 4, and then into 2. Cut the strips to the length of the multiplied measurement with about 2 inches of width. Sew the lining pieces and zipper together, then sew the strips together as well, and fold the strips in half lengthwise before sewing them with a 1/8″ seam allowance. Curve the corners of both pieces, then ruffle the strips, and sandwich them in between the lining and patchwork piece. Make sure that the fabric pieces right sides are facing each other, then sew them around together, and turn it right side out. Poke the corners nicely, then start stuffing it with polyester fiberfill, and you’re done!

*All image credit belongs to Thuy crafts via YouTube. Follow and subscribe to her channel for more!


