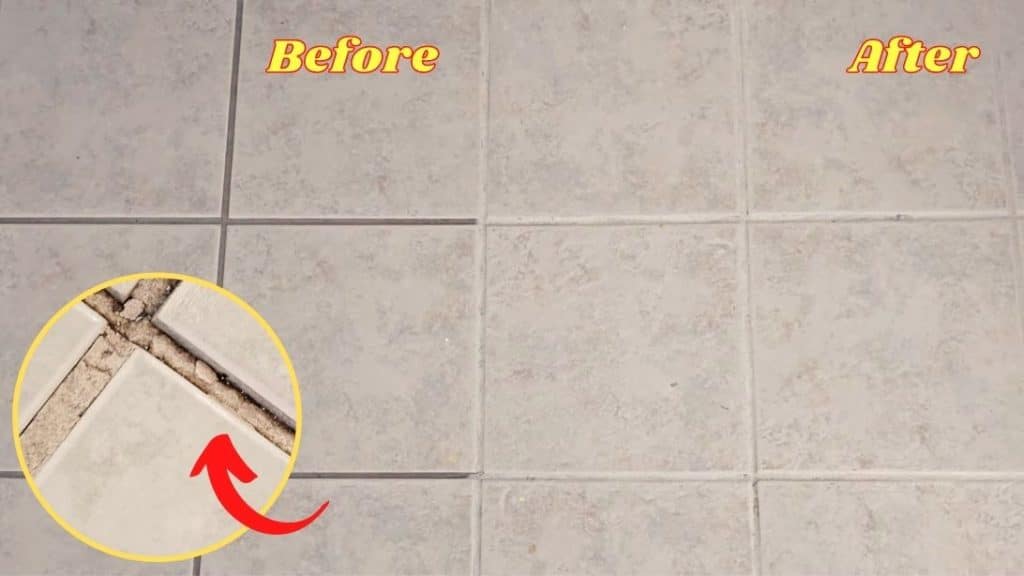
If you have a tiled floor and it has been a while, then you most probably have some cracked grouts already. You also might have been worrying over it as you think this might cost you a lot to repair. However, that’s not the case when you have a handy tutorial that’s made easy to follow especially for beginners! Read the simple step-by-step instructions below and watch this video tutorial by How To with Kevin on YouTube as well.
Materials:
- Premixed adhesive and grout
- Screwdriver or any similar tool
- Grout sealer
- Gloves
- Rag
Directions:
Step 1
The first thing you have to do is to prepare the area you’ll work on and it’s very simple. Just grab a screwdriver or any similar tool you can find that you can use to pry the cracked or loose pieces of grout. Make sure to clean the area and that no debris or other leftover stuff is present that could be stuck on the new grout that you’ll apply.

[social_warfare]
Step 2
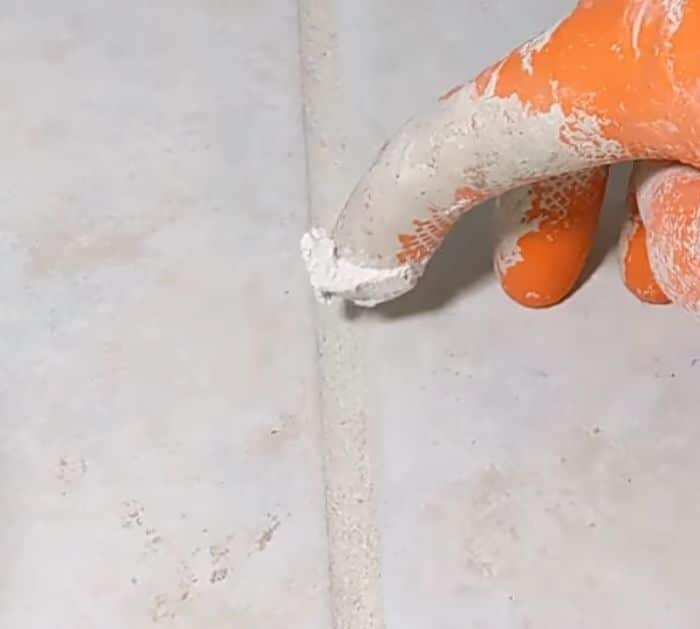
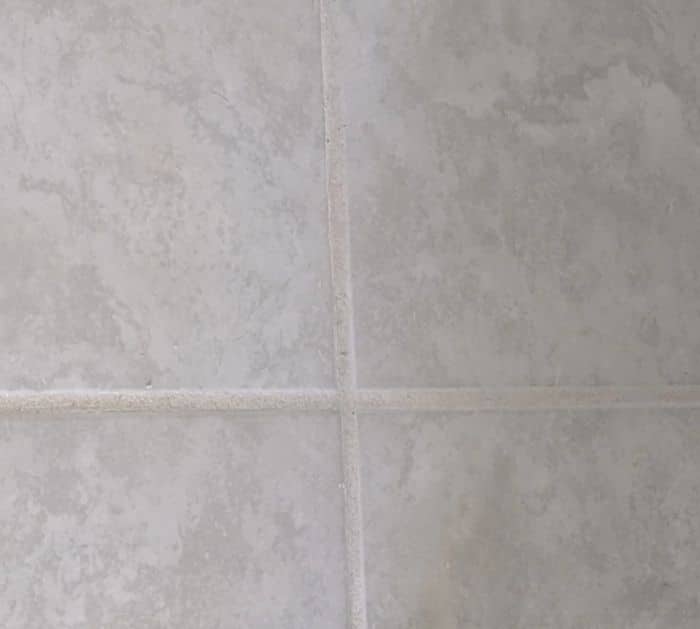
Pull out some grout using your forefinger and slide it into the space between the tiles, apply a thin layer of grout making sure to let it dry before another application. The level and depth of your application depend on the existing grout making sure you do not overfill. Wipe off the excess with a damp rag, then let it dry completely, drying time depends on the grout that you used, refer to the packaging instructions. Once the grout has dried, apply the grout sealer on top of it to make sure that it wouldn’t get dirty easily when you start mopping the floor.

*Thanks to How To with Kevin via YouTube for all images used here. If you loved this tutorial, then you’ll surely love his other videos too, so give his channel a visit and subscribe!


