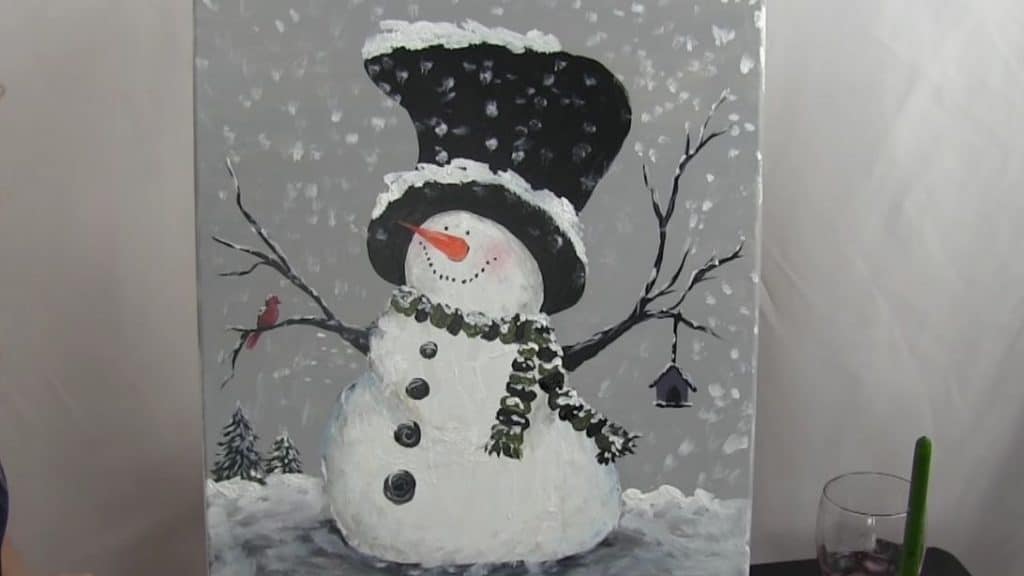
While walking down the street with my little sister yesterday morning, we passed by several houses and some parks decorated with cute little snowman, my sister immediately perked up and kept asking to take the snowman home with us, but of course, I can’t just do that if I don’t want us to get in any trouble with the neighborhood. That’s when an idea popped in my mind, sure I can promise my sister to make a snowman when we get home but it would be better if she can have one that she can keep even if the winter season is over. So, I thought why not try and paint one for her instead? I’m not that of a great painter but a great tutorial can go a long way. This tutorial is by Michelle the Painter on YouTube, the instructions were clear and she was pretty fun to watch too!
Materials:
- 18×24 stretched primed canvas
- Paintbrush
- Acrylic paint (white, blue, green, black, umber, red, and orange)
Directions:
Step 1
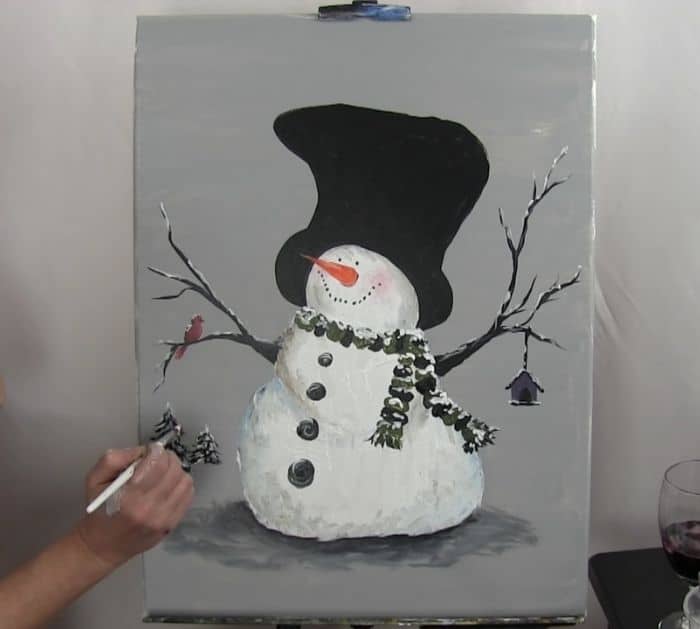
Start by pre-mixing gray and outlining the snowman with white, brown, and black paint. Use the pre-mixed gray to paint the background and add the base coat of the snowman with white, blue, and brown. The first layer of the hat as well as the arm should be painted using black, then black and gray for its shadow.
[social_warfare]
Step 2
Start painting the pine trees with black and green, the birds with red, brown, white, and black, then the birdhouse with blue, red, black, and white. Add an accent of rosy cheeks on the snowman, by mixing white and red. Paint a scarf around the snowman’s neck, use colors black, green, brown, and white.
Step 3:
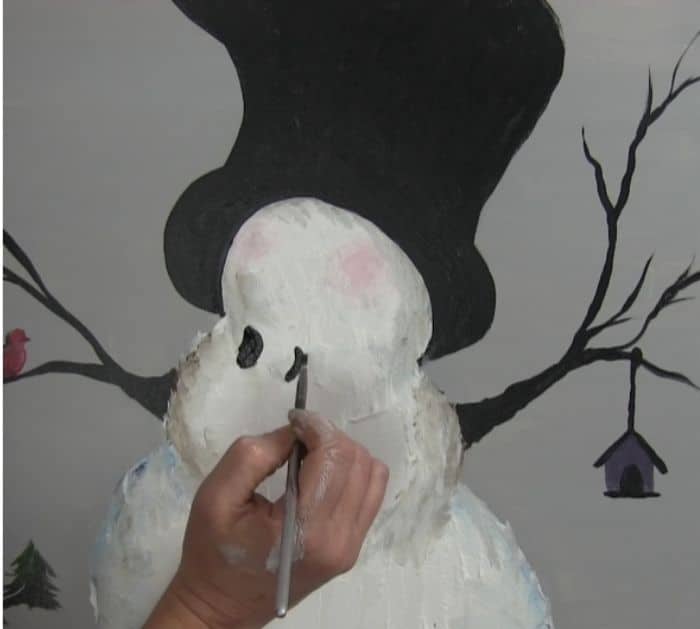
Paint the nose with a combination of orange and white color then finish some details of its face. Add buttons to the body with black paint. Paint snow around the area with white and gray. Then put your signature on the canvas.
*All these images belong to Michelle the Painter on YouTube. Follow her for more painting ideas like this one.

