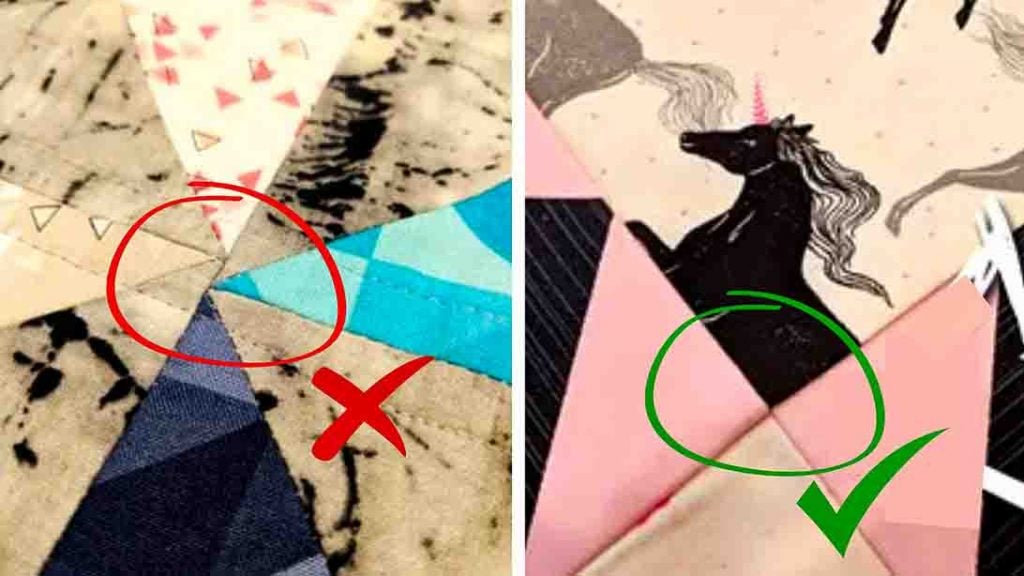
In sewing and quilting, there exists a silent language — a language spoken not through words but through stitches. It’s a language of precision, attention to detail, and perfection with every seam, every stitch, and every quilted square. Within this intricate tapestry of fabric and thread, there lies a technique everyone is trying to perfect: the art of nesting seams.
RELATED: 9 Quilting Techniques You Might Not Know About
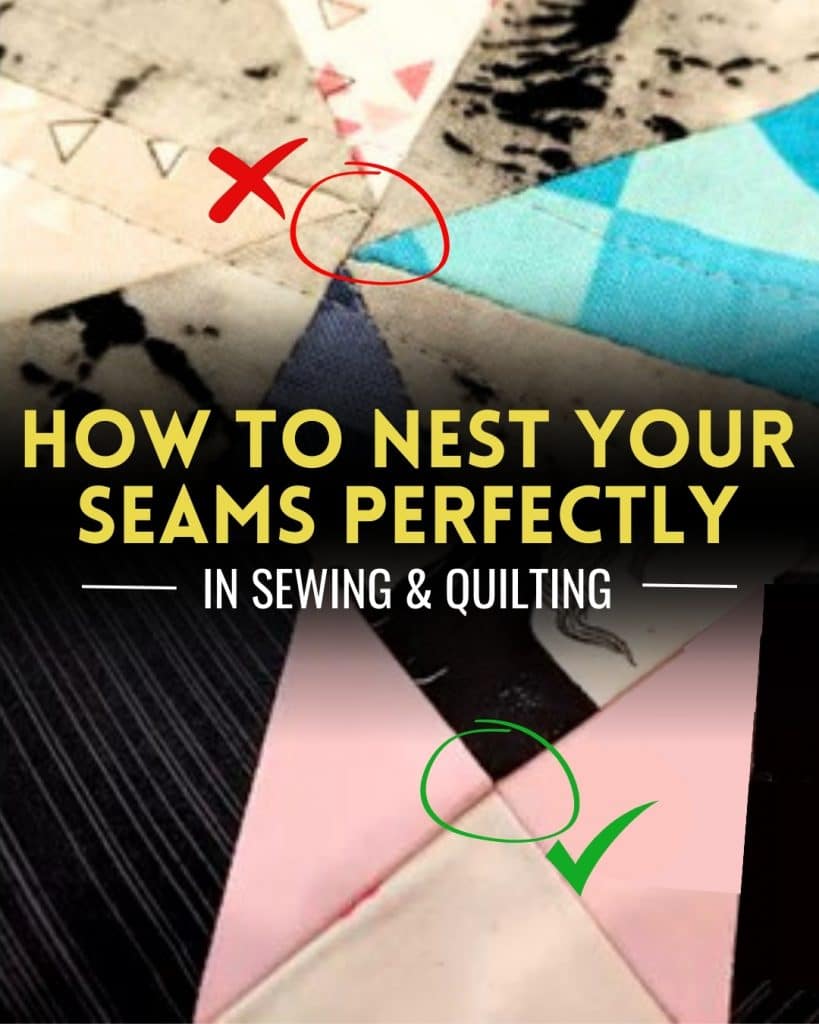
Nesting seams is the practice of aligning and interlocking adjacent seams, creating a seamless transition where two pieces of fabric meet. Not mastering this technique can ruin your entire project, resulting in a poorly made quilt or sewing project.
But fear not, as ISeeStarsQuilting will teach you how to perfect nesting your seams. It’s a simple and easy method I’m sure you can master with just a few projects. Beginner or not, you’ll surely pick up a good sewing habit with this tutorial. Learn how by watching the video tutorial below for the step by step instructions, or continue reading down for the complete written process.
Directions:
Step 1
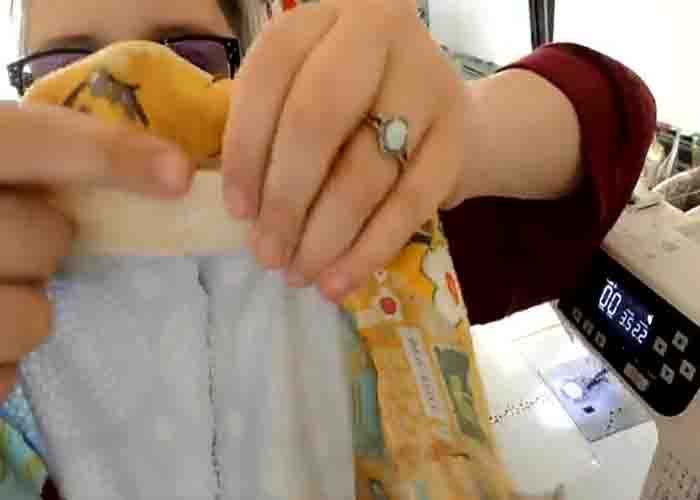
Take your chain piece block and press down the seams flat. Next, when you’re piecing your rows together, grab the first seam, and look for the seam budge right up next to the other one using your fingers. Pin it in place. Repeat this all the way down the chain row. Alternatively, if you don’t want to pin, you can just hold those seams lined up right next to each other all the time as you sew.
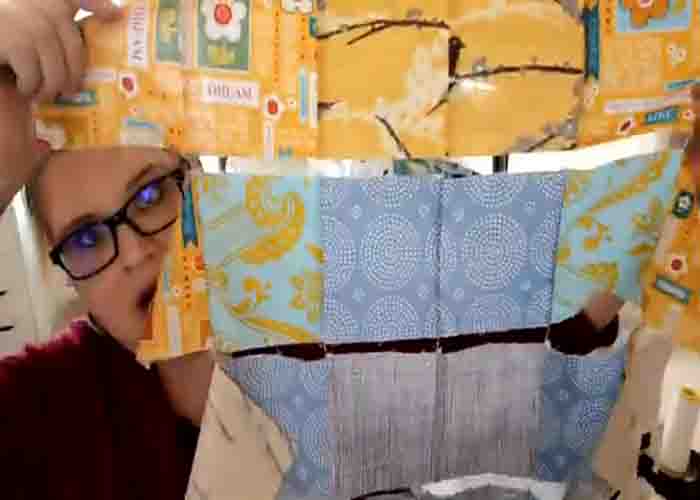
Step 2
Continue sewing in this manner until you finish stitching the chain block. Now, if you want a little less bulk in your quilting, you can sew all your seams down to make it flat.
