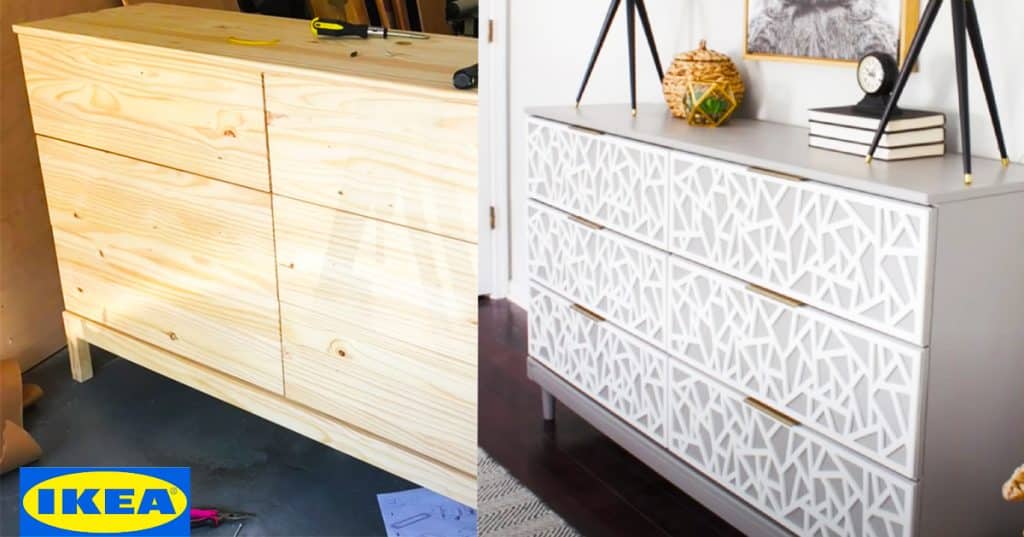
I will give a round of applause to those who have the ability to revamp furniture because it is time-consuming. The dresser started off as plain and basic to mid-century modern. This is a good project to start on, so be patient and maybe grab an extra hand to refinish this IKEA Tarva Dresser. Erin Spain on YouTube makes everything look easy, but she does a great job explaining in detail how to reconstruct this dresser. It was my first time watching Erin’s video and I fell in love with her character. If you haven’t browsed through Erin Spain’s YouTube channel, go take a look at all of her decorating ideas, room makeovers, and furniture builds.
Materials:
- IKEA TARVA large dresser
- Mid-Century style furniture legs from Pretty Pegs
- Paintable Wood Filler
- Primer (I used Zinsser.)
- BEHR Marquee Interior Satin paint in “Elephant Skin”
- Minwax Polycrylic in Satin finish
- O’verlays in the Danika pattern (1/4″ thickness)
- Sanding Block
- Paintbrush or roller
- Saw (I used a miter saw, but any will do.)
- Loctite Construction Adhesive
- Rubber Gloves
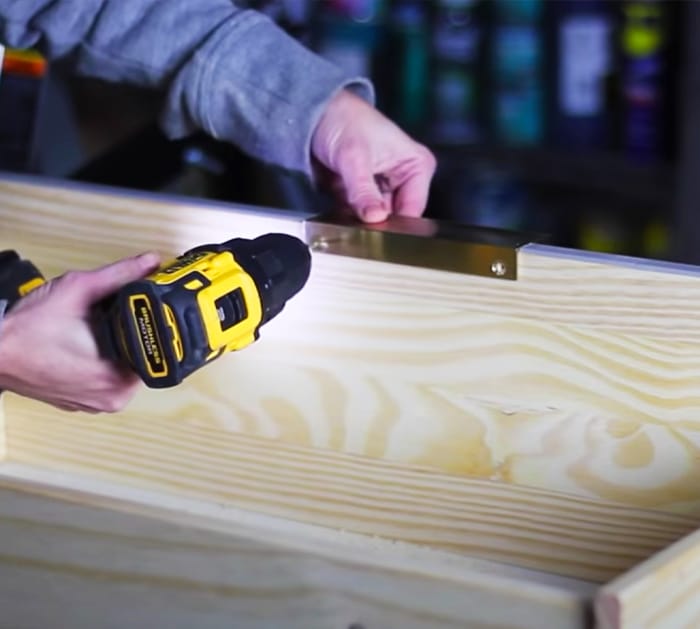
- Brass finger pulls (x6)
- Small chisel (optional)
- Dremel Micro (optional)
Directions:
Following Erin Spain’s tutorial, you’ll learn step-by-step how to turn a basic, wooden IKEA Tarva Dresser to a dresser that looks higher end!

It’s a process to revamp this IKEA Tarva Dresser. The simple and modern brass finger pulls Erin Spain chooses to compete with the pattern of the overlays fits perfectly with this style without being a big distraction from the whole dresser.
This video was refreshing to watch and made me want to refinish a piece of boring furniture. This style of furniture fits my theme and it’s very affordable versus buying a brand new one that’s already made.


