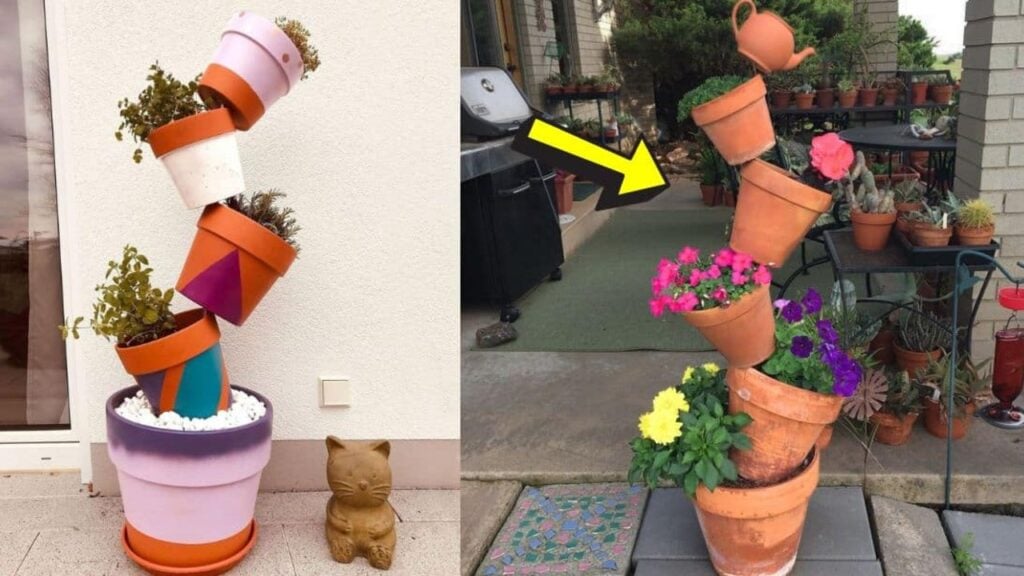
Don’t have enough space to plant herbs and flowers? This tipsy pots project by TamaraCentral is the solution you are looking for! Now you can plant all your favorite herbs and have fresh produce at home. It’s super easy and fun to build. You can also paint your pots just like in the photo above. Be as creative as you want. You can even make a smaller one for your centerpiece. Read on or watch the video below for full instructions.
Materials
- terracotta pots in different sizes
- soil
- cement
- water
- rebar
- container
- shovel
- gloves
- hammer
[social_warfare buttons=”facebook,pinterest,twitter,whatsapp”]
Instructions
For your porch or balcony
Step 1:
Wear gloves first. To avoid it from tipping over, the bottom should be heavy, so you need to add weights. Get a bucket or a container and the cement. Add some water and mix until it has a crumbly texture. You don’t want it to have a watery consistency.
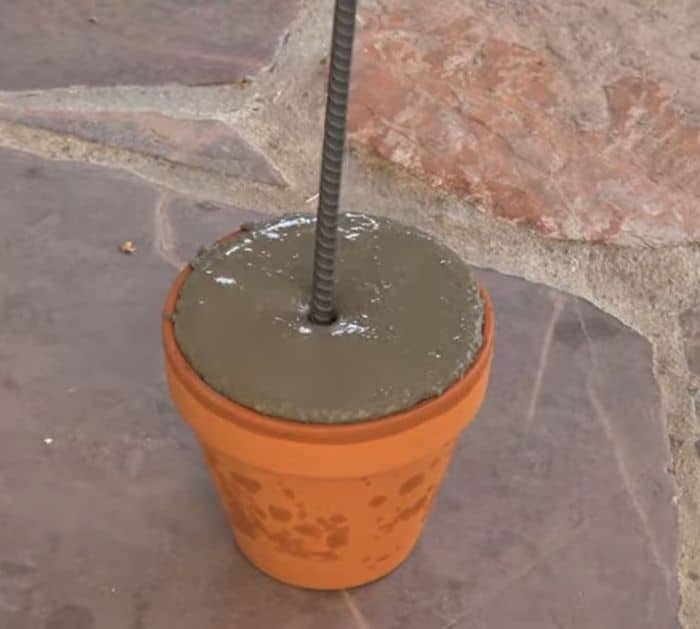
Step 2:
Get a small pot and fill it with cement. Insert three to four feet of rebar in the center while it’s still wet and tape the top of the rebar to a table so it will not stay in place as it dries. Let it cure for about 24 hours.
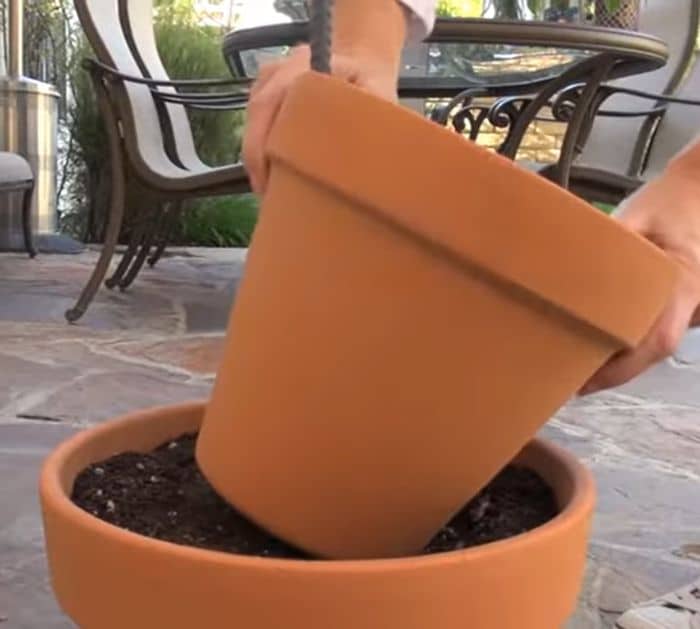
Step 3:
Fill a larger pot with two to three inches of soil. Once cured, place it in the pot with soil. Fill the remaining space with soil.
Step 4:
Thread a pot onto the rebar down to the soil. Tip it and rest its top edge against the rebar. Repeat the process, alternating the tilt until all the pots are threaded.
Step 5:
Fill the pots with plants and soil.
For your yard
Step 1:
Start by pounding a rebar at least two feet into the earth and leave three to five feet above the ground. Be sure to avoid plumbing and electrical lines.
Step 2:
Assemble the same way as before.
How to Make Tipsy Pots