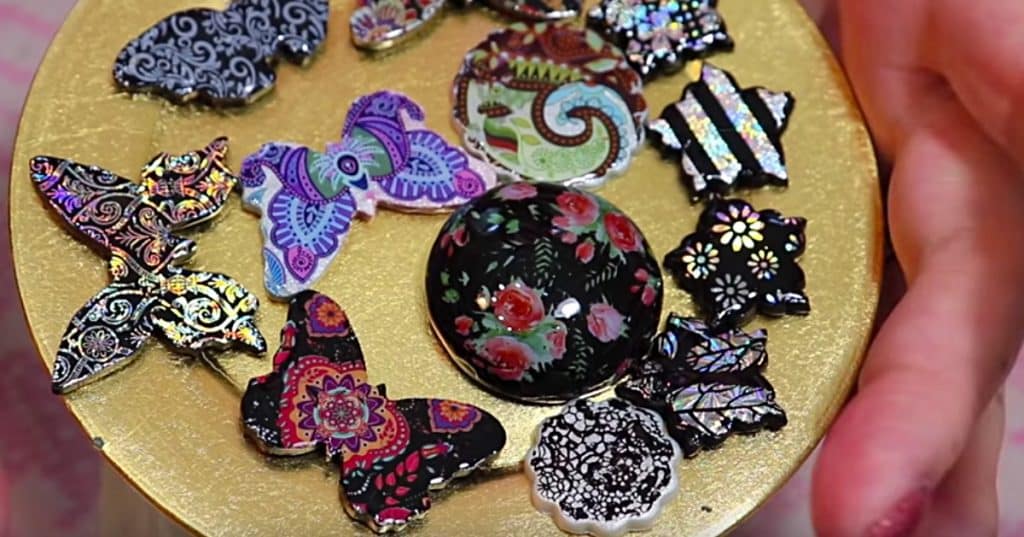
Working with clay is something I have loved since I was a child, it was also something I had completely forgotten about until I found this excellent DIY showing you how to make prints on polymer clay in one concise tutorial on Youtube. From the first minute, I saw these cool clay prints they brought back so many fond memories of my clay making of yesteryear, I ran straight to Michael’s Craft Store to get some clay so I could make this dream happen.
Materials:
- Nail Art Film
- Pearl Colored Clay (and other colors)
- Exacto Knife
- Patterns For Cutting Shapes
- Nail adhesive glue or two-way glue (E 6000 will also work)
- Epoxy Resin or UVA Top Coat Resin For Nails (optional)
Directions:
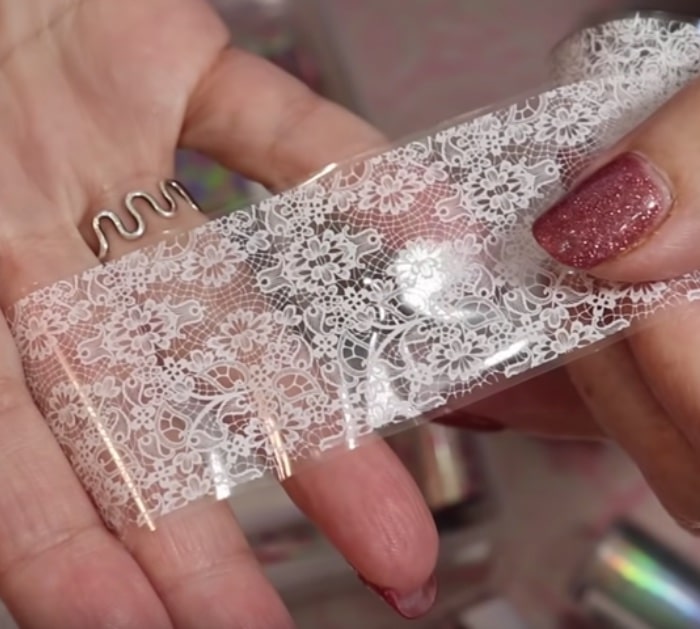
These are the clever nail transfer sheets you need, they are about a dollar twenty-five on the internet, but you could also get them at Sally Beauty Supply along with the nail adhesive you need to apply them.
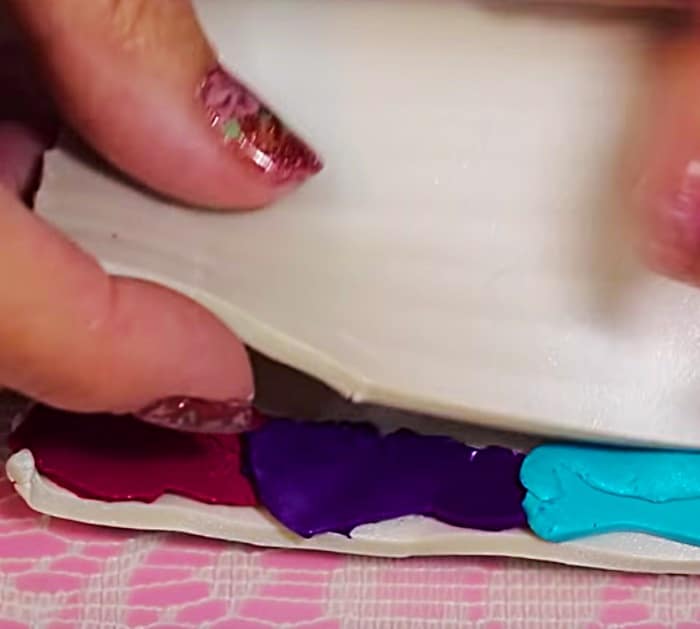
Then sandwich some small blobs of colored clay in between your white pearl clay.
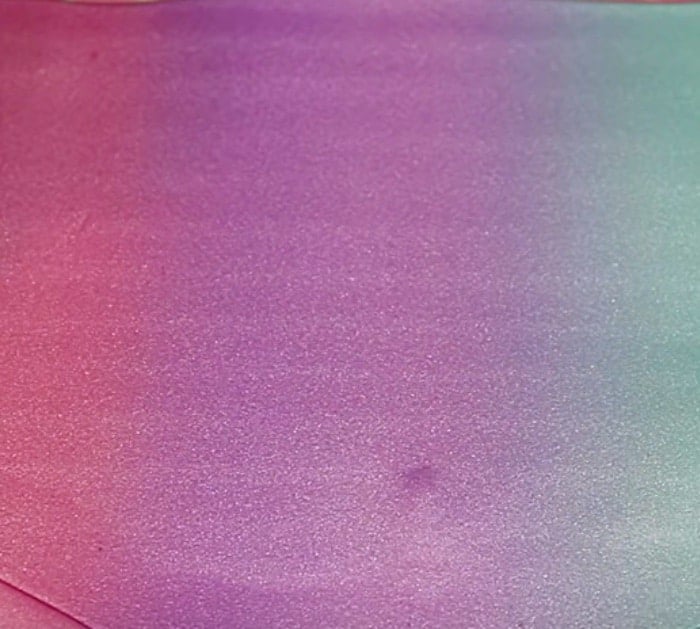
Then roll it out and you will get this ombre effect that is just stunning.
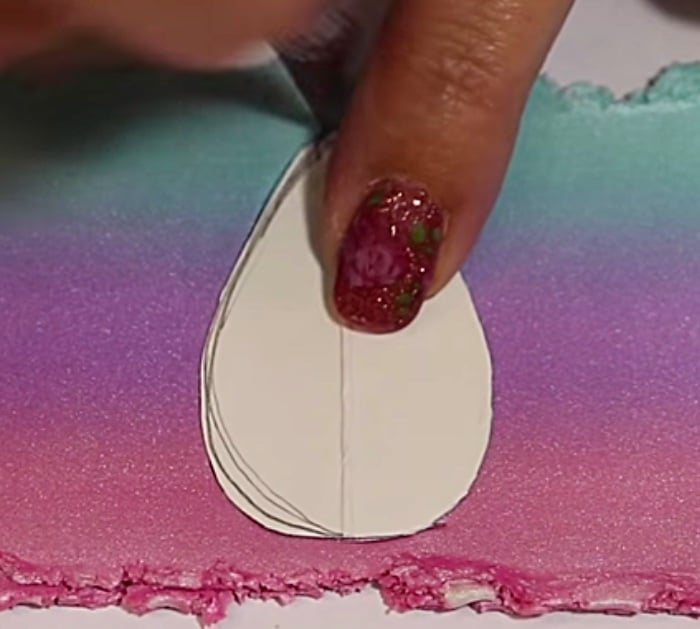
Then cut your desired shapes out with an Exacto knife, the sky is the limit here, you can make any shapes you want.
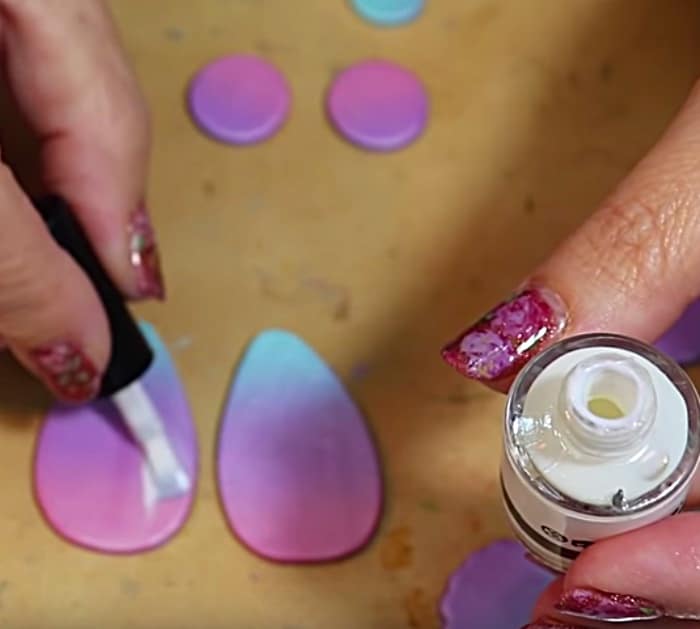
Then paint on your nail adhesive spread evenly in a thin coat.
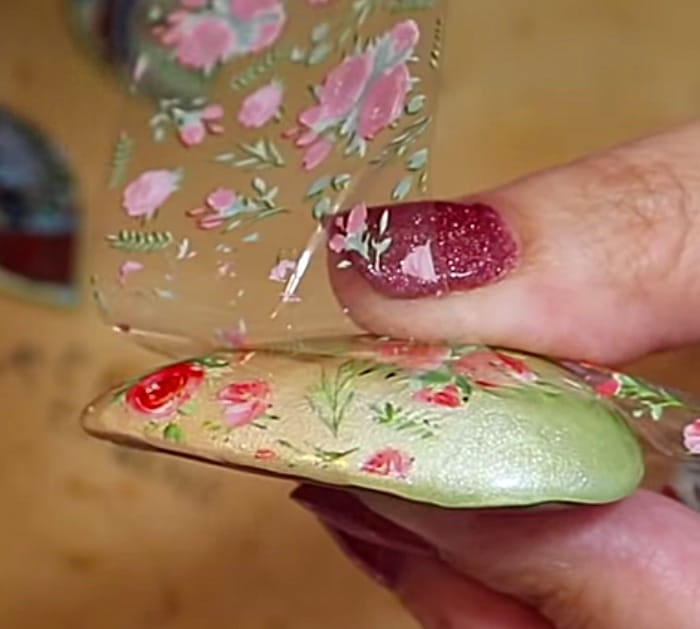
Then stick on your nail transfer cellophane paper rubbing it down with your nail until the print goes fully onto your clay.
This project is not hard at all and the result looks very professional.
