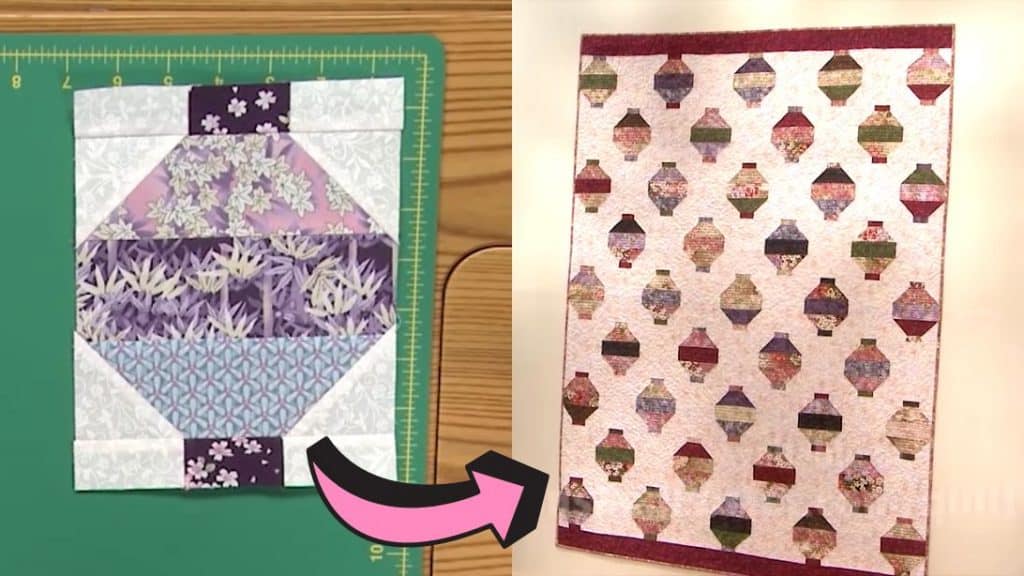
This block is so adorable! It reminds me of festivities and celebrations in different cultures. They also look like wonderful vases from afar. When making this, be sure to change or alternate the colors of the fabrics for some variation. Learn how to make Japanese lanterns quilt with this simple and easy tutorial by Fons and Porter’s Love of Quilting. It’s a beginner-friendly block that you can easily finish in just a few minutes. Learn the step-by-step tutorial through the video below.
Materials:
- 2 and 1/2-inch pre-cut strips
- background fabric
[social_warfare buttons=”Facebook,Pinterest,Twitter,WhatsApp”]
Instructions:
Step 1:
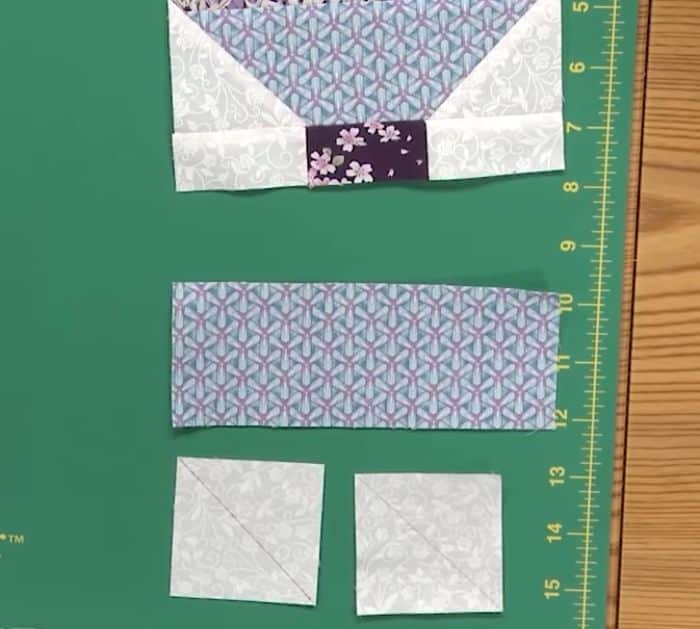
Get one of the 2-inch strips and cut it into a 6″ x 2″ rectangle. From the background fabric, cut 2 pieces of 2″ squares.
Step 2:
Draw a diagonal line from one corner to another on both background squares. Place on both ends of the strip making a trapezoid and pin in place. Sew right on the diagonal lines. Finger press the seams and cut the excess tip using scissors or a rotary cutter. Make sure not to cut on the stitching part. Make another one of this piece.

Step 3:
Cut 2 pieces of 2″ x 1″ background rectangles and 2″ x 1″ rectangles from the precut strips.
Step 4:
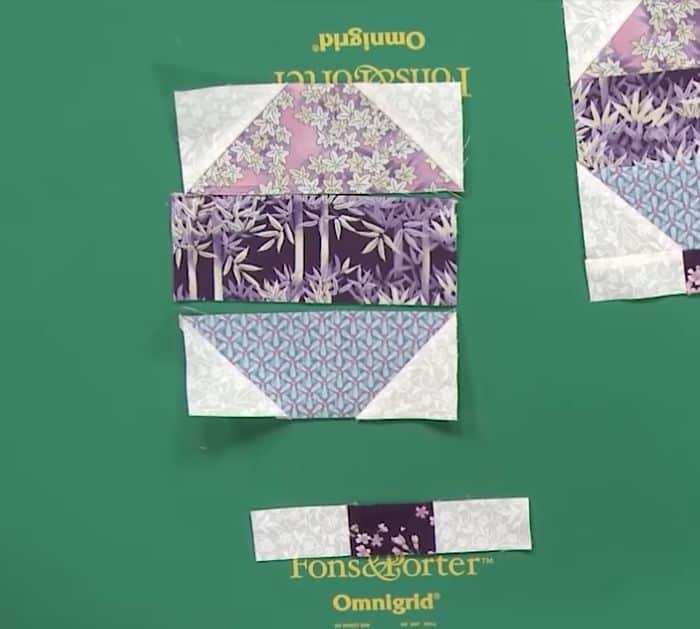
Place the two pieces of 2″ x 1″ background rectangles beside these 3″ x 1″ rectangles and sew them together with a quarter-inch seam allowance. Cut the excess cloth and press with an iron. Make another one for the bottom of the block.

Step 5:
Assemble the lantern. Place the 3-stripes rectangular block on the top and bottom, then place the rectangles with triangular edges after on the inside, then a plain 6″ x 2″ in the middle.
Step 6:
Stitch the blocks in rows and press them to make a nice block. Make more of this lantern block for the quilt in different colors and patterns of fabric.


