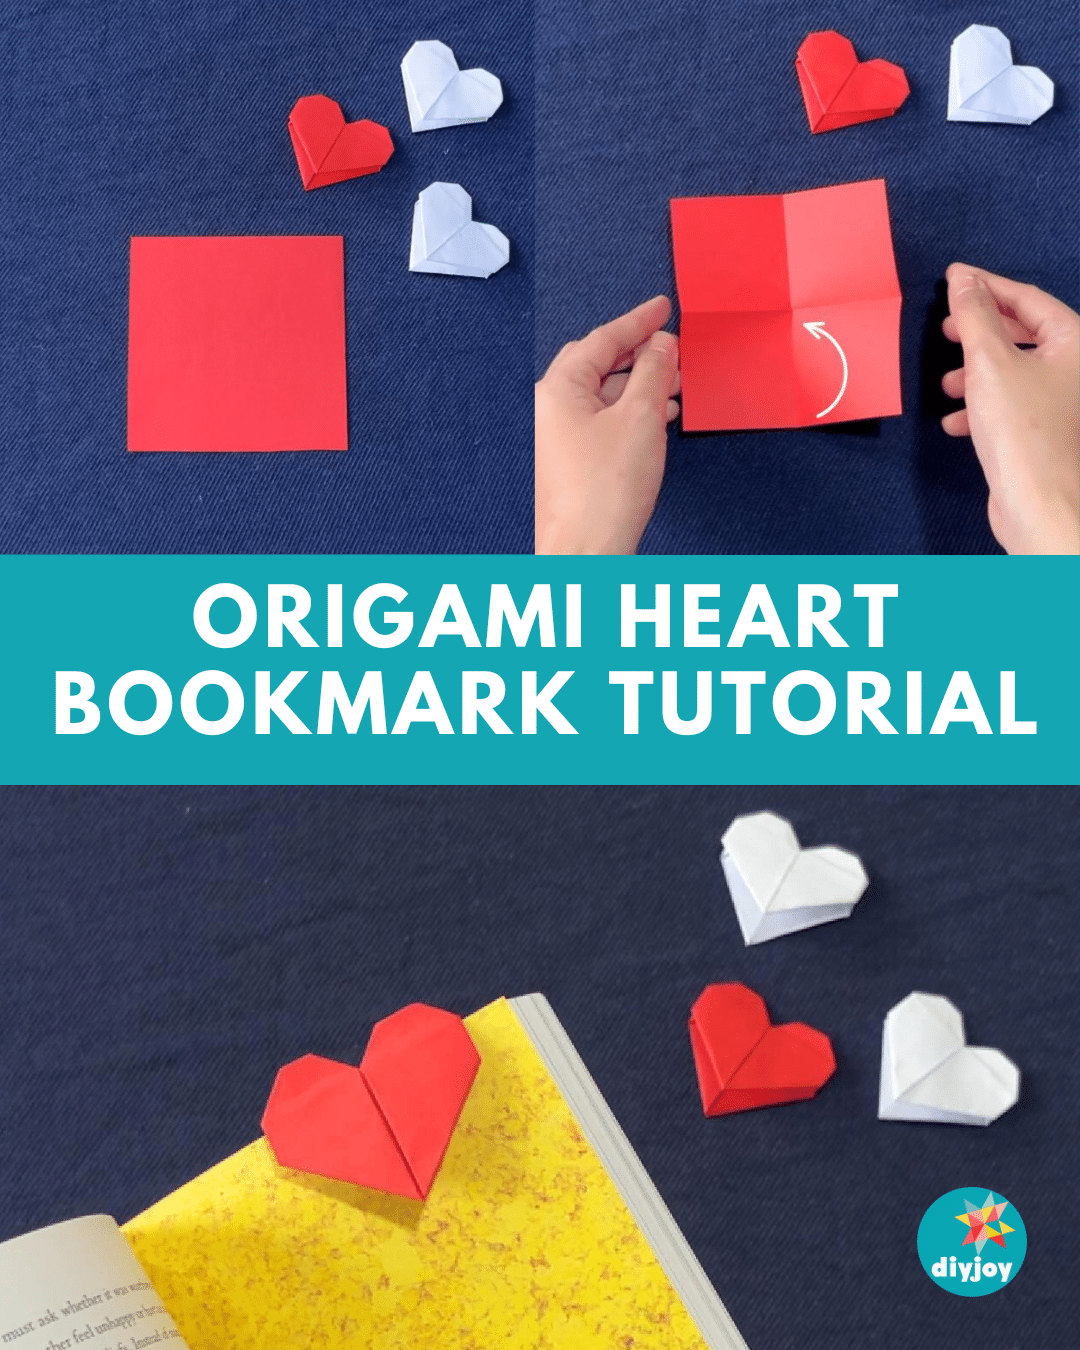
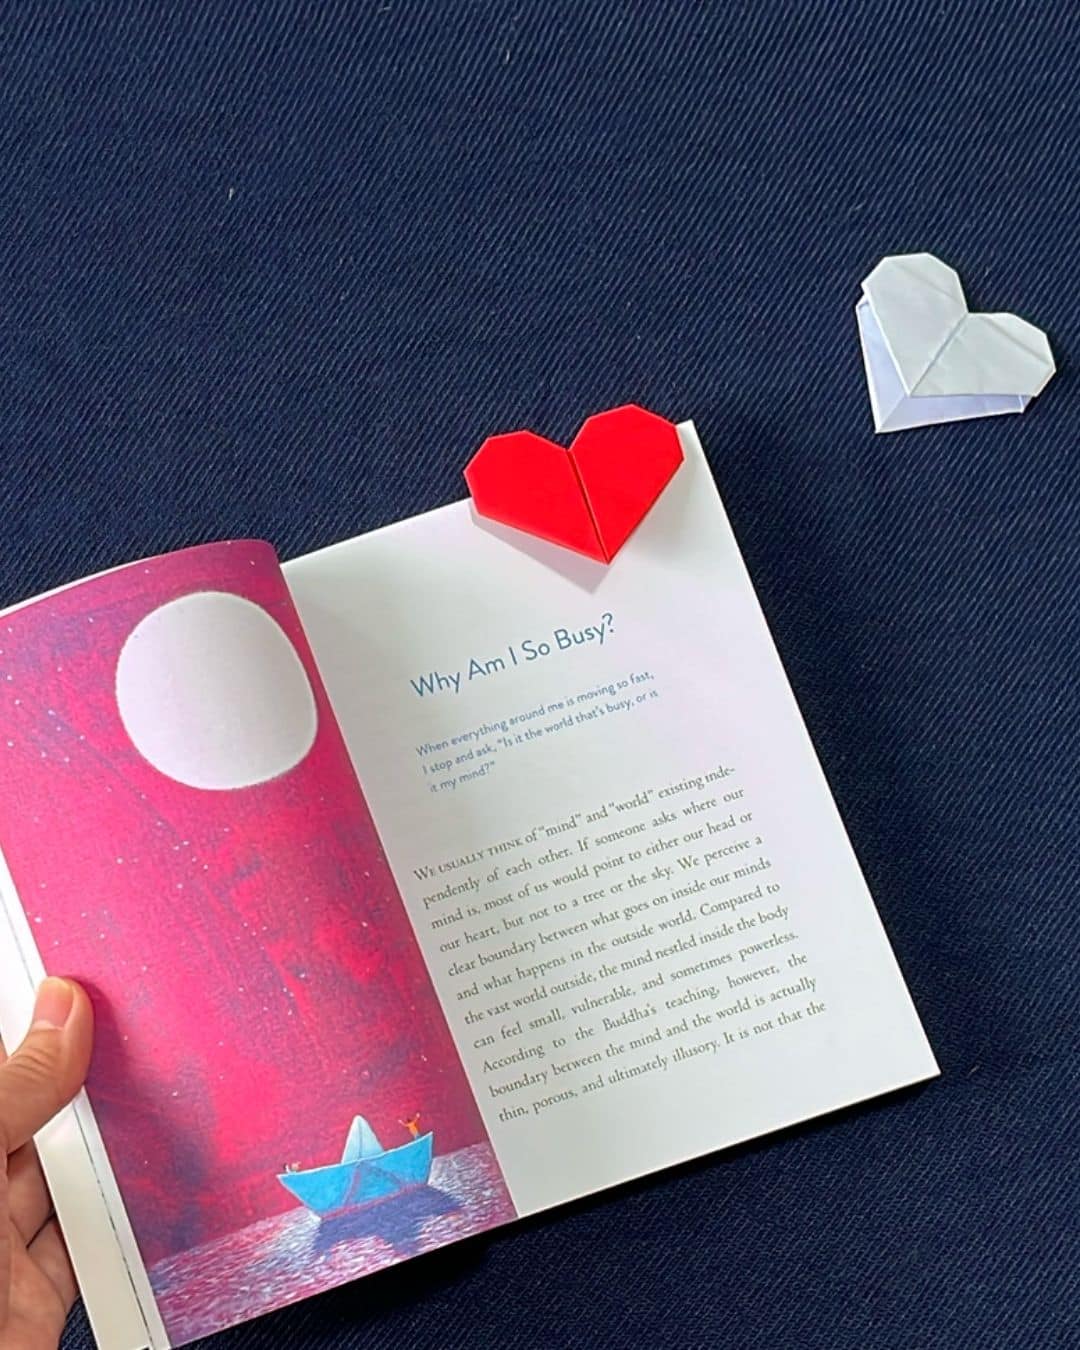
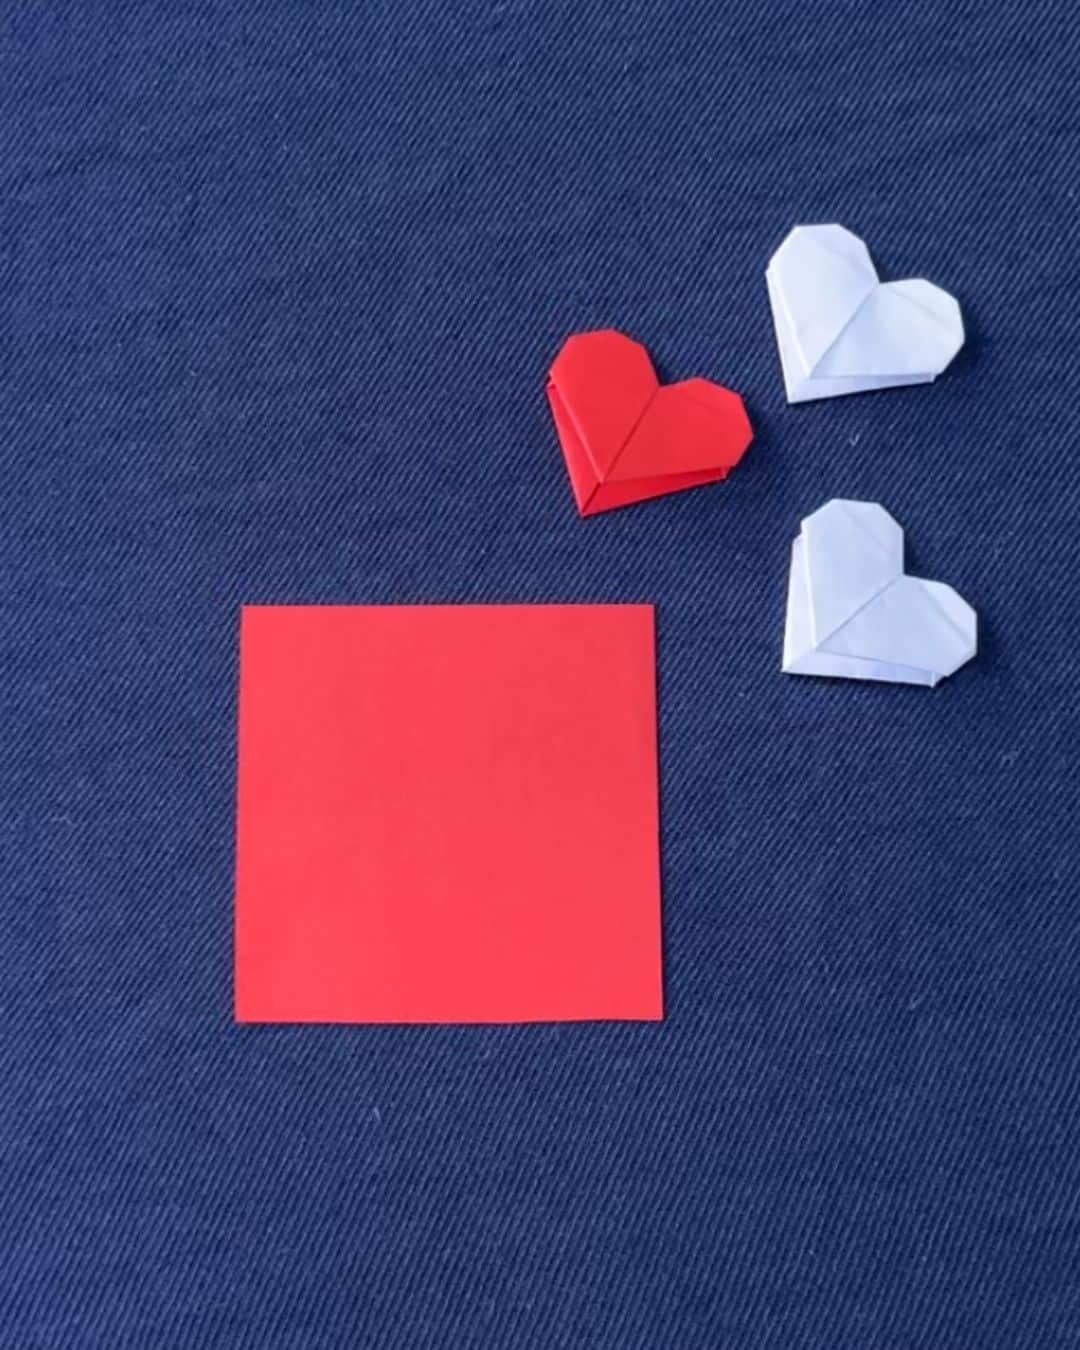
Do you love easy paper crafts or are you a book lover? Perhaps you need a cute DIY idea to give as a gift? This easy origami heart bookmark project requires only a square piece of paper and a few minutes of your time. If you’ve ever wondered how to make an origami heart step-by-step, I’m about to show you how easy it is to make one in just a few minutes. Plus, you’ll never lose track of where you left off in your favorite book again. This handmade origami bookmark is adorable and fits perfectly between the pages. You can make them in any color of paper, too! You’re going to want to make several of these, plus have a few more to give away to friends.
RELATED: Origami Paper Bag Tutorial
To make this quick craft project, you only need a square piece of paper and a flat surface. It takes only a few minutes to create this easy origami heart bookmark. It’s a beginner-friendly origami project, too! Whether you’re looking for an inexpensive DIY gift or a cheap kids crafts idea, this project is for you!

Everyone will be entertained with this DIY paper craft. It also makes a thoughtful gift for Mother’s Day, Valentine’s Day, or birthdays. Personalize your origami heart bookmarks by using a variety of paper colors and patterns. Our origami heart instructions and YouTube video tutorial below show you exactly how to make this cute DIY bookmark in minutes.
Materials for the Origami Heart Bookmark
- a square piece of colored paper
- flat surface
- flat tool (optional)
Origami Heart Tutorial
Step 1:
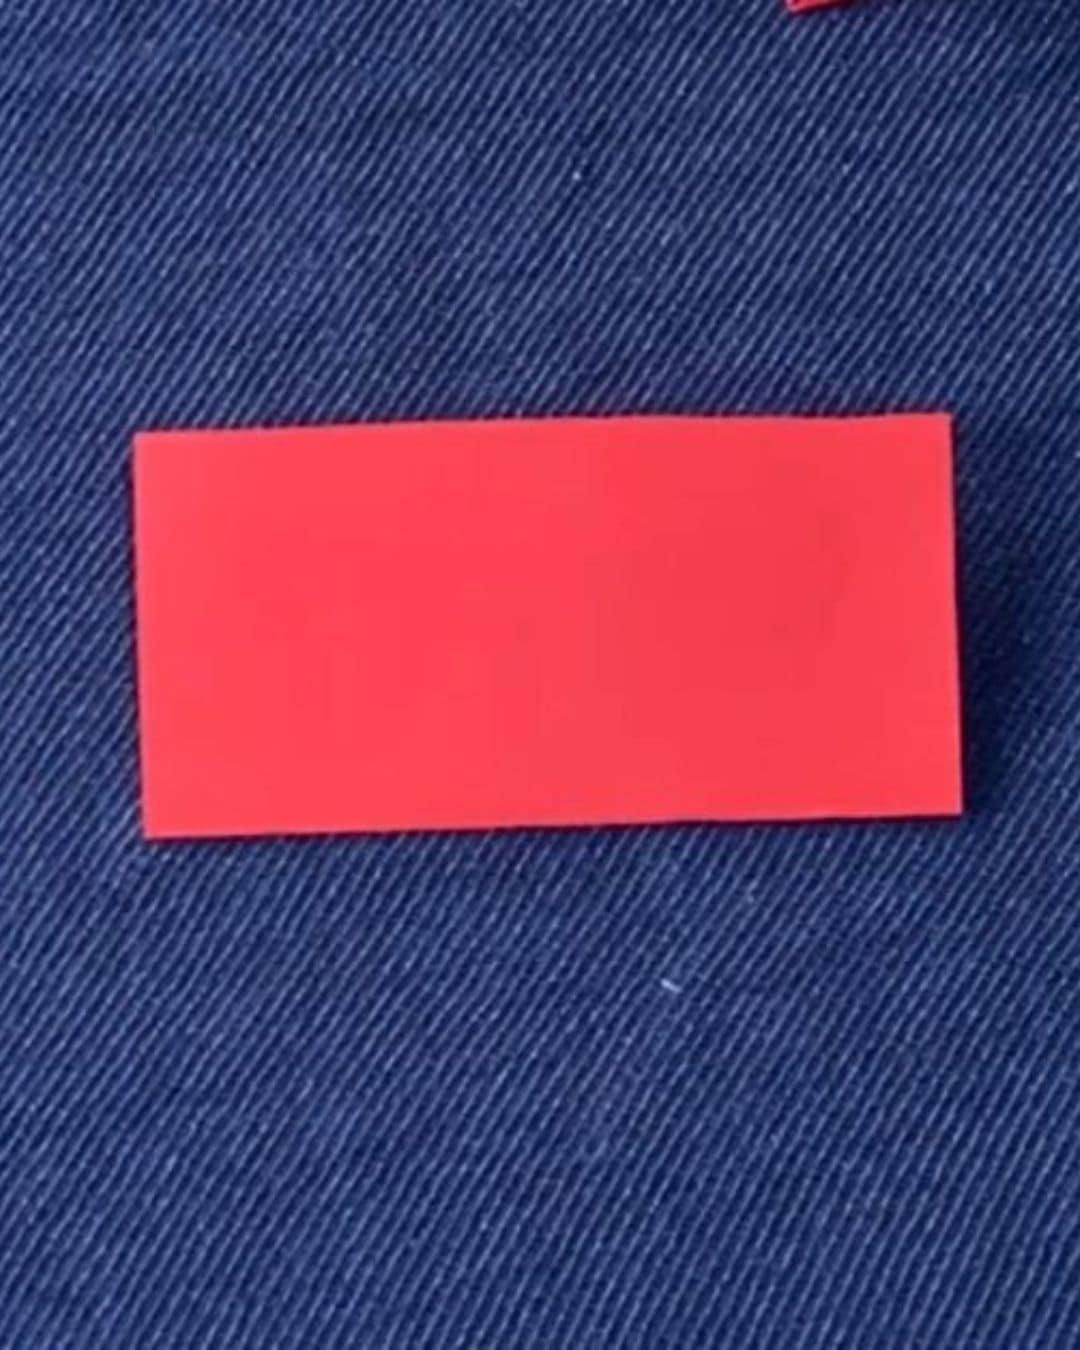
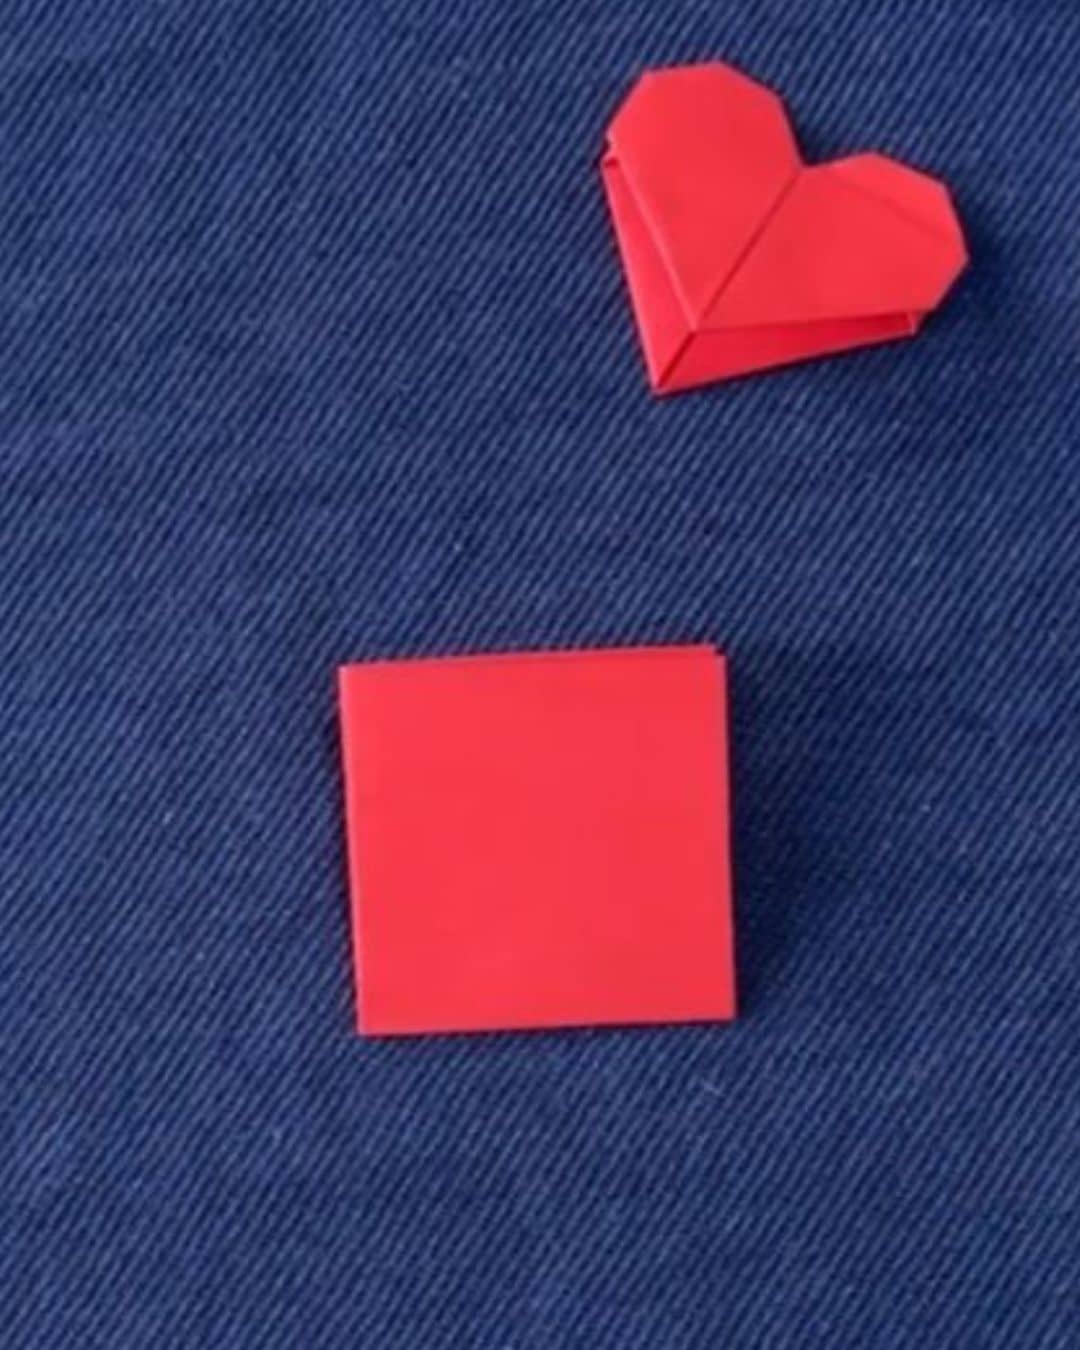
Cut a square piece of paper and place it on a flat surface. Use any color of paper you want to make your origami bookmark.
Step 2:
Fold the paper in half.
Step 3:
Rotate, then fold it in half again to find the center.
Step 4:
Open the folds.
Step 5:
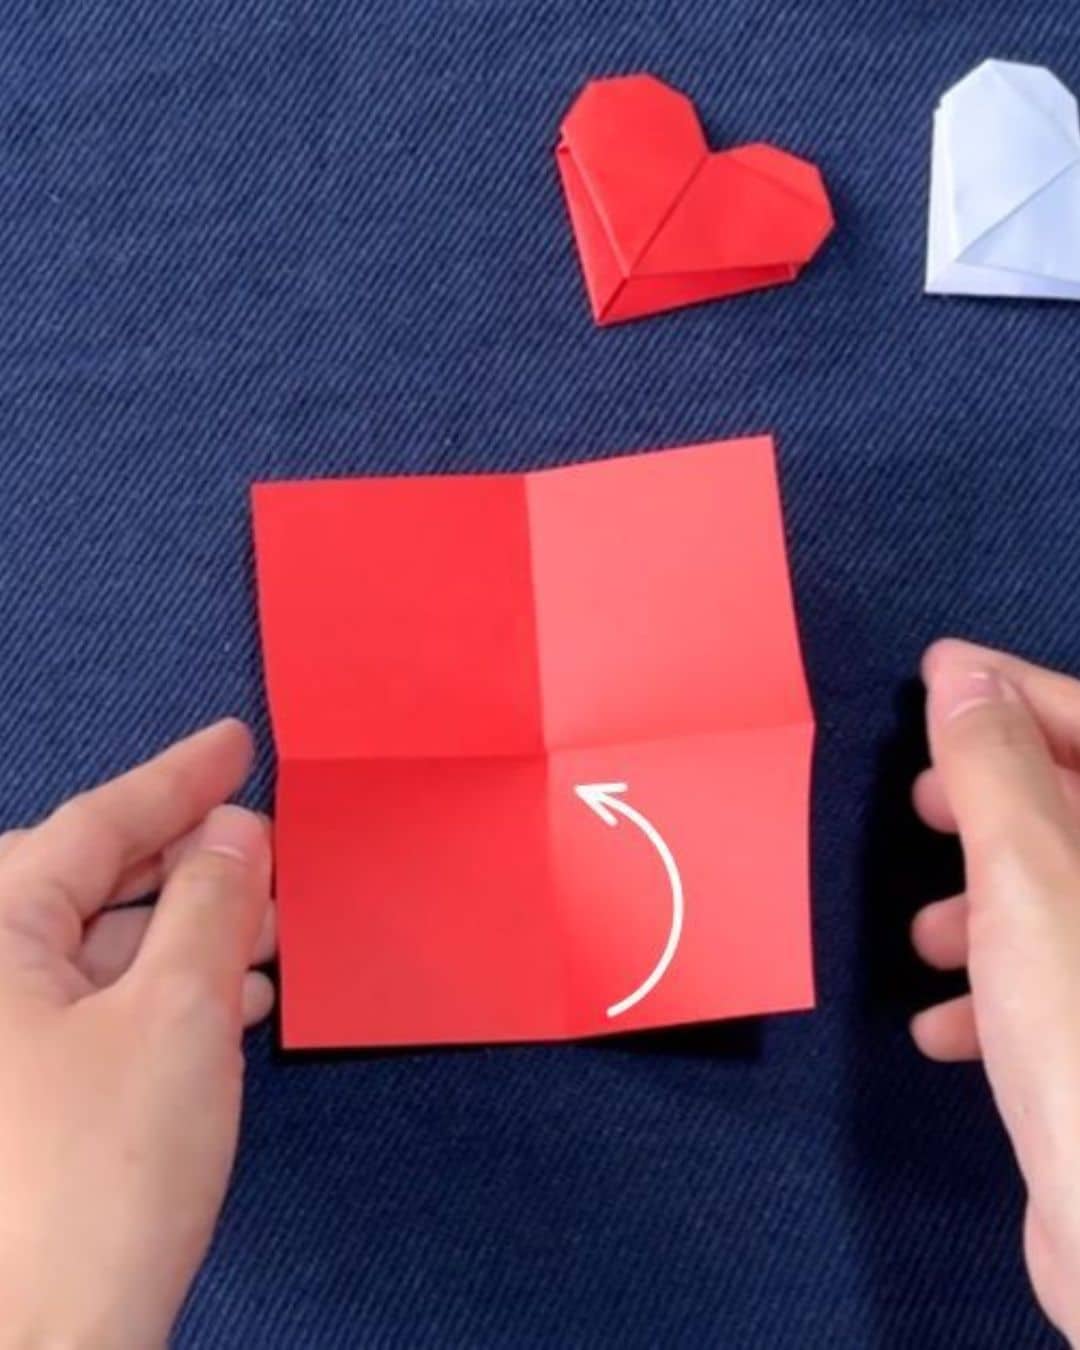
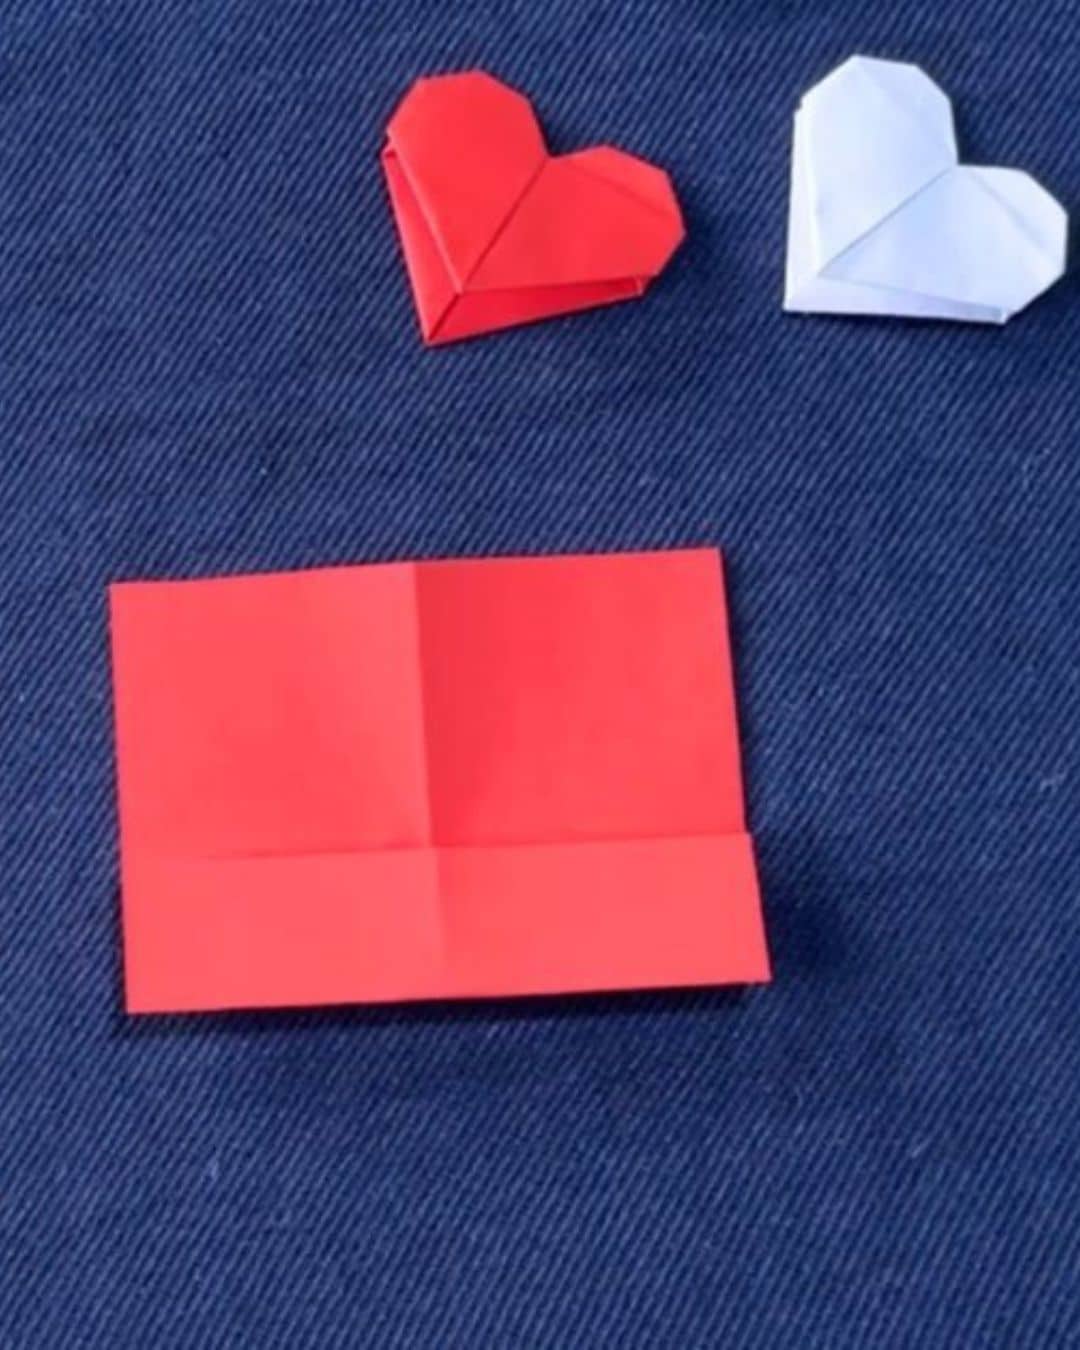
Fold the bottom edge towards the center line.
Step 6:
Flip, then fold the bottom corners toward the center vertical line.
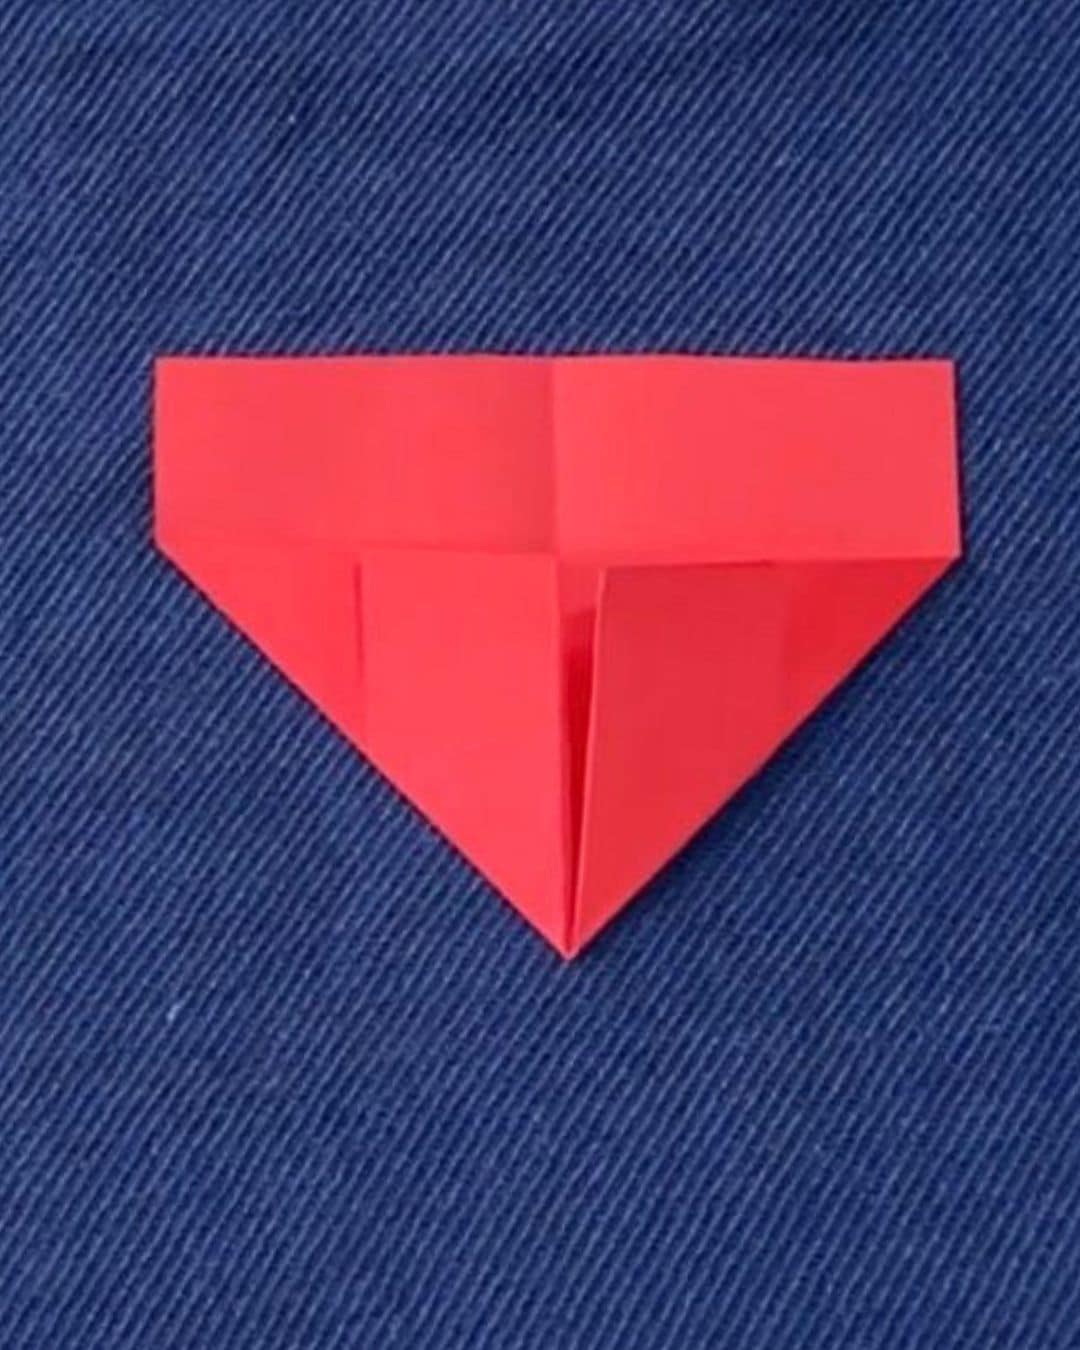
Step 7:
Flip again, then fold the top corners.
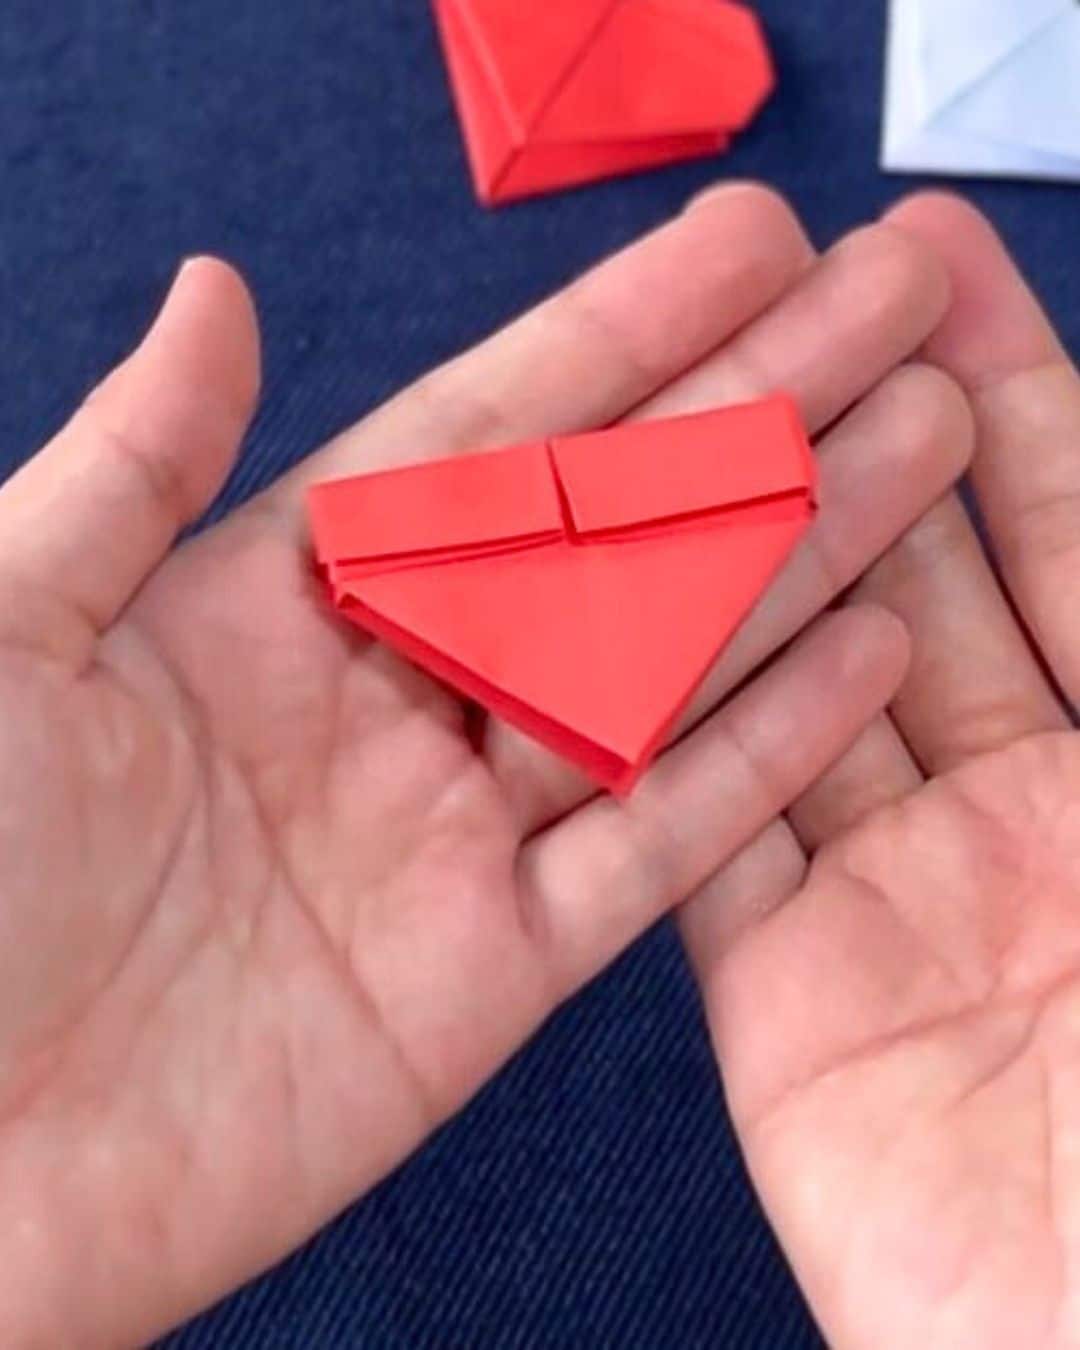
Step 8:
The small straight edges on the sides should align with the edge of the small triangle at the bottom, forming a small square.
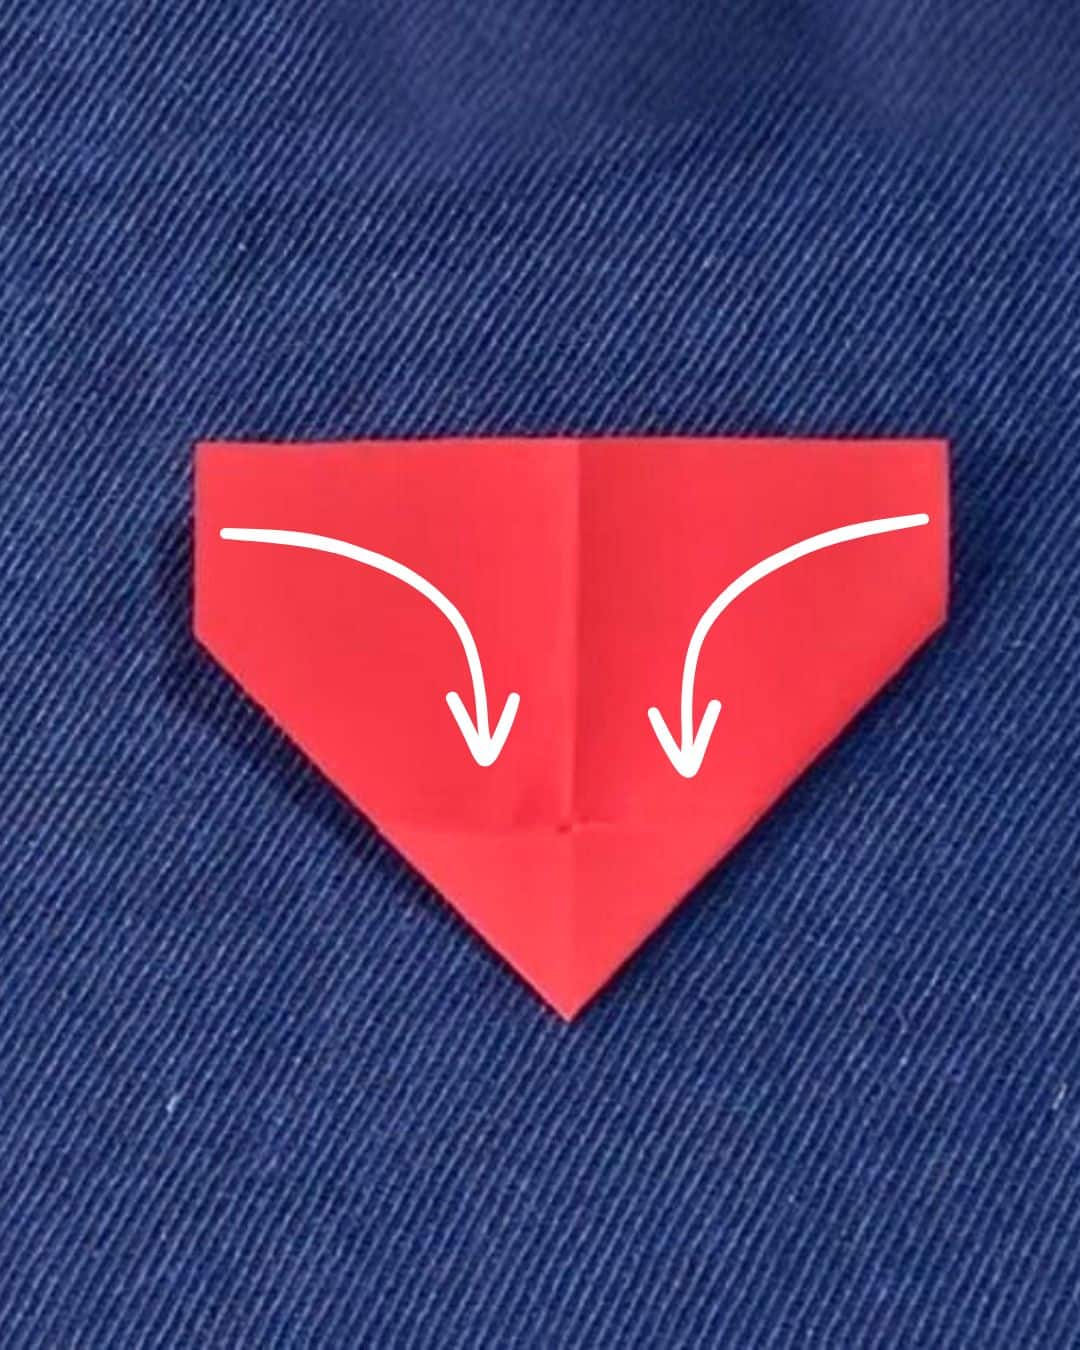
Step 9:
Fold the small triangles on the sides.
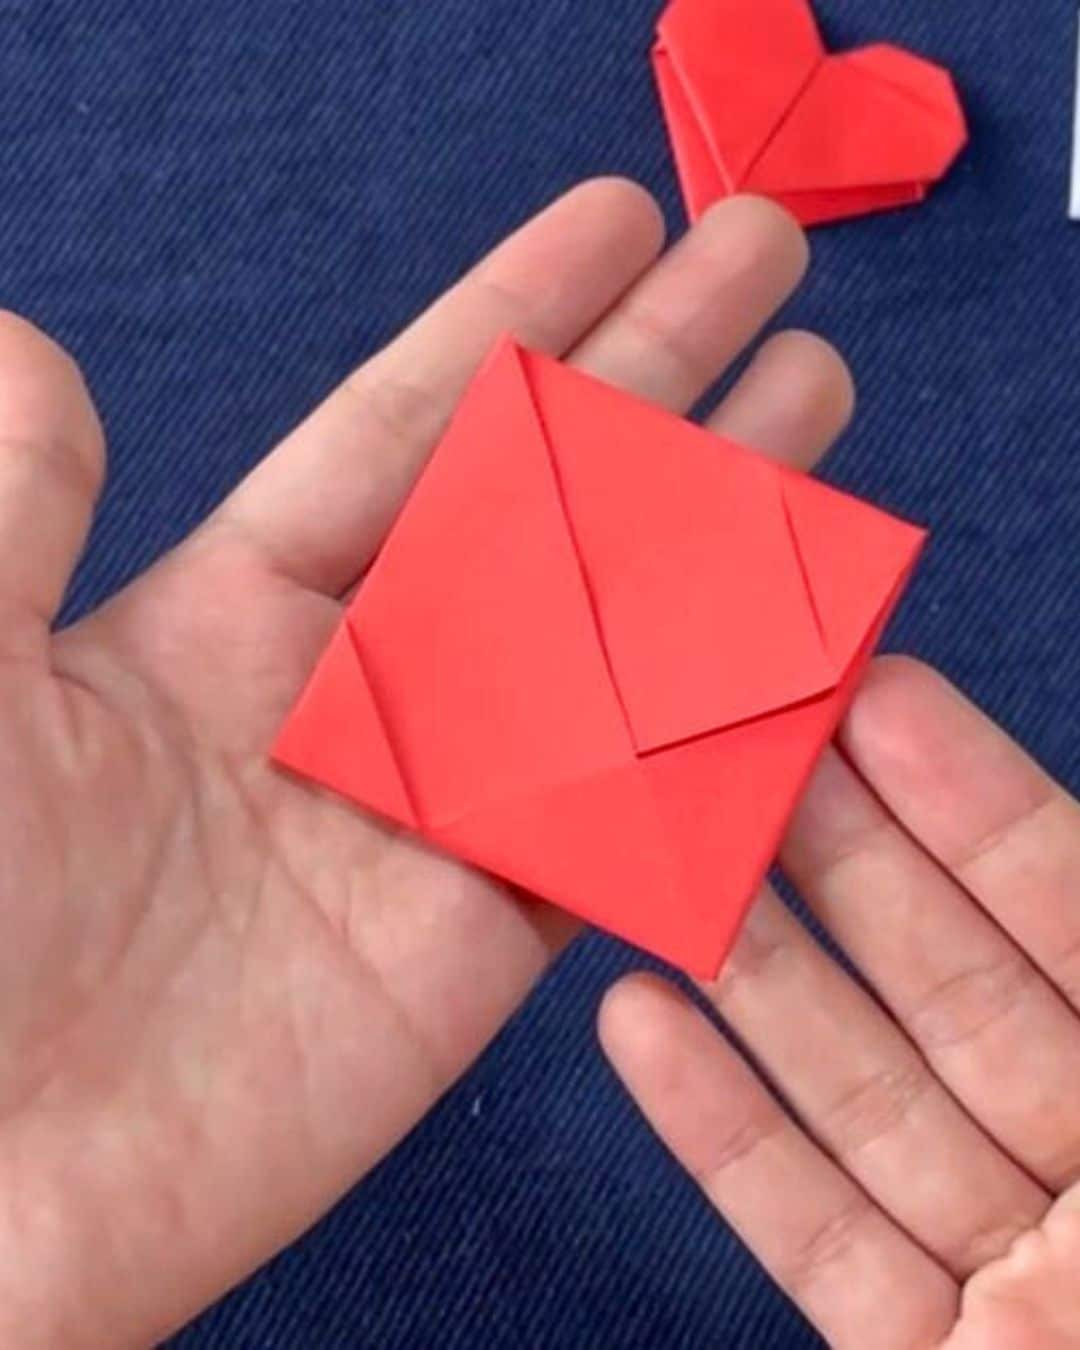
Step 10:
Now, fold it in half.
Step 11:
Open the top folds, then press flat.

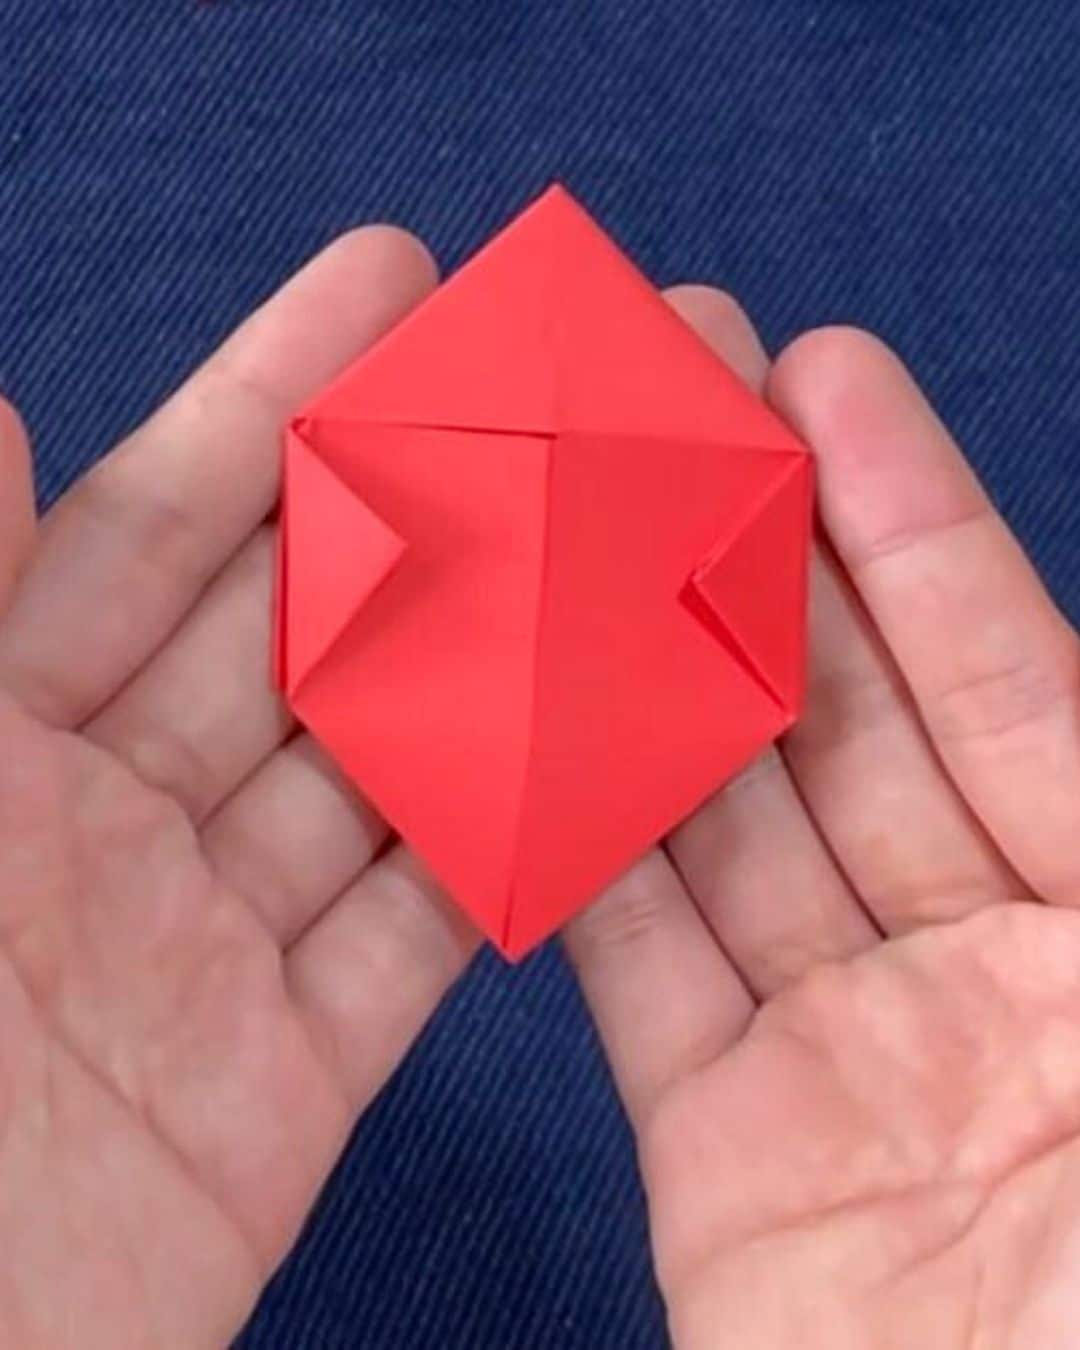
Step 12:
Fold the top edges of the paper.
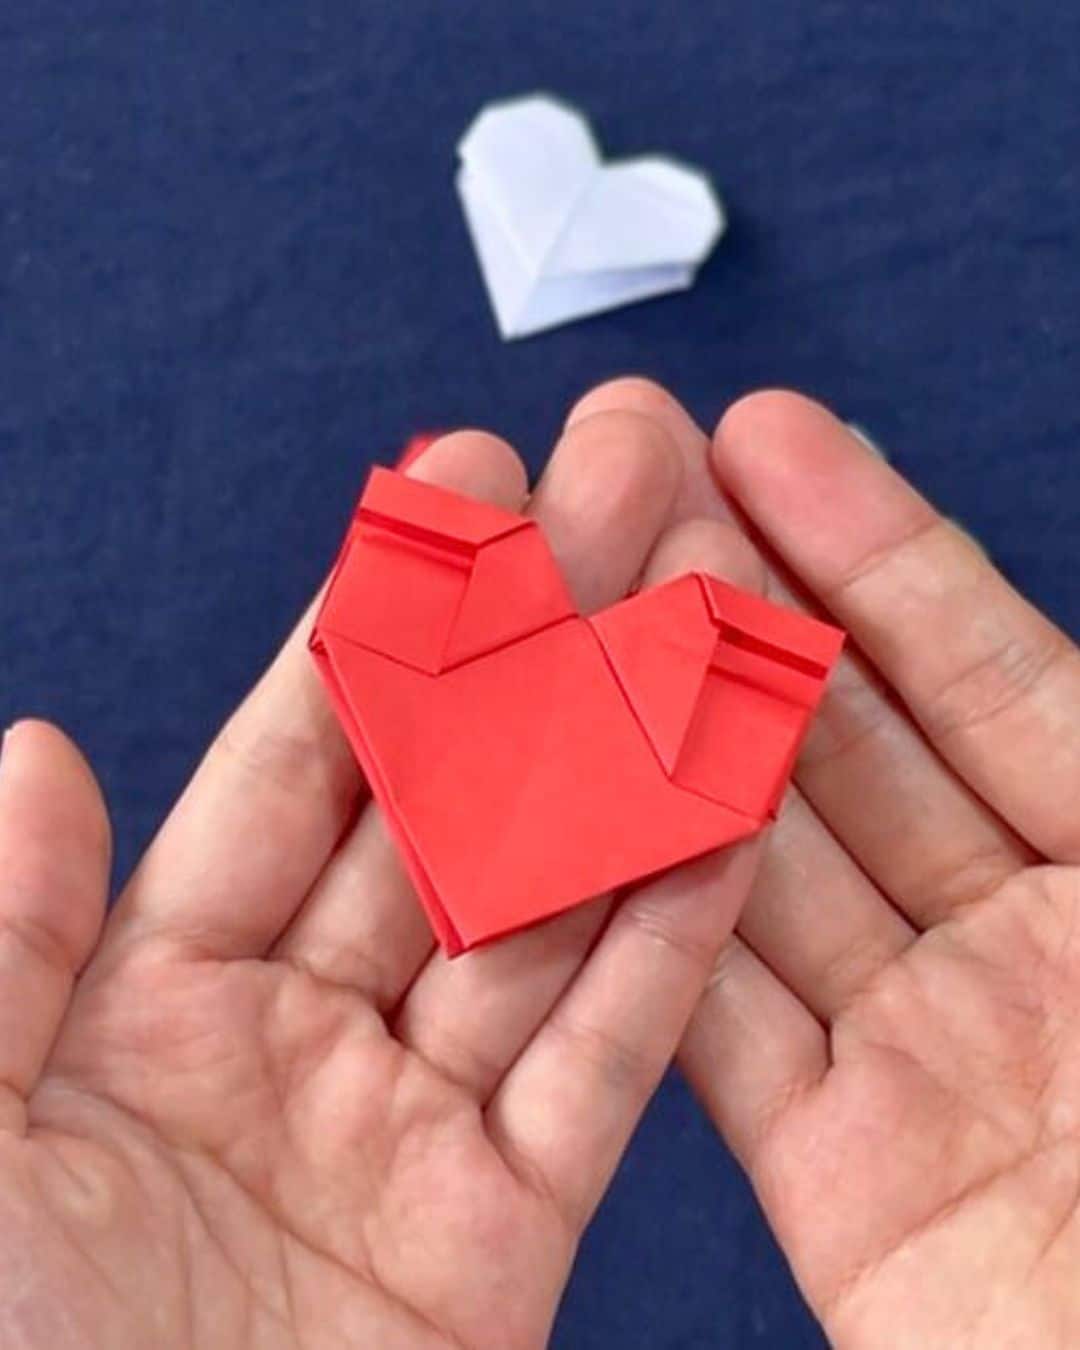
Step 13:
Fold the corners to make the origami heart.


![]()
Paper Folding Tip
Make sure to fold each crease firmly and accurately. You can use your fingernail or flat object to press down the folds.
Easy Origami Heart Bookmark Tutorial | Youtube