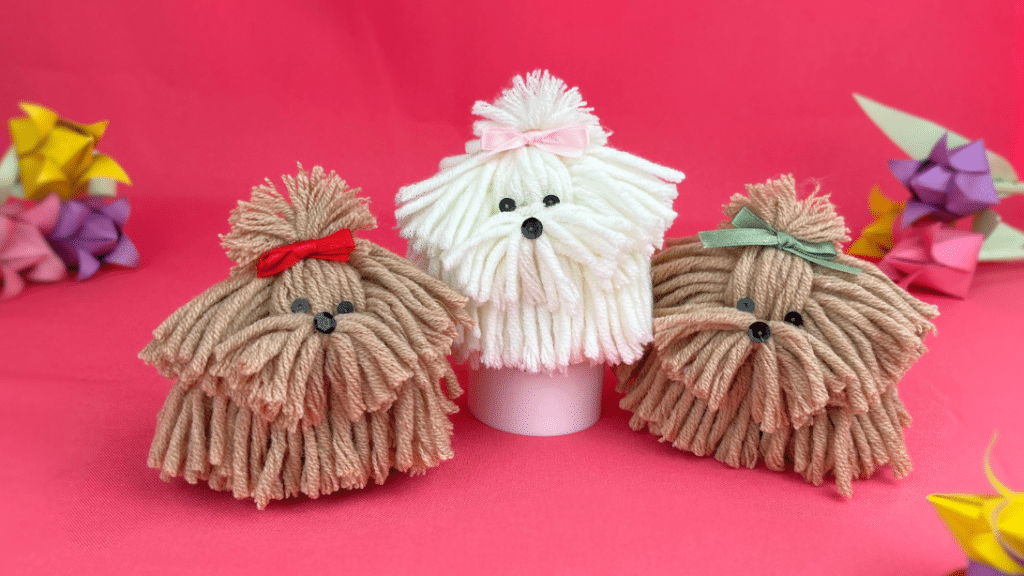
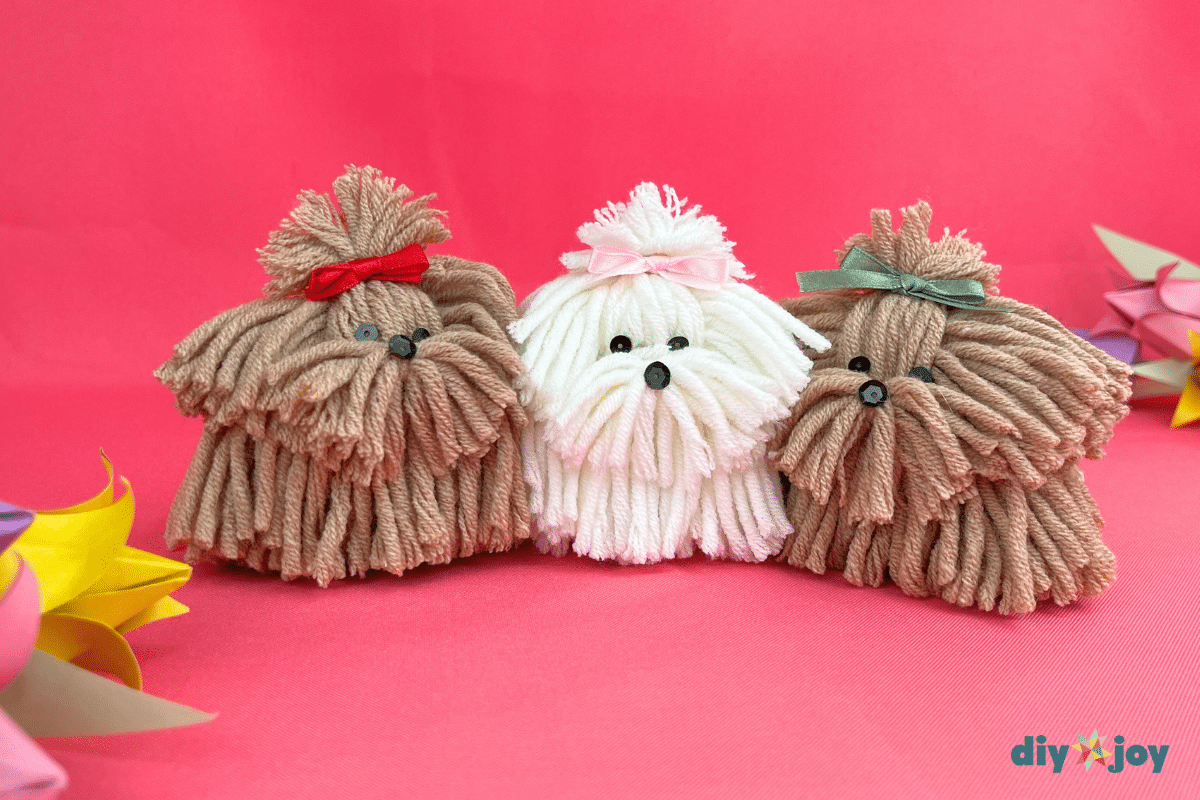
Got leftover yarn? Perfect! Let’s turn them into these adorable yarn dogs! As a dog lover, this project is my absolute favorite. The possibilities with yarn are endless—think flower pom poms, garlands, macrame, tassels, string art, rugs, blankets, hats, sweaters, socks, or cute yarn animals like these! This might be the best craft to do with yarn. Seriously, just look how adorable these little yarn pups are. I couldn’t stop saying ‘so cute!’ while making them. Want to join the fun? Just watch the easy step-by-step video tutorial below on how to make a yarn dog.
RELATED: DIY Dog Wash Station
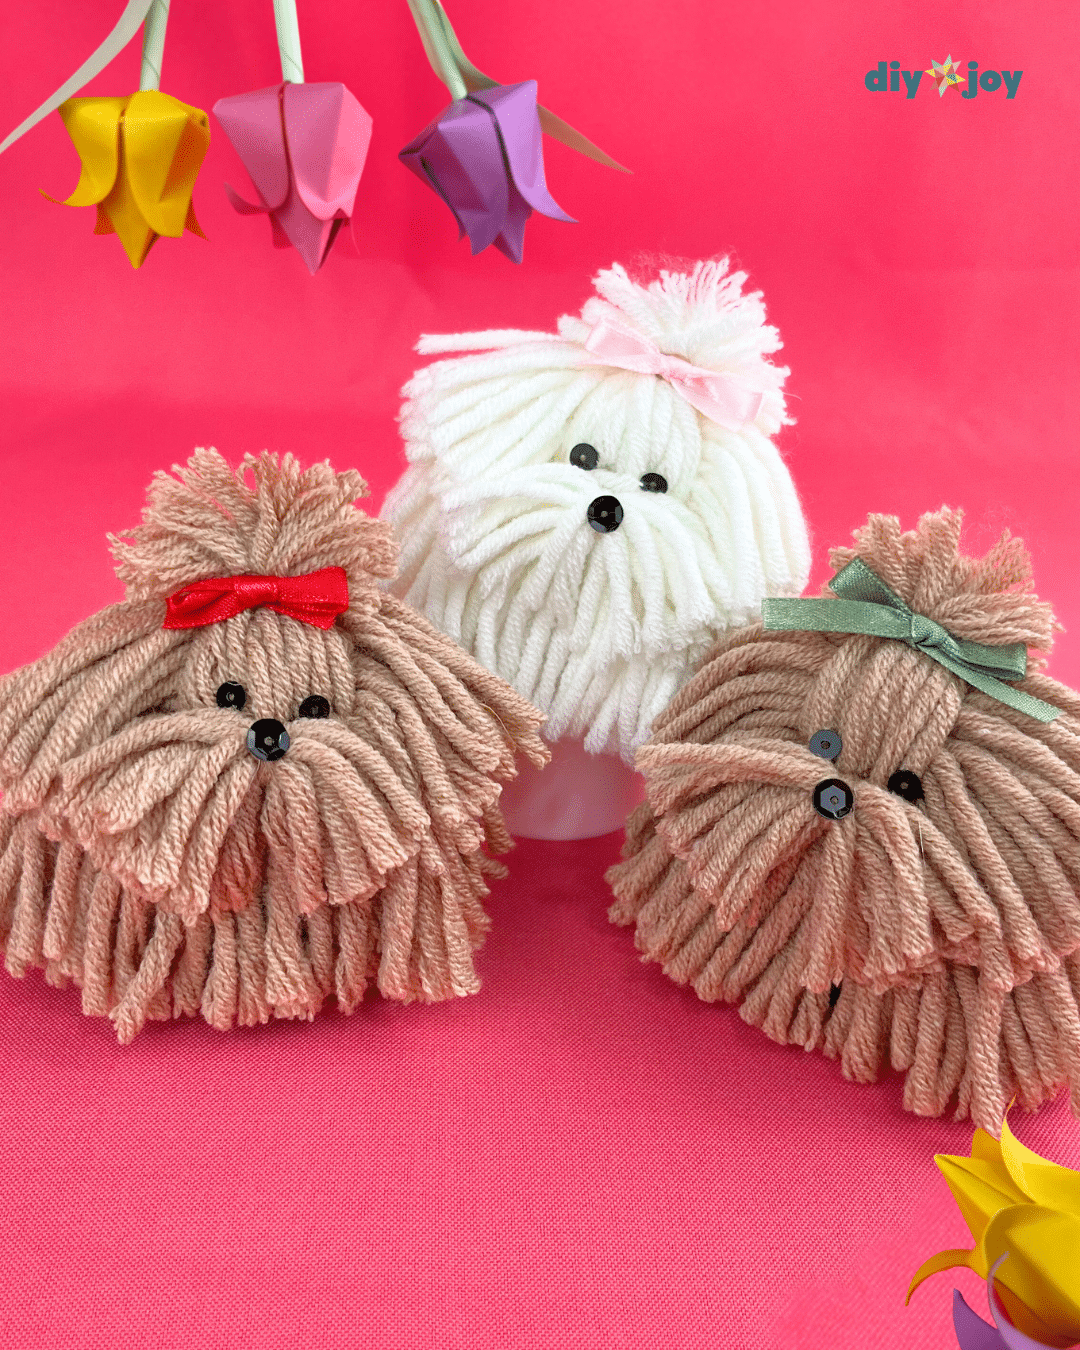
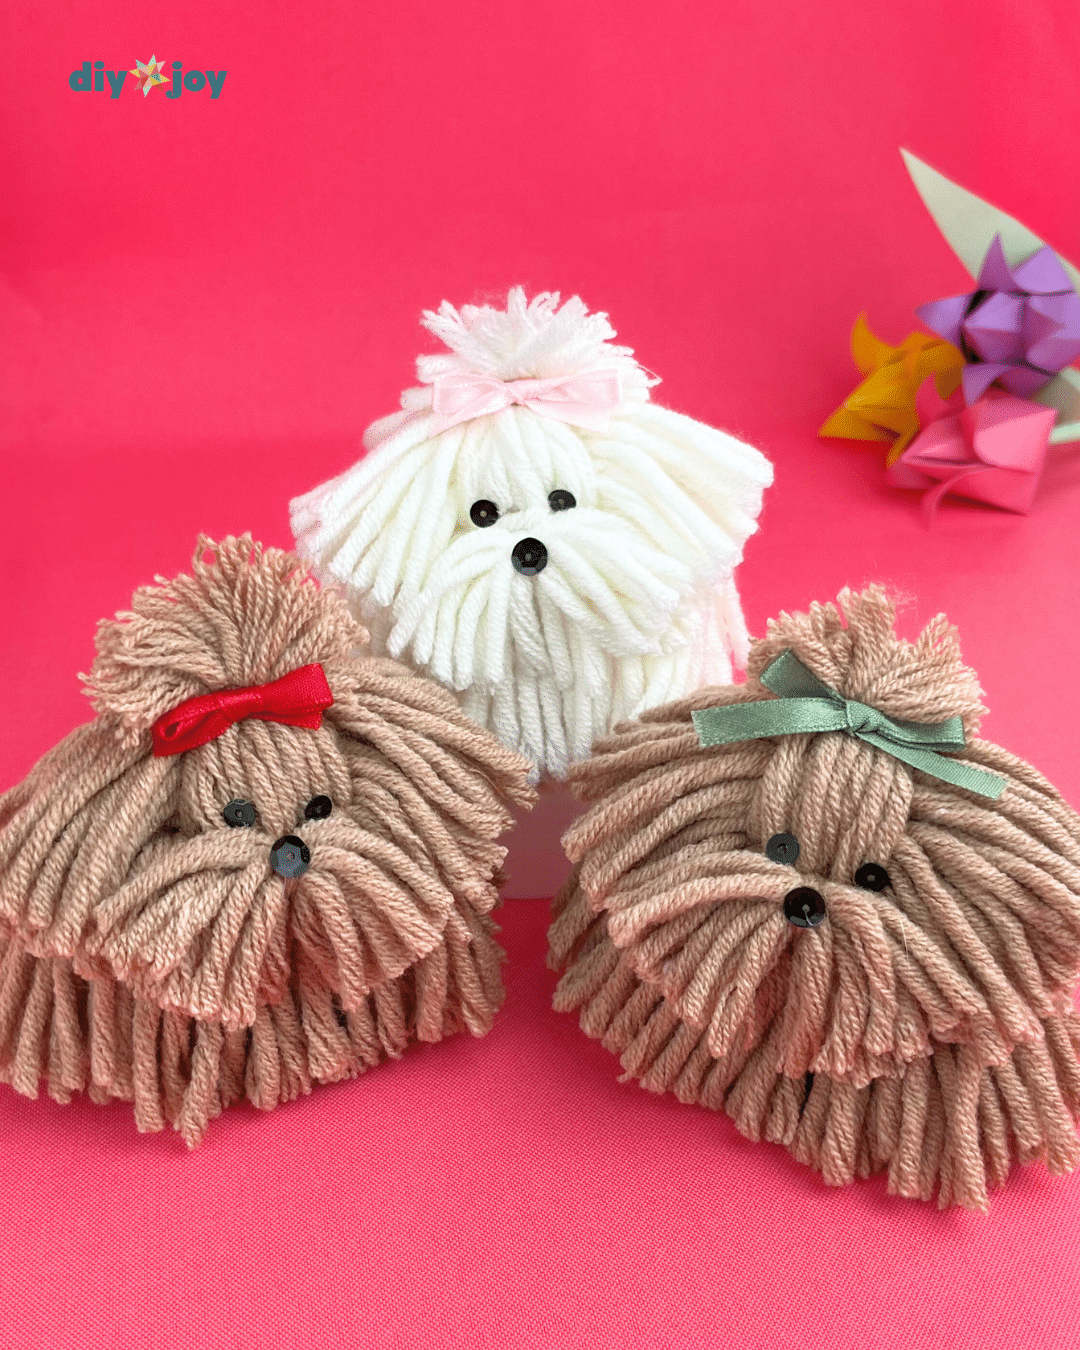
This easy dog yarn craft is perfect for kids and adults alike! It’s super fun to make and customizable. Match the colors to your own dog, add a floral bow, use a heart-shaped nose, or even a name tag – let your creativity run wild! Perfect for decor or a sweet handmade gift.
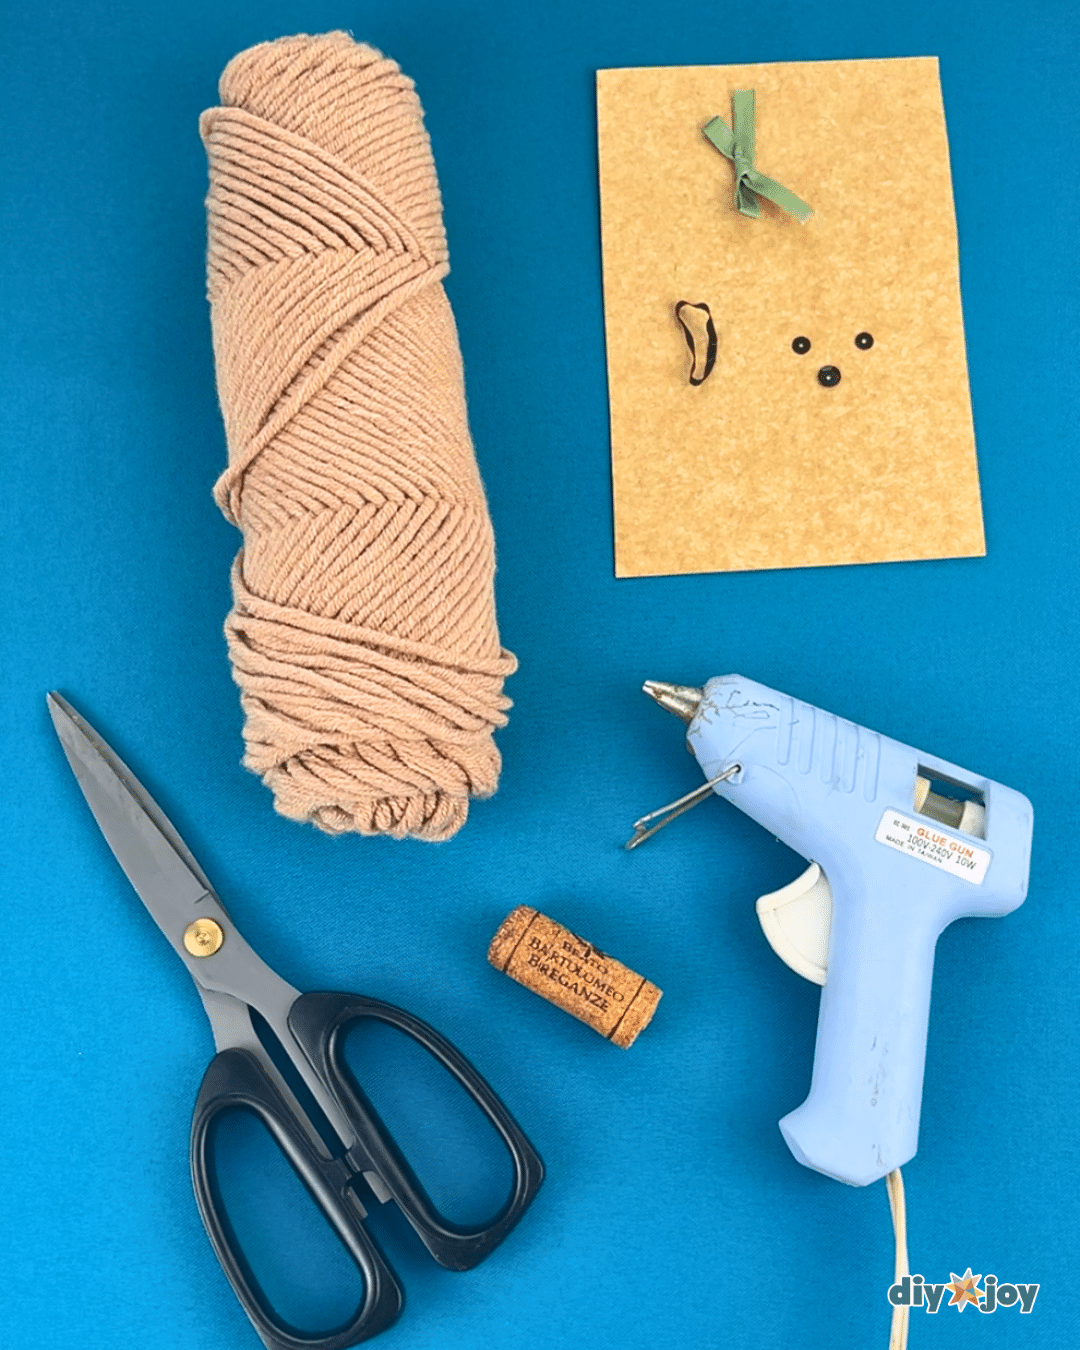
Materials for the Yarn Dog
- yarn
- scissors
- beads or sequins
- hot glue
- glue sticks
- ribbon
- elastic
- cork
- skewer (optional)
How to Make Dog Yarn
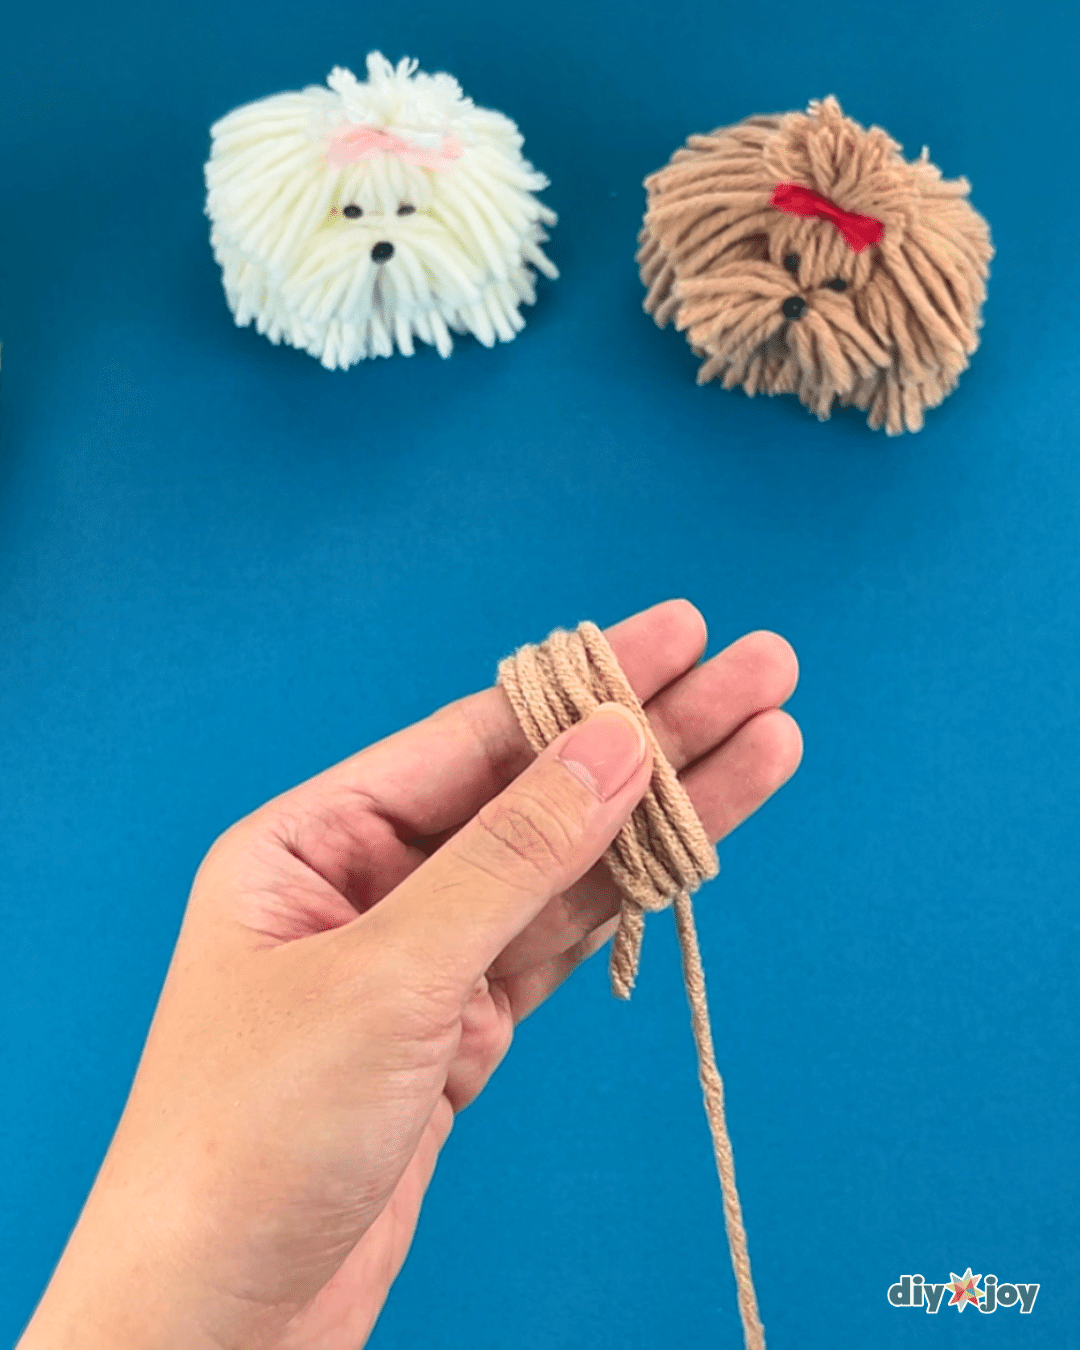
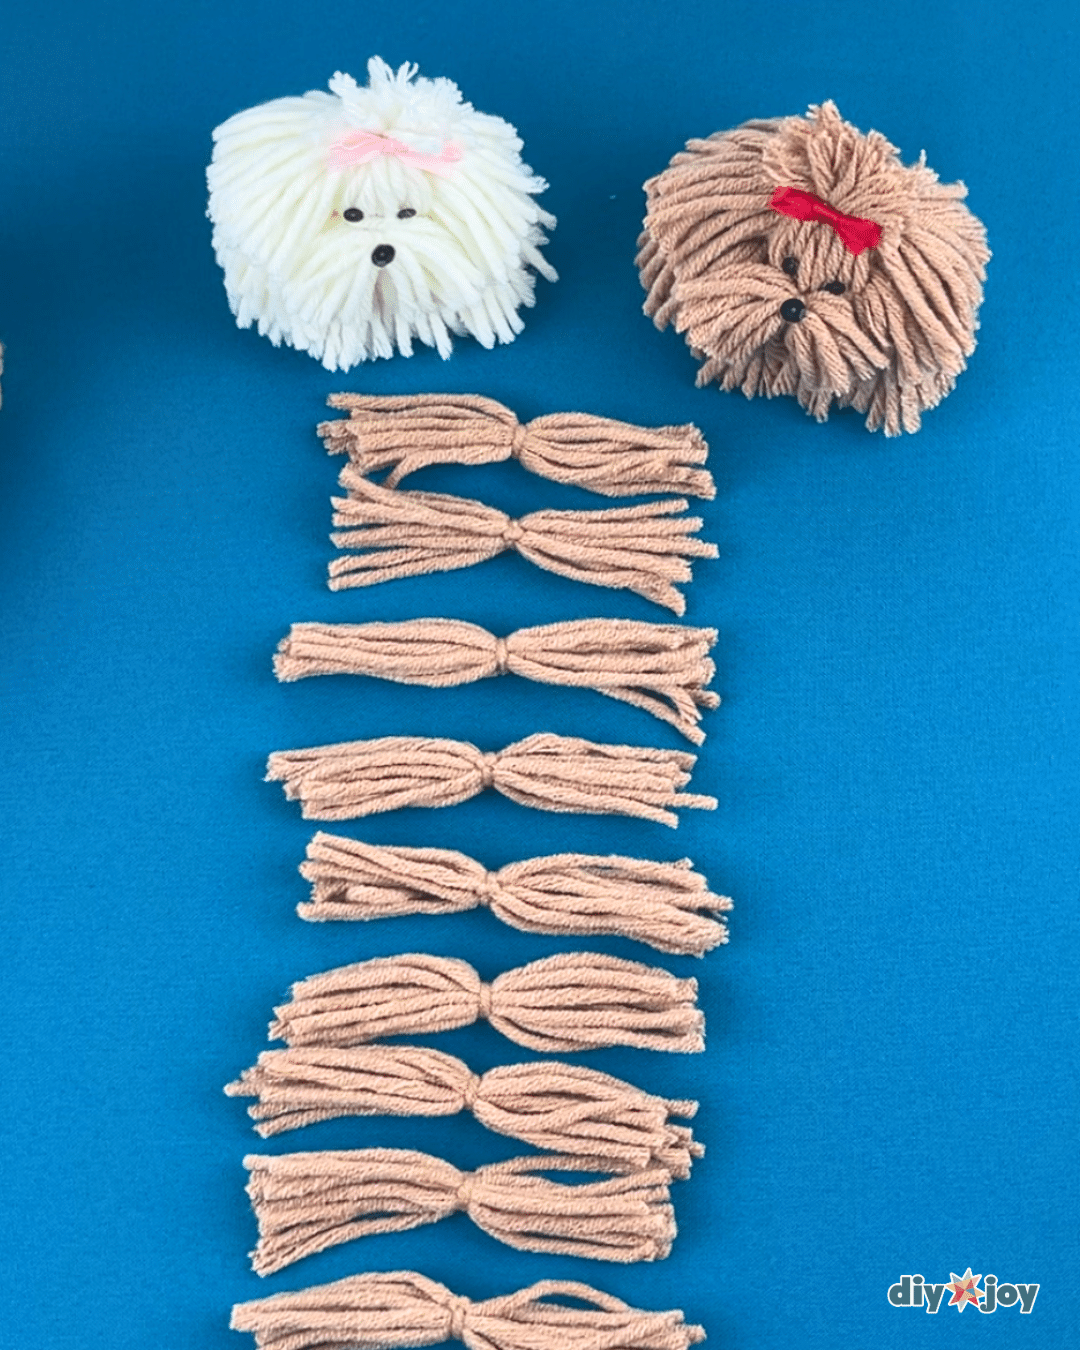
Step 1:
Wrap yarn around your three fingers 10 times, then cut the excess.
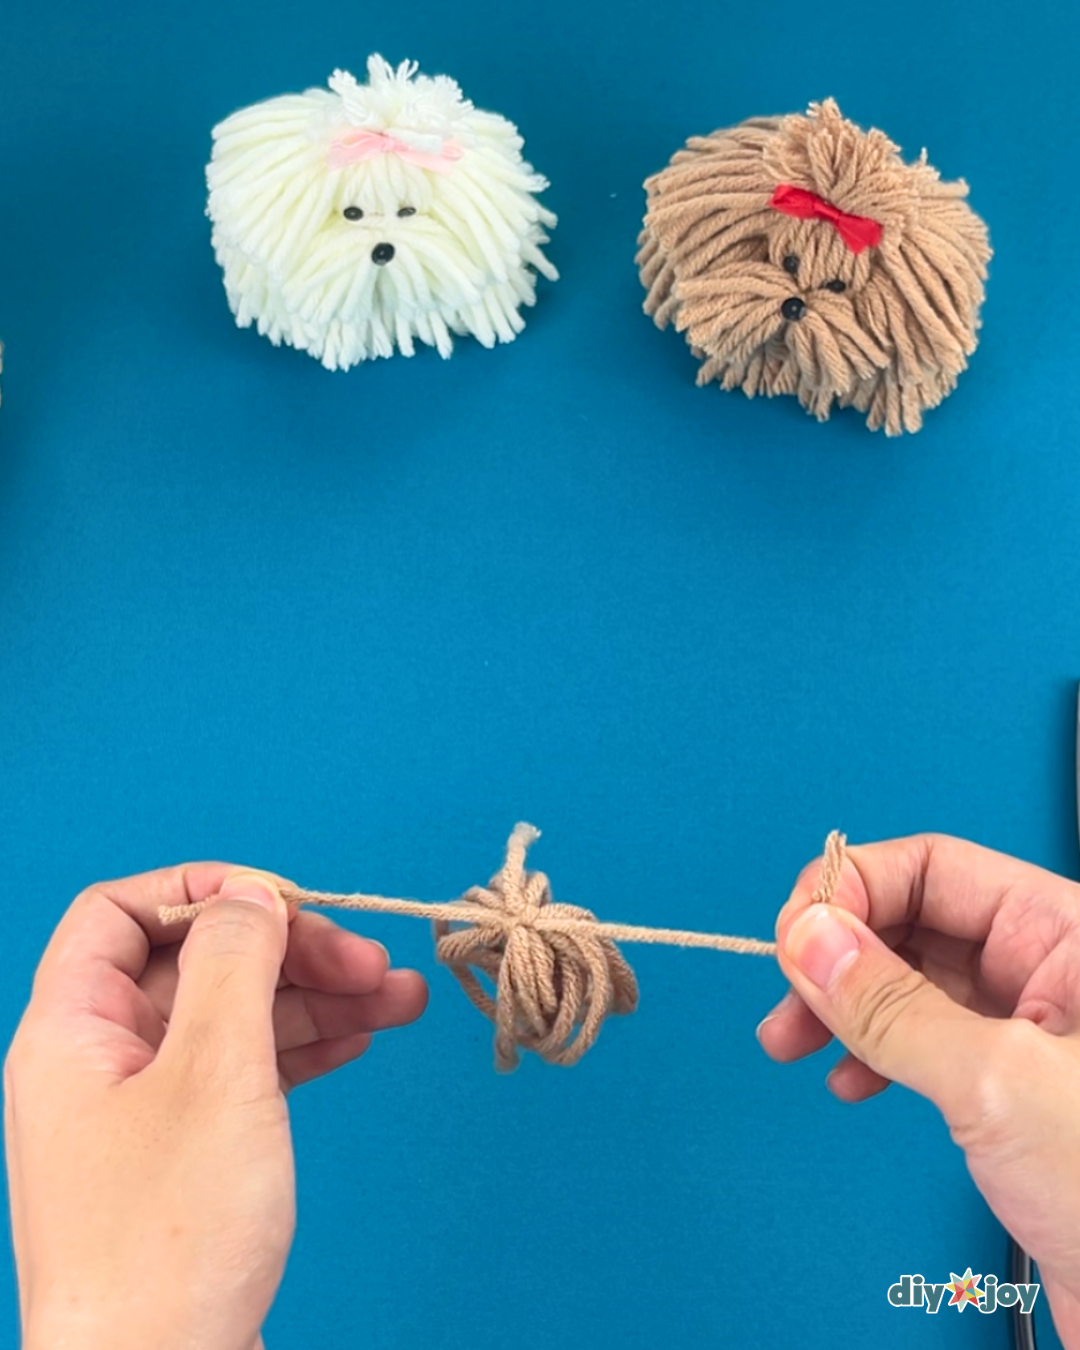
Step 2:
Take a small piece of yarn and insert it through the loops. Tie the ends of the yarn and make a knot to secure.
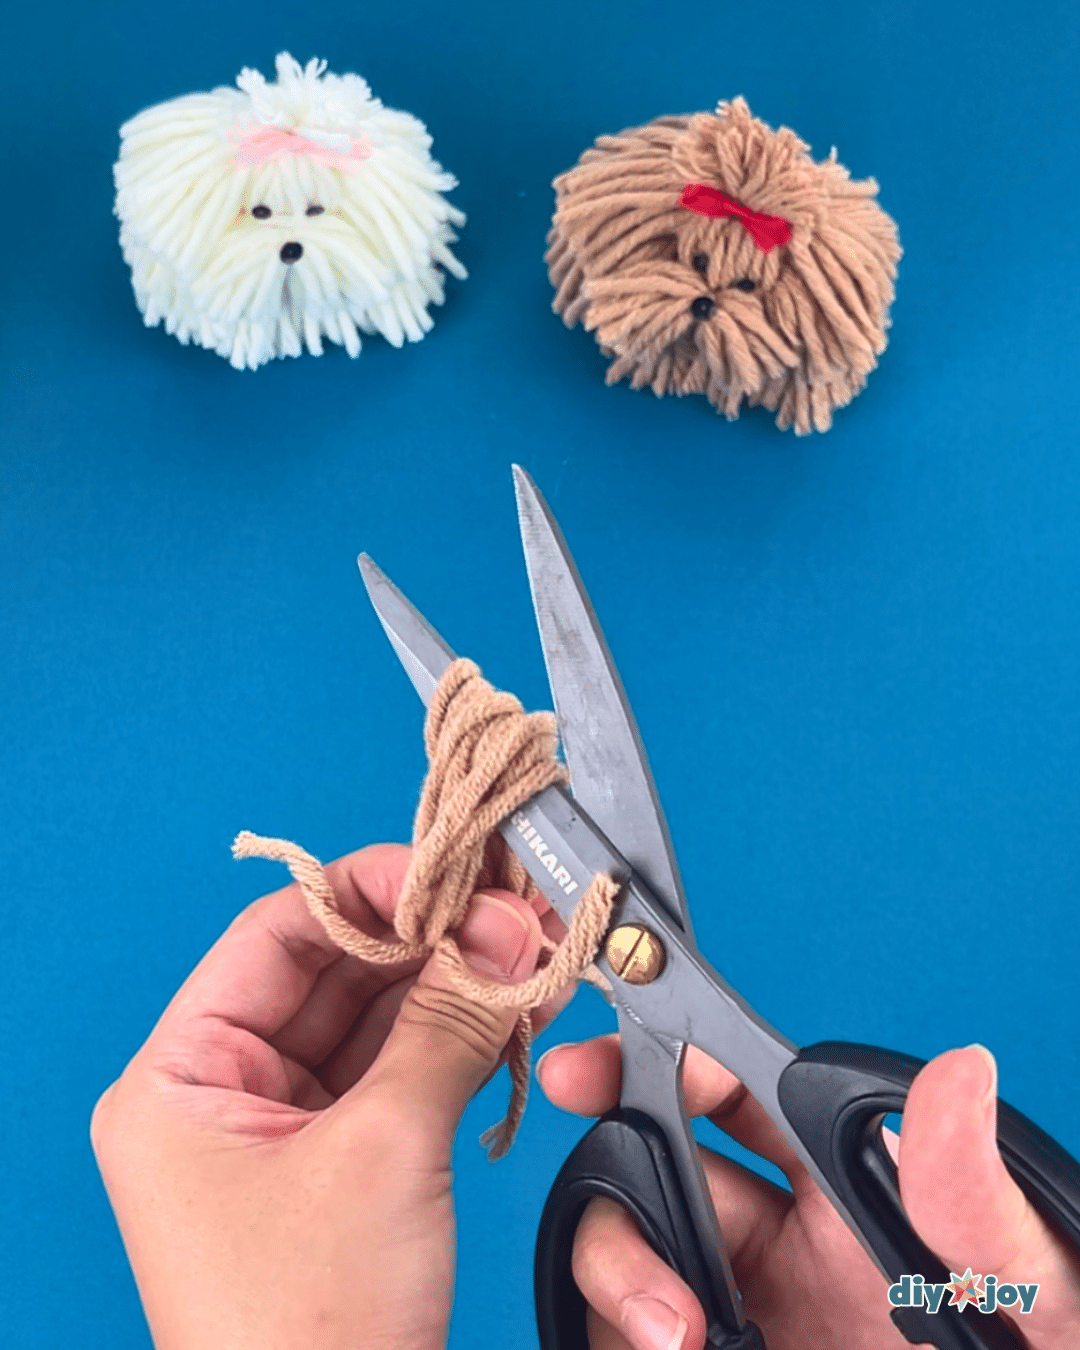
Step 3:
Hold the tied part with one hand, then use your other hand to cut the other end.
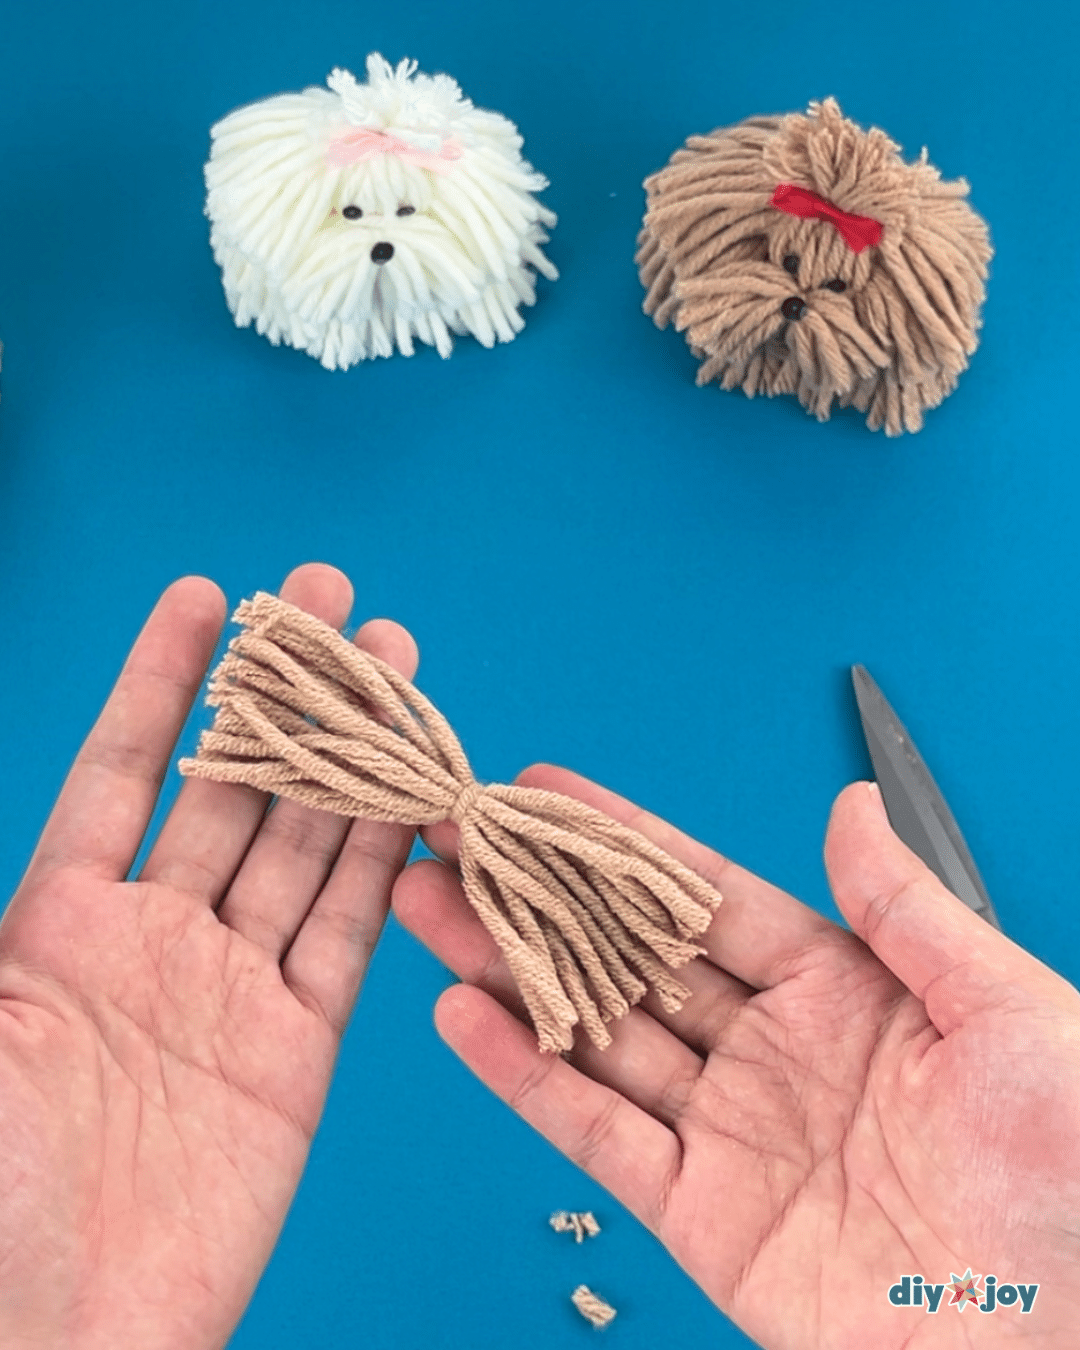
Step 4:
Trim the long strands. Make 9 pieces. These will be for the body. Set aside for later.
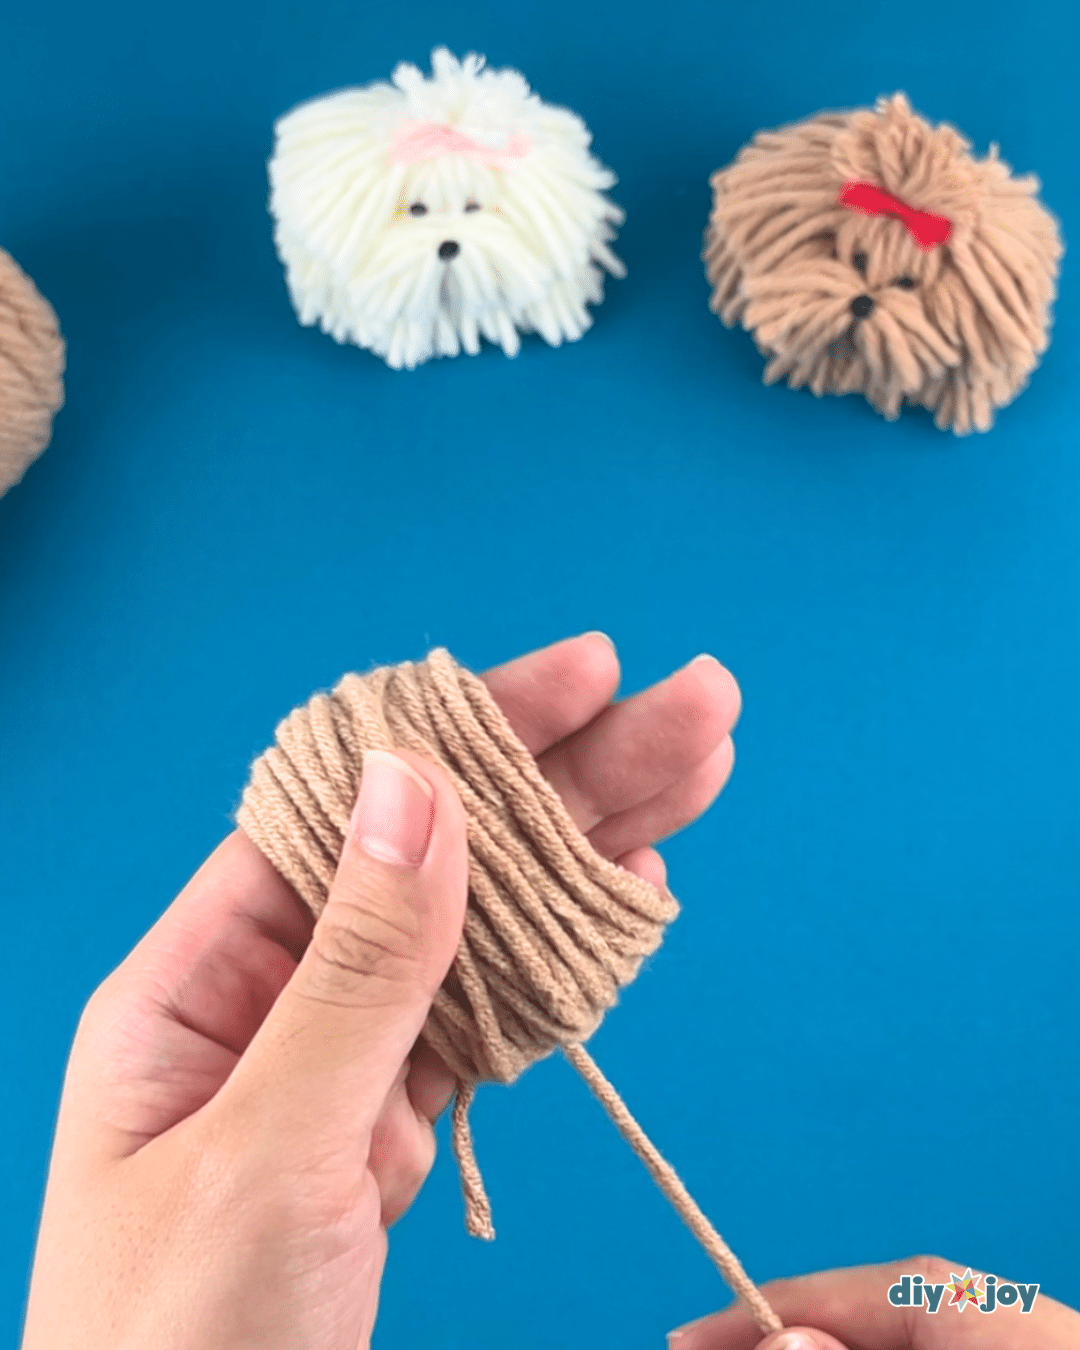
Step 5:
Take the yarn and wrap it around your four fingers 95 times, cut the excess, then carefully remove it from your fingers.
Step 6:
Take a small piece of yarn and insert it through the loops.
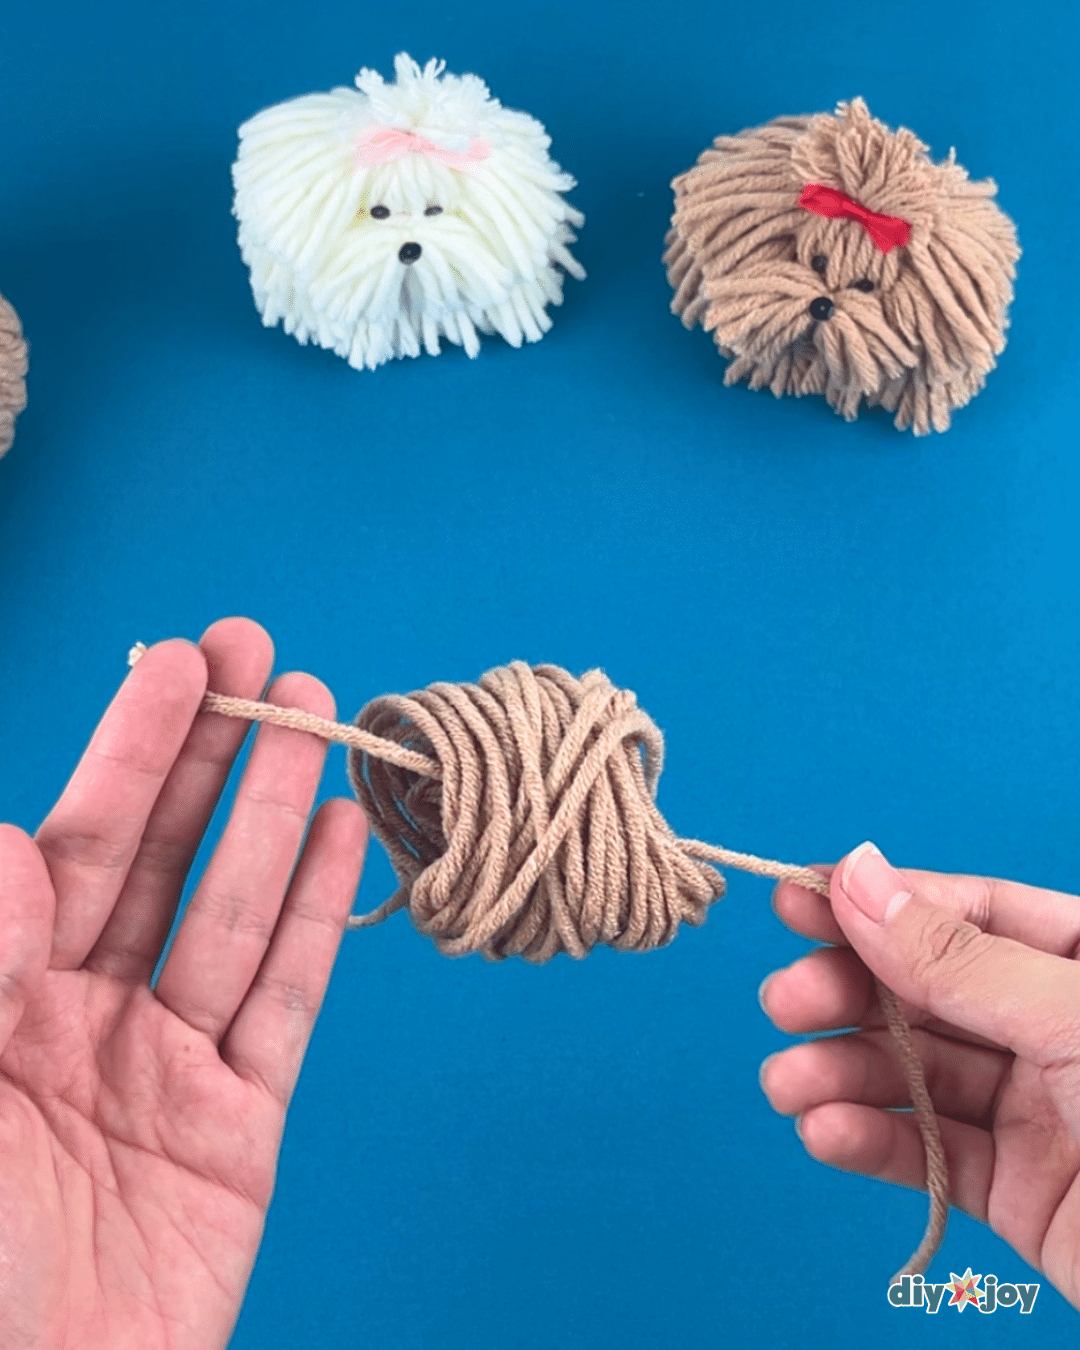
Step 7:
Tie the ends and make a knot to secure the loops.
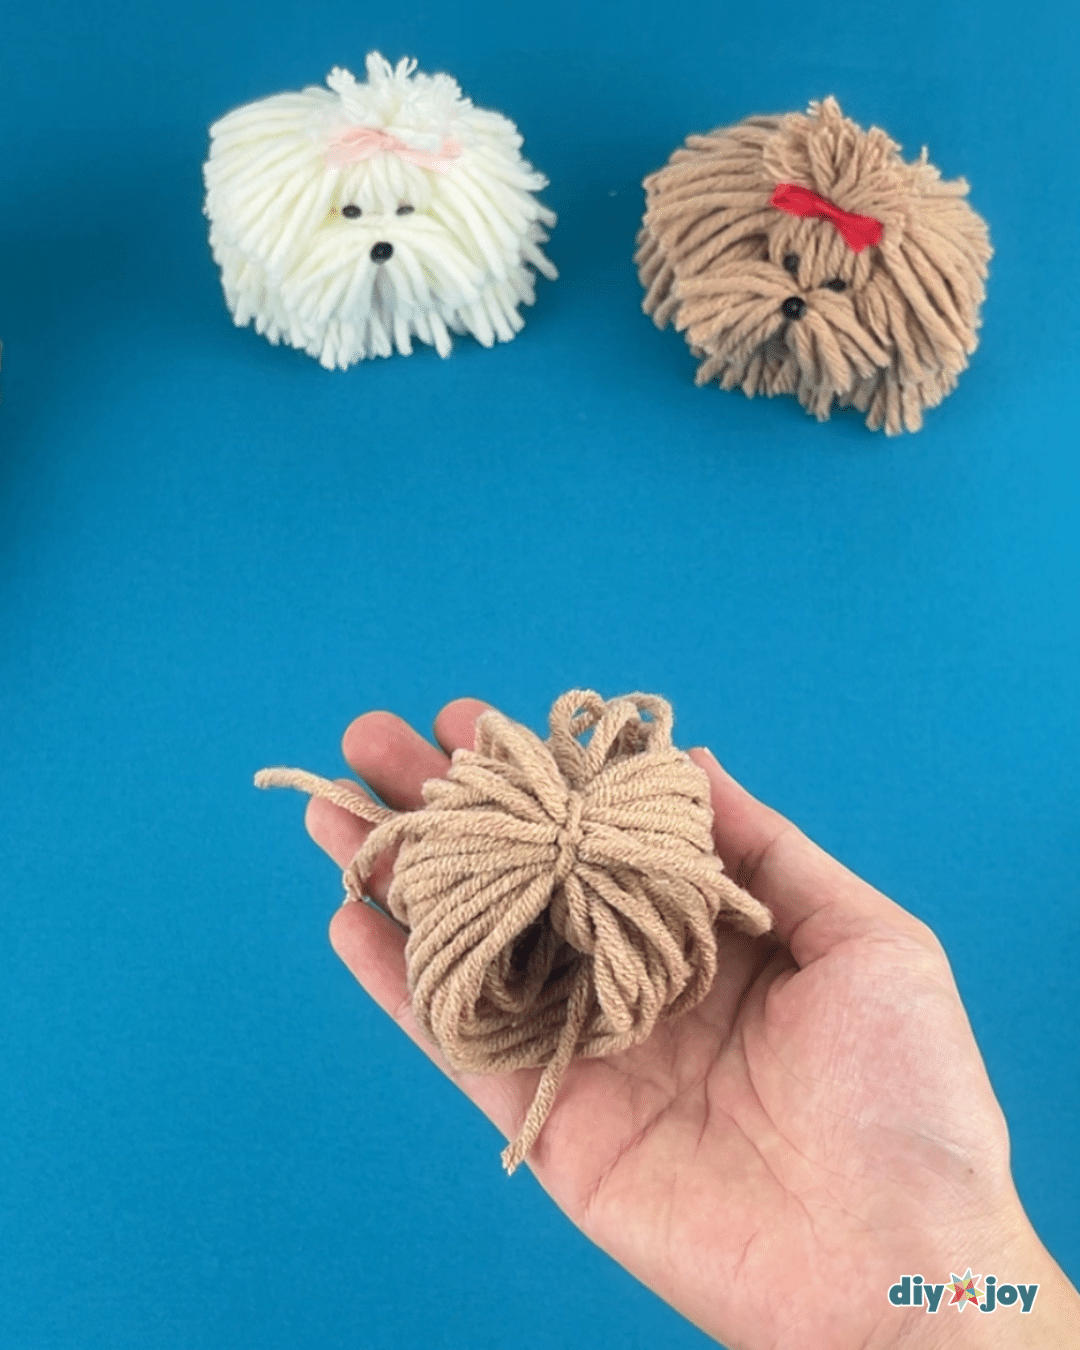
Step 8:
Hold the tied part and cut the other ends just like what you did in step 3. Set aside.

Step 9:
Take 8 pieces from step 4. Hot glue each one on the top edge of the cork. Make sure to glue the middle part of each piece.
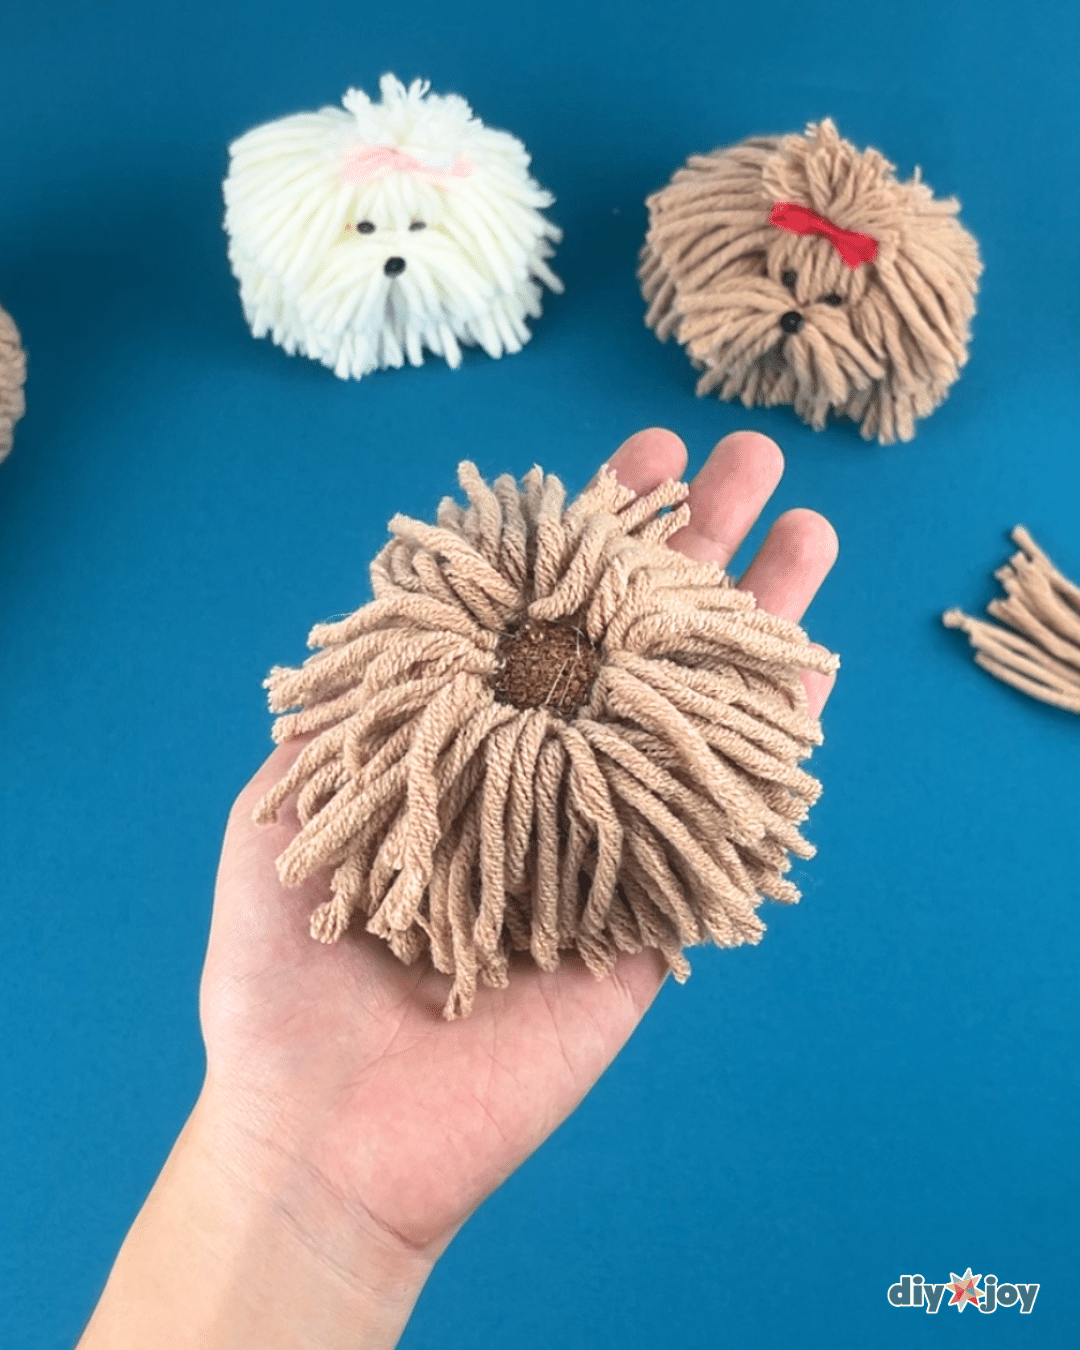
Step 10:
Add a generous amount of hot glue on top of the cork. Take the big piece and attach it to the top. Make sure it’s centered.
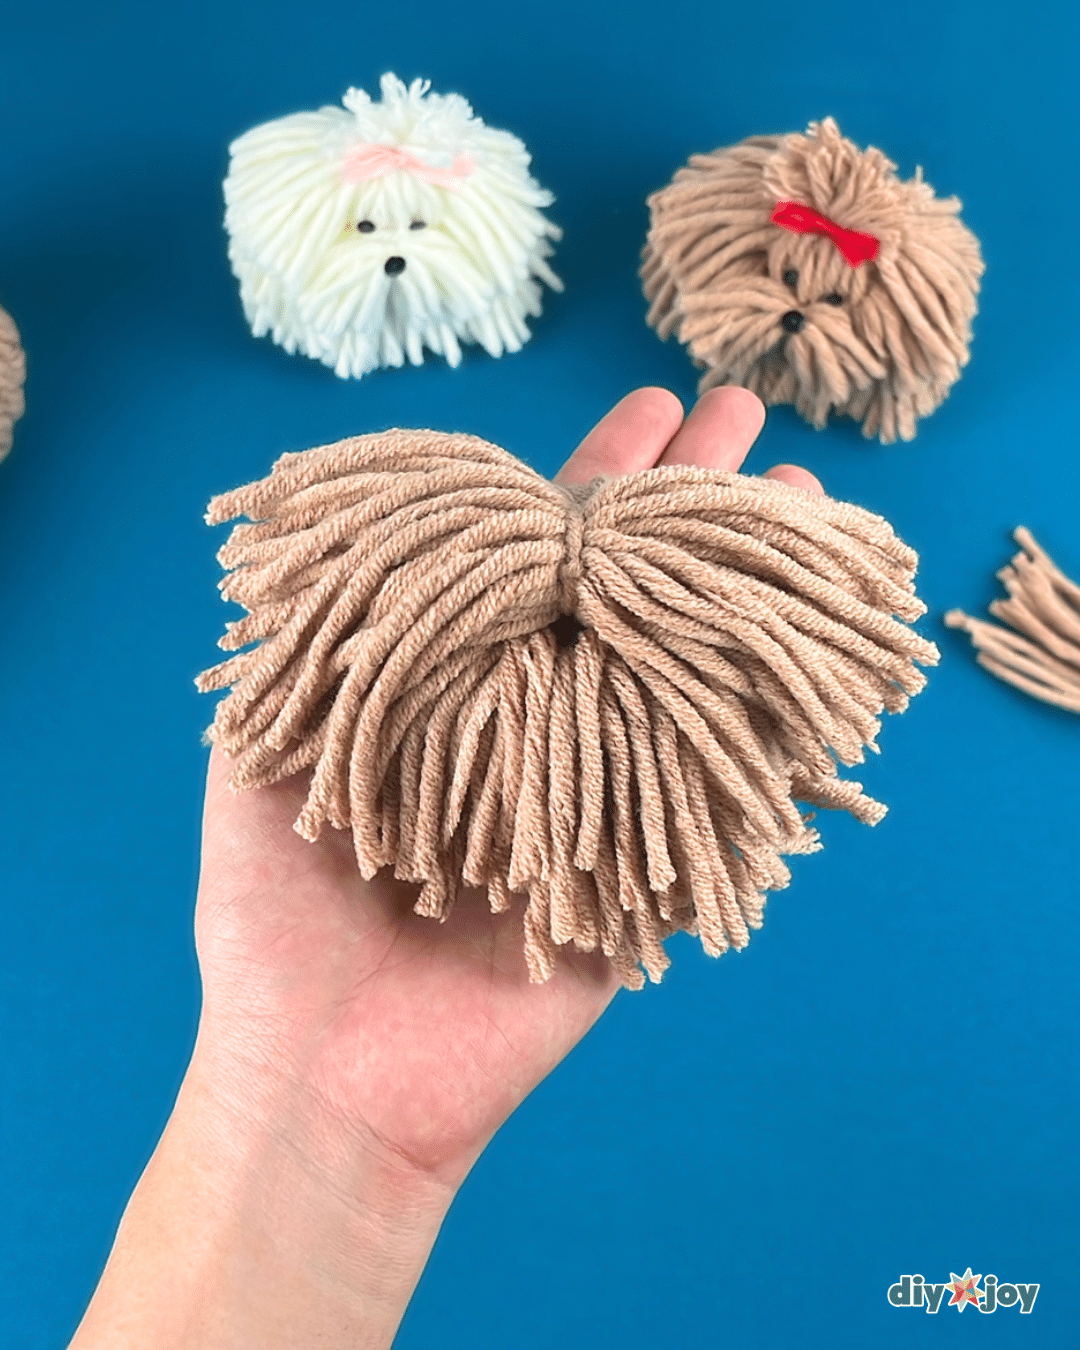
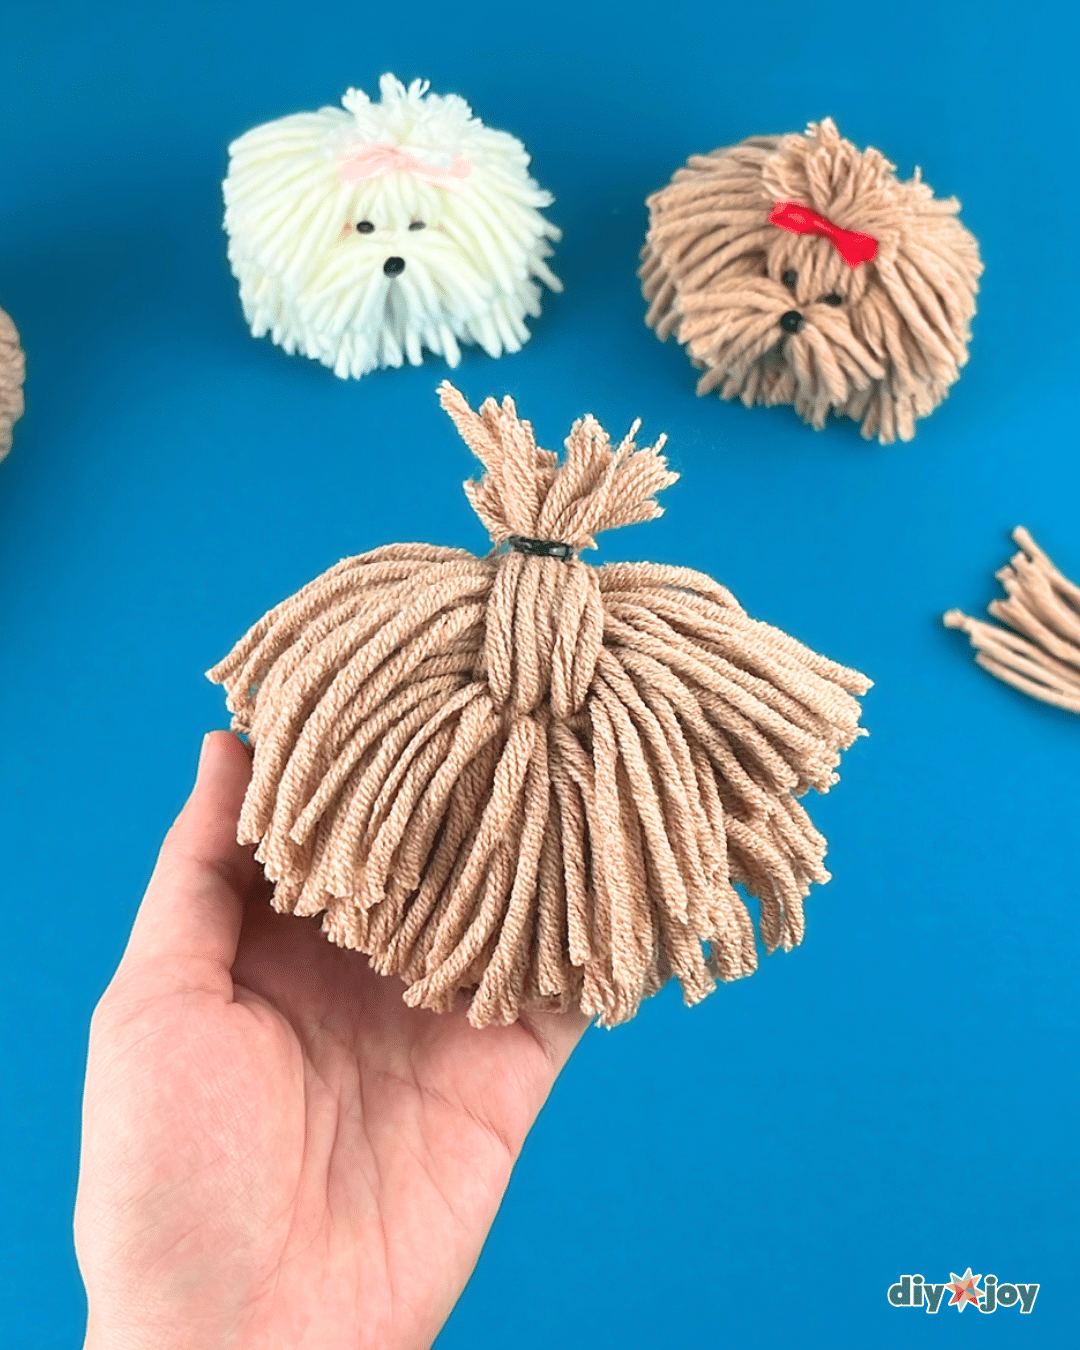
Step 11:
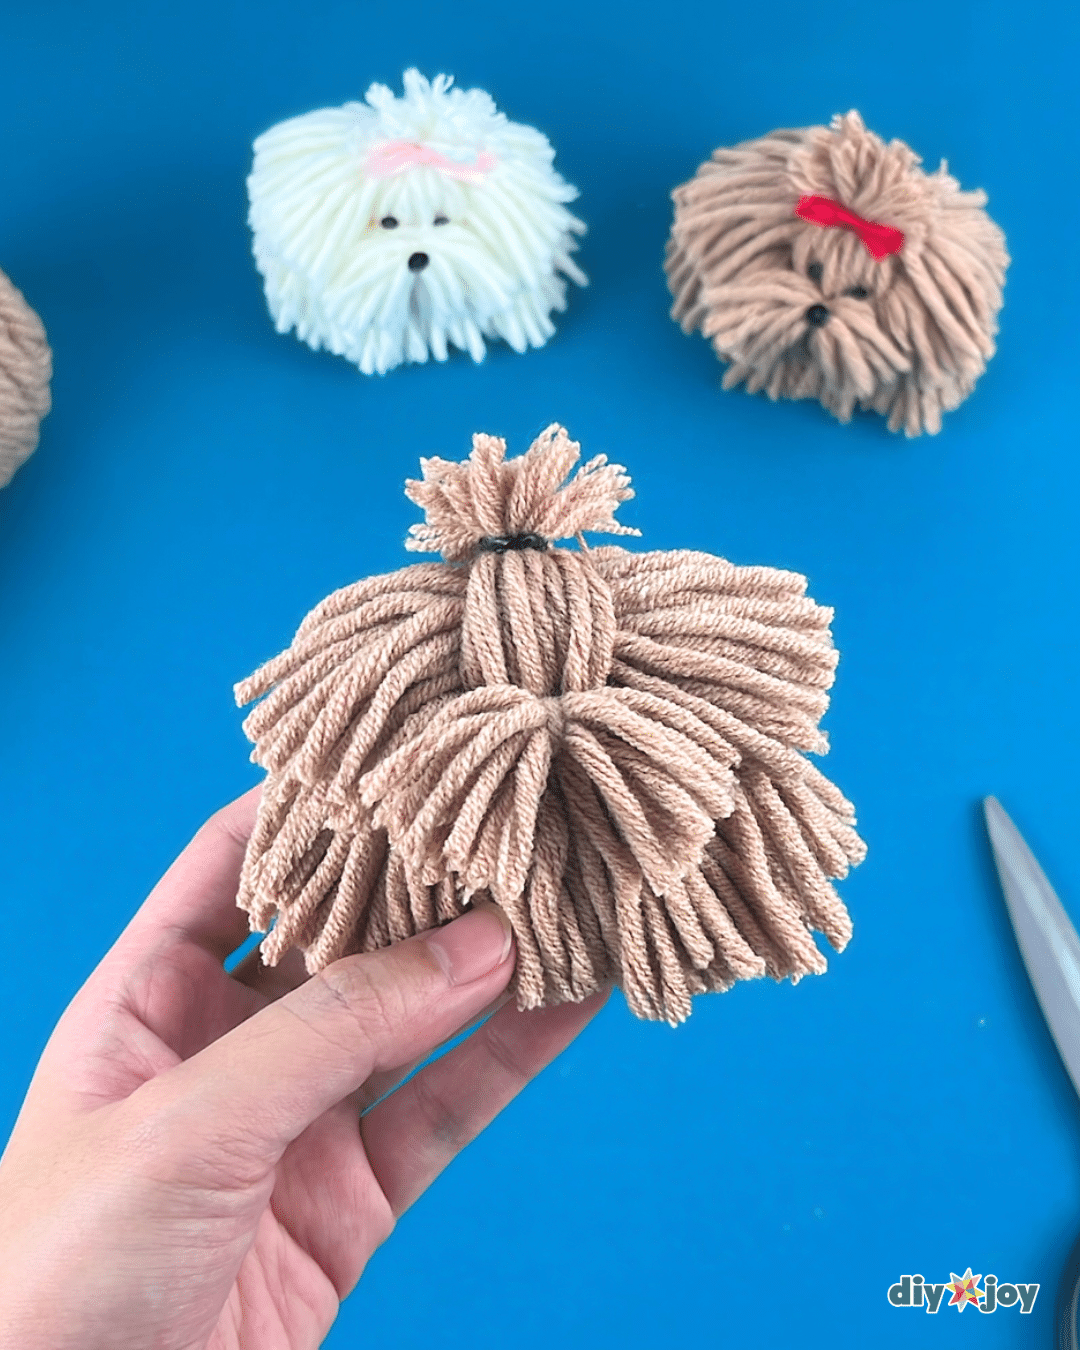
Once it’s dry, take a few strands from the front and back then tie them together with the elastic.
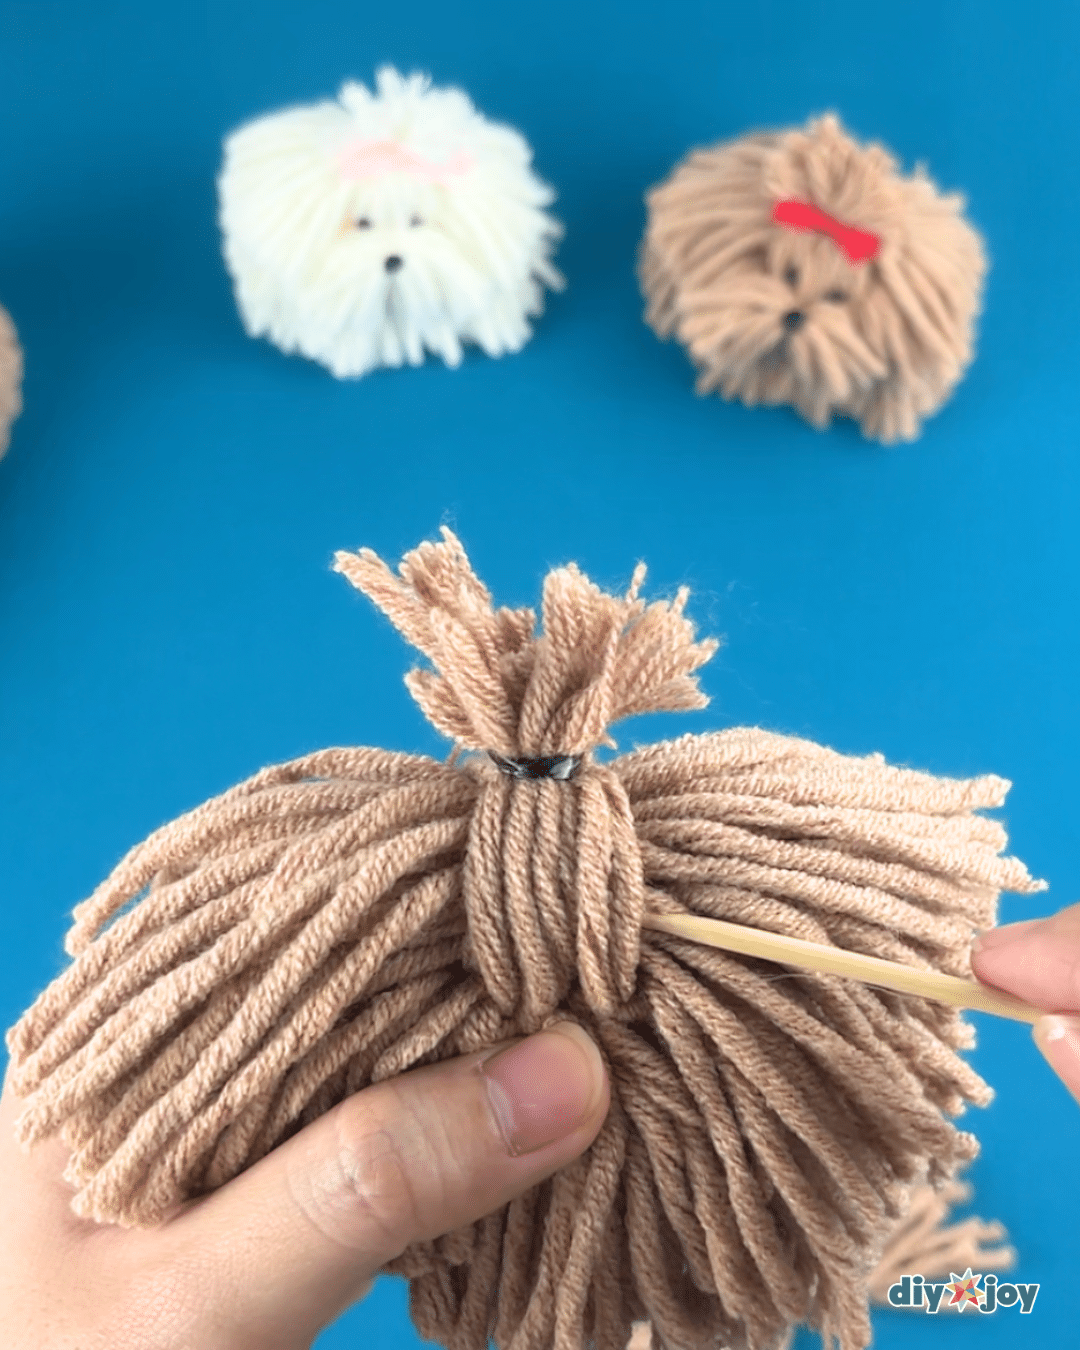
Step 12:
Take a skewer and use it to add volume to the tied strands.
Step 13:
Take the last piece of tied yarn and glue it on the ends of the tied strands.

Step 14:
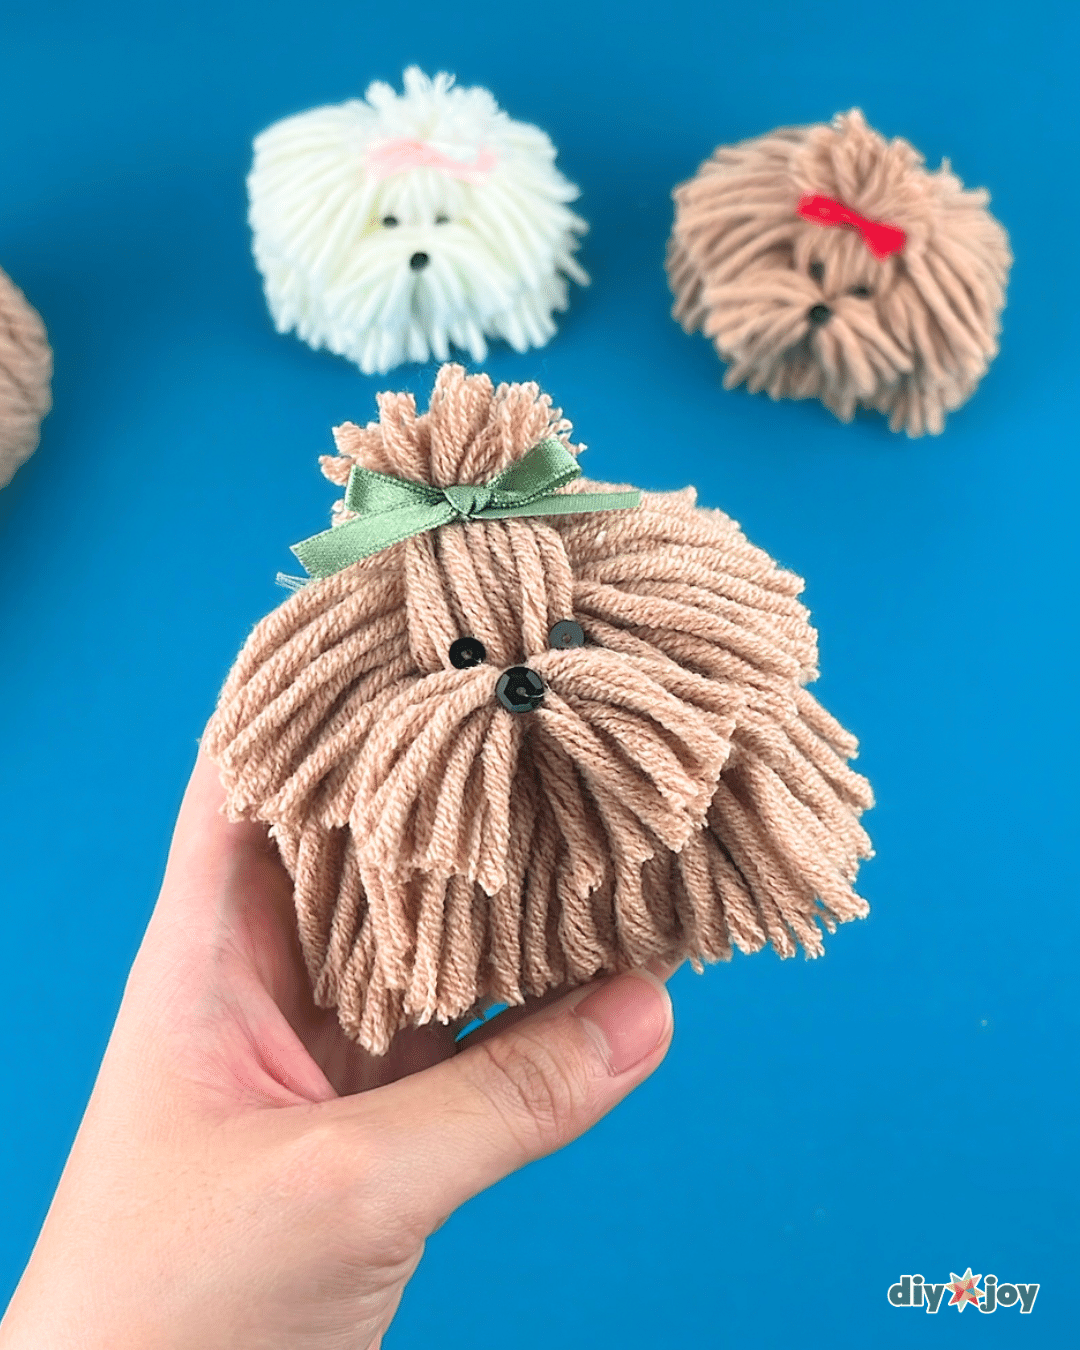
Trim the sides and front of the dog just like in the photo below.
Step 15:
Glue the eyes, nose, and bow.
![]()
Craft Tips
- When wrapping yarn, a lighter touch is best! Avoid doing it too tightly to prevent finger strain.
- To create a cleaner look for your yarn dog, cut the strands in a straight, even line.
DIY Dog Yarn Video Tutorial | YouTube