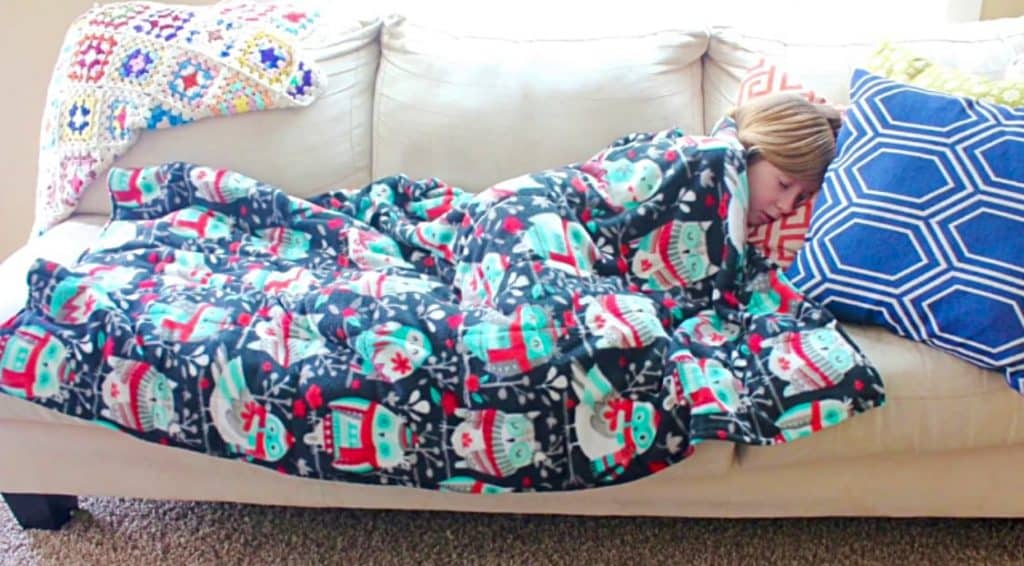
So, not sure if you’ve even heard of a weighted blanket before, but they are something I think worth trying. I had heard of them and knew they were becoming popular, but was skeptical. However, a friend of mine insisted I try hers, and now I understand why all the hype. Used for therapeutic purposes or just lounging, these blankets can be used as a normal blanket, but the weighted sides make it feel comforting, much like getting a hug. Hard to describe the feeling, even, but you should definitely try it.
Weighted blankets have been proven to help with many different things, alleviating ailments that include but are not limited to:
- Stress
- Autism symptoms such as sensory overload
- Insomnia
- Anxiety
- Frustration or Anger
On top of all of those awesome uses, a weighted blanket also, obviously, helps keep you warm. In stores or online, these can actually cost over $100.
It sounds ludicrous, but the cost of one of these is actually enormous. What else is ludicrous about this is this? You can easily make one of these yourself for a fraction of the cost!
If this is your first time making one of these blankets, start with materials like cotton or flannel. Measure your length and width of choice for your blanket, and choose two pieces of fabric at this size.
Then, you’ll want to sew these pieces of fabric right sides together, and double stitch it on 3 sides.
Divide up your blanket into pockets by measuring the overall size. Make your columns no smaller than 7″, and try to evenly divide them up like she shows in the video below. The less rows, the faster the project!
Calculate how many pockets you have and determine 10% of the person’s body weight. Change the pounds to ounces, then determine how many ounces have to be in each pocket to reach that weight.
In the video below, she weights her blanket with polyfill pellets, but some people swear by rice or even dried beans. Just make sure they’re sealed with plastic or something similar so they don’t cook. Use whatever works best for you!
Once you stitch it up like she shows in the video below, you’ll be all done!
What are you going to use yours for?


