Do you have a lot of fabric scraps from your previous quilt projects and don’t know what to do with them? Melanie Ham from Youtube has the best solution for those scraps. Her video tutorial on turning scrap fabrics into another quilt project is pure genius. No more waste with this quilt project! Watch the video down below to learn the step-by-step process.
Materials:
- scraps from previous quilt projects
- iron
- rulers
- rotary cutter
Directions:
Step 1
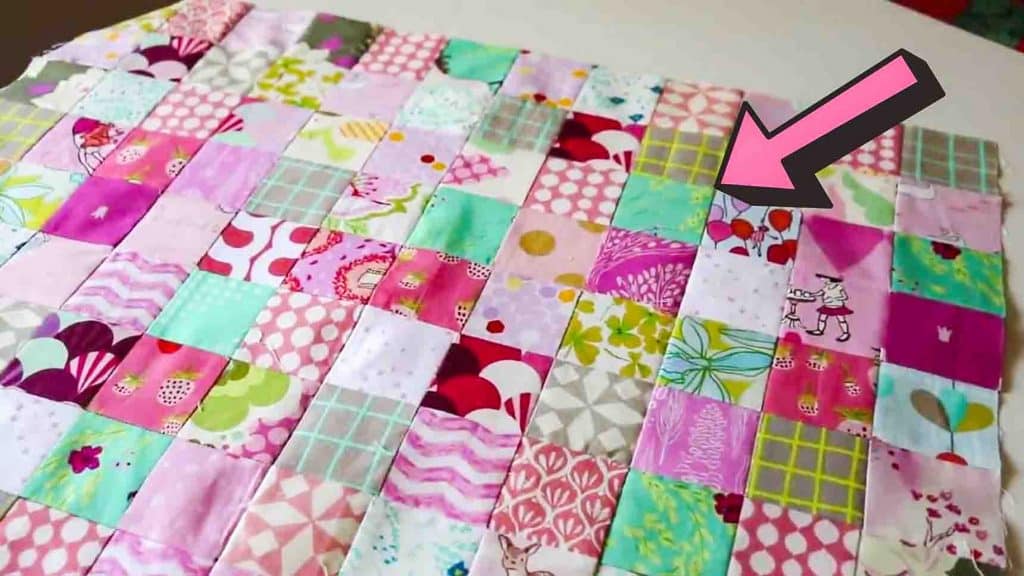
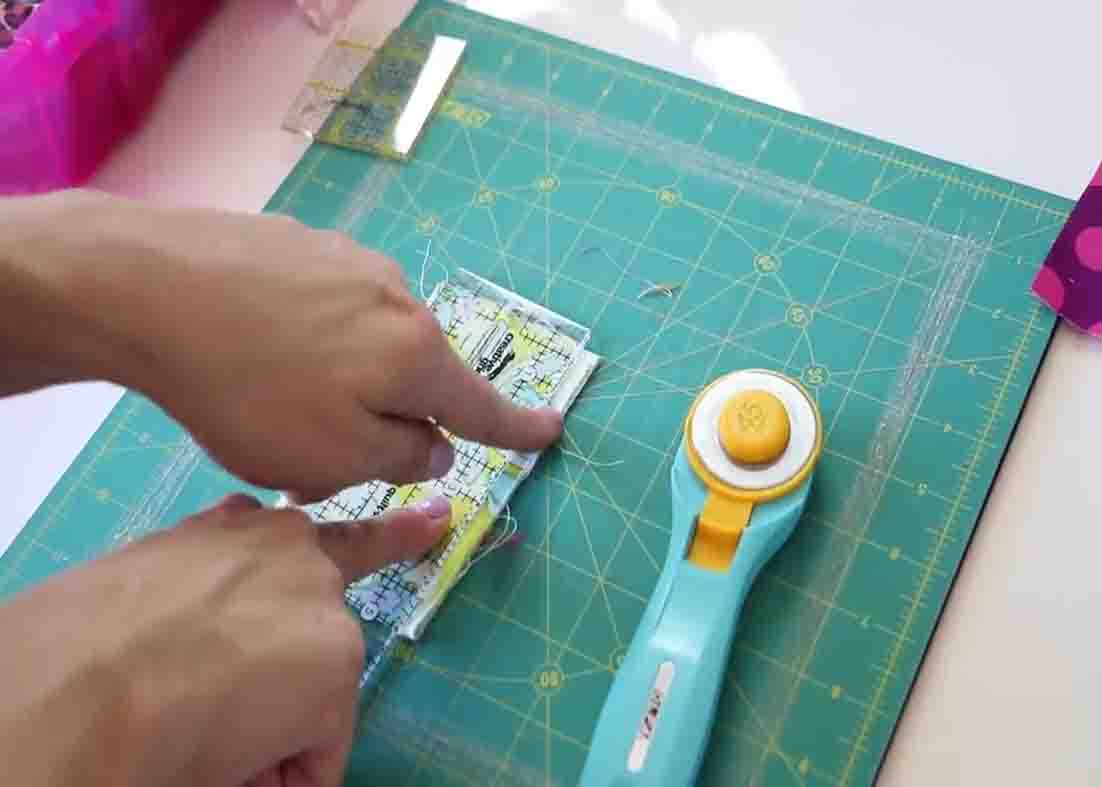
Take one of your scraps (scrap should be smaller than a fat quarter) and iron it out. After ironing it, do patchwork squares and cut it 2 & 1/2″ x 2 & 1/2″. (This way, you can utilize a lot of scraps and make it look really scrappy.) Cut all your fabric scraps in this size after ironing them. (Use your ruler and rotary cutter for this.)
[social_warfare]
Step 2
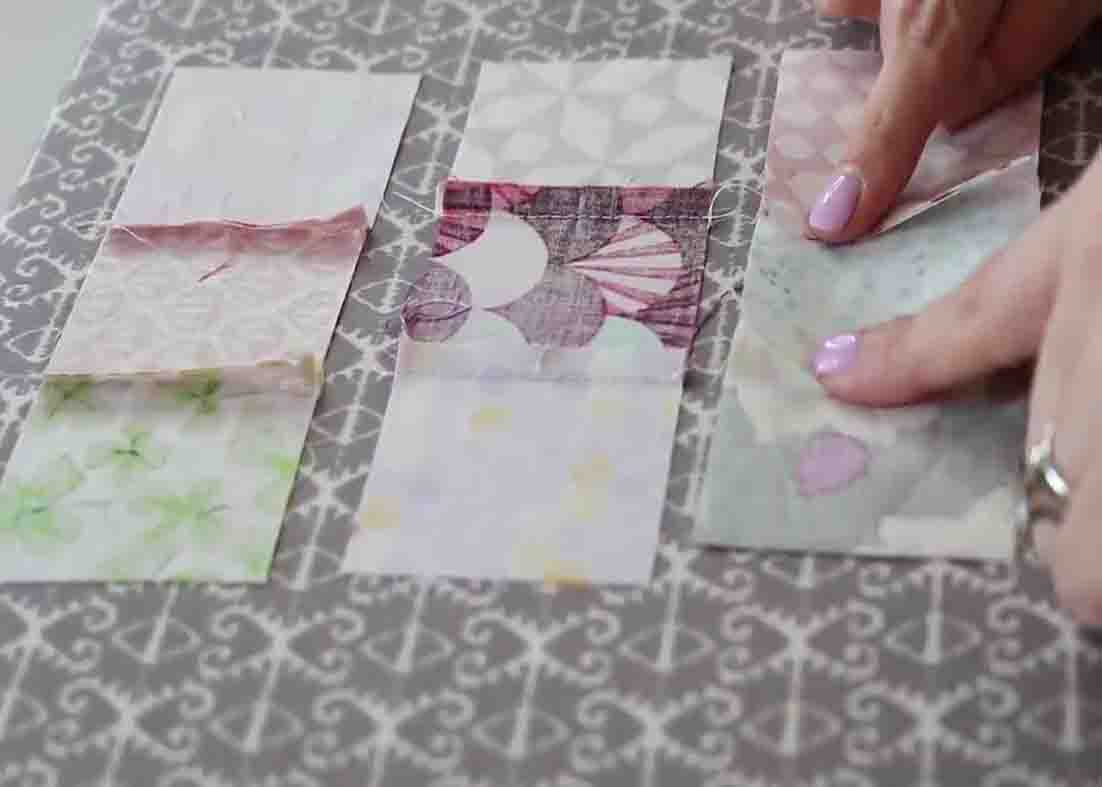
After cutting the patches, sew them together by chain piecing so you don’t have to cut your threads in between each 1/4″ seam allowance. After sewing, take them to your ironing board and press the seams in one direction, then press the next row down in the opposite direction. (This is called nesting the seams together so you can lock those seams together.) Do this process, alternating every row. After this, take it to the sewing machine and sew the third row down, again, a scant 1/4 quarter of an inch. When you’re done, you can iron the seams to one side. Your 9 patchwork is now finished. Now, do these processes to the remaining scraps until you have enough 9 patchworks to make a quilt.
How To Make a Scrap Quilt


