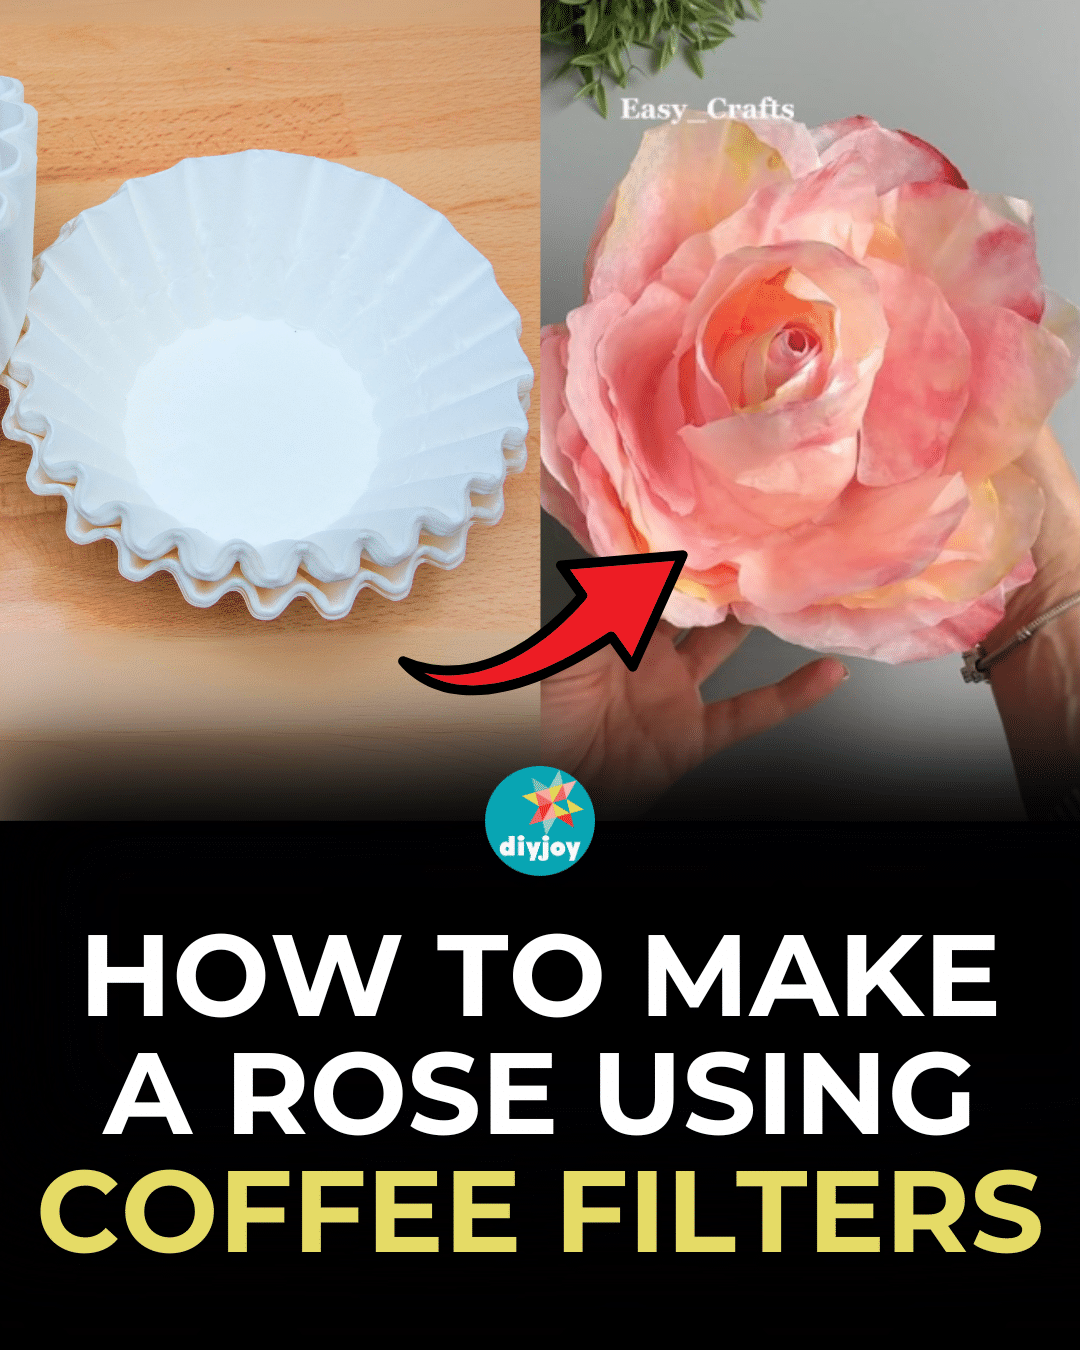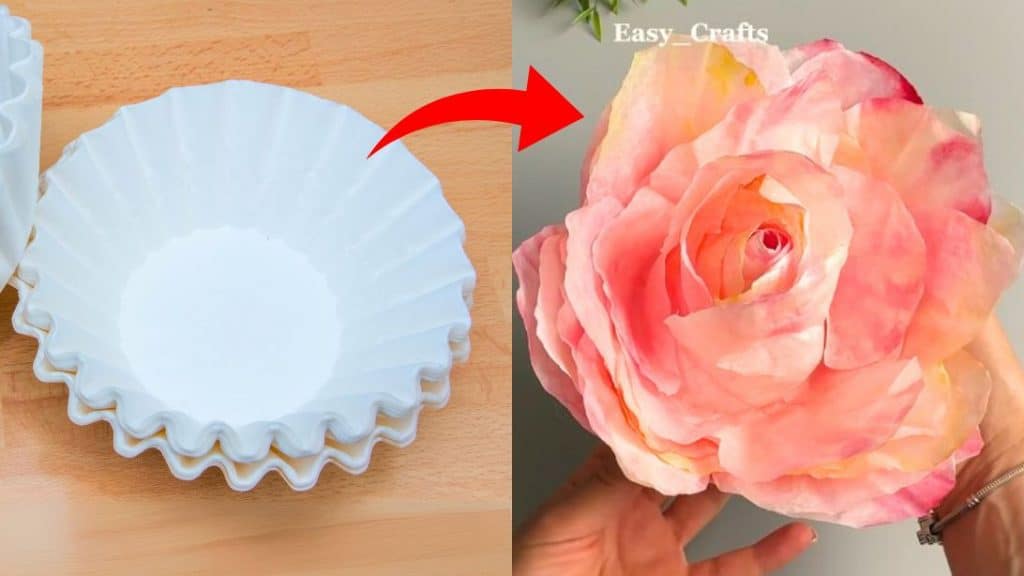
Do you have some coffee filters? If you do, I have a fun project for you! You can turn paper filters into a beautiful rose just like the one shown in the photo above. At first, I thought it was plastic and factory-made, but surprisingly, it was not. The flower turned out incredibly beautiful and looked like a real rose. Learn how to make it with Easy_Crafts‘ tutorial.
RELATED: DIY Felt Rose Tutorial
This art project is easy and fun to make and can be a great way to spend time with friends, family, or kids. You can change the colors to your favorite ones. For this rose, they used pink and yellow paint, creating an ombre effect.
You can add stems to the flowers and place them on a vase or glue/hang them. Use them for home or party decorations. See the video below for full instructions.
Here’s another project for you: Easy DIY Coffee Filter Peony Flowers Tutorial
Coffee Filter Rose Materials
- coffee filters
- paint
- brush
- 2 shallow containers
- wide mug
- spray bottle
- scissors
- hot glue
How to Make a Paper Rose Using Coffee Filters
Step 1:
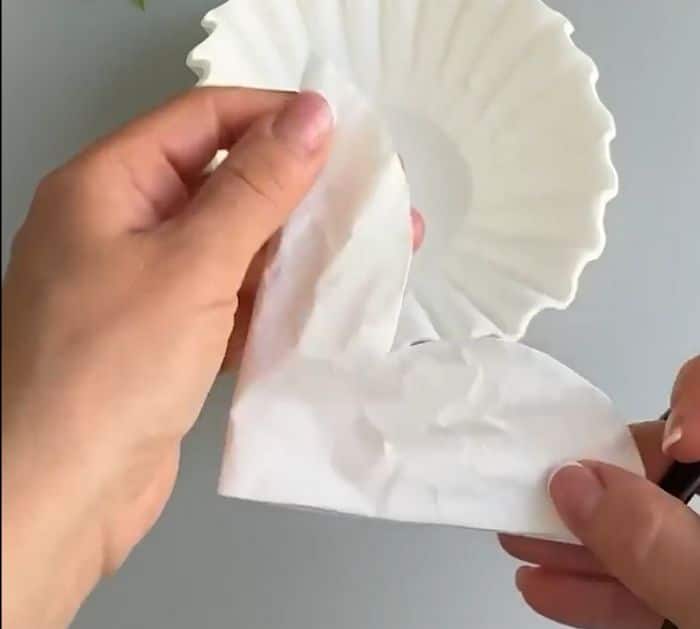
Stack a few pieces of coffee filters and fold them twice in half to get a quarter circle. Cut them just like in the photo below. Open and separate each piece.
Step 2:
Fold each piece into quarters.
Step 3:
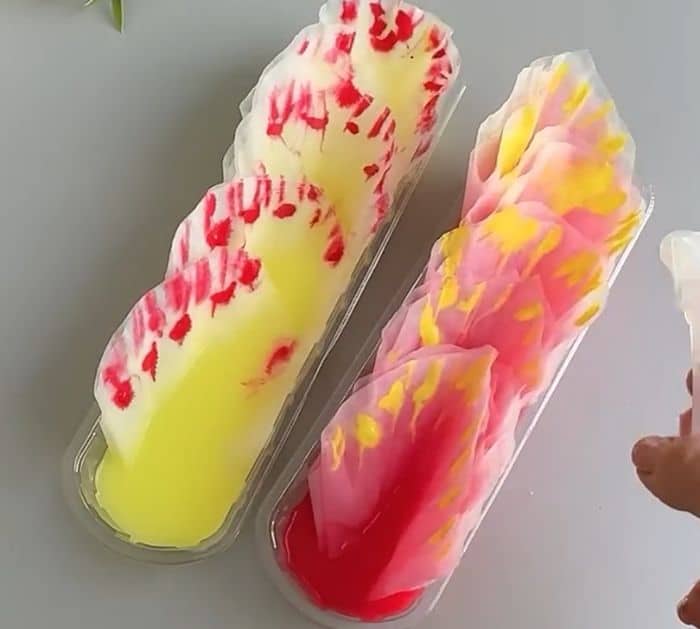
Fill two small containers with a little bit of water then add a few drops of paint to color the water. Make sure to use different colors for each container.
Step 4:
Dip half of the folded coffee filters into the first color and the other half into the second color. Do not submerge them completely.
Step 5:
Paint the top of the petals just like in the photo below. Fill a spray bottle with water, then lightly spray the petals to make an ombre effect. Remove from the containers, then let them dry completely.
Step 6:
Once they are dry, open each one.
Step 7:
Get the mug and one petal. Insert half of the flower into the mug, then the other half hanging outside. Take another flower, and do the same to the other side. Repeat the same process with two more flowers but place them between the first two.
Apply hot glue all around the edge of the mug. Keep adding the remaining flowers, but this time glue them one by one. Make sure to move the position around after each flower.

