Learning how to make a T-shirt quilt is pretty easy and such a cool gift idea. I’ve made a few for my friend who love them. T-shirt quilts are a great way to turn old, sentimental T-shirts into a cozy and functional keepsakes. These quilts are perfect for showcasing a collection of shirts from sports teams, concerts, vacations, and other memorable events. They make great gifts for loved ones, too, and can be a fun way to celebrate your own memories. If you’re interested in making a T-shirt quilt but don’t know where to start, this guide will walk you through the process step by step.
Materials you will need:
- T-shirts
- Fusible interfacing
- Fabric for the backing
- Batting
- Sewing machine
- Thread
- Rotary cutter and mat
- Ruler
- Iron
- Pins
- Scissors
How to Make a T-Shirt Quilt – Tutorial
Step 1: Gather and Prepare Your T-Shirts
The first step in making a T-shirt quilt is to gather the T-shirts you want to use. Decide on the size of your finished quilt and choose T-shirts that will fit that size. Keep in mind that T-shirts come in different sizes and shapes, so you may need to adjust your design or add sashing to make everything fit together nicely.
Once you have chosen your T-shirts, wash and dry them to ensure they are clean and free from any dirt or stains. Then, cut out the designs or logos from the T-shirts that you want to use in your quilt. Cut them to the same size using your rotary cutter and ruler, and set them aside.
Step 2: Apply Fusible Interfacing
To ensure that your T-shirt designs are stable and won’t stretch or sag, apply fusible interfacing to the back of each piece. Cut the interfacing to the same size as your T-shirt pieces, and use your iron to fuse them together. Follow the manufacturer’s instructions for best results.
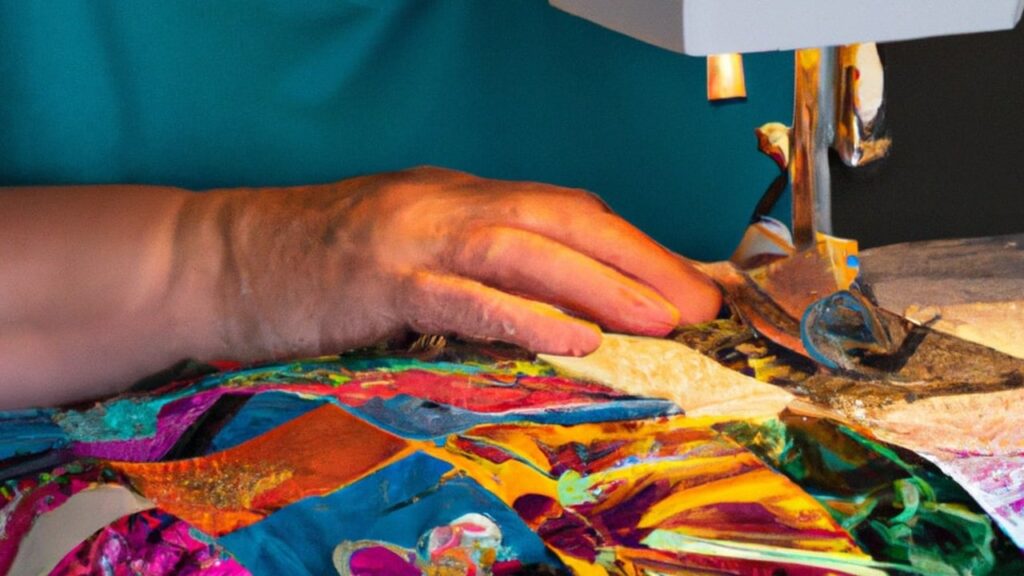
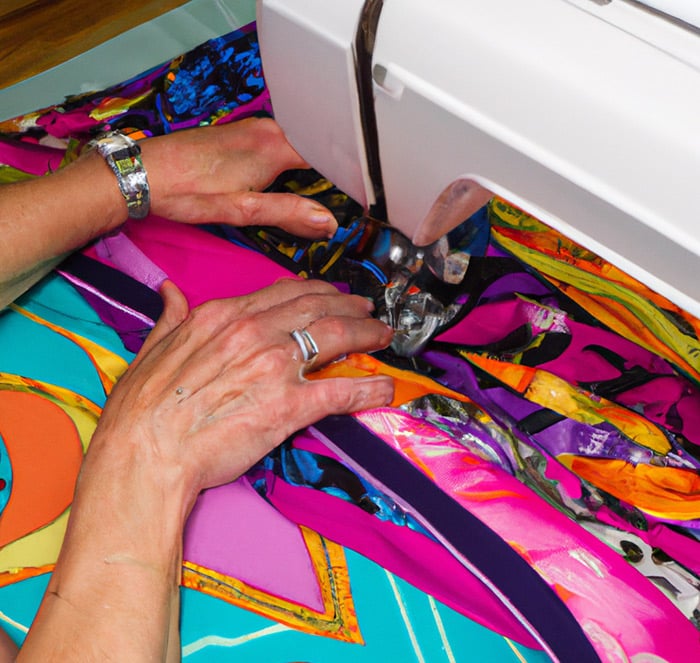
Step 3: Arrange and Sew the Pieces Together
Once your T-shirt designs are stabilized, you can begin to arrange them into your desired design. Lay out your pieces on a flat surface and move them around until you are happy with the layout. You can use sashing, which is a narrow strip of fabric, to help separate the T-shirt pieces and create a more cohesive design.
When you are happy with your design, use pins to hold the pieces together and sew them using a sewing machine. Use a thread color that matches the T-shirt color and sew a straight stitch around the edge of each piece. If you are using sashing, sew that onto the T-shirt pieces first before sewing everything together.
Step 4: Add Batting and Backing
Once your T-shirt quilt top is complete, it’s time to add batting and a backing. Batting is the middle layer of the quilt that provides warmth and thickness, while the backing is the fabric that will be visible on the underside of the quilt. Cut the batting and backing to the same size as your T-shirt quilt top, and lay them out flat.
Place the batting on the bottom, followed by the backing, and then the T-shirt quilt top on the top. Make sure everything is aligned and use pins to hold the layers together. Then, sew around the edge of the quilt, leaving a small opening to turn it right side out.
Step 5: Finish the Edges and Add Quilting
Once you have turned your T-shirt quilt right side out, you can finish the edges by hand or with your sewing machine. Fold the edges of the quilt inwards and sew them closed using a needle and thread or your sewing machine.
Finally, add quilting to your T-shirt quilt to keep the layers together and provide additional texture and interest. You can do this by hand or with your sewing machine, using a simple straight stitch or a more complex design. Be creative and have fun with it!
Tips and Tricks:
Use T-shirts from different events and time periods to create a story quilt.
Use a variety of Tshirt colors with different design styles.
If you are making this as a gift, old T-shirts that are no longer wearable but ones that have sentimental value will be perfect for this project.


