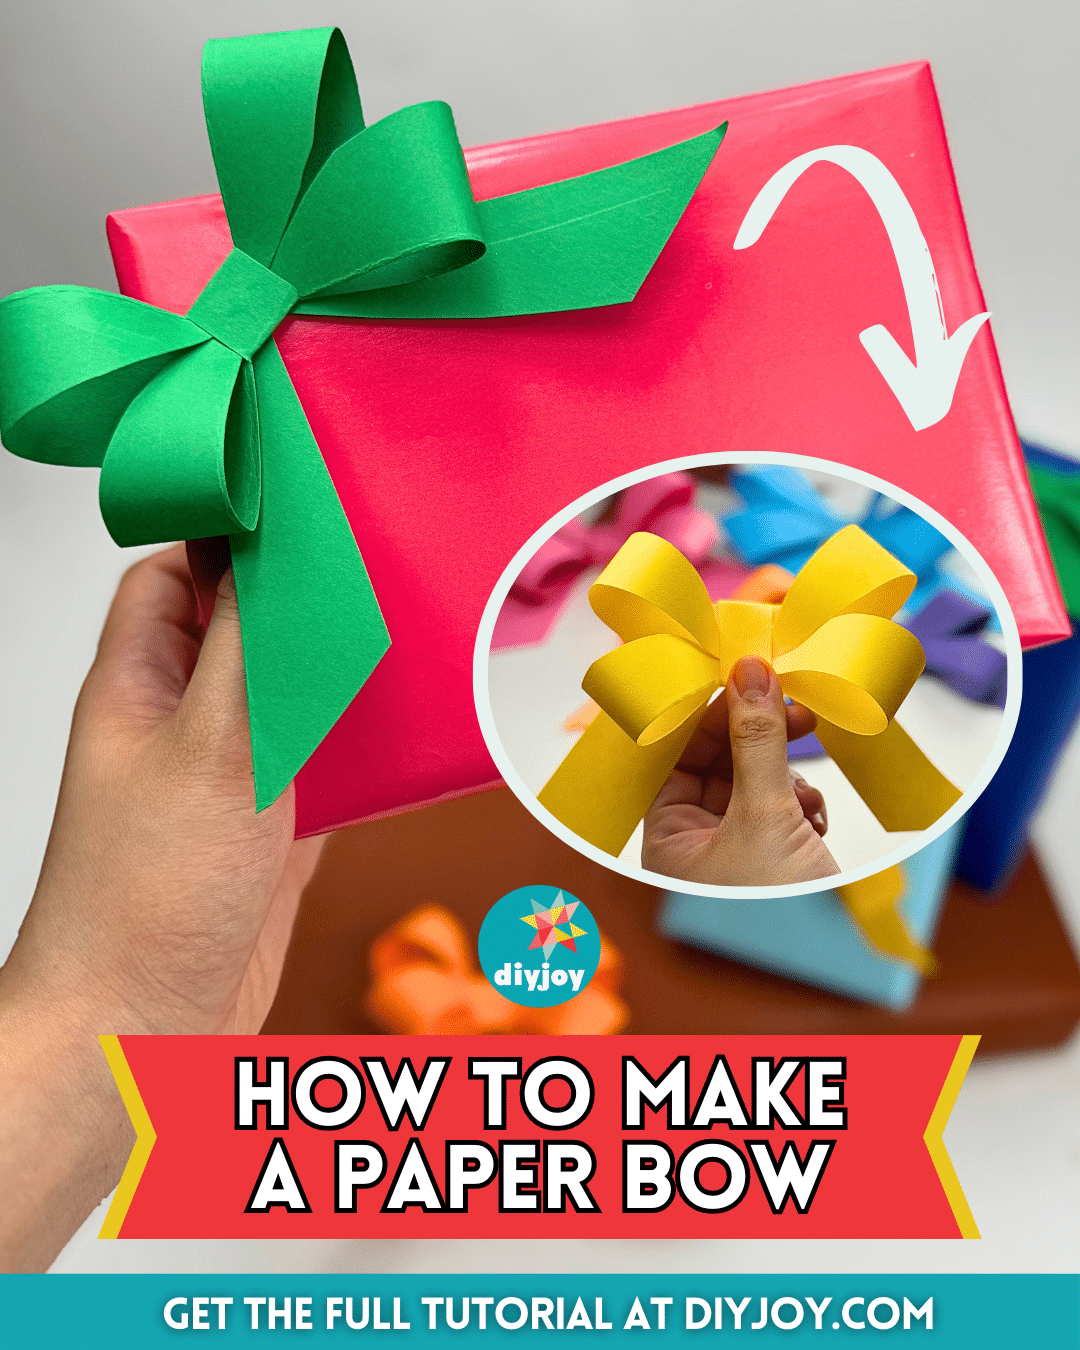
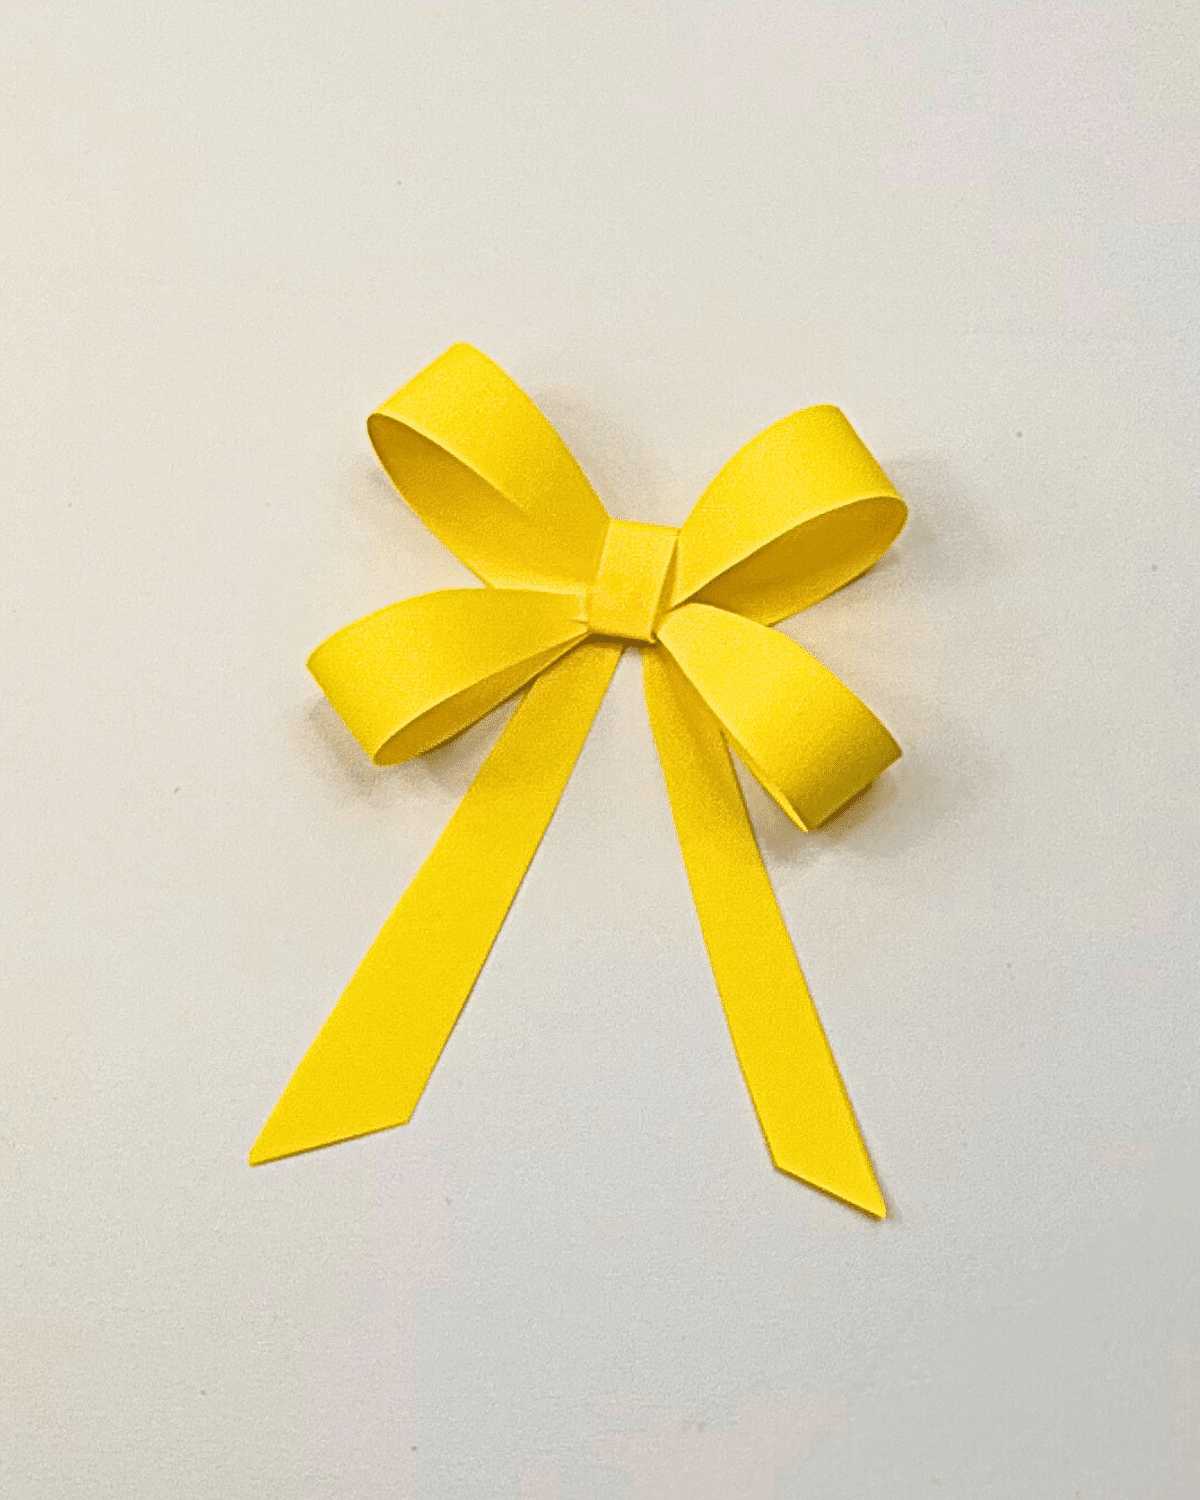
Creating a paper bow is a fun and easy craft that adds a cute touch to gifts, decorations, and other DIY projects. Whether you want to learn how to make a paper bow from wrapping paper or want to make some colorful, simple paper bows for decorating, this step-by-step guide will walk you through the process.
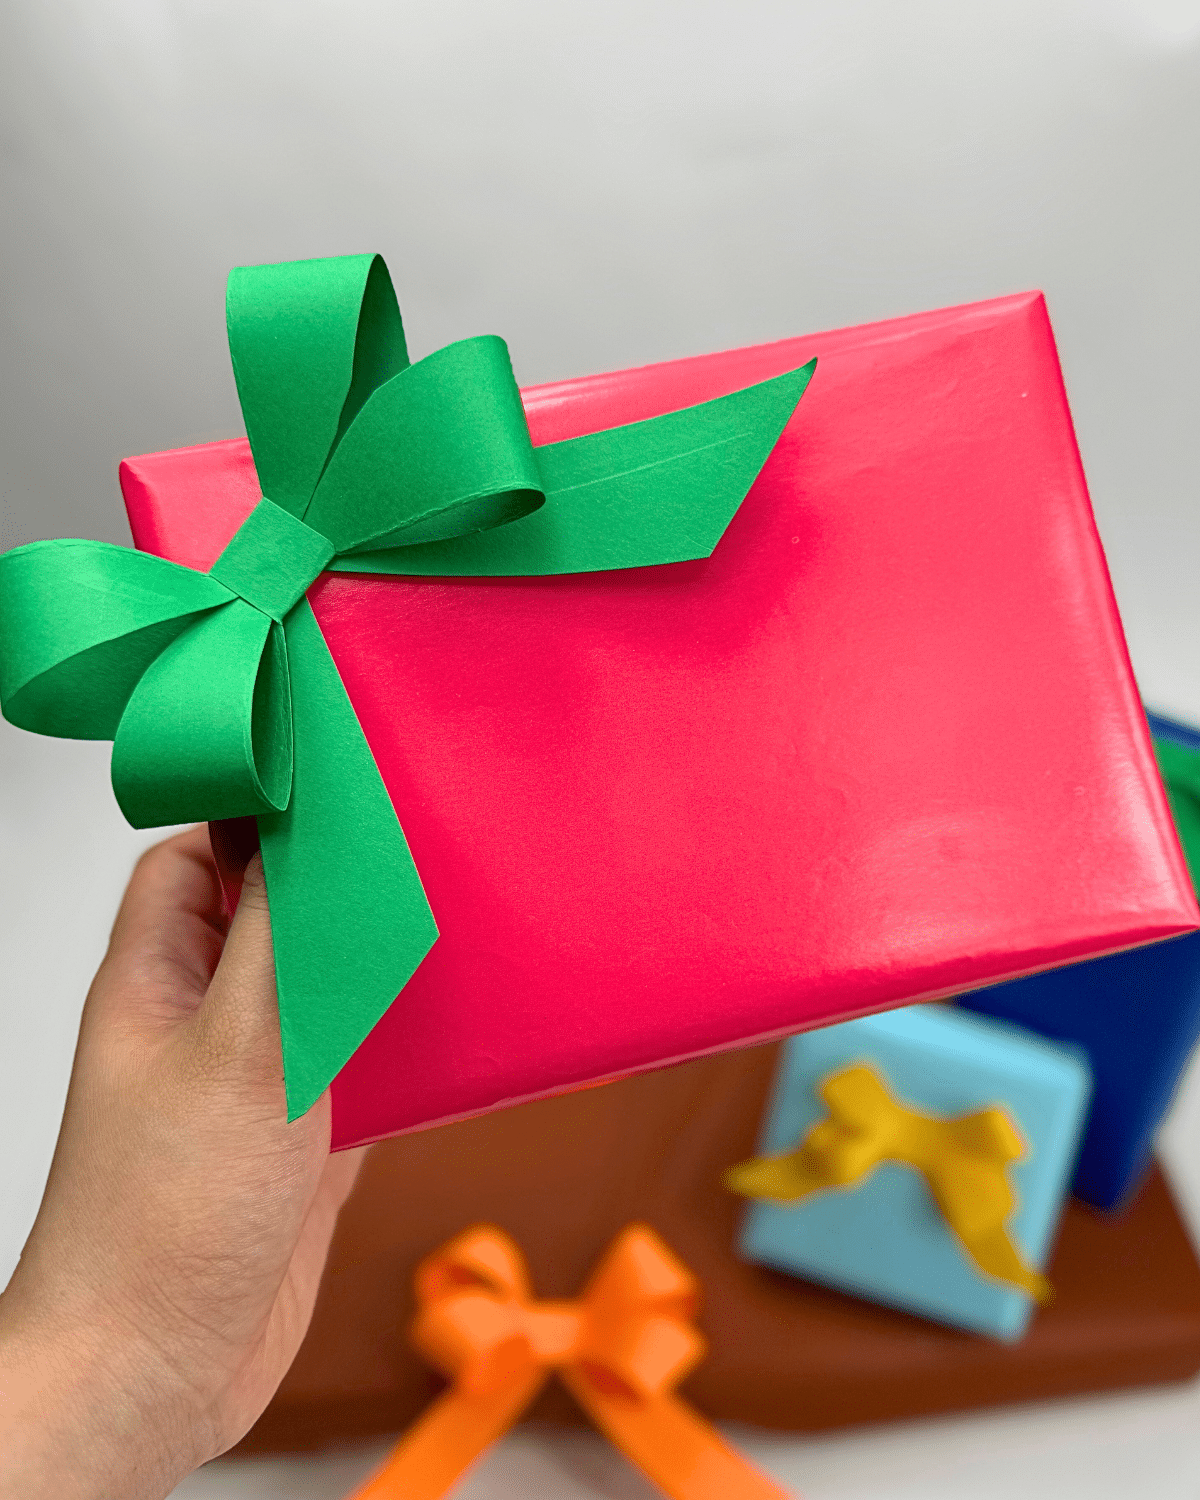
These DIY bows look great as gift box toppers. I love making these colorful bows to add to cards and envelopes, especially when I enclose a gift card. Hands down, my favorite way to wrap a gift card. Quick and super cute!
It just requires a few materials to create handmade DIY paper bows. You can customize the color and size of your bow, too.
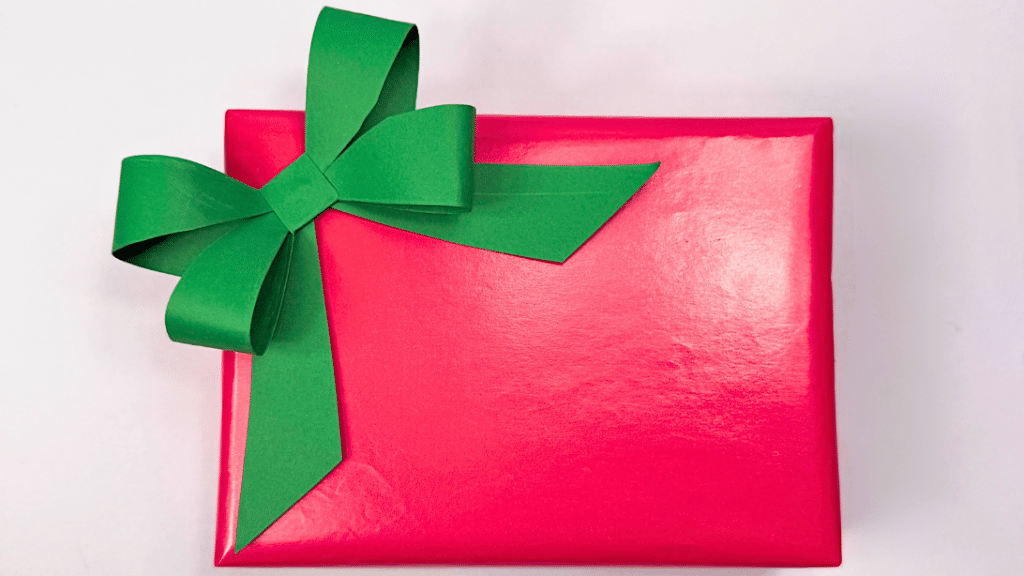
Wrapping paper bows are easy to make, cute and cost-effective. Once I learned how to make bows from wrapping paper, I hardly ever use ribbon to wrap gifts.
![]()
Can you make bows from wrapping paper?
Yes! If you’ve ever wondered how to make a paper bow out of wrapping paper, here’s your easy-to-follow guide!
This craft is beginner-friendly and takes just minutes to make. You can experiment with different paper types, from glossy gift-wrapping paper to textured cardstock. All are sure to turn out to be adorable!
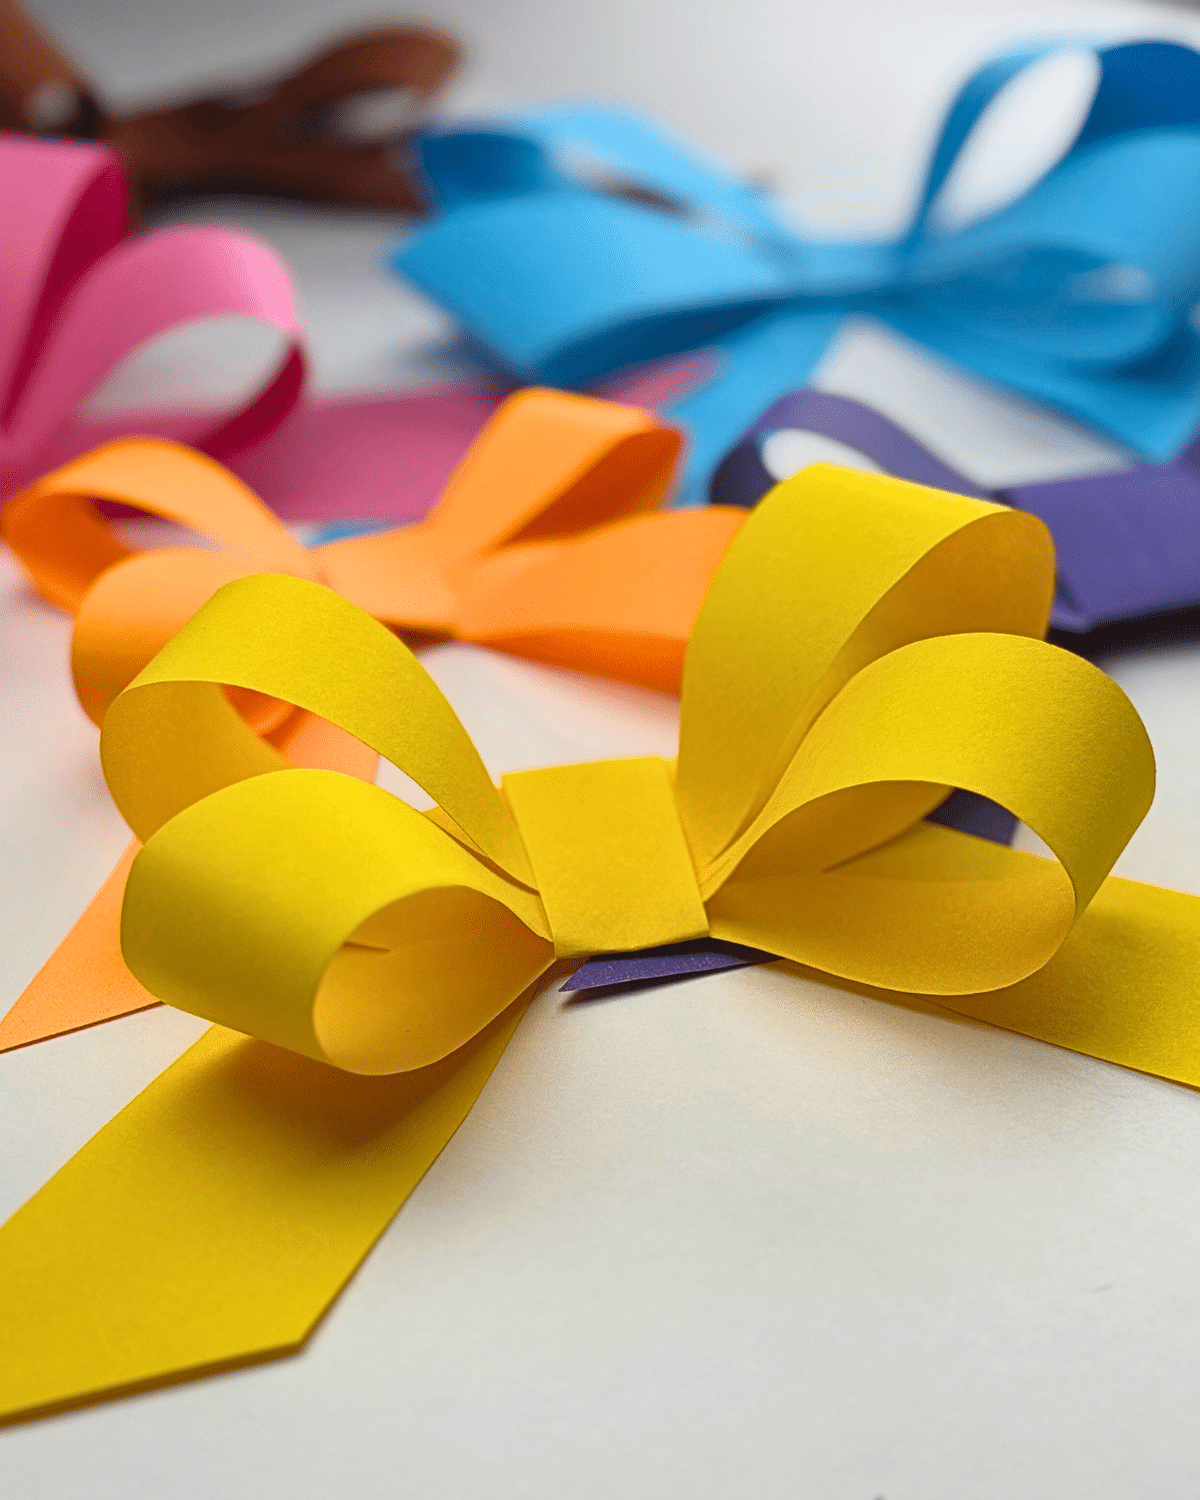
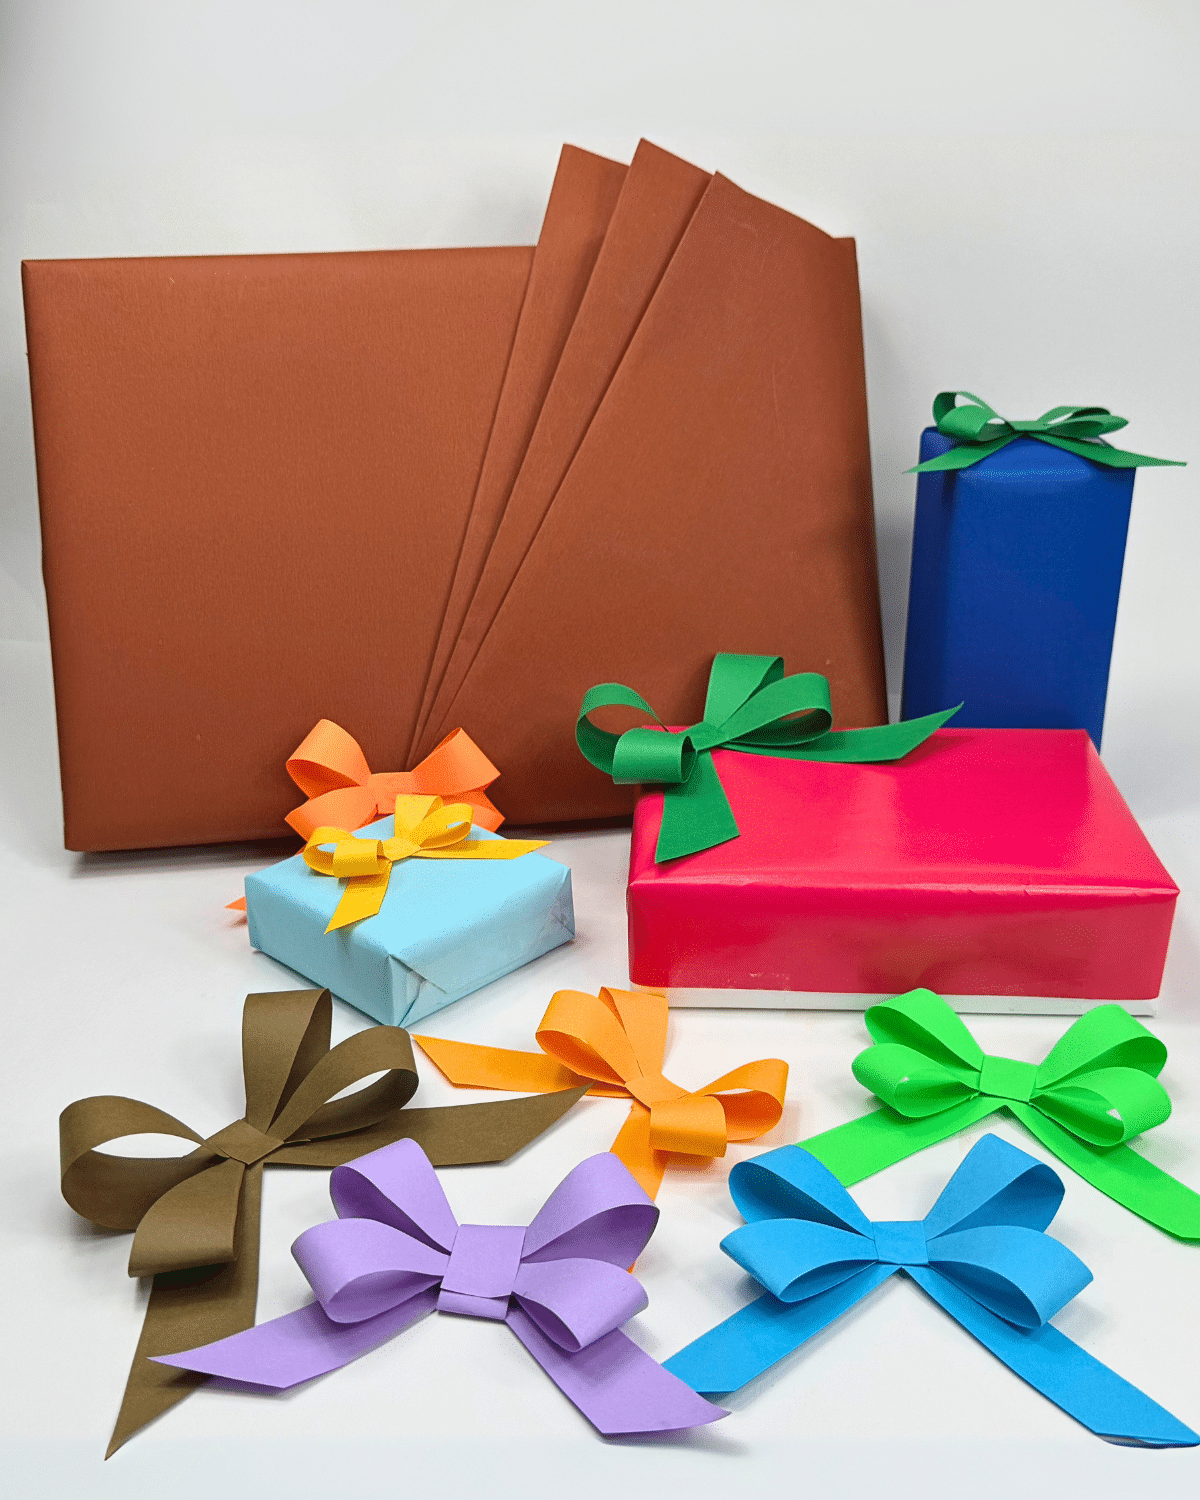
I use these colored paper bows in lots of ways, from holiday gift wrapping to craft decorating. These cute bows are a great alternative to store-bought bows and are much cheaper. Eco-friendly, too, especially if you are recycling paper. I think they are much nicer, too, plus they give your gifts a handmade touch. Follow along for detailed instructions and step-by-step photos that show how to make a paper bow.
RELATED: DIY Bow Out Of Wrapping Paper
Materials for DIY Paper Bow
- Colored paper
- Glue
- Scissors
- Ruler
How to Make a Paper Bow
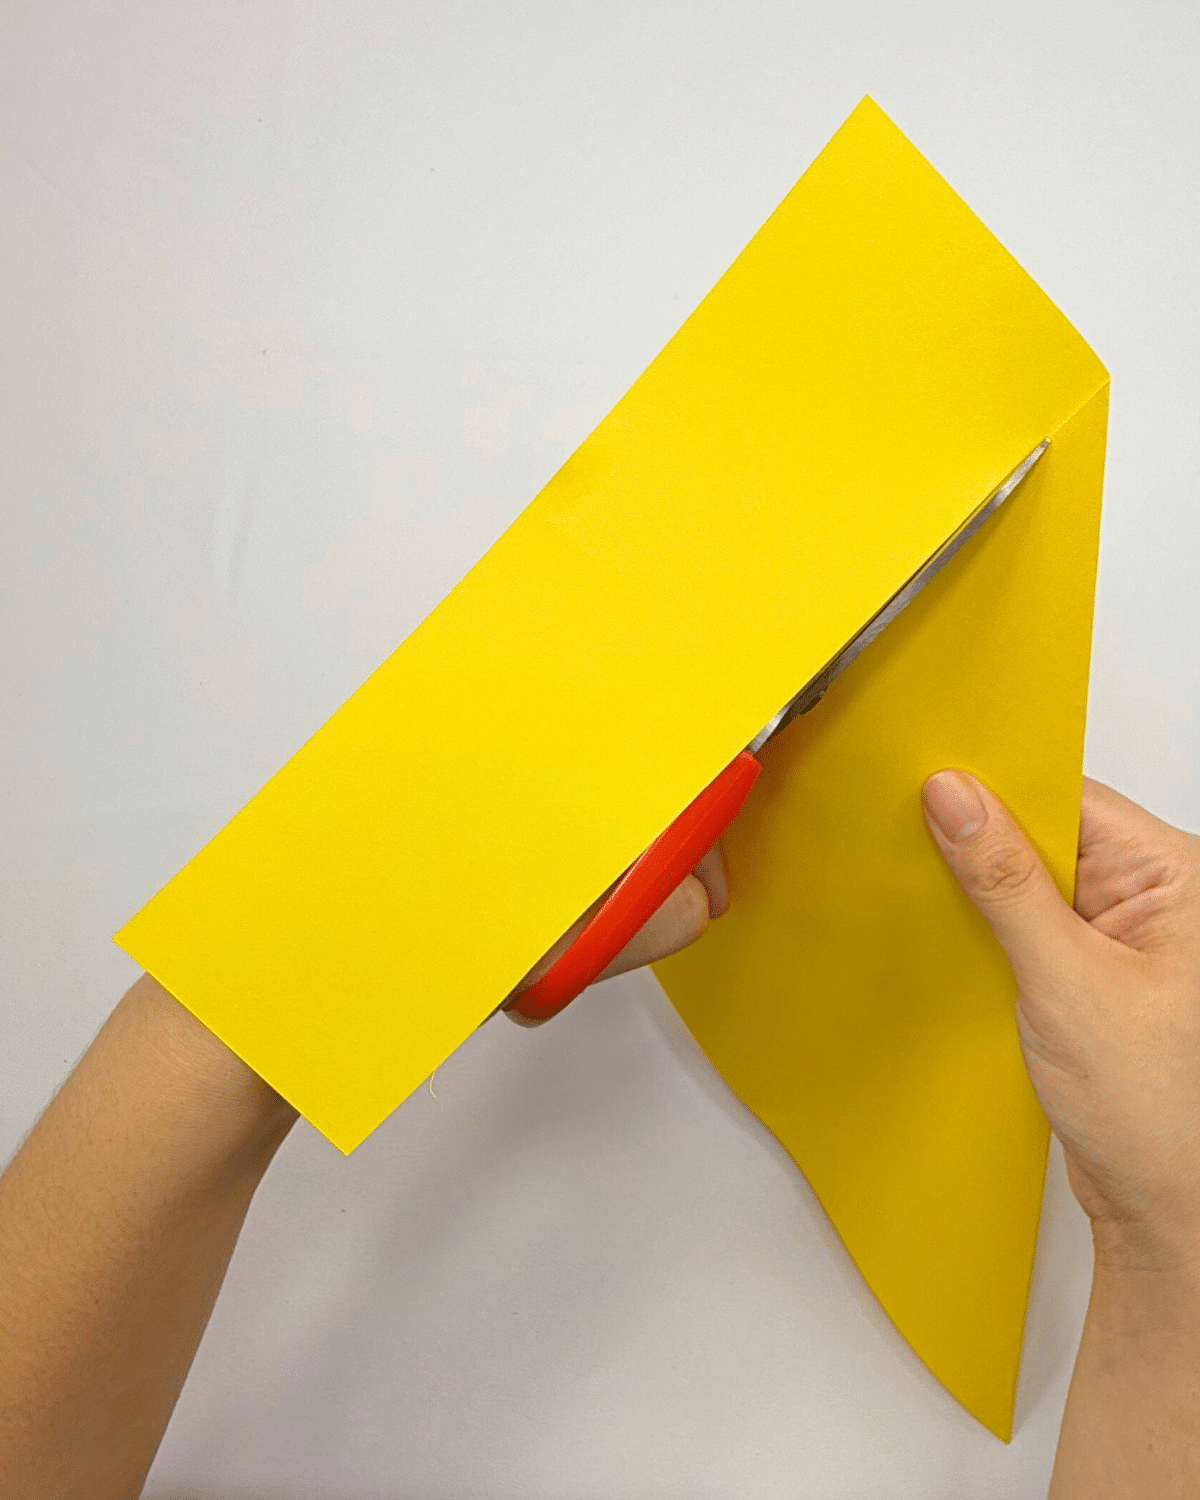
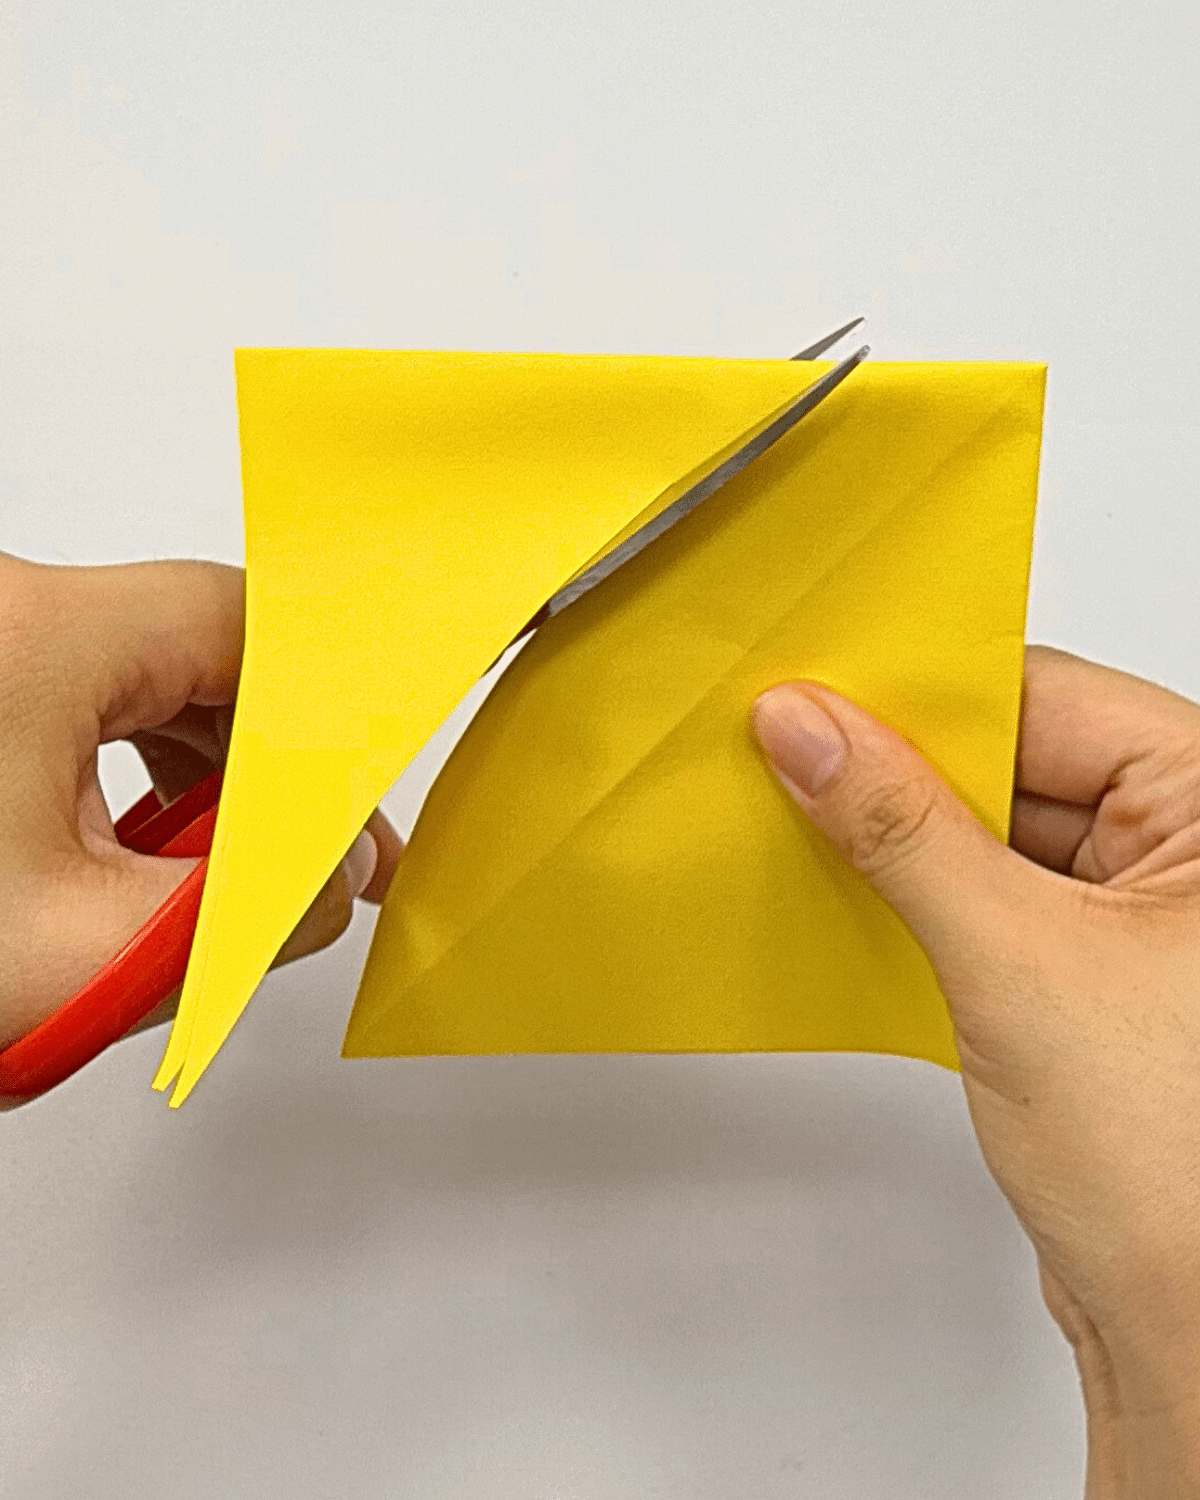
Step 1: Fold down one corner of the paper to the other side making sure to match the edges.

Step 2: Cut out the excess at the bottom, then unfold the paper.
Step 3: Fold the paper in half diagonally, opposite the first seam.
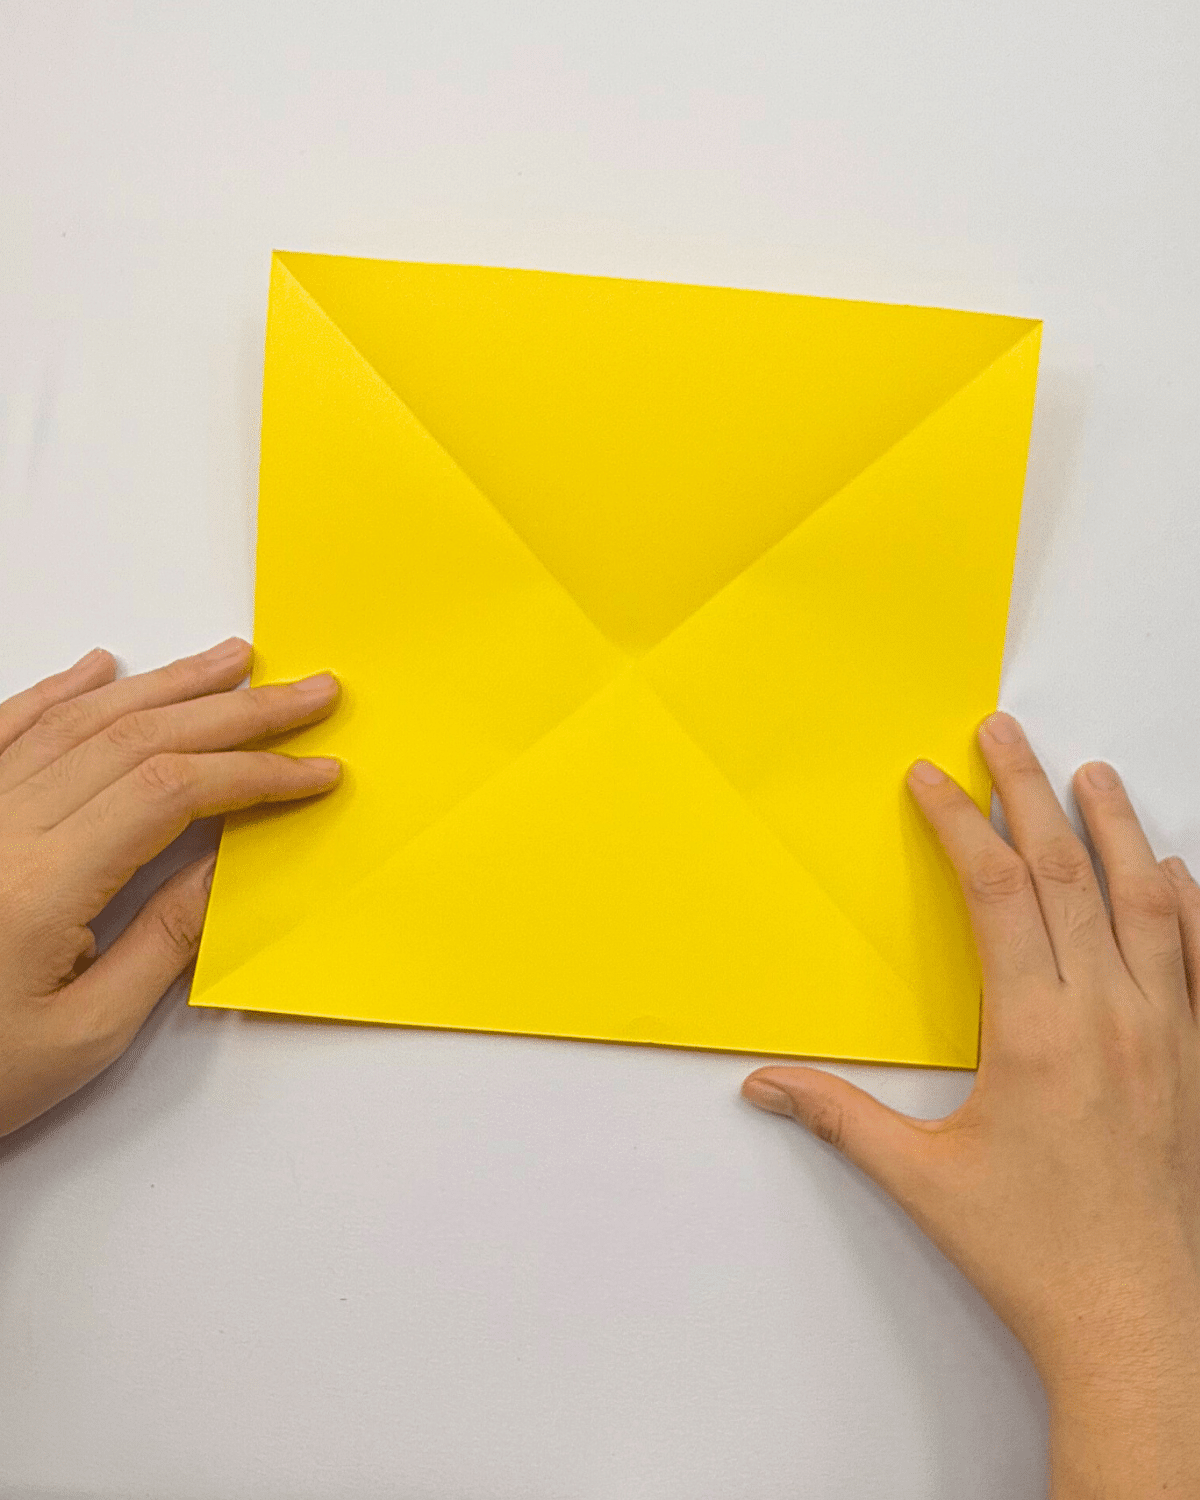
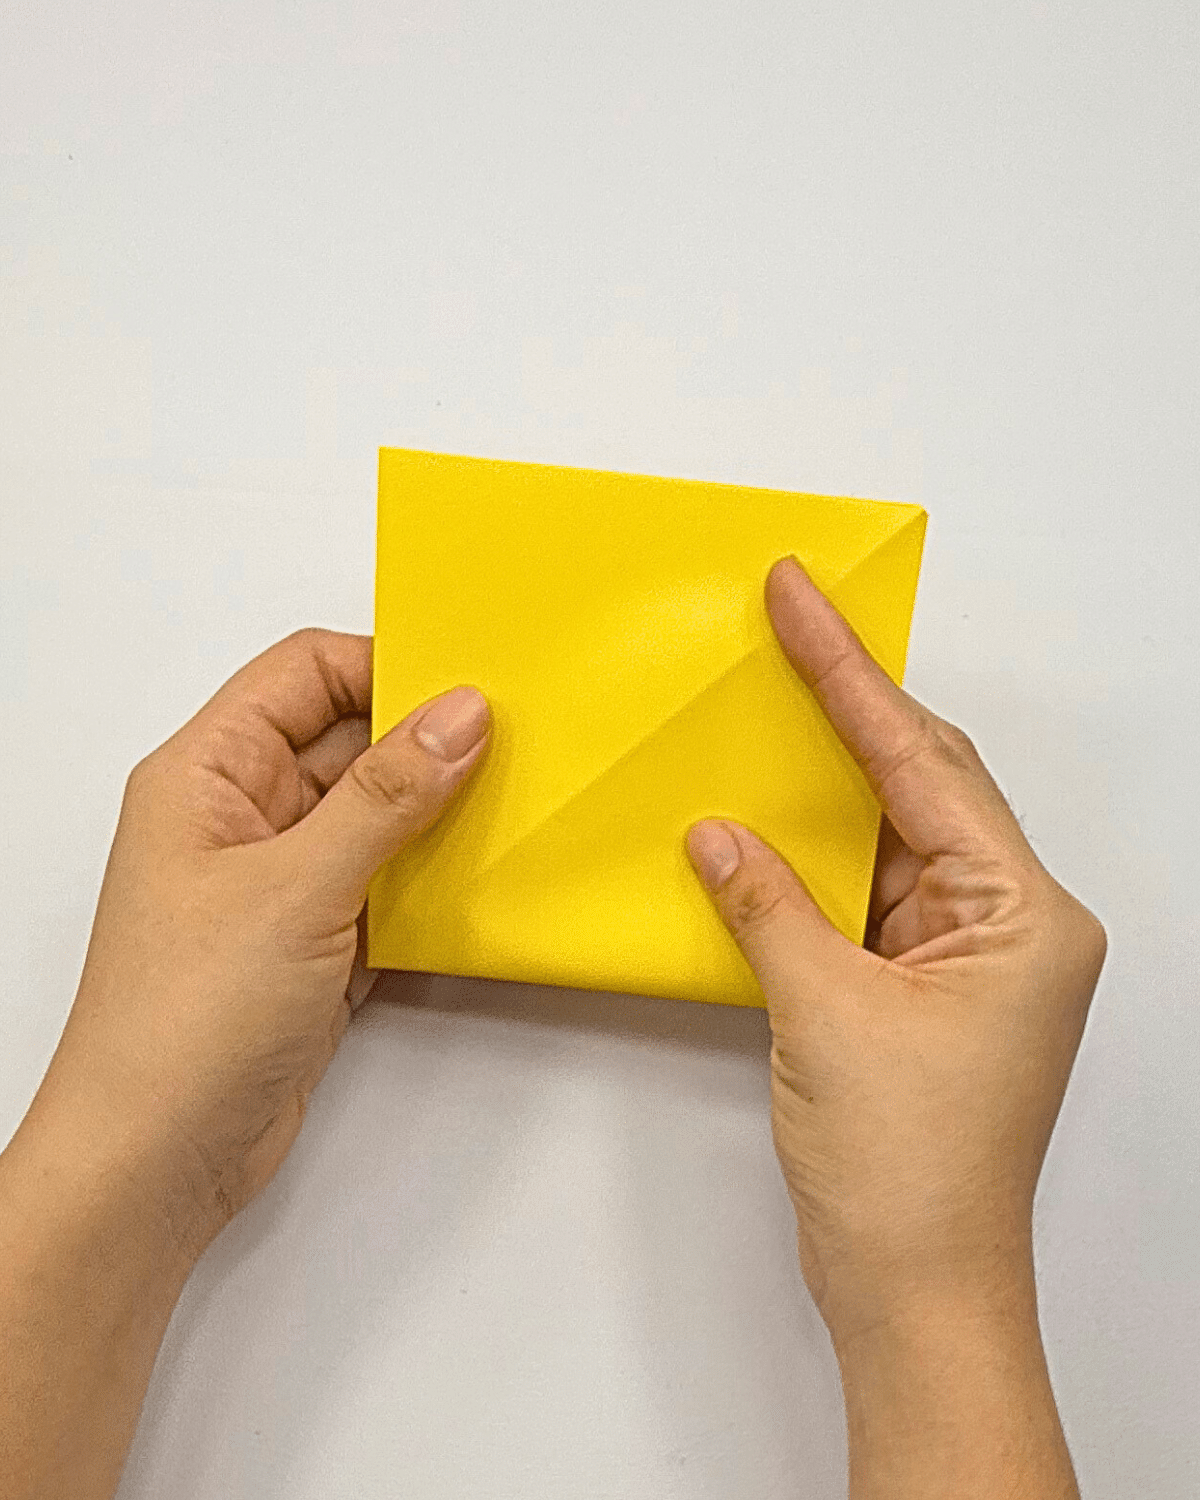
Step 4: Unfold the paper, then fold it in half across, and again in half until it turns into a square.
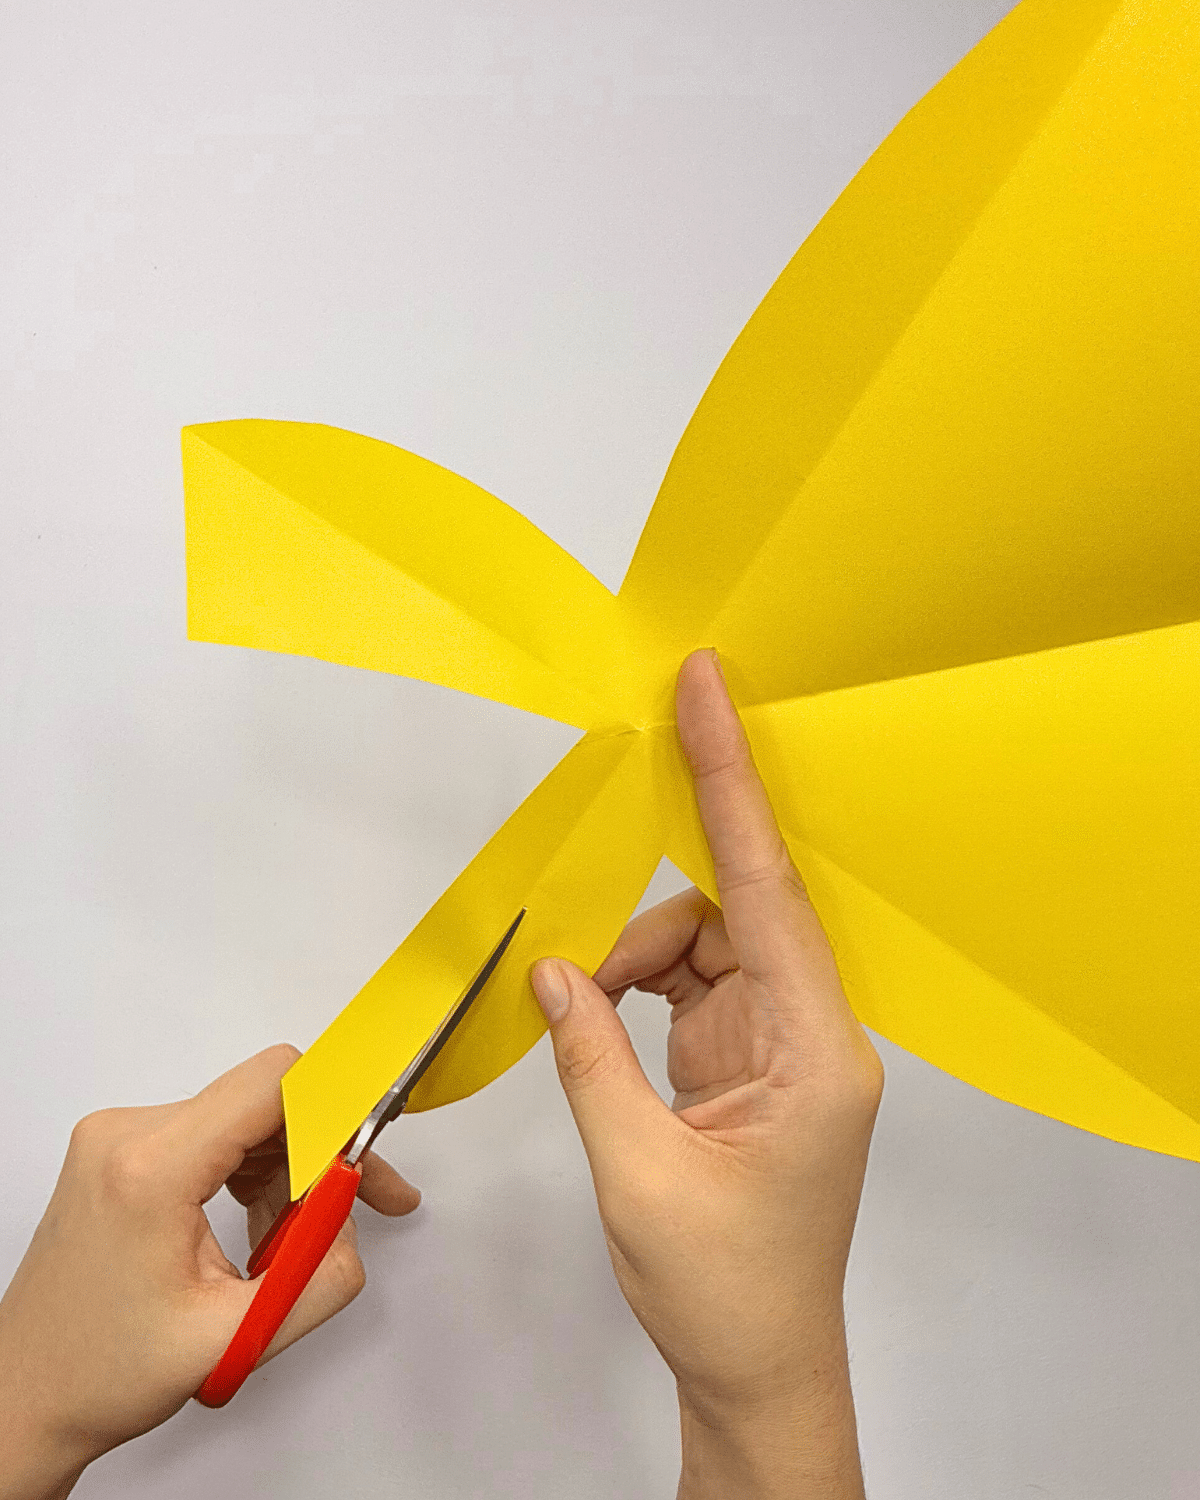
Step 5: Starting on the bottom unfolded corner, cut it upward into a curve until you reach the folded top.
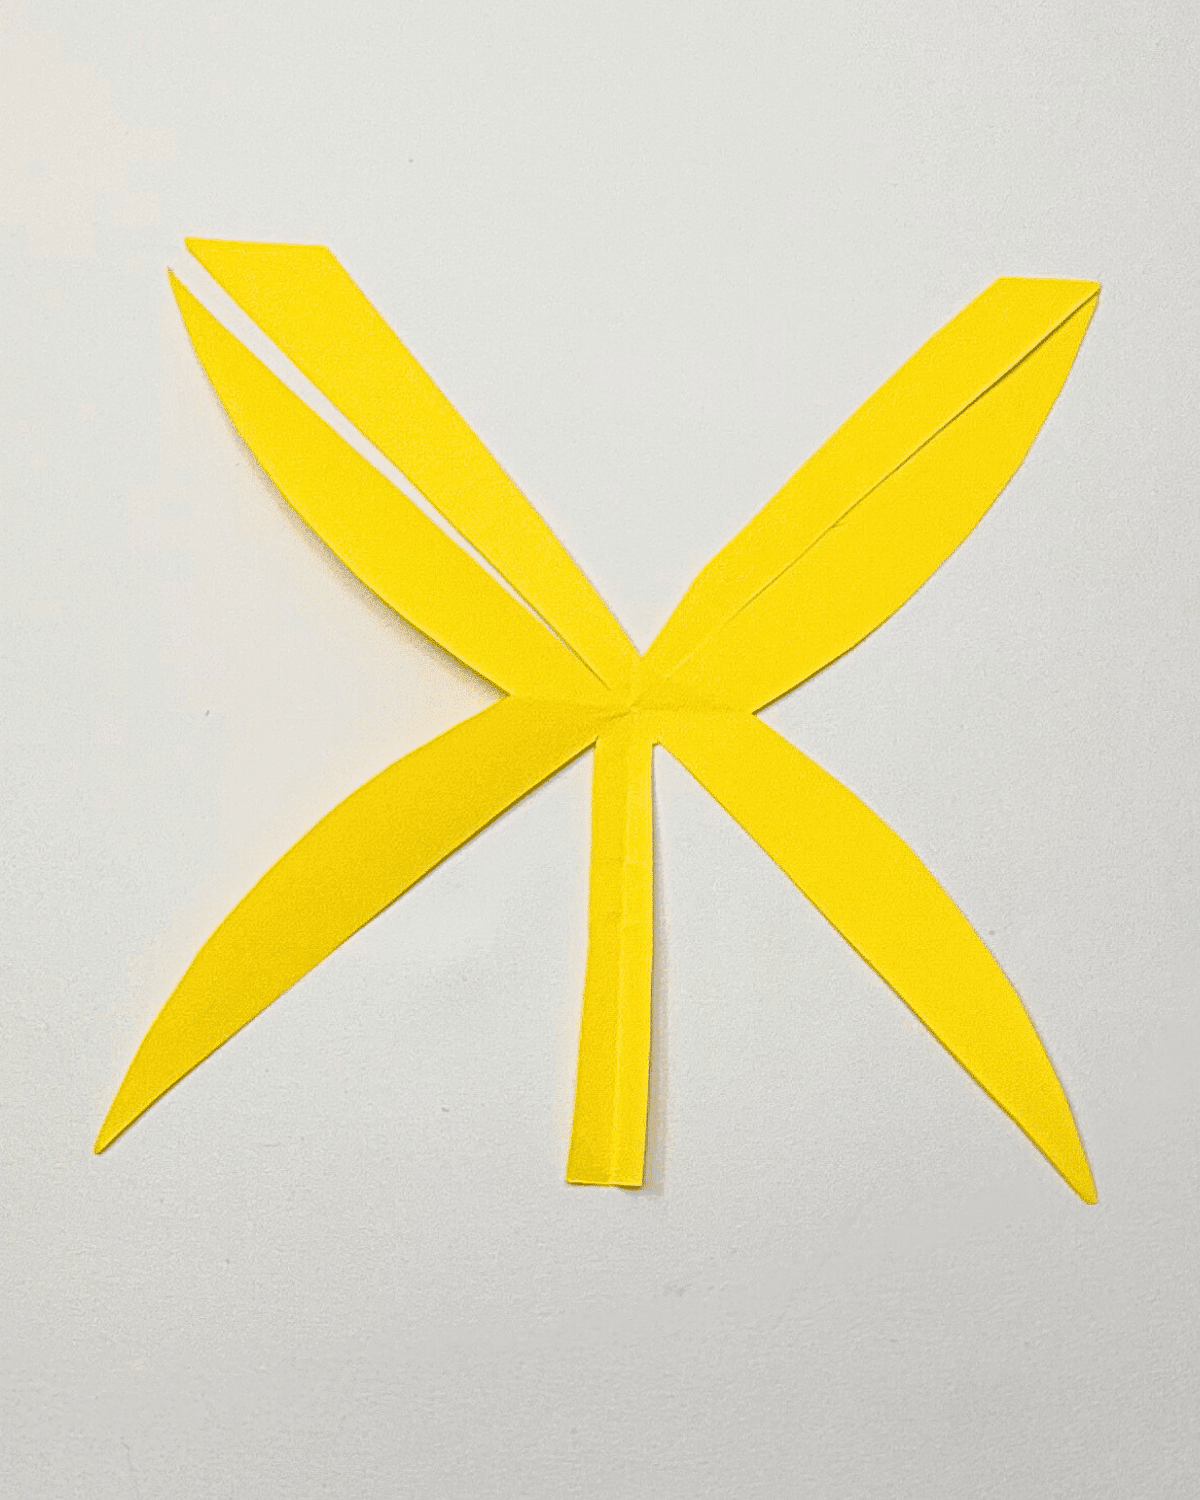
Step 6: Unfold the paper all the way, then start cutting out the tails of the ribbon.
Step 7: Rotate the paper and then cut the bottom part into sections.
Step 8: Glue the curved tails together at the center and glue them in place.
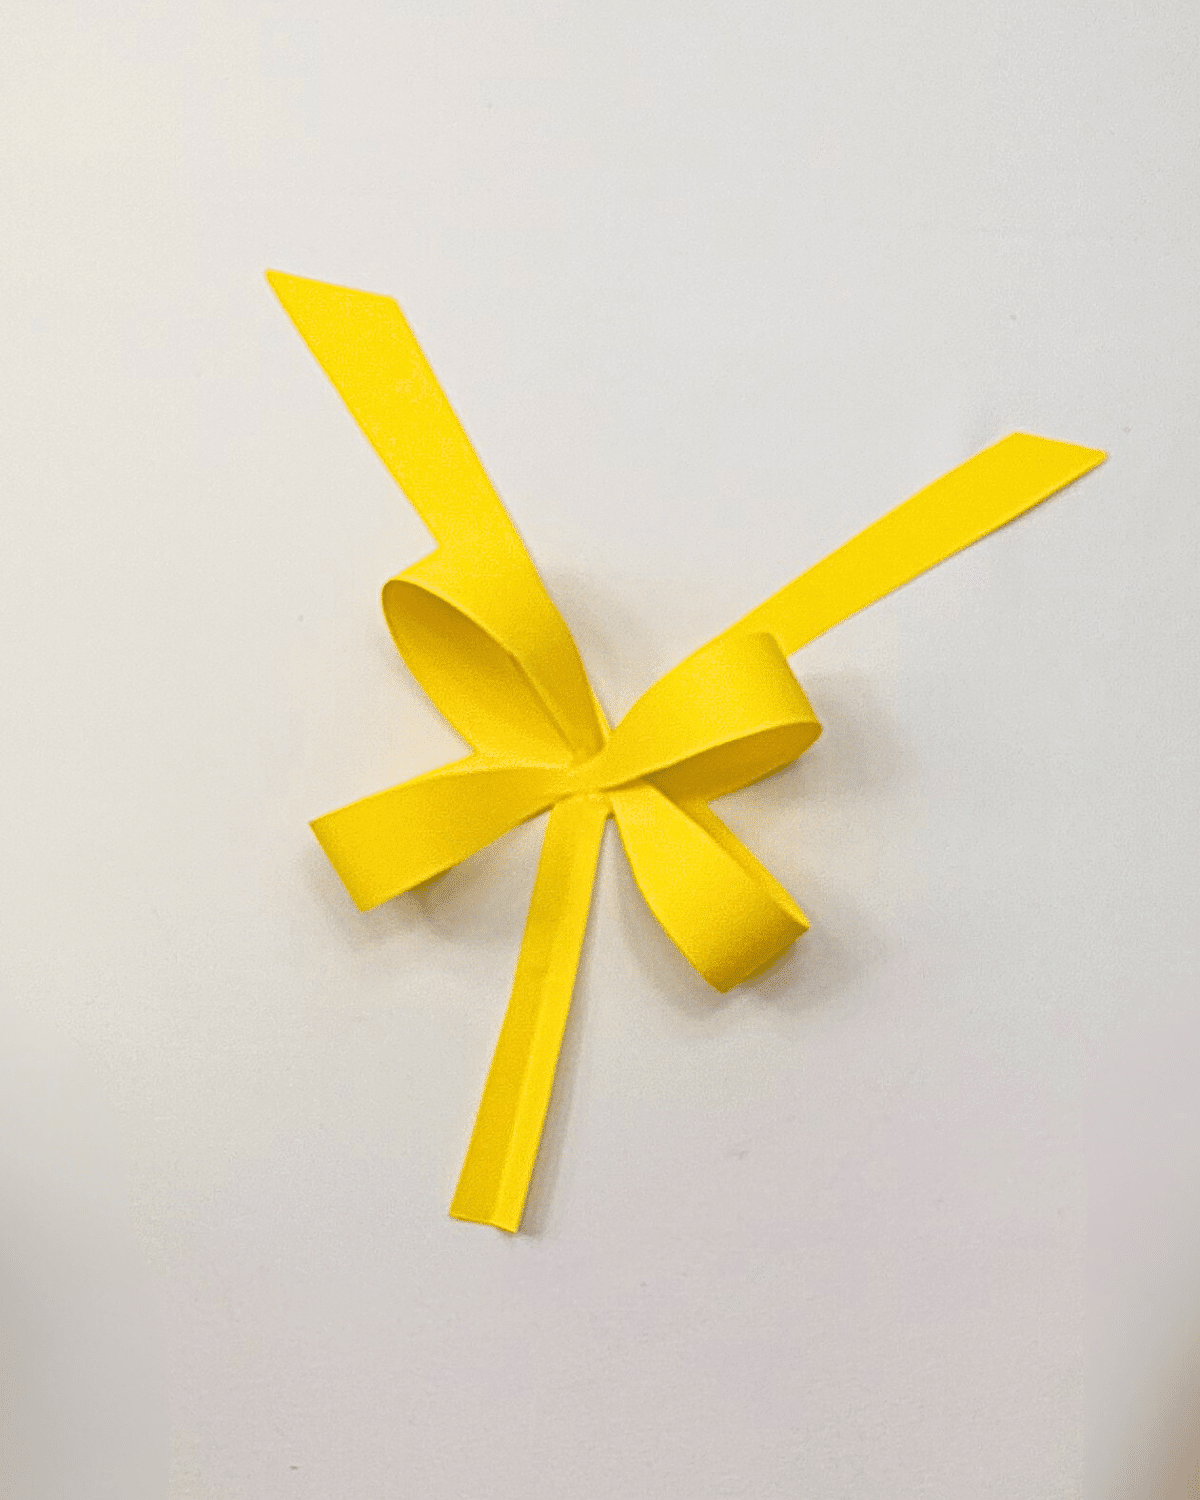
Step 9: Flip it over and fold the tail of the ribbon, then wrap the middle flap around the center.
Step 10: Glue it in place, then cut the excess paper, and you’re done!

*If you love this craft, then visit our official website, follow our Facebook page, and subscribe to our YouTube channel for more!
![]()
Pro Tip
Use thicker paper as it holds the shape better! Wrapping paper works, you just need to handle it more carefully.
DIY Paper Bow Tutorial Video