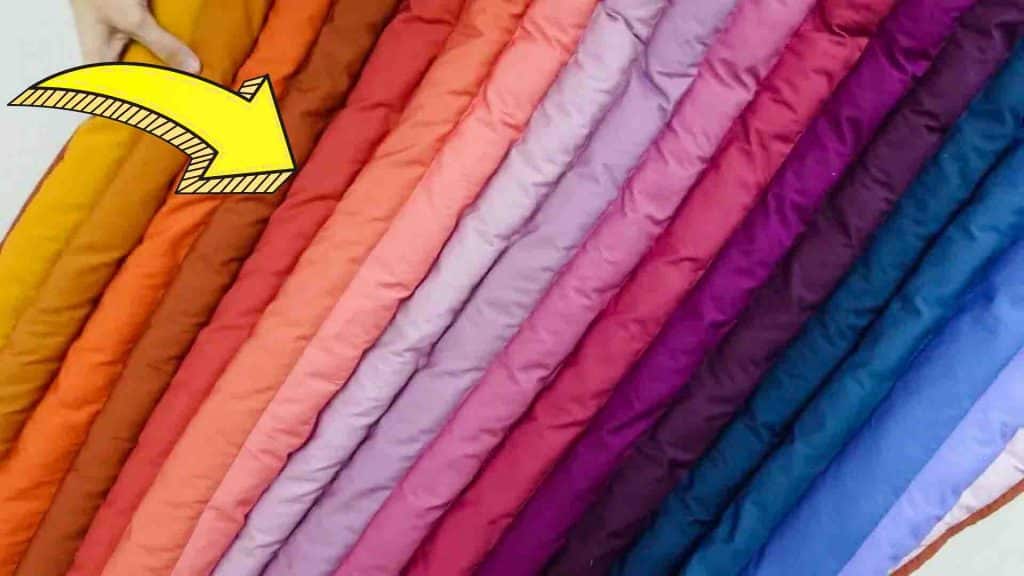
Are you looking for an easy quilting project to make? This modern puff quilt from Art Gallery Fabrics on Youtube is a beginner-friendly project you can make. This easy strip pieced quilt also has a fun twist: adding stuffing! It’s easy and fun, but most of all, this quilt is gorgeous. Watch the video tutorial below to learn the step-by-step process.
Materials:
- 20 strips 3 1/4″ x WOF in pure solids
- 1/8 yd AGF Chocolate fabric (or any fabric) for binding
- 4 yds AGF Sunflower fabric (or any fabric) for flannel backing
- stuffing
- dowel
- rotary cutter
- scissors
- thread
- ruler
- pins and clips
- washable pen or marking tool
Directions:
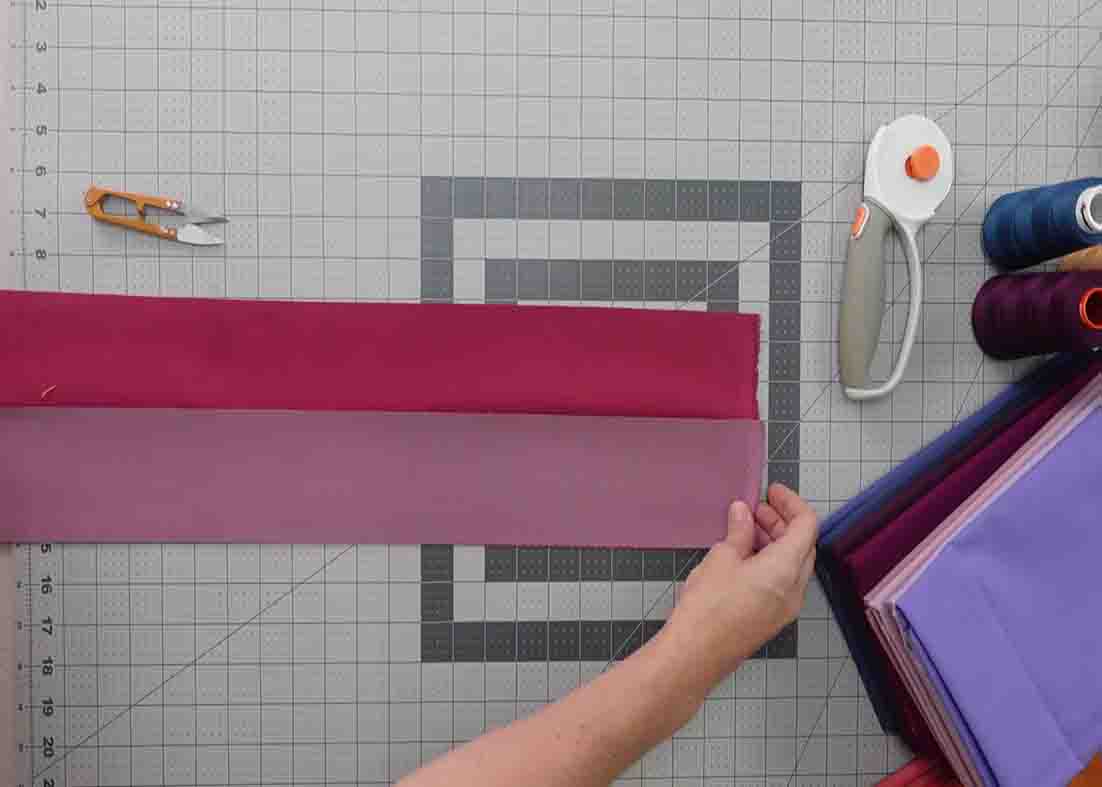
Step 1
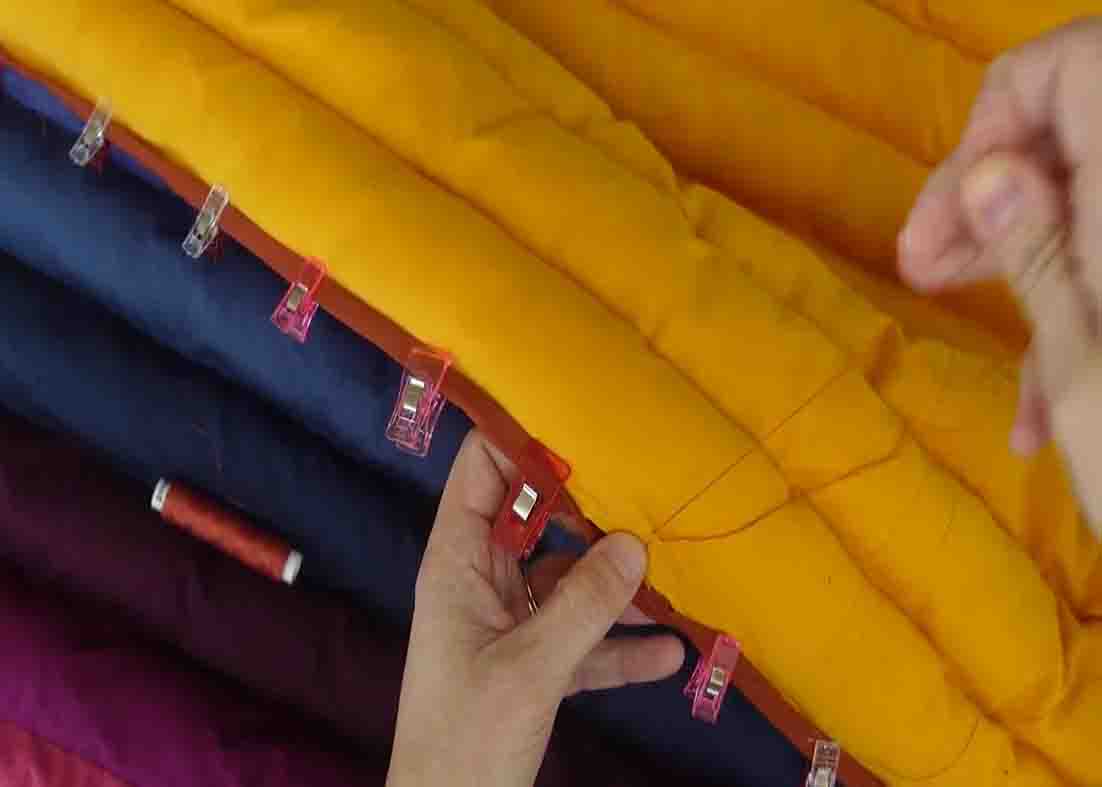
To start, cut 20 strips. Each strip will be 3 1/4″. Sew your strips together, in the color order you like (just make sure it forms an ombre), at 1/4″ to form the quilt top. Next, make the backing. Cut your flannel in the dimensions given, sew a center seam, and press open. Lay the quilt top over the backing, wrong sides together, and pin to secure. After this, quilt your strips as you desired using coordinating thread. (In this case, an edge stitch was used in simple straight lines.) Now, it’s time to stuff your puffy quilt. Use a dowel to gently stuff each tube with loosely packed Poly-fil to make your quilt puffy but not stiff. Pin your edges and baste or stitch to secure. Trim the edges of your quilt with scissors or a rotary cutter. Next, for the binding, cut 1 & 1/2″ strips to make a narrow binding. Cut your 6 binding strips at 1& 1/2″ x WOF. Press each strip in half, wrong sides together. After this, lay two strip edges, right sides together, and draw a line at a 45-degree angle and stitch. Trim your edges and finger press the seams open. Now, you can add the binding to your quilt. Start on one side, about 10″ down, and stitch to the top of the quilt. Stitch to the end of one side, stopping at 1/4″ before the end, pivot, and stitch at a 45-degree angle off the edge. Fold your binding over to form a 45-degree angle and then, fold back in the other direction. Continue stitching directly from the edge.
[social_warfare]
Step 2
You’ll continue this method until you are a few inches away from where you started. Now, trim and sew the edges together. Measure the width of your binding to create your overlap. Pin the edges, right sides together, and stitch at 45 degrees. (Make sure that it looks good, and then trim.) Continue sewing the remainder of the seam to secure. Now, flip the binding to the back of the quilt and pin it in place. Because this quilt is puffy, you’re going to hand stitch the binding. Use an invisible stitch to secure the binding and make sure your thread matches the binding. Now, take one stitch through the flannel backing, top layer only. Bring your needle directly through the binding fold, and continue with this method. Your puffy quilt is now done.
How To Make A Modern Puff Quilt


